Sled Ornament from Popsicle Sticks
This post may contain affiliate links – please read my disclosure statement.
This Sled Ornament is a great keepsake for the Christmas Tree. Make these homemade sled ornaments and give them out as Christmas gifts. Or make these as a holiday school party gift.
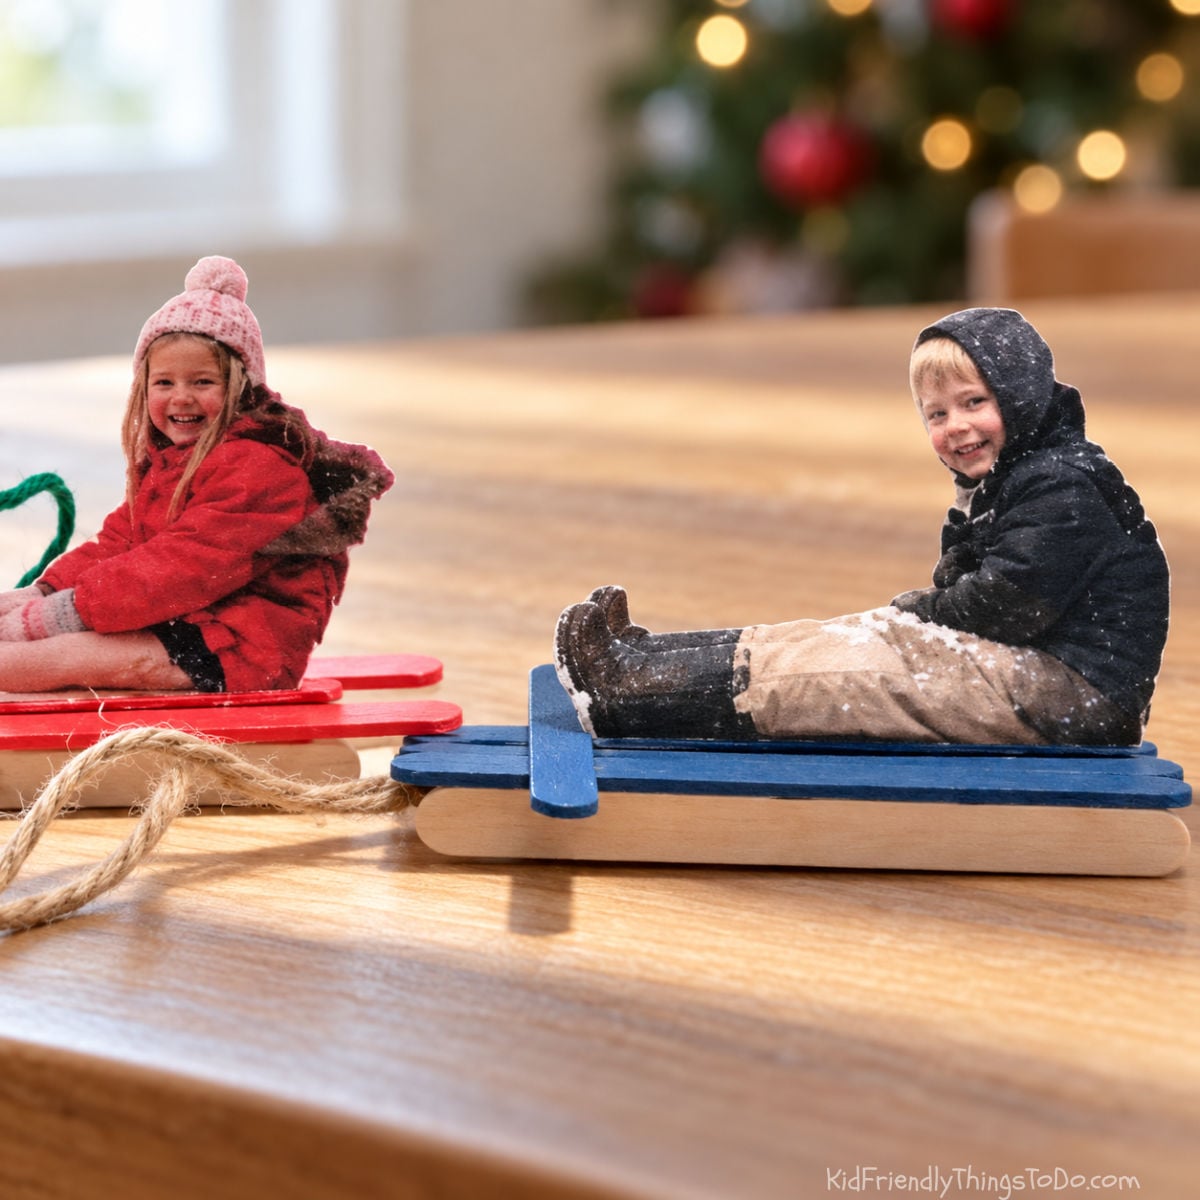
Popsicle Stick Sled Ornament
I once made these for a whole kindergarten class. They are a great idea for a room-parent activity. It was not my original idea. I have to credit my kid’s wonderful nursery school teachers.
What I love about this Homemade Christmas Ornament
- It is an ornament that you’ll cherish forever.
- It is a great craft and holiday gift to give away to family and friends
- Only a few supplies are needed.
Supplies for a Popsicle Stick Sled Photo Christmas Ornament
- Wax paper
- Popsicle sticks – 8
- Glue- Get a tacky glue that dries clear and is strong
- Rope, string, or a chenille strip to use as the handle
- Paint – Spray paint is a great shortcut, but you can use a paintbrush to paint the popsicle sled with acrylic paint
- Glitter (optional): when the paint is still wet, you can sprinkle glitter onto it for a shiny sled
- A Picture of your little one, all bundled up, posed to look like they are on a sled. I think the nursery school teachers have the kids pose on the table to get a flat surface under them.
Equipment
If you want to add a child’s photograph ot your sled, you’ll need a camera and a way to print the photo
Instructions (For the blue straight-edge sled):
As always, kids should be supervised when crafting, and only adults should handle sharp or hot objects.
- Set out a piece of wax paper for the sleds to dry on.
- Start by pouring some Elmer’s glue into a tray.
- Dip the skinny edge of the popsicle stick in the glue.
- With glue between the edges, place five sticks side by side to create the seat of your sled.
- Now, for the crossbar. Lay a popsicle stick across the seat of your sled, about an inch down.
- Once the sled has dried, turn it over and glue the runners to the bottom.
- Paint your sled – Add glitter while the paint is wet
- Glue the ends of your rope to the bottom of the sled. – This is your handle.
- Cut out your child’s image from your photograph, leaving a little extra photo paper beneath them.
Bend this extra photo paper backward, and use that as the piece to glue to your sled.
Variation
Make a sled that is staggered at the front for a completely different look
Staggered Sled Instructions
Instructions for a Staggered front Sled are all the same as above, except:
To create a staggered arrangement with five popsicle sticks, follow these steps:
- Place one popsicle stick horizontally in the center.
- Position two additional sticks on either side of the center stick, ensuring they are slightly lower in height.
- Finally, place the last two sticks at each end, making sure they are even lower than the previous two.
This arrangement will create a visually appealing staggered effect.
Expert Tips for Giving these as Party Gifts
- This is a wonderful gift to give to loved ones – a great keepsake for kids to hand out at the classroom party.
Melissa’s Tips for Room Parents and Teachers
- Make the sleds in advance.
- Visit the class about one to two weeks beforehand.
- Take a photo of the kids wearing their hats, coats, and mittens.
- If the teacher permits, have the kids paint their sleds. A more efficient approach is to have the sleds pre-painted, allowing the kids to add their personal touch by sprinkling glitter or labeling each sled with their name and date.
- Once back at home, glue cut-out pictures to the sleds and wrap the finished sleds as presents for the children to give to their loved ones.
FAQs for this Popsicle Stick Sled
A fast-drying, clear-drying tacky glue is the best type of glue. You’ll want a glue that holds the popsicle sticks together almost immediately, so it will need to be thick and tacky. Good options would be a low-temp glue gun, 3-in-1 Beacon glue, and Elmer’s Wood glue that dries clear
Small kids can do portions of this craft like painting and adding glitter. Gluing popsicle sticks together can be challenging, so an older kid or an adult will want to do that portion of this craft
More Christmas Crafts You’ll Enjoy
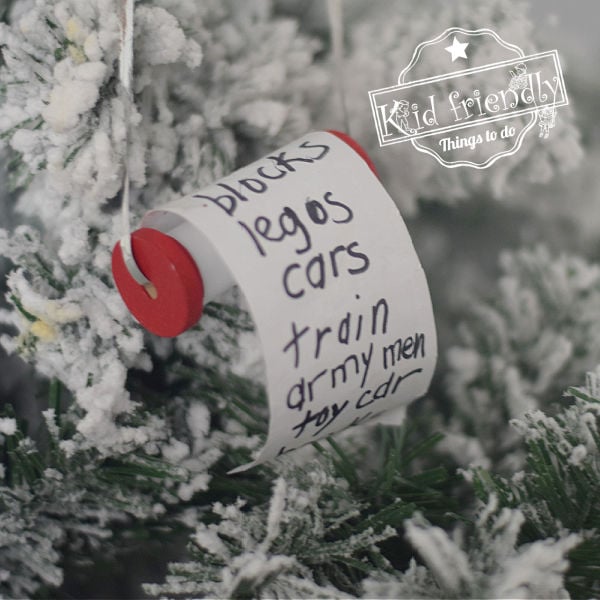
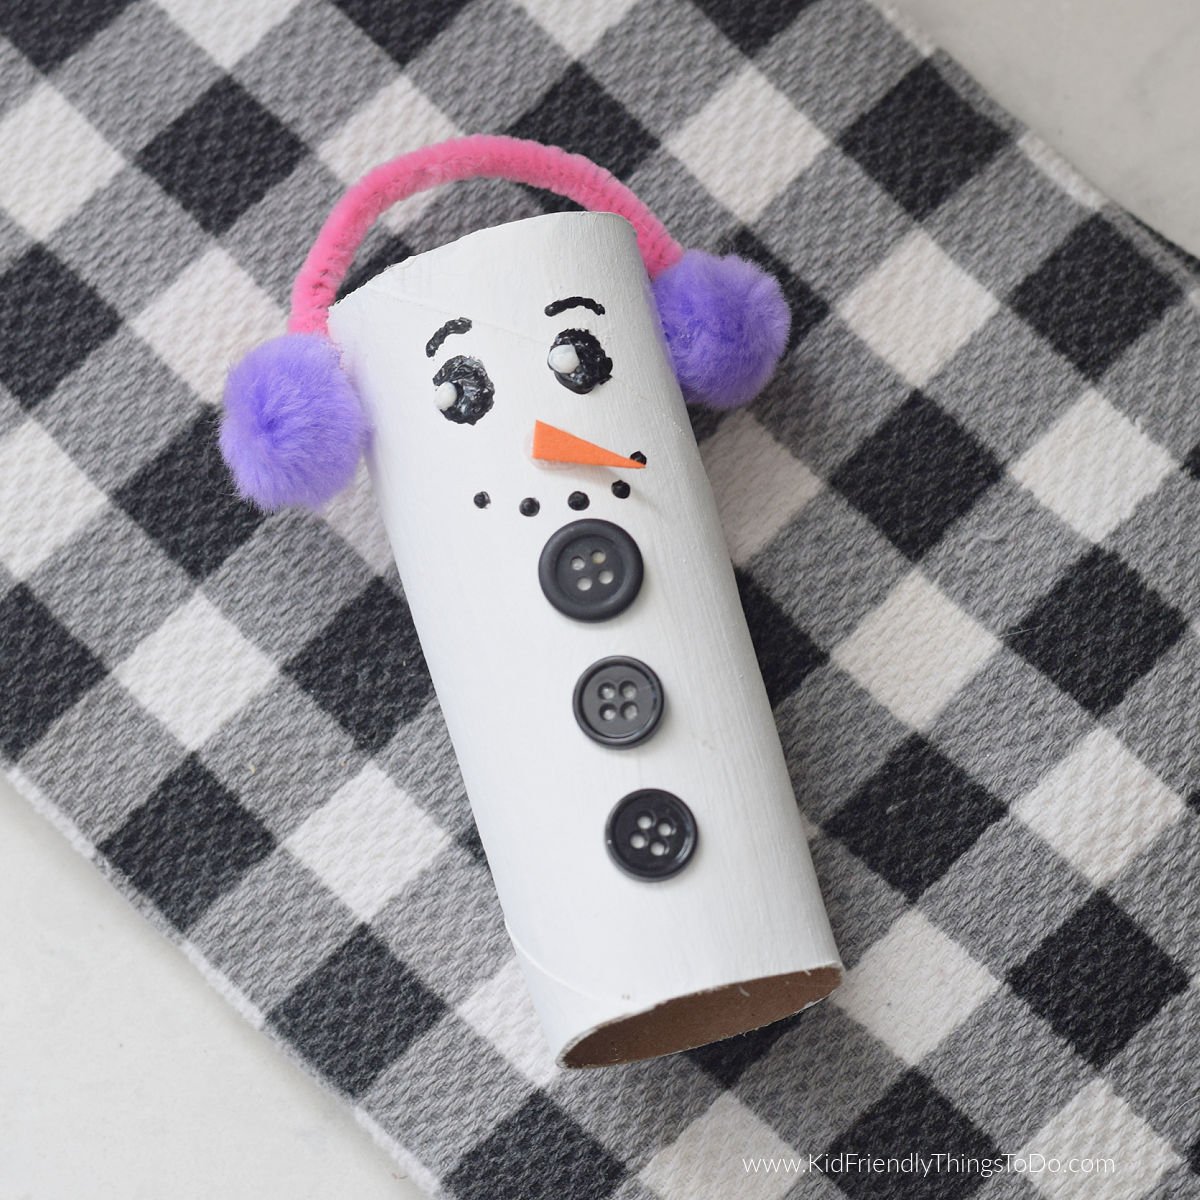
I love making Christmas Crafts. Keepsake ornaments like this one are perfect for the tree. But, I am always on the lookout for easy to make Christmas ornaments like this Pipe Cleaner Rudolph, A Pipe Cleaner Pine Bough Ornament that is so pretty on the tree, and Rudolph made from a Tea Light and Pipe Cleaners
Printable Instructions
Sled Ornament from Popsicle Sticks
Materials
- Wax paper
- 6 Popsicle sticks
- Glue – Get a strong tacky glue that dries clear
- Rope, string, or a chenille strip to use as the handle
- Paint – Spray paint is a great shortcut
- Glitter (optional)
- A Picture of your little one all bundled up, and posed to look like they are on a sled. I think the nursery school teachers have the kids pose on the table to get a flat surface under them
Instructions
- Lay out a piece of wax paper for the sleds to dry on
- Start by pouring some glue into a tray.
- Dip the skinny edge of the popsicle stick in the glue.
- With glue between the edges, place five sticks side by side to create the seat of your sled
- Now, for the crossbar. Lay a popsicle stick across the seat of your sled, about an inch down
- Once the sled has dried, turn it over and glue the runners to the bottom
- Paint your sled – Add (optional) glitter while the paint is wet
- Glue the ends of your rope to the bottom of the sled. – This is your handle
- Cut out the image of your child from your photograph, leaving a little bit of extra photo paper beneath them.
- Bend the extra photo paper backward, and use that as the piece to glue to your sled.
For Staggered Sled
- You should stagger the pieces for the seat into a V shape at the front
- For this version, The handle looks nice, glued to the top of the crossbar.
Notes
~Melissa
KidFriendlyThingsToDo.Com