Paper Plate Pumpkin Craft with Pumpkin Face Templates
This post may contain affiliate links – please read my disclosure statement.
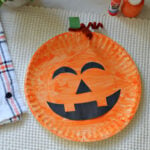
This paper plate pumpkin craft turns a regular white paper plate into a cute jack o lantern! Paint the plate orange, choose your favorite pieces from the pumpkin face template, and glue them on to create your own Halloween face.
I made mine with washable children’s paint, a foam brush, and a glue stick. A green paper stem and a brown pipe cleaner curl gave it a little extra detail without making the craft complicated.
The fun part is mixing and matching the eyes, noses, and mouths. This is a Halloween craft for kids in pre-K through early elementary, with help cutting as needed. The curl is the trickiest part for younger kids, so you can leave it off and still have an adorable pumpkin.
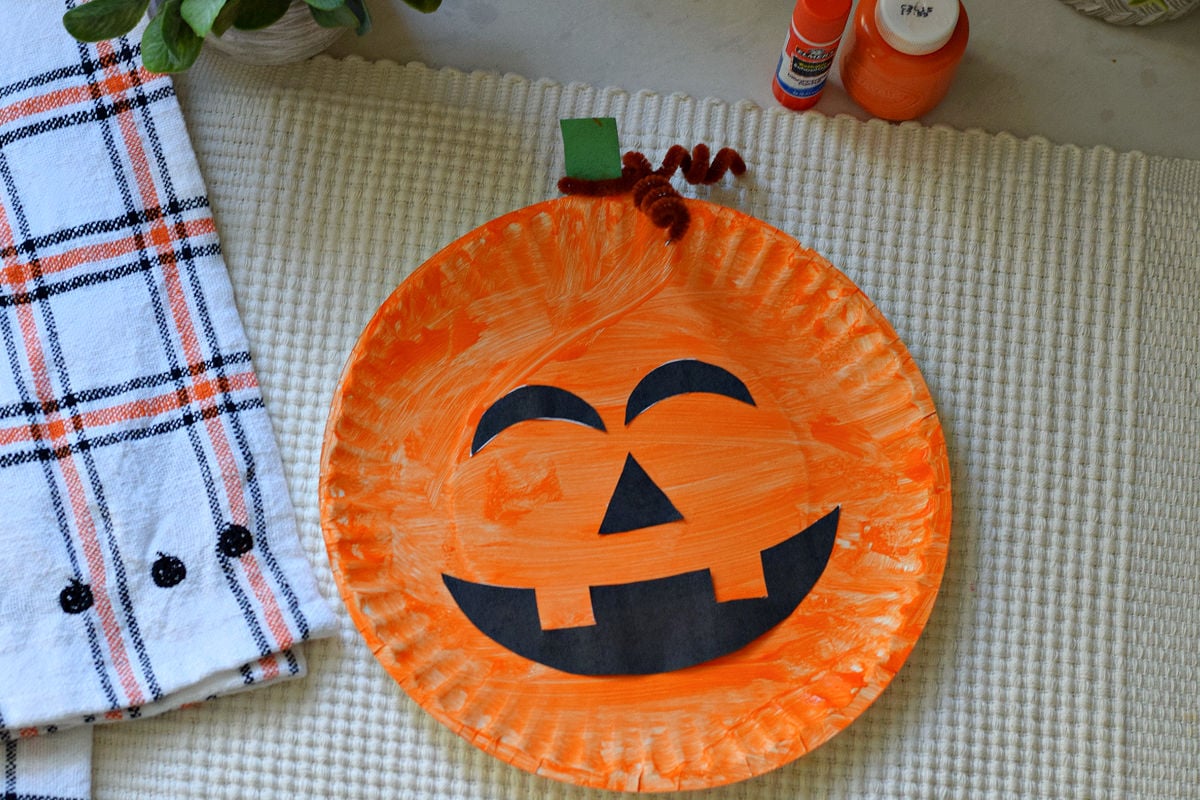
[PHOTO: DSC_0241.JPG — ALT: Orange paper plate jack o lantern with black printable face cutouts, a green paper stem, and a brown pipe cleaner curl.]
Why You’ll Love This Paper Plate Pumpkin Craft
- Simple supplies: A paper plate, paint, paper, and a few basic craft supplies.
- Mix-and-match faces: Kids can choose their own combination of eyes, a nose, and a mouth.
- Cutting and gluing: Plenty of opportunities to practice using scissors and arranging shapes.
- An optional finishing touch: Add a curly vine or keep the pumpkin simple.
- Two printable pages: One page of eyes and noses and one page of mouths.
Supplies for a Paper Plate Pumpkin
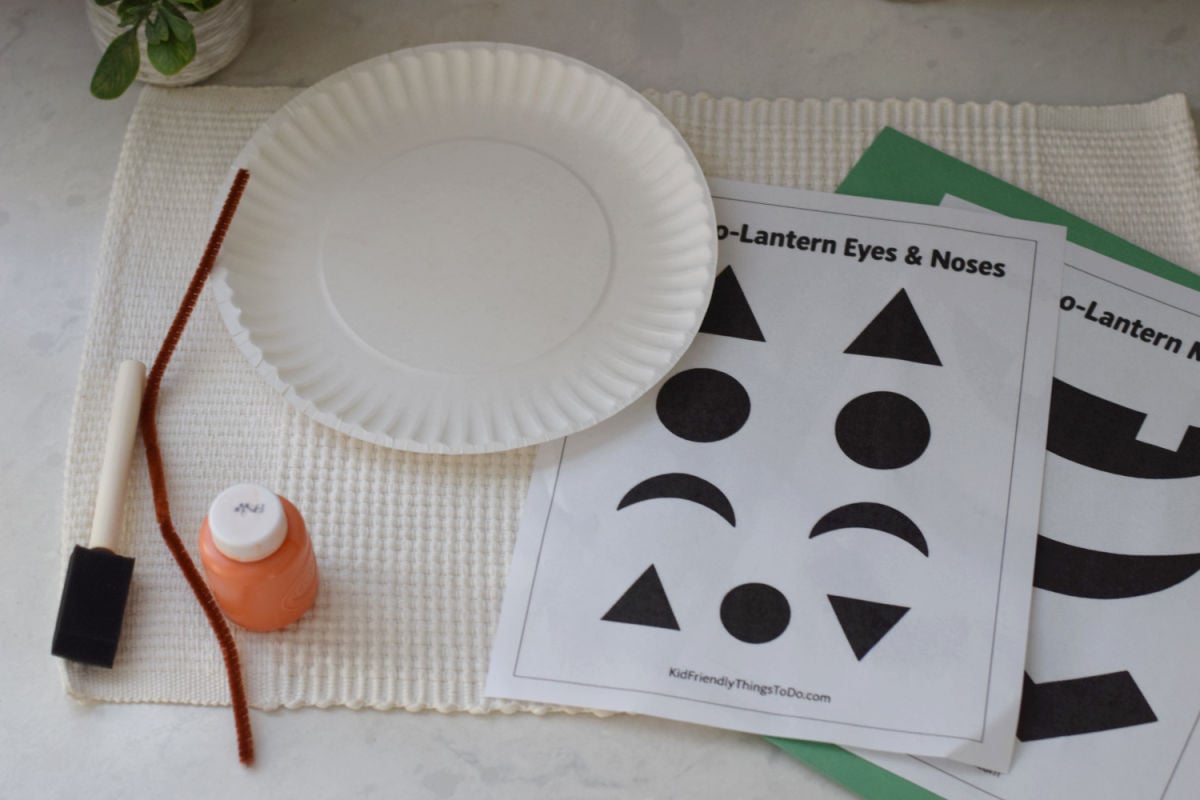
| Supply | What You’ll Use It For |
|---|---|
| 1 regular white paper plate | Pumpkin base |
| Orange washable children’s paint | Painting the plate |
| Foam brush | Applying the paint |
| Printed pumpkin face cutouts | Eyes, nose, and mouth |
| Green paper | Pumpkin stem |
| Glue stick | Attaching the face pieces and paper stem |
| Scissors | Cutting out the face pieces and stem |
| 1 brown pipe cleaner, optional | Curly pumpkin vine |
| Pencil, optional | Curling the pipe cleaner |
Optional alternatives: The stem can be made from cardstock or craft foam. For the curl, you can use a narrow strip of paper curled around a pencil instead of a pipe cleaner.
Jack O Lantern Faces Printable
These pumpkin faces printable sheets include separate pieces so kids can mix and match their own jack o lantern faces.
The two-page set includes:
- Page 1: Eyes and noses.
- Page 2: Mouths.
Choose two eyes, a nose, and a mouth for each pumpkin. You don’t have to use a matching set—combining different pieces is part of the fun!
Download the Printable Jack-O-Lantern Face Shapes
How to Make a Paper Plate Pumpkin Craft
1. Paint the Paper Plate
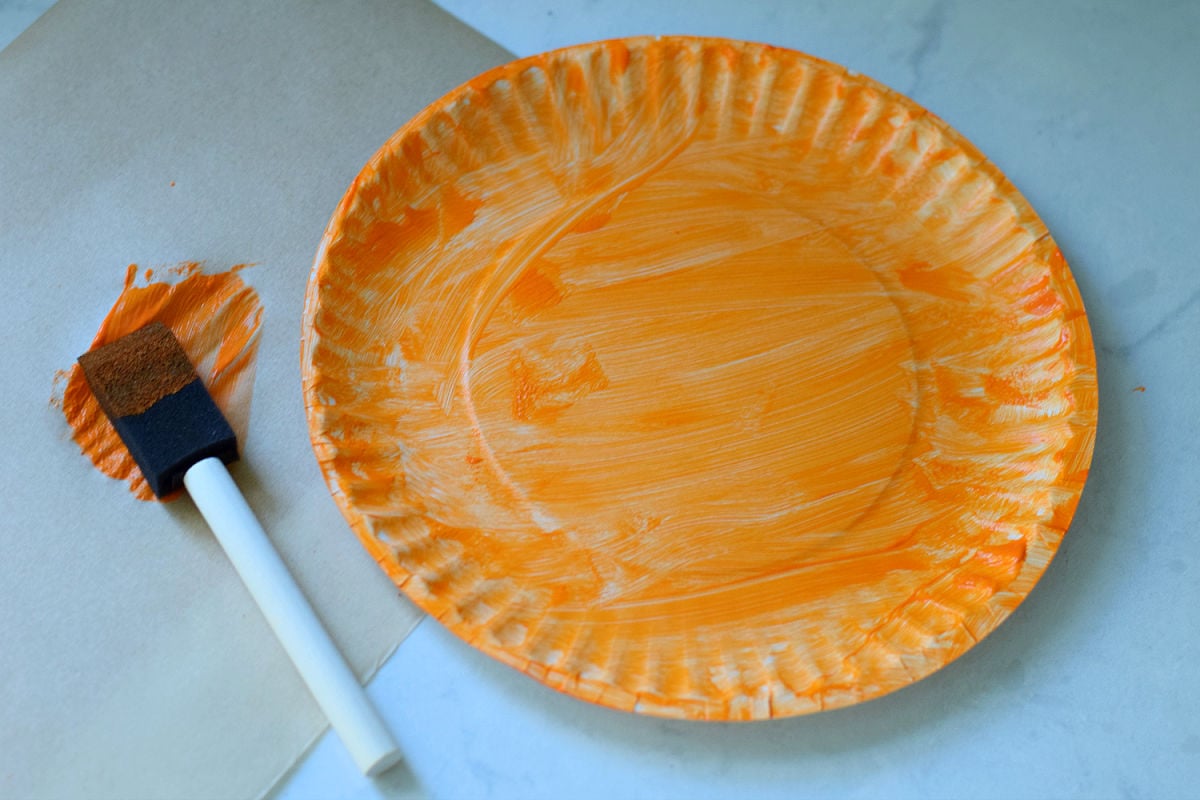
Use a foam brush to paint the white paper plate orange. Let the paint dry before gluing on the paper pieces.
2. Choose and Cut Out the Face Pieces
Print the two template pages. Choose your favorite eyes, nose, and mouth, then cut out the pieces.
Younger children may need help cutting around the shapes.
3. Glue on the Pumpkin Face
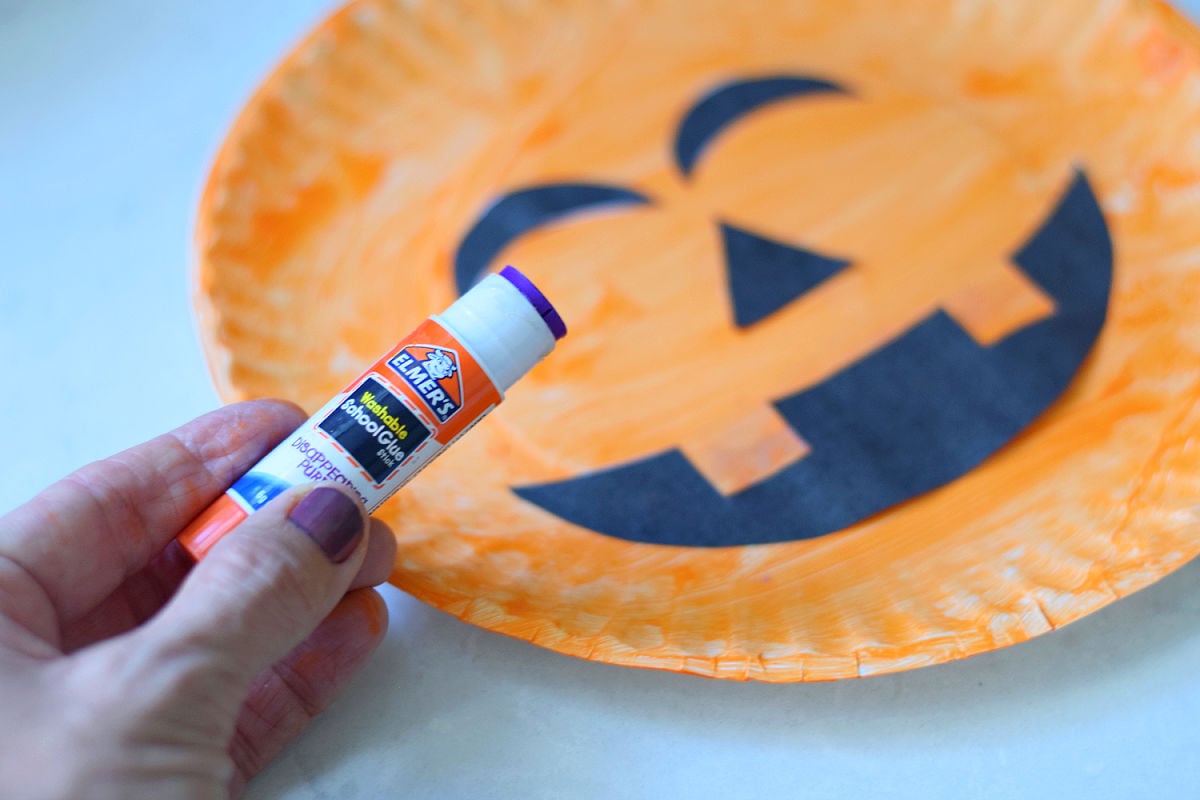
Arrange the pieces on the painted plate to make your jack-o’-lantern face. Once you’re happy with the arrangement, use a glue stick to attach them.
Add the Paper Stem
Cut a stem from green paper. Use a glue stick to attach it at the top of the pumpkin.
Make the Optional Curl
Wrap a brown pipe cleaner around a pencil to make curls, then slide it off. Fold the pipe cleaner in the middle and bend the center over the paper stem.
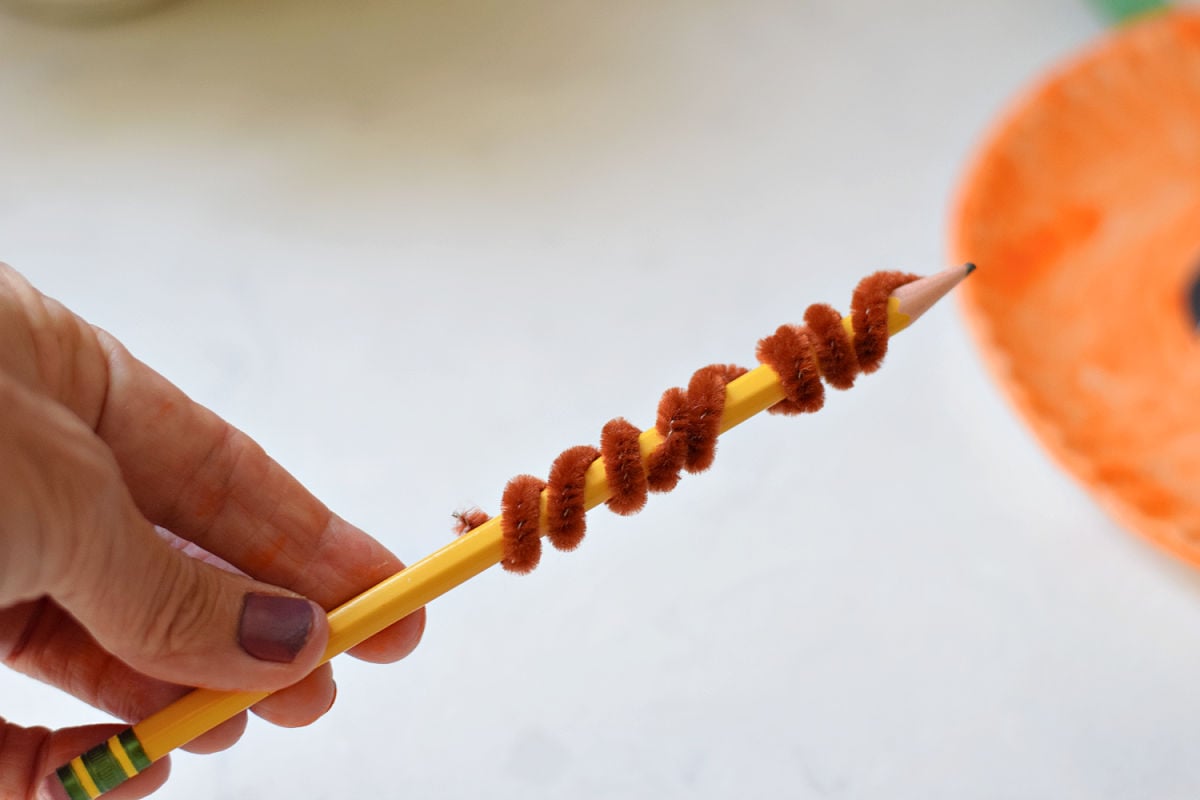
You can also use a narrow strip of paper curled around a pencil, or leave the curl off altogether.
Melissa’s Tips for Making This Pumpkin Craft
- Keep the curl optional. I added it for a little something extra, but it’s the most complicated part for younger kids.
- Help with cutting as needed. There are several face pieces to cut out, so adjust the help you give to each child’s scissors skills.
- Let kids mix and match. They can try different combinations before gluing their favorite face onto the plate.
- Keep the stem simple. I used green paper, but you can choose cardstock or foam for your stem.
Pumpkin Face Template Questions
Where can I get the jack o lantern face template?
You can download both pages in the Jack O Lantern Faces Printable section above. One page includes eyes and noses, and the other includes mouths.
What age is this paper plate pumpkin craft for?
This craft works for pre-K through early elementary. Younger children may need help cutting out the face pieces and making the optional curl.
Do I have to add the curly vine?
No! The curl is an optional finishing touch. You can use a brown pipe cleaner, try a curled paper strip, or leave it off.
What did you use to paint the plate?
I used orange washable children’s paint and a foam brush on a regular white paper plate.
More Halloween Crafts for Kids
Keep the pumpkin fun going with these crafts:
- Paper Bag Pumpkin Craft
- Apple Stamping Pumpkin Craft
- Bubbling Witch Cauldron Craft
- Frankenstein Bubbling Baking Soda Science Experiment
Which face pieces did your kids choose? Leave a comment below—I’d love to hear about your paper plate pumpkins!
I’d Love to Hear From You

If you make this craft, I’d love to hear what you think! Please leave a star rating and comment below to let me know how it turned out. I love hearing from you, and your ratings help other readers find and enjoy the craft, too!
Paper Plate Jack O Lantern Craft
Equipment
- foam paint brush
- Scissors
- Pencil
Materials
- 1 regular white paper plate
- Orange washable children’s paint
- Printed jack o lantern face pieces: 2 eyes 1 nose, and 1 mouth
- Green paper for the stem
- Glue stick
- 1 brown pipe cleaner optional
Instructions
- Paint the paper plate orange with a foam brush. Let dry.
- Choose and cut out two eyes, a nose, and a mouth from the printable.
- Arrange the face pieces on the plate and attach them with a glue stick.
- Cut a stem from green paper and glue it to the top of the pumpkin.
- For an optional curl, wrap a brown pipe cleaner around a pencil and slide it off. Fold it in the middle and bend the center over the stem.
Notes
- Younger children may need help cutting and curling the pipe cleaner.
- The curl is optional. A narrow strip of paper curled around a pencil is another option.
- Cardstock or craft foam can be used for the stem.
Printable Craft Card
Name: Paper Plate Jack O Lantern Craft
Description: Paint a white paper plate orange and decorate it with mix-and-match pumpkin face cutouts, a green paper stem, and an optional curly vine.
Yield: 1 paper plate jack o lantern
Materials:
- 1 regular white paper plate
- Orange washable children’s paint
- Printed jack o lantern face pieces: 2 eyes, 1 nose, and 1 mouth
- Green paper for the stem
- Glue stick
- 1 brown pipe cleaner, optional
Tools:
- Foam brush
- Scissors
- Pencil, optional
Instructions:
- Paint the paper plate orange with a foam brush. Let dry.
- Choose and cut out two eyes, a nose, and a mouth from the printable.
- Arrange the face pieces on the plate and attach them with a glue stick.
- Cut a stem from green paper and glue it to the top of the pumpkin.
- For an optional curl, wrap a brown pipe cleaner around a pencil and slide it off. Fold it in the middle and bend the center over the stem.
Notes:
- Younger children may need help cutting and curling the pipe cleaner.
- The curl is optional. A narrow strip of paper curled around a pencil is another option.
- Cardstock or craft foam can be used for the stem.