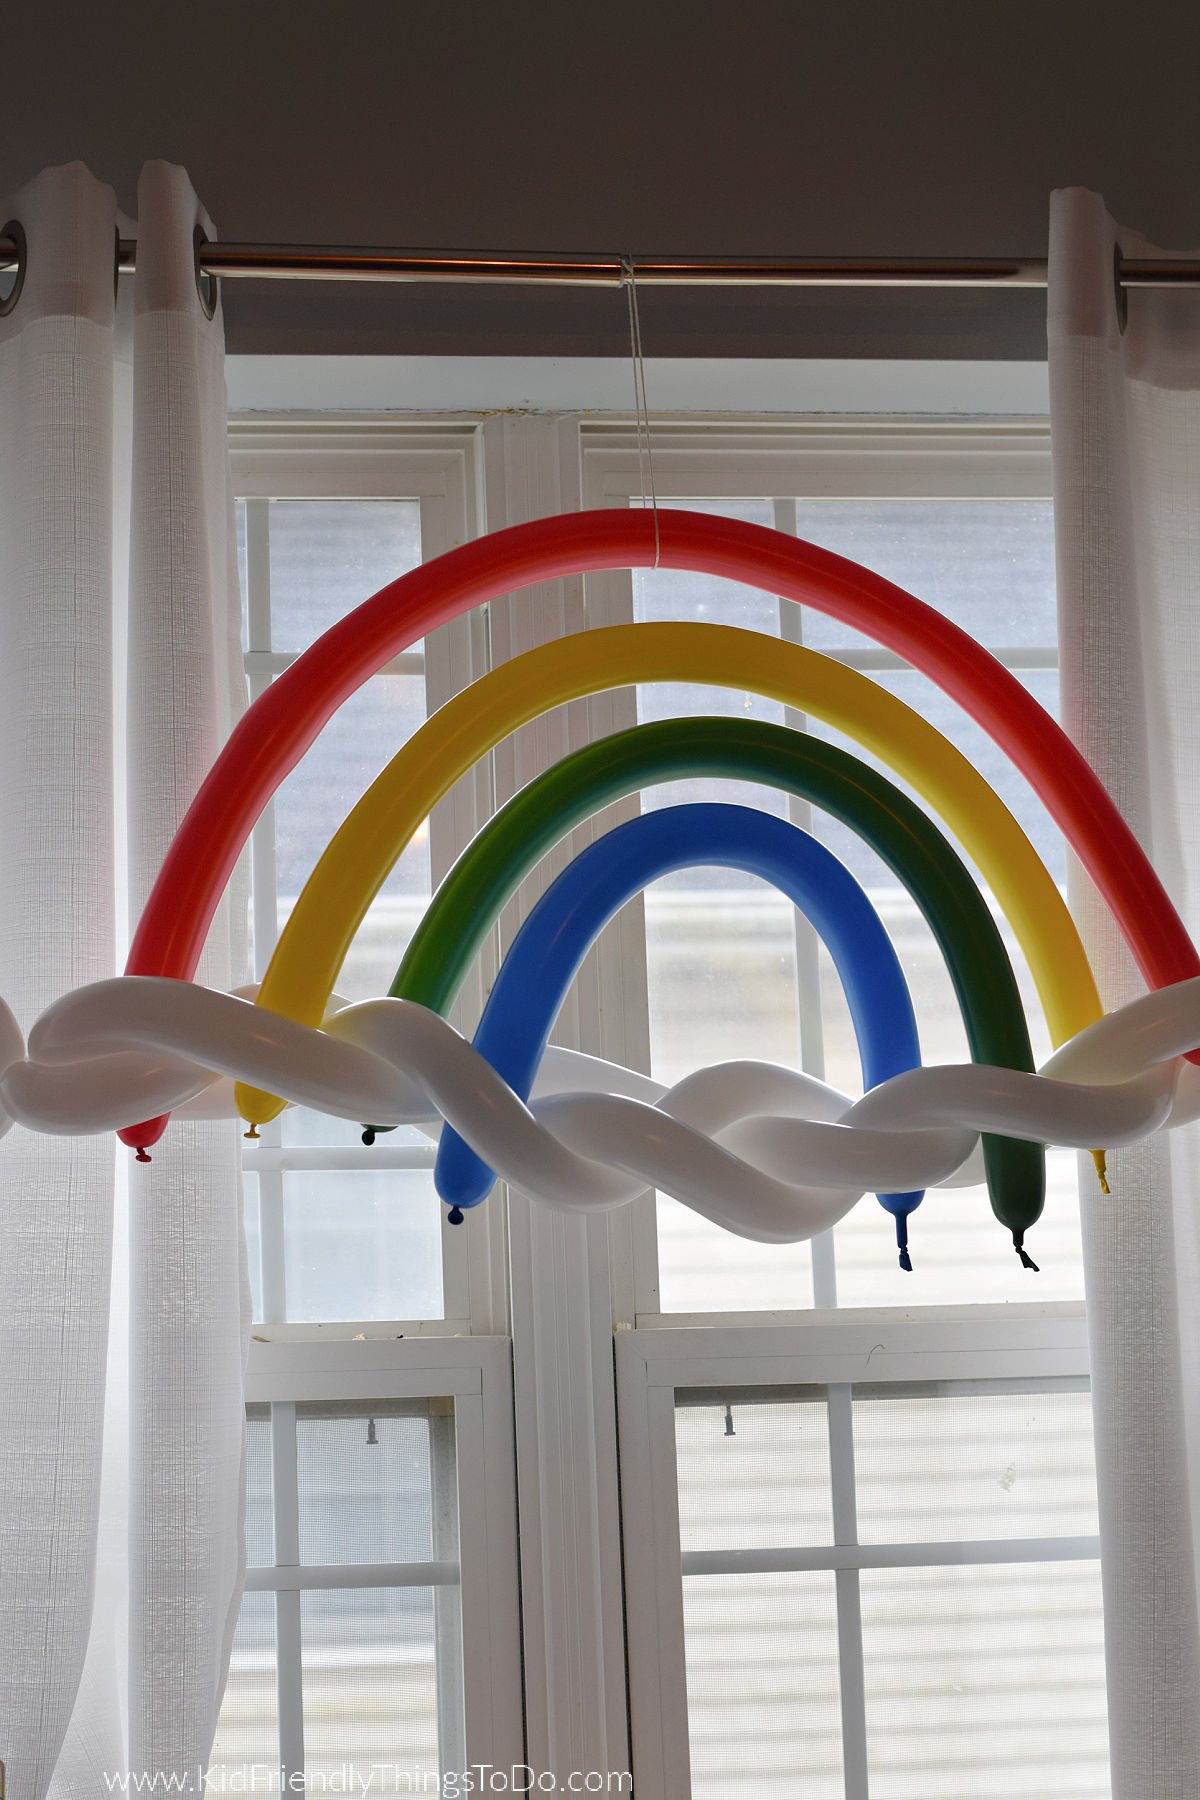
How to Make a Rainbow-Shaped Balloon
This post may contain affiliate links – please read my disclosure statement.
Make this rainbow balloon for your next rainbow party, spring, or summer celebration. A fun way to celebrate a birthday or make someone’s day with a colorful rainbow balloon.
This post may contain affiliate links. As an Amazon Associate, I earn a small commission from qualifying purchases. See my disclosure policy to read more. Adult supervision is required for each step of activities, recipes, crafts, and games with children. Small parts are a choking hazard.
How to Make a Rainbow Balloon
I love to create fun crafts like this one for the kid’s birthdays and holiday celebrations. Rainbows make everyone happy, so through the years, we’ve made several rainbow crafts like this rainbow fruit loop necklace, rainbow fruit loop friendship bracelet, and a paper plate rainbow with a pot of gold
These Rainbow Balloons give a nice touch to a St. Patrick’s Day table or a fun way to celebrate at a rainbow-themed party. When my oldest turned ten, I made these for everyone at the party and placed them above their chairs at the table. Each little girl got to take a rainbow balloon home with her. If you do this, write their names in marker under the cloud. As they look up, they’ll see their name, know where to sit, and immediately know one of these is going home with them.
Supplies You’ll Need
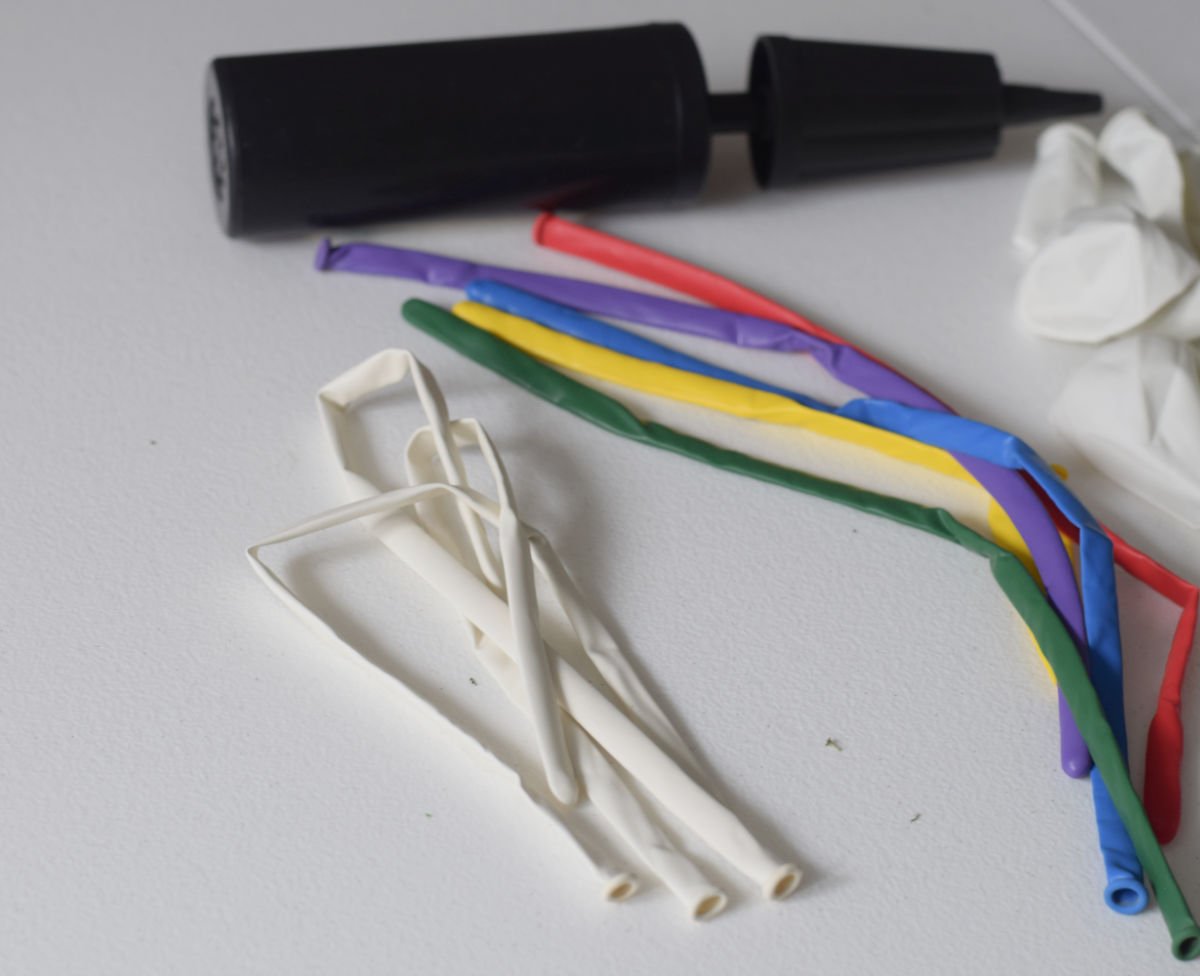
White Twisting Balloons – I have purchased my twisting balloons at a local party supply store and online. I purchased a large multicolored bag, which had plenty of white balloons. I’ve also ordered them online. You can choose a bag of specific colors.
Variety of Colorful Twisting Balloons – For the rainbow. You’ll want three or four colors per rainbow balloon.
Extra Equipment
Balloon Pump – This is in any party section of stores. Right next to the balloons
Instructions:
Blow up three white balloons to the end and tie them closed
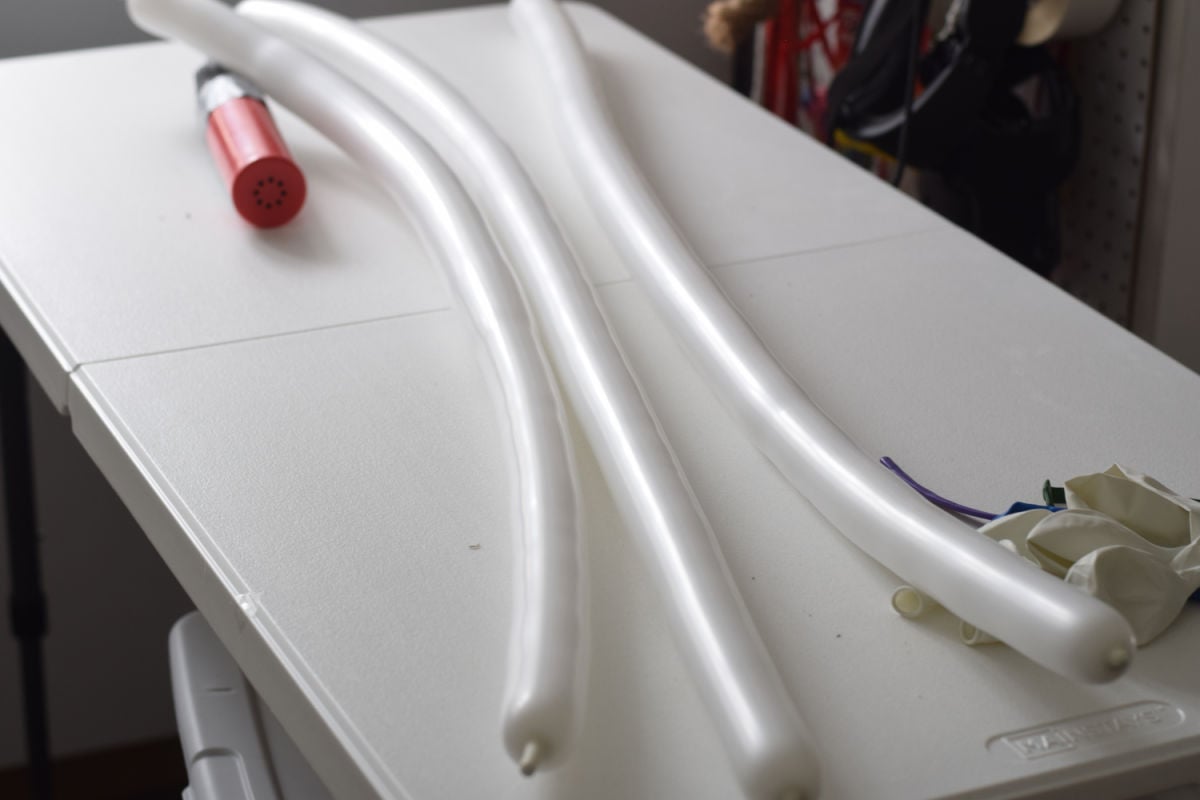
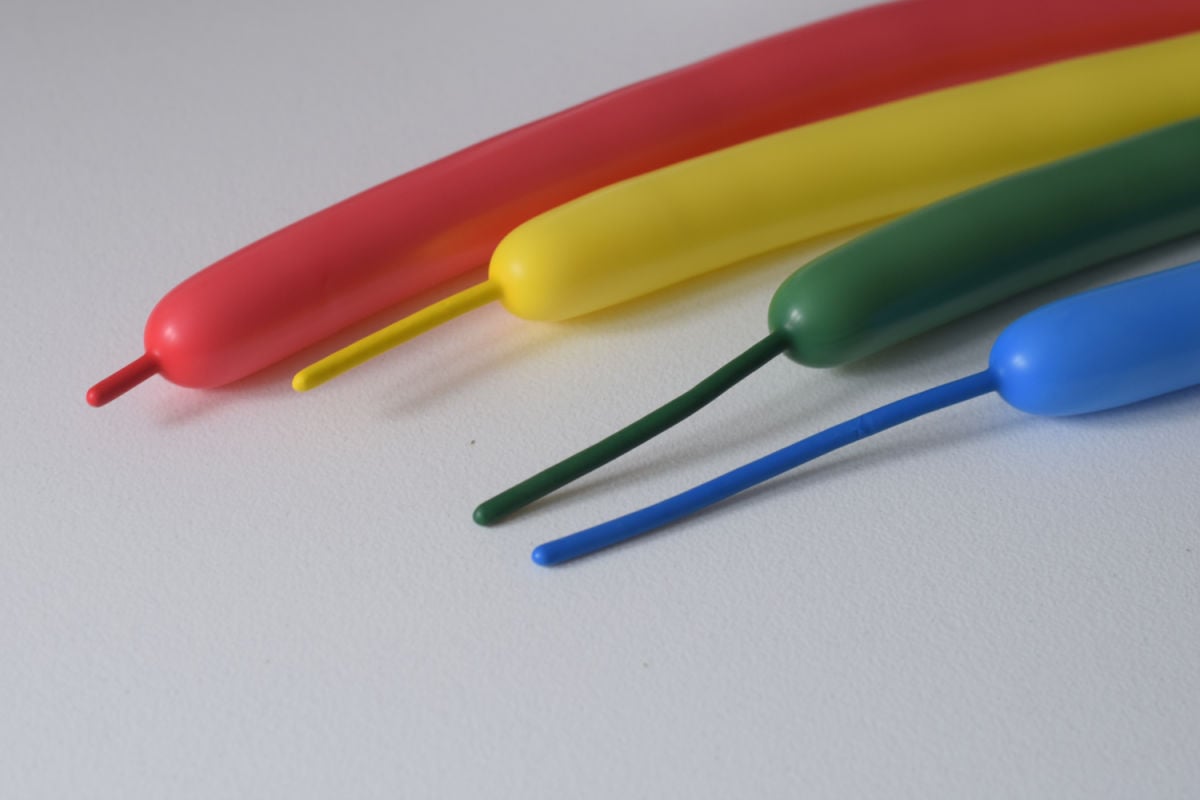
Blow up four colorful balloons in descending lengths. I blew the red one up to four feet, the yellow to three feet, the green to two feet, and the last one, which was blue, up to one foot. These are approximate lengths.
Take the three white balloons and set them all side-by-side. Twist the ends together one end.
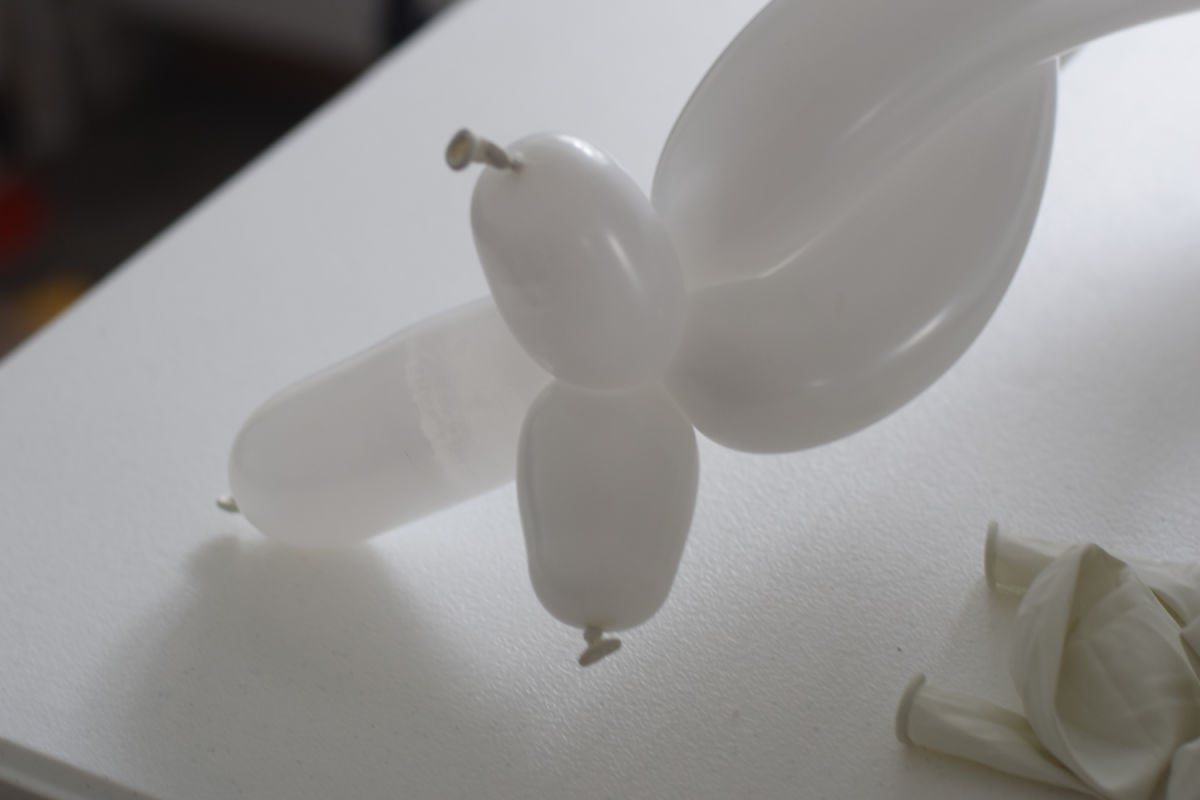
Somewhat loosely braid the balloons and twist them at the other end. I say to make it somewhat loose because if you braid it too tight and squeeze balloons into the braided balloons, one is bound to pop from too much pressure.

Add your longest colorful balloon by tucking it into the spaces between the braid on both ends.
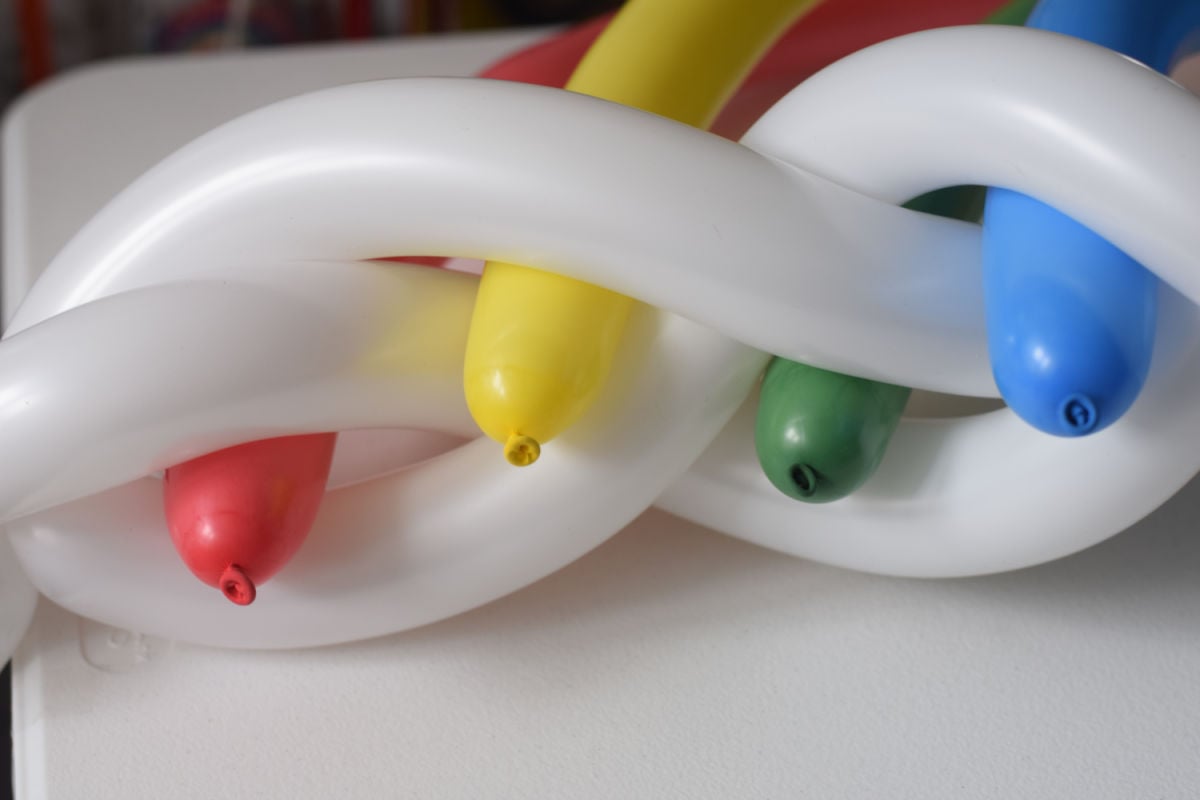
Add the next longest balloon just inside the long one
Continue until all four balloons are arches tucked into the braided cloud
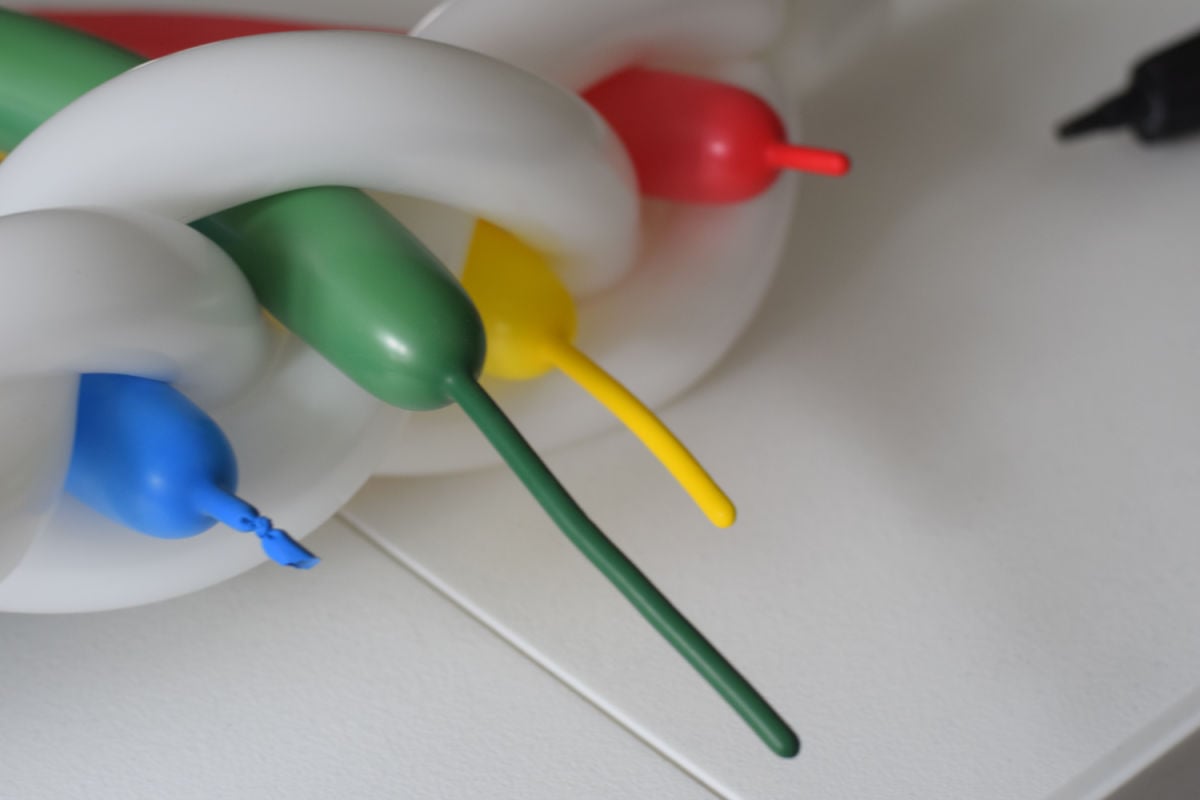
You can tie a knot into the ends with excess empty balloon ends and cut it under the knot
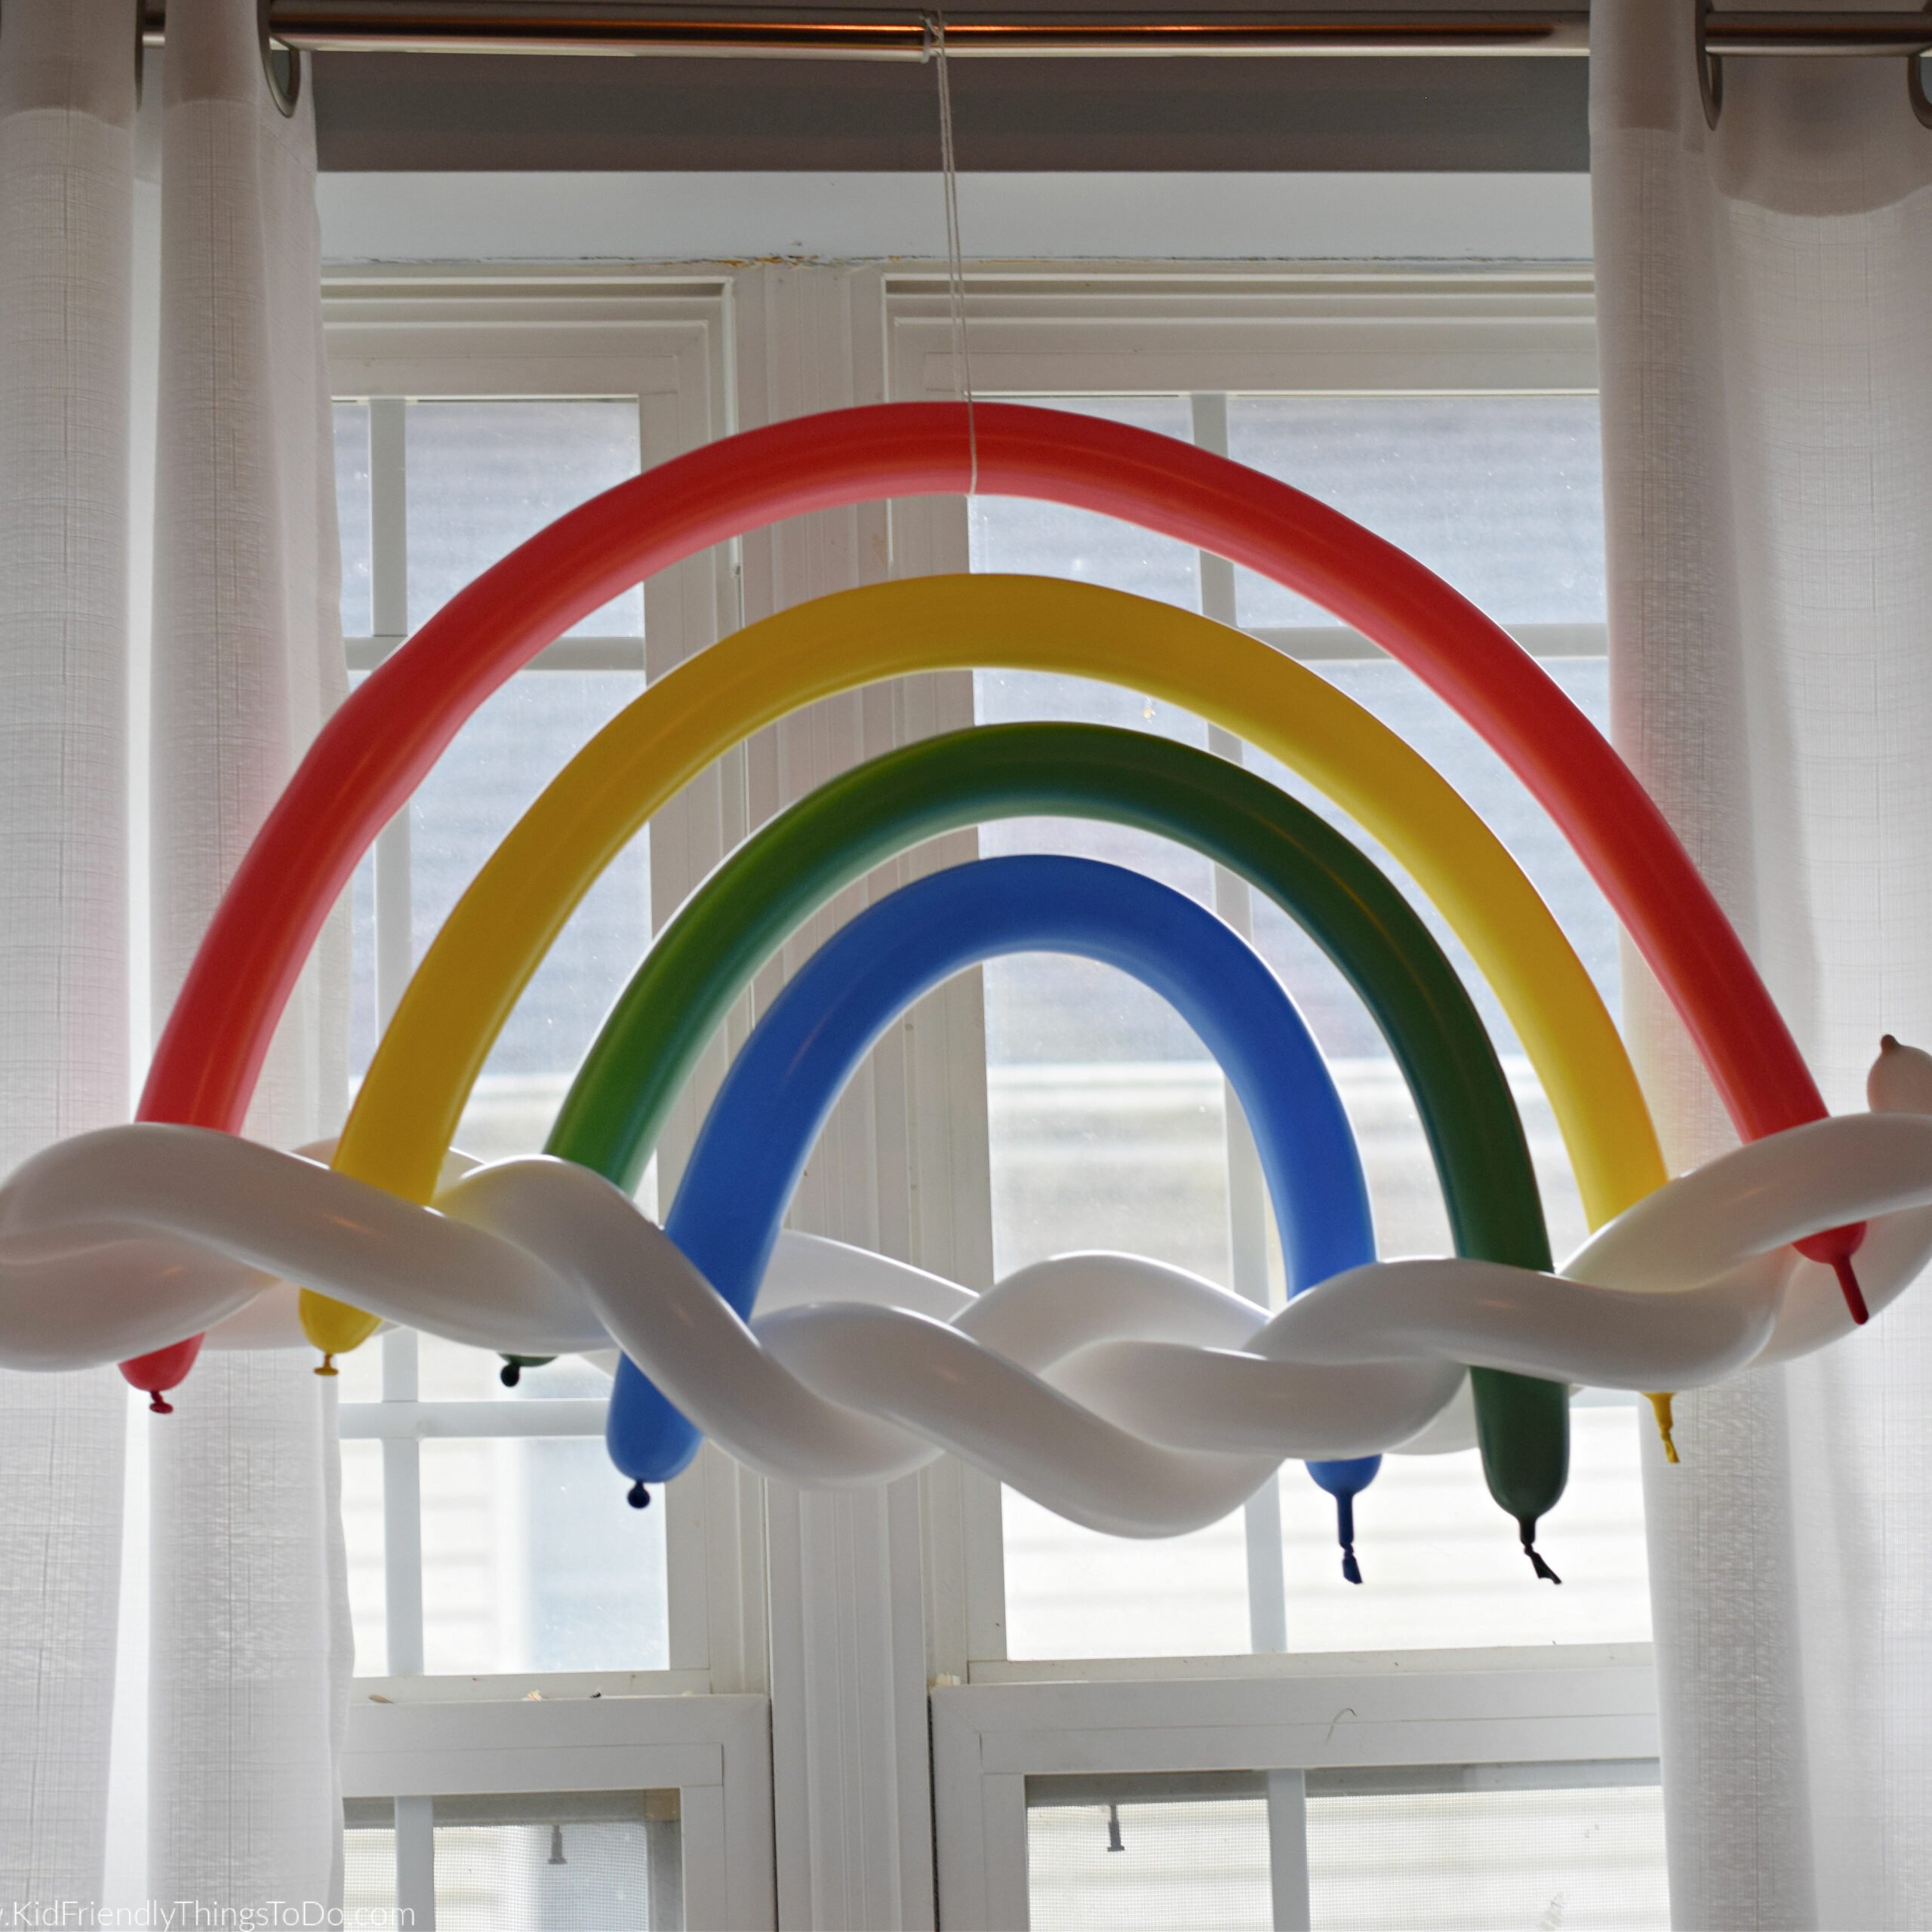
I have tried to hide the pieces pushing through with little white balloons, but it ended up being more work than it was worth, so I leave it as is, and you know what? It makes me smile every time I walk up to my craft room. I say keep it simple.
Expert Tips
*After I did a couple of rainbows, I taught myself a little shortcut.
Years ago, I only used three balloons as my rainbow. I took out my three rainbow colors. I blew one up to 4 ft, one to 3, and one to 2 ft. With the excess balloon tip, I tied a knot nearest the balloon and cut the excess off. Then I just stuck them in the cloud, 1,2,3.
Colors of the Rainbow
I have always had to recall the name Roy G. Biv, which stands for Red, Orange, Yellow, Green, Blue, Indigo, and Violet
More Rainbow Ideas You’ll Love
Over 13 St. Patrick’s Day Crafts
Let’s Hang Out
Printable Instructions
How to Make a Rainbow-Shaped Balloon
Equipment
- 1 balloon pump
Materials
- 3 white twisting balloons
- 4 colorful twisting balloons
Instructions
- Blow up three white balloons to the end and tie them closed
- Blow up four colorful balloons in descending lengths. I blew the red one up to four feet, the yellow to three feet, the green to two feet, and the last one, which was blue, up to one foot. These are approximate lengths.
- Take the three white balloons and set them all side-by-side. Twist the ends together one end.
- Somewhat loosely braid the balloons and twist them at the other end. I say to make it somewhat loose because if you braid it too tight and squeeze balloons into the braided balloons, one is bound to pop from too much pressure.
- Add your longest colorful balloon by tucking it into the spaces between the braid on both ends.
- Add the next longest balloon just inside the long one
- Continue until all four balloons are arches tucked into the braided cloud
- You can trim the excess empty balloon parts
~Melissa
KidFriendlyThingsToDo.Com –

