How to Make a Paper Mache Egg
This post may contain affiliate links – please read my disclosure statement.
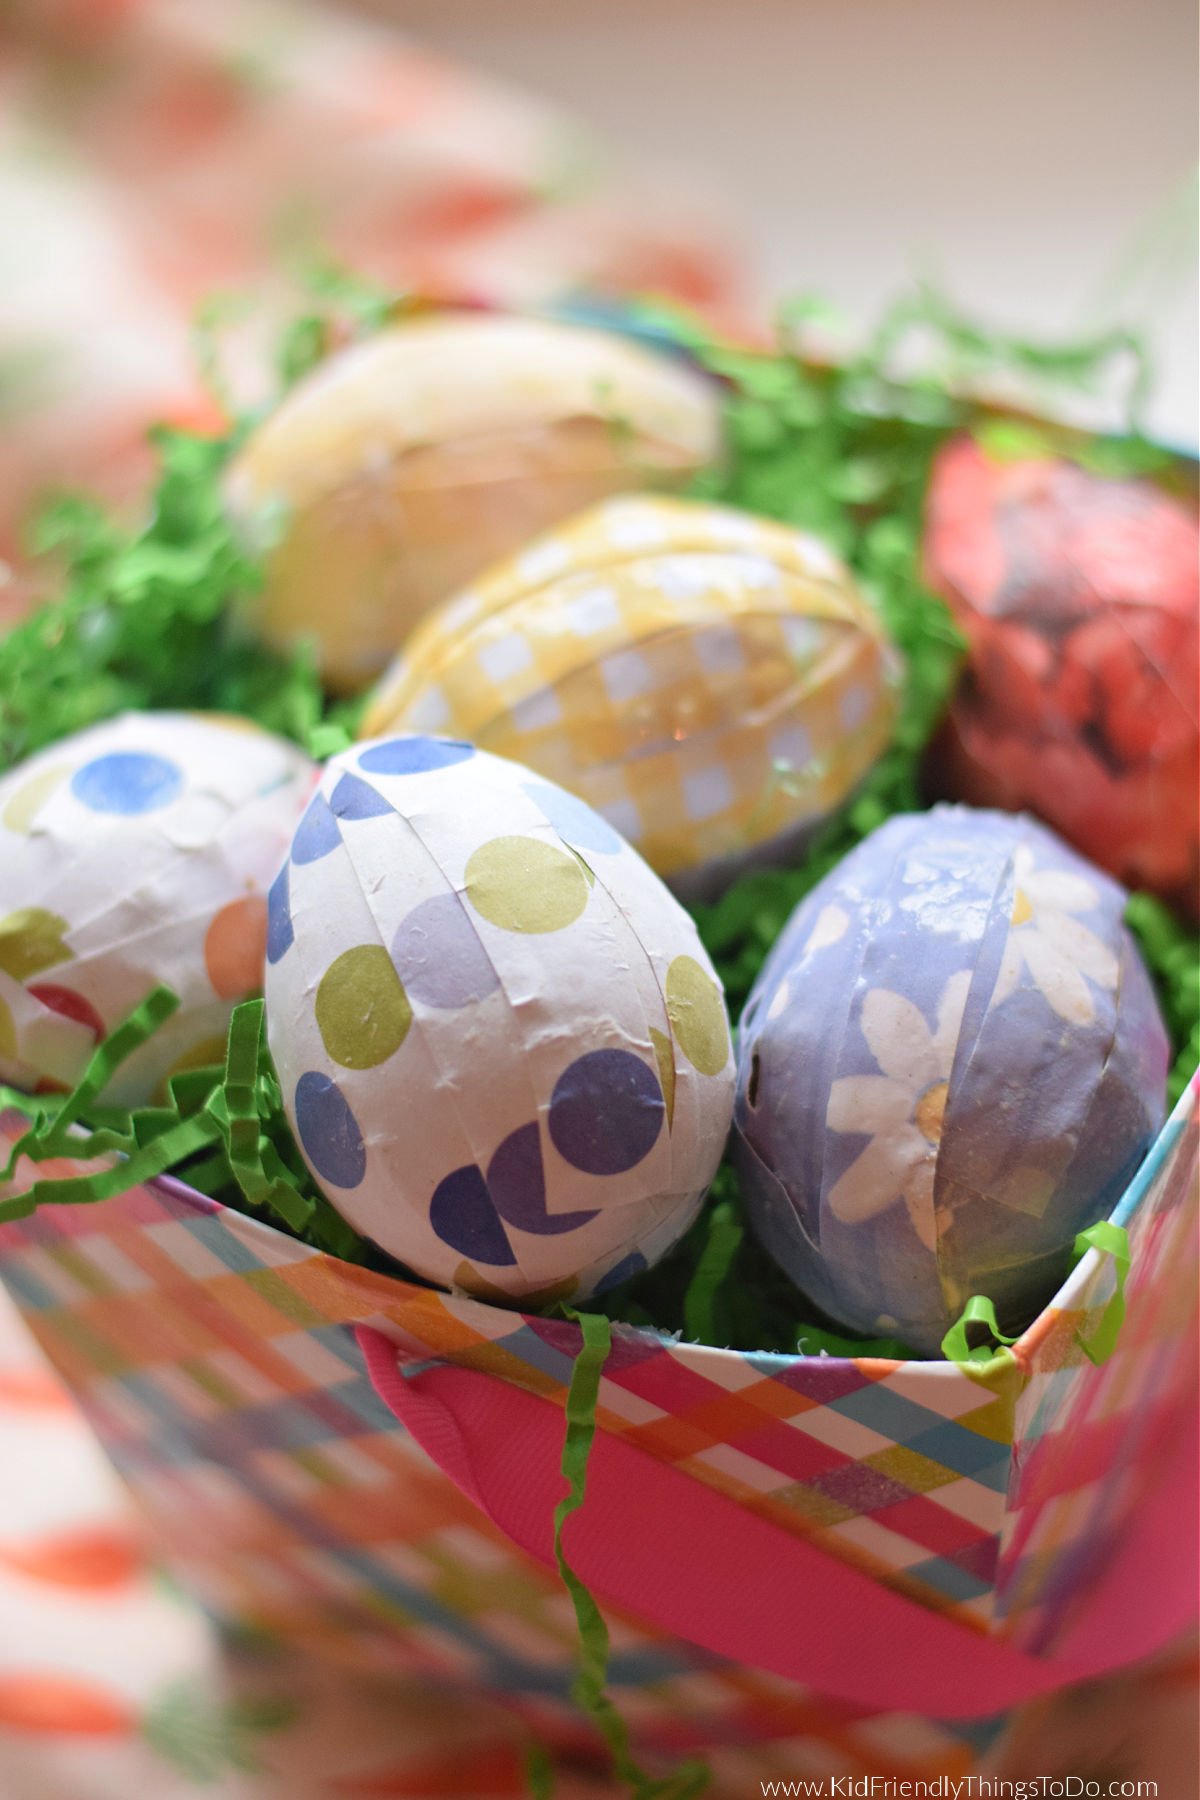
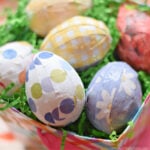
Paper Mache Easter Eggs are a fun craft at Easter Time for kids to help make. These Paper Mache eggs use homemade flour, Paper Mache Paste, and colorful strips of paper to make adorable paper eggs that look so cute on the Easter Tree. It is a fun Easter craft for kids, teens, and adults to make.
This post may contain affiliate links. As an Amazon Associate, I earn a small commission from qualifying purchases. See my disclosure policy to read more. Adult supervision is required for each step of activities, recipes, crafts, and games with children. Small parts are a choking hazard.
Paper Mache Egg Craft
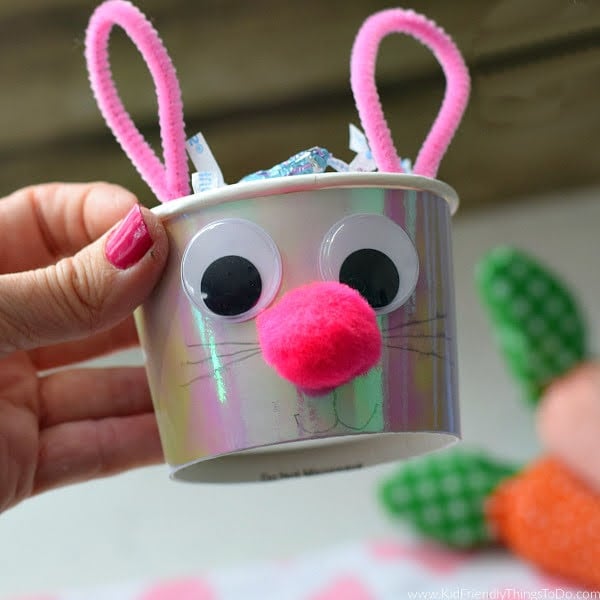
This craft is an old-fashioned craft from my childhood. We were always making fun Easter crafts like this one and these pipe cleaner carrots, pipe cleaner mini baskets for Easter, and Paper Plate crafts like this Paper Plate Chicken Easter Basket. Nostalgiac crafts are the best.
This Easter Egg Craft uses a homemade flour paper mache paste, a no-cook paper mache paste. You can use it on many projects like this Spanish Moss Bird Nest. The paste softens the paper enough to be molded to any shape. I guess you could call this a decoupage craft, a fancy term for gluing stuff on other stuff. Let it dry, make it shiny with a clear coating, and display it proudly around the house. You’ll have one-of-a-kind paper mache eggs that will last for years and years.
What You’ll Love About this Easter Craft for Kids
- This craft has a flour paste recipe that you can use for many craft ideas with the kids.
- It is an easy craft for kids to make
- This Easter Egg craft looks adorable as Easter decorations
Supplies Needed
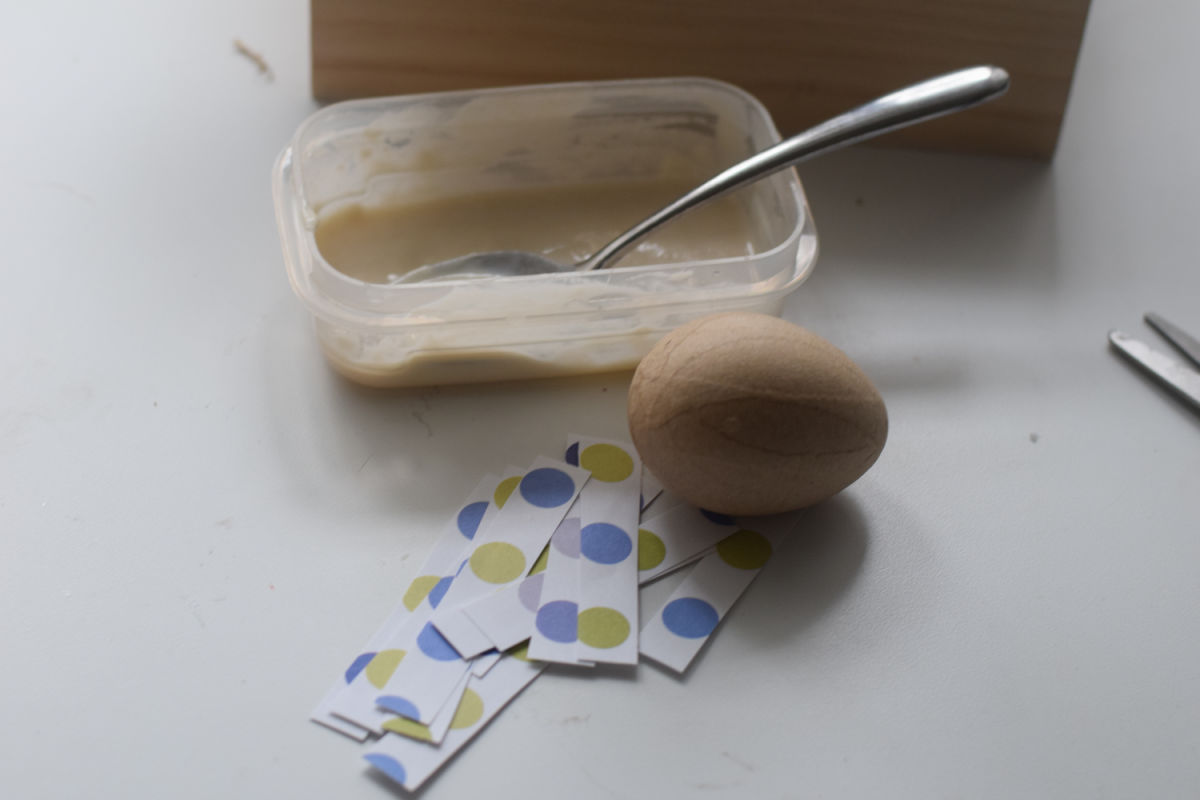
- An egg mold – I used paper eggs, but you can use old plastic eggs taped together or a little balloon blown up to resemble the shape of a small egg.
- Paper Strips – I like to use colorful cardstock, but I recently found these beautiful decoupage vintage Easter paper sheets. They would look amazing!
- Ribbon – this will be used to hang the egg
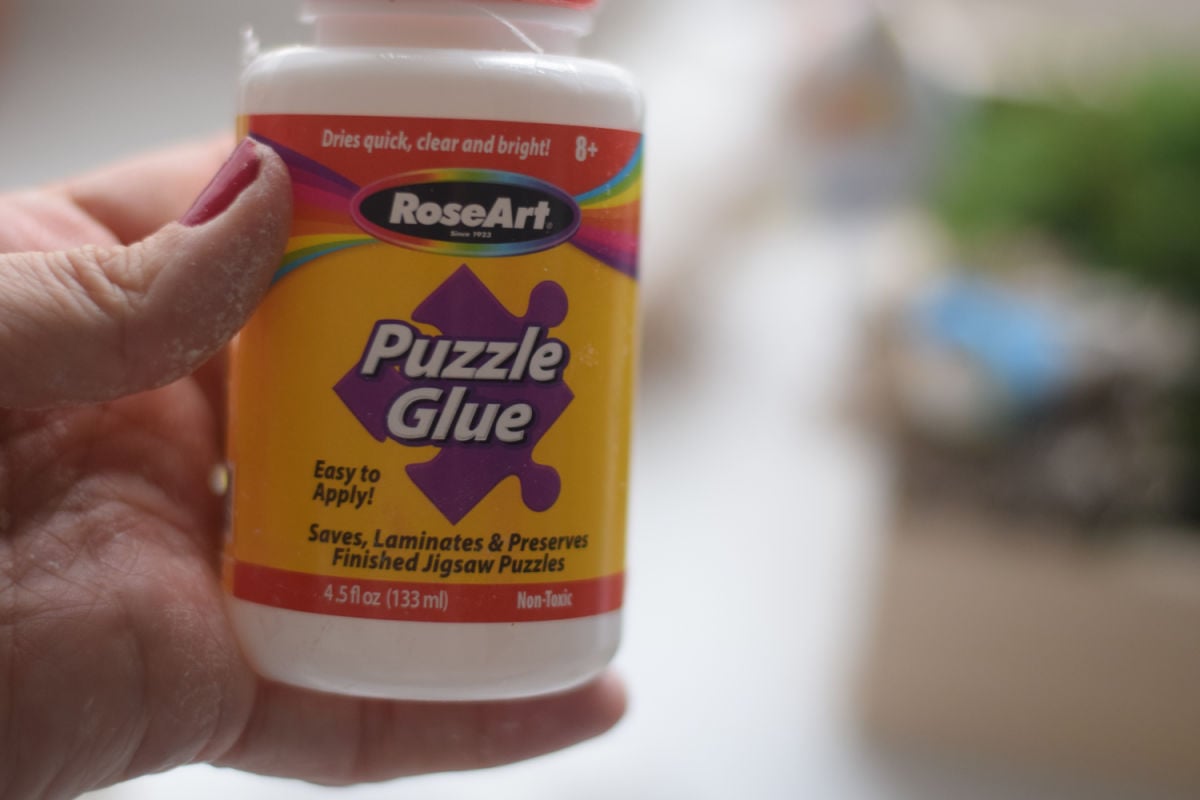
- Clear Coat – I used puzzle glue. It dries fast and makes a shiny coating. I have also used a spray coating that I found at my local craft store.
Paper Mache Paste Supplies
1 Cup of bleached all-purpose flour
1-1/2 cups of water, cold or warm
1/2 Cup of white school glue
Pinch of Salt
Extra Equipment
Mixing bowl
Whisk
Measuring cup
Pinch of salt
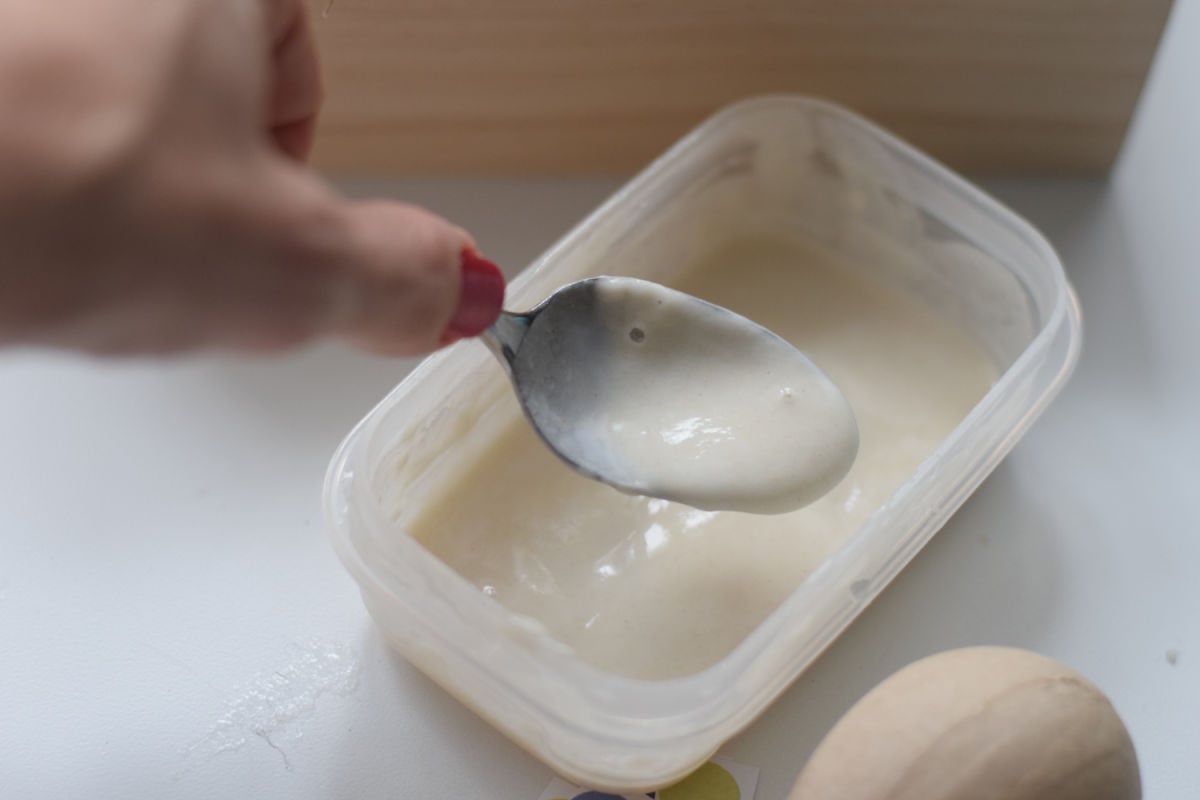
Mix everything to form a syrup-like texture – adding more flour if needed.
Instructions:
- Holding your egg at the top and bottom, dip your first strip of paper into the paste.
- Place the paper on the egg
- Press it down around the edges to mold it to the egg
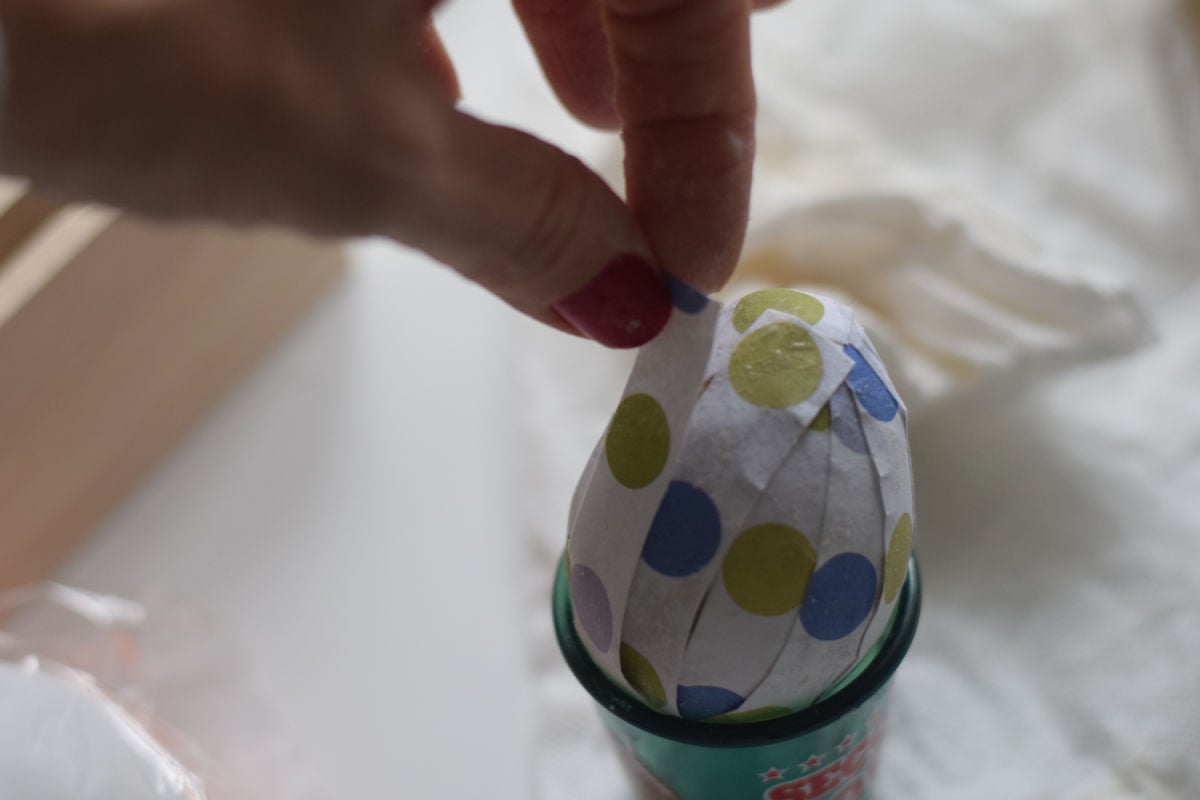
- Keep doing that until you have a couple of layers, filling in gaps and overlaying paper with more paper.
- Place your egg in the shot glass to dry for a day.
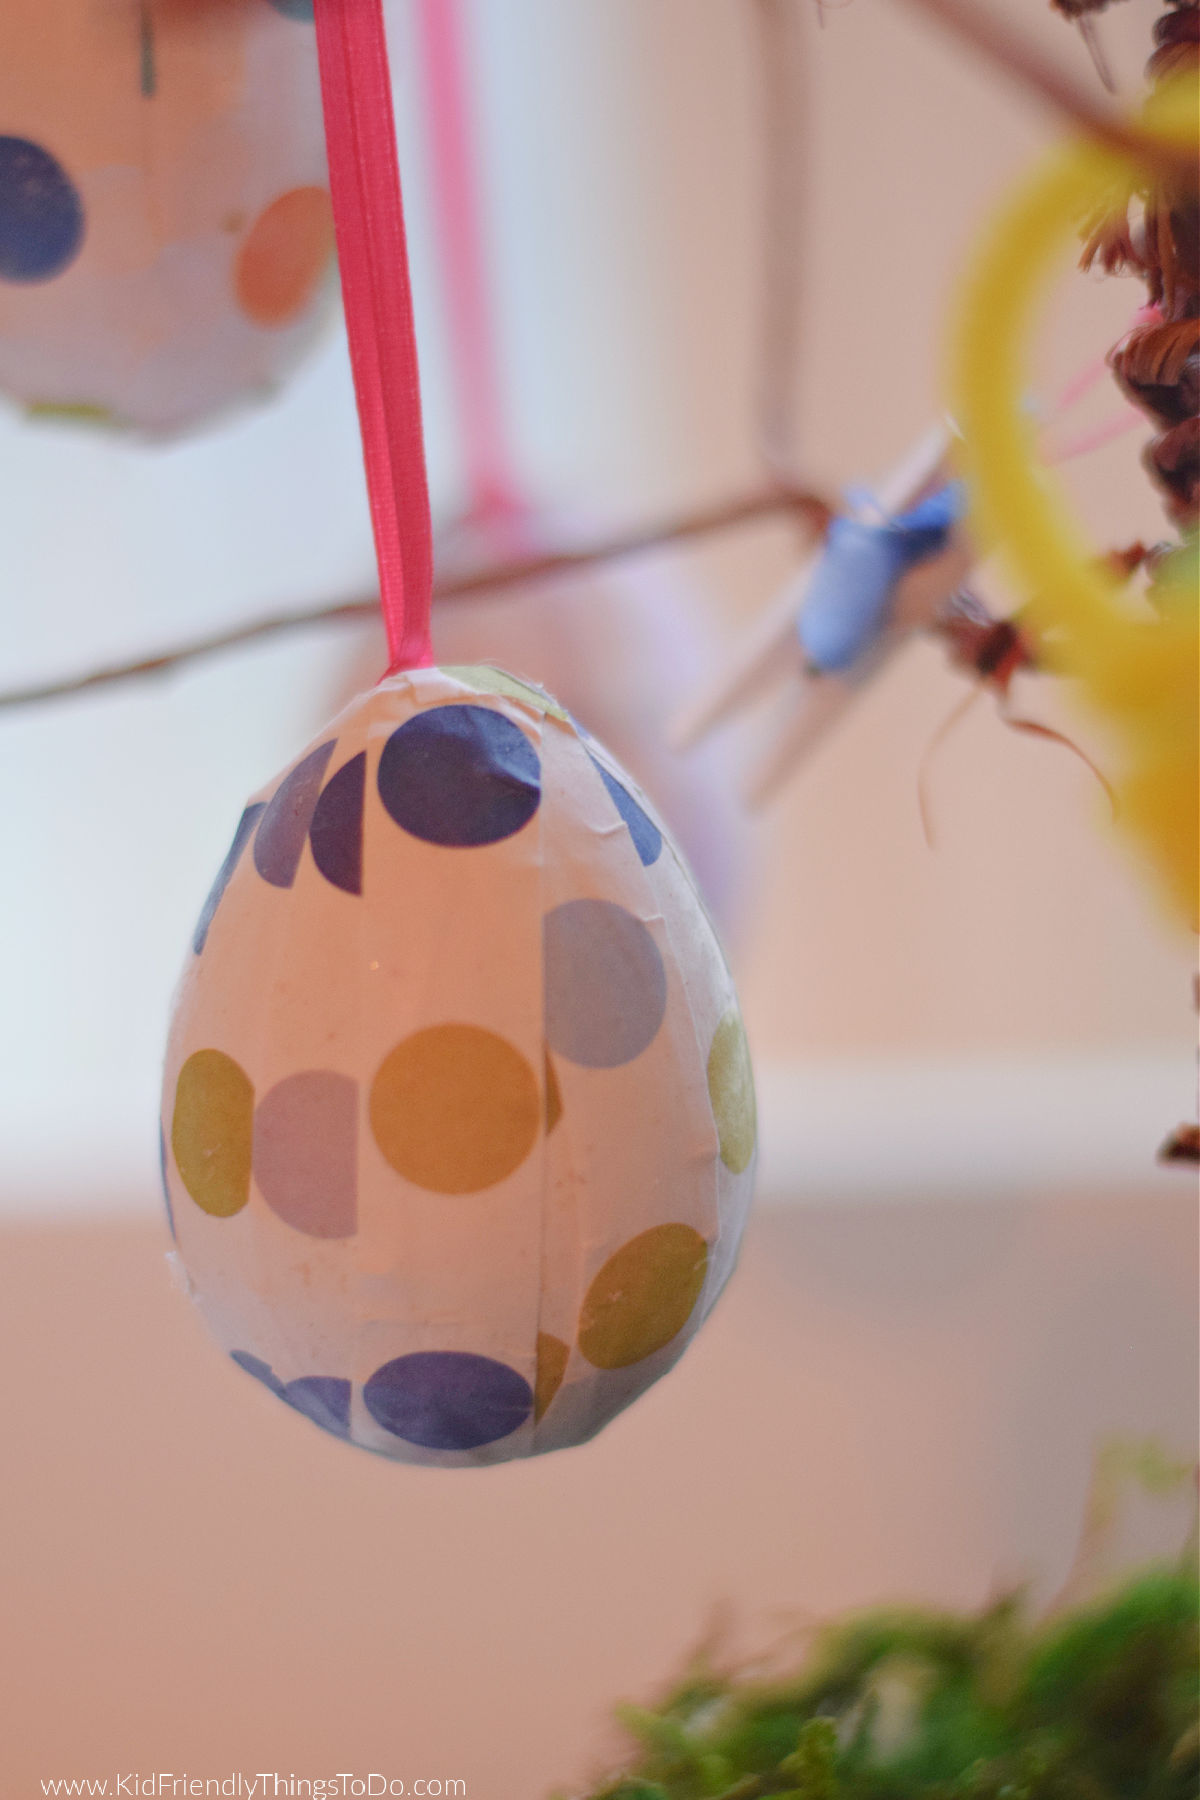
- Spray the dried egg or use a clear glue coating to remove the powdered look and add shine.
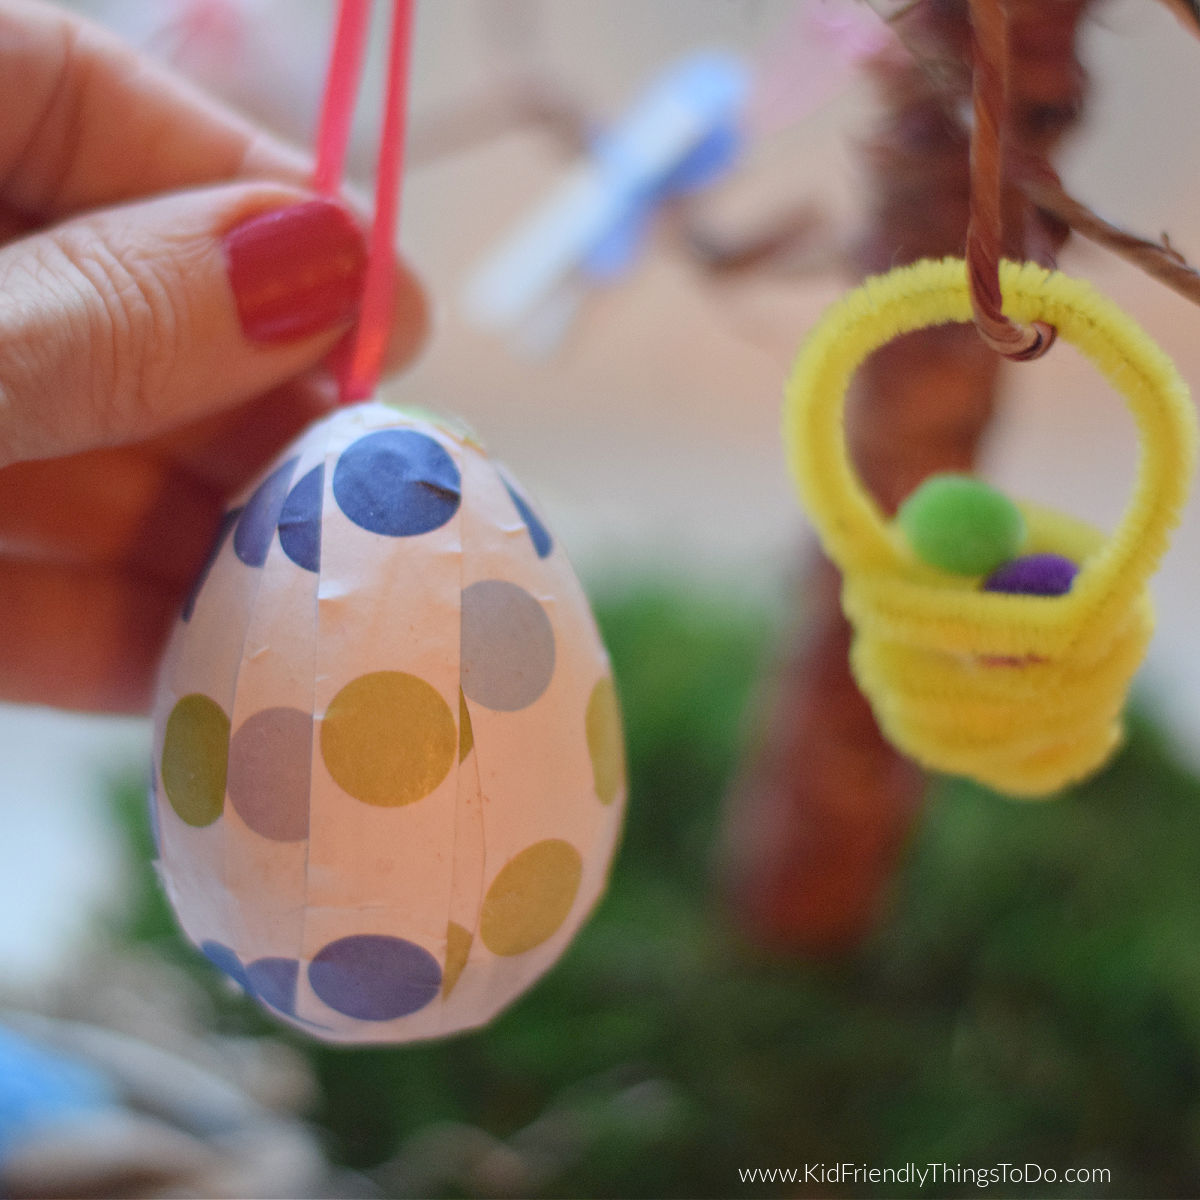
How to Turn Your Egg into an Ornament
- Place your ribbon on the backside while your egg is still wet with paste. You can also wait until it is dry and glue it on.
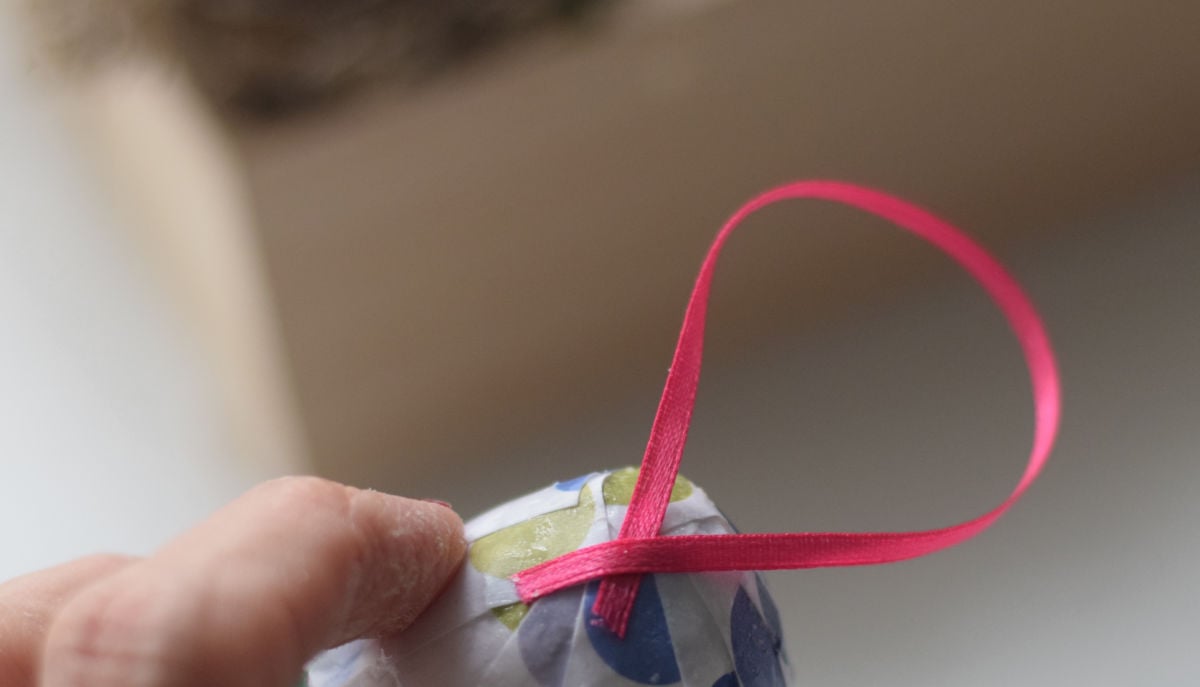
Place it on your Easter Egg Tree for an Easter Display
Expert Tips
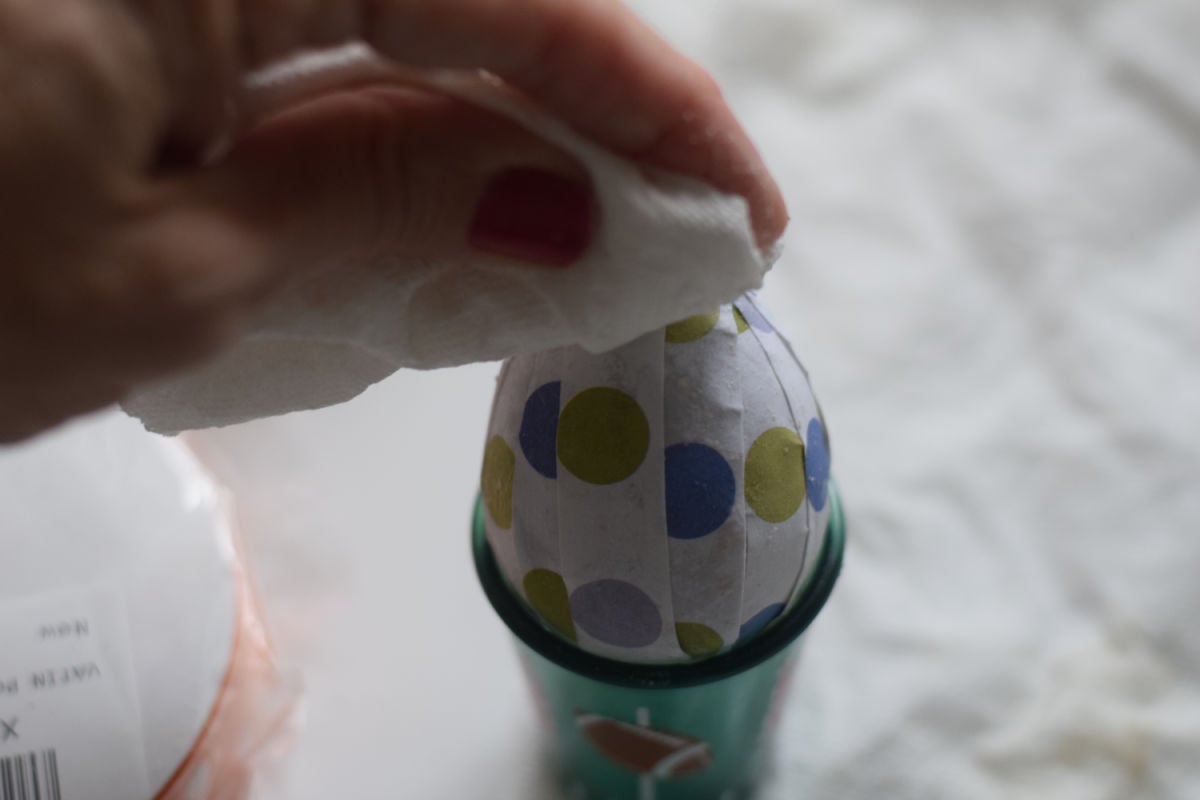
A little tip here when working with kids – The kids love to overdo the paste. If it’s getting too pasty – take a paper towel piece, cradle the egg inside the paper towel – in your hands, and squeeze the excess paste into the towel. Good as new.
FAQs
Among other things, you can make paper bowls and science projects like volcanoes, vases, eggs, and pinatas.
More Easter Crafts You’ll Love

Let’s Hang Out
Printable Instructions
How to Make a Paper Mache Egg
Equipment
- mixing bowl
- whisk
- measuring cup
- Scissors
- shot cups or something similar to let the eggs dry in
Materials
Paper Mache Pase
- 1 cup bleached all-purpose flour
- 1 & ½ cups water, cold or warm
- ½ cup white school glue
- Pinch of salt
Eggs
- Eggs for your mold I used paper eggs, but you can use plastic eggs, or small balloons blown up to resemble a small egg
- sheets colorful cardstock or beautiful decoupage Easter paper. Cut them about 1/4 inch wide and to the lengthof your egg
- ribbon for hanging
Glaze
- clear spray glaze or puzzle glue
Instructions
Paste
- Mix everything to form a syrup-like texture – adding more flour, if needed
Applying Paper Strips
- Holding your egg at the top and bottom, dip your first strip of paper into the paste.
- Place the paper on the egg – going from top to bottom.
- Keep doing that until you have a couple of layers, filling in gaps, and overlaying paper with more paper
- Dab the paper mache eggs with a paper towel to absorb any excess paste. If you need to dampen the paper towel
- Place your eggs in the shot cups to dry for a day
- While your eggs are in the cups and wet with paste, add the ribbon for hanging. You can also glue ribbon after it has dry
- Spray the dried egg with the clear glaze to remove the powdered look and add shine.