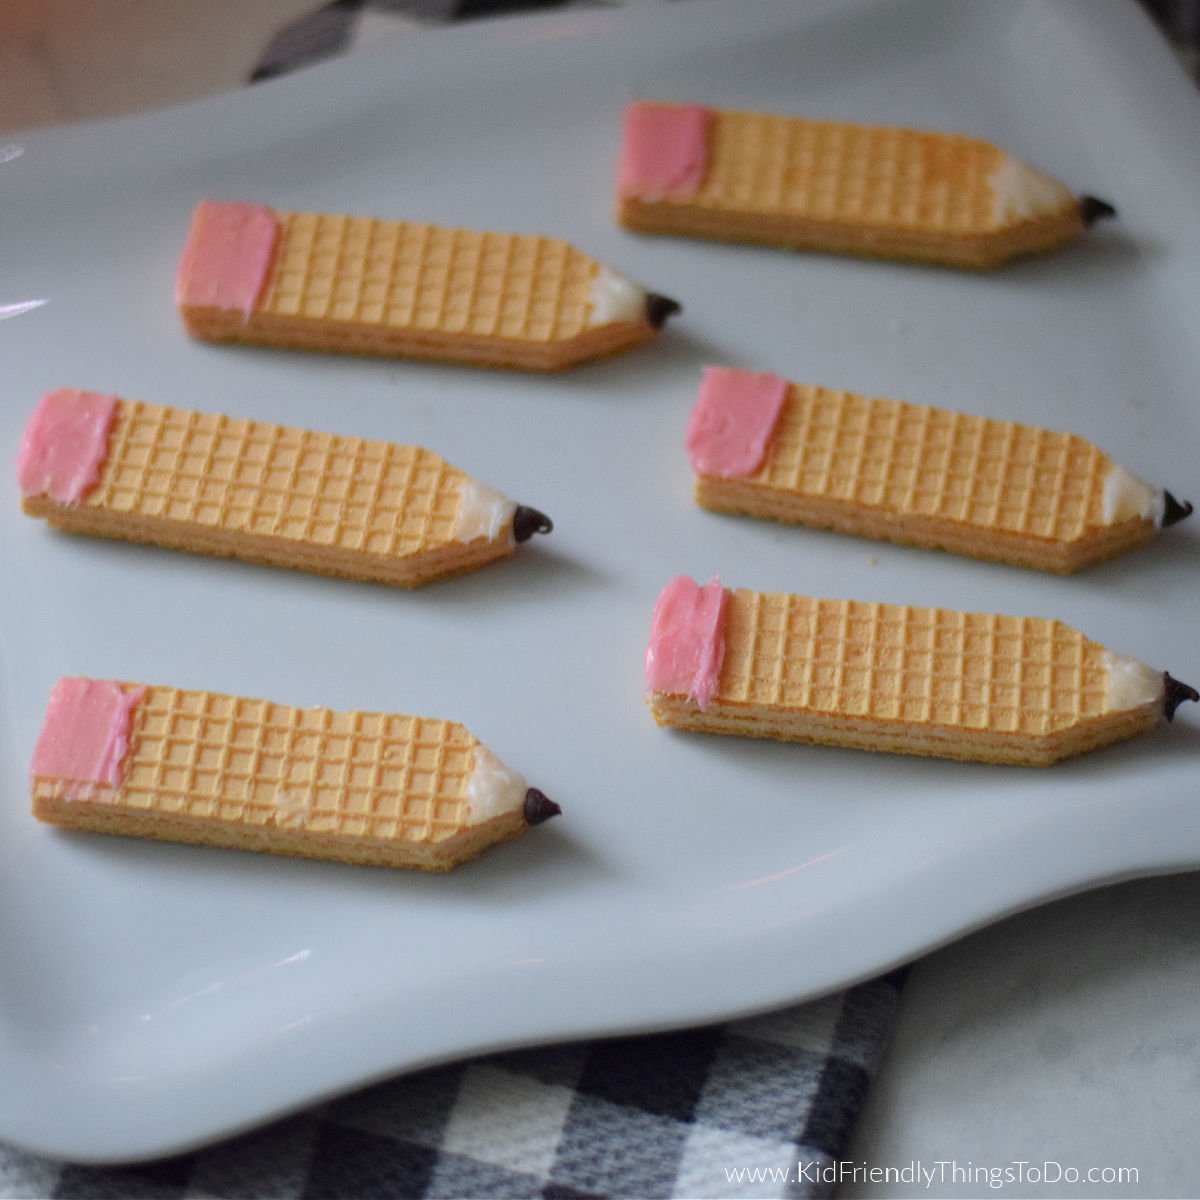
Pencil Chocolate Covered Pretzels
This post may contain affiliate links – please read my disclosure statement.
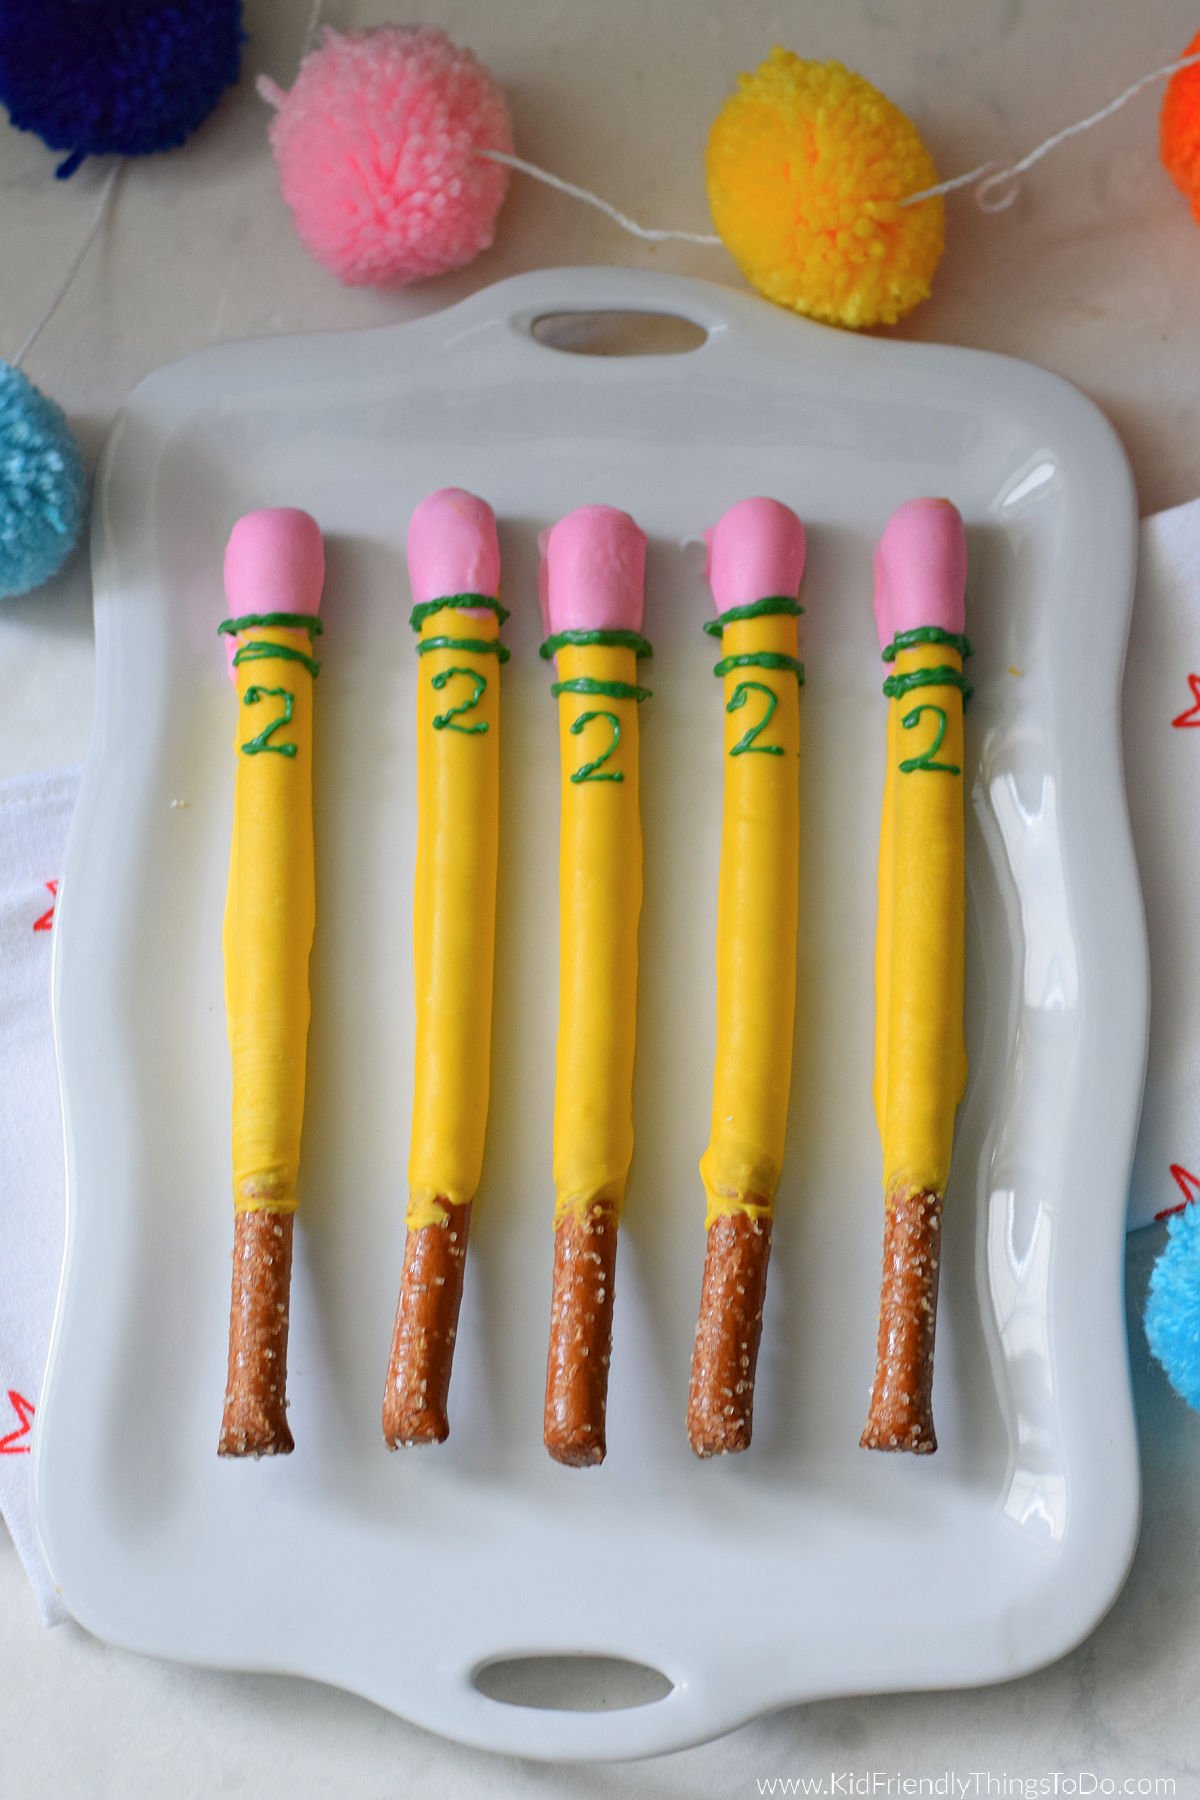
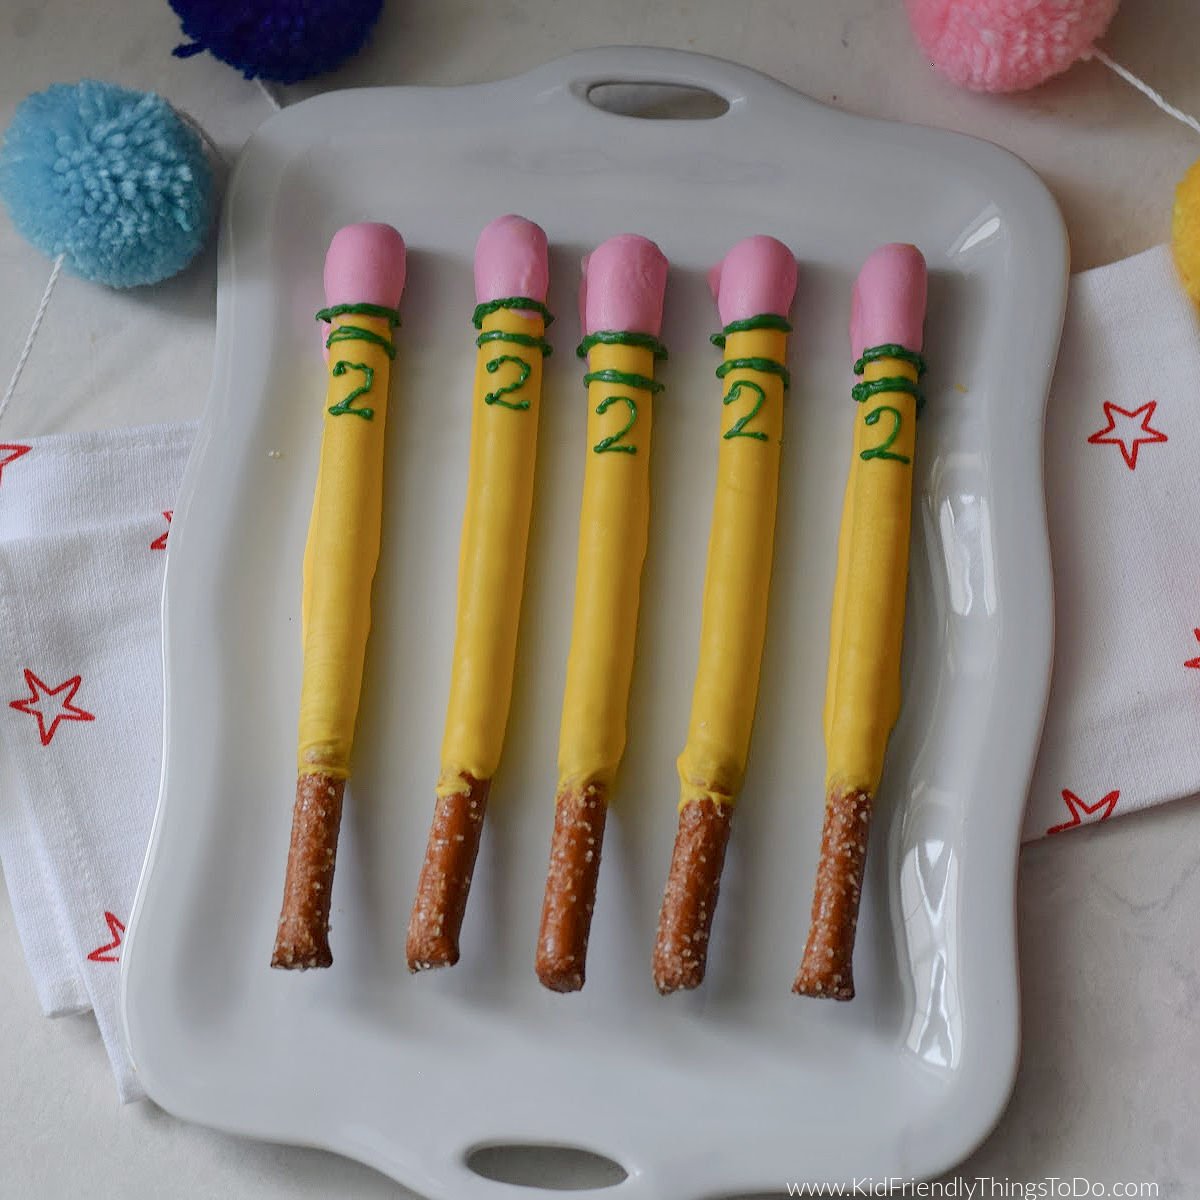
These Pencil Chocolate Covered Pretzels are perfect for kids, back-to-school parties, and teacher appreciation. They are simple to make and look adorable. They are sure to be the hit of your party.
When it’s time for the kids to go back to school, I love to make fun treats for them to come home to like Rice Krispies Apple Treats, Apple Shaped Cut-Out Sugar Cookies, and Apple Shaped Oreos.
These pencil-shaped pretzels take the cake. They are so fun and easy to make. They are definitely right up there with my favorite back-to-school treats.
What you’ll love about this recipe:
Ingredients You’ll Need
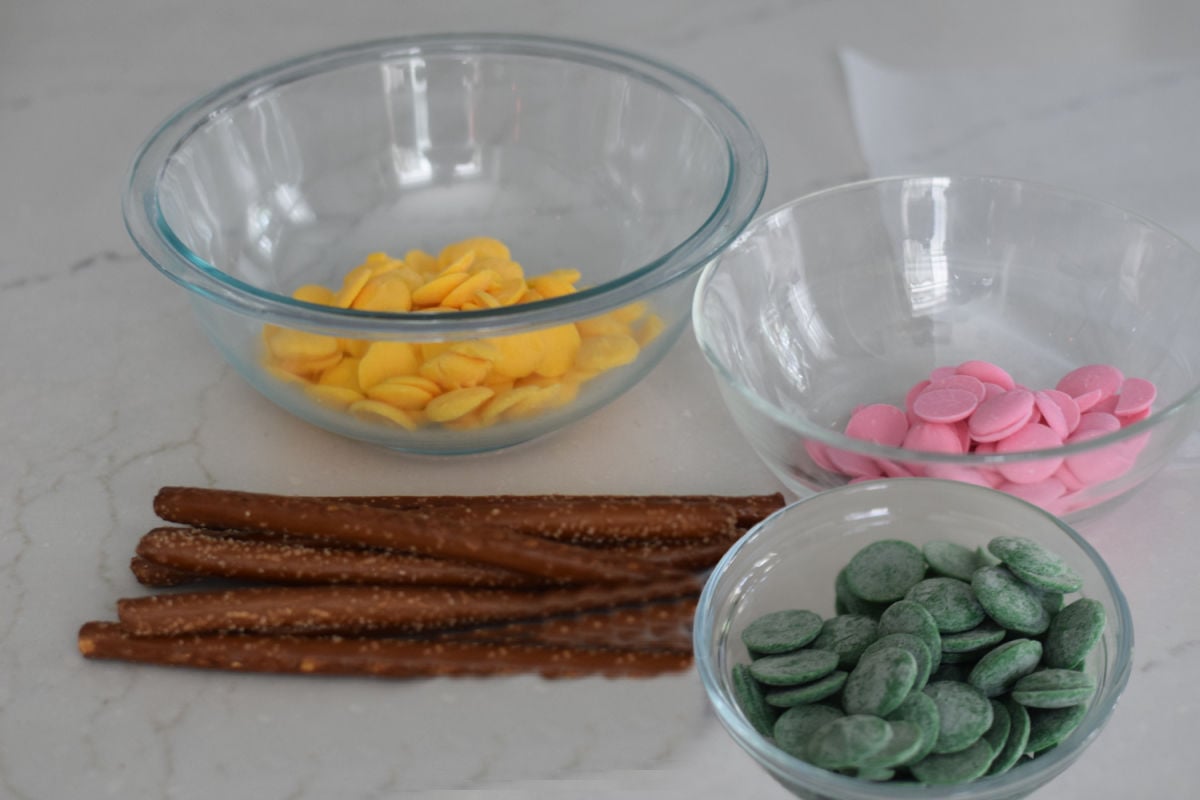
- pretzel rods
- yellow chocoalte melts
- pink chocolate melts
- dark green chocolate melts
Equipment Needed
Glass microwave-proof bowls for melting chocolate
A tall glass or cup that can withstand heat
Piping Bag
Wax paper-lined platter or baking sheet
How to Make Pretzel Pencils
Melt the yellow candy melts according to package directions.
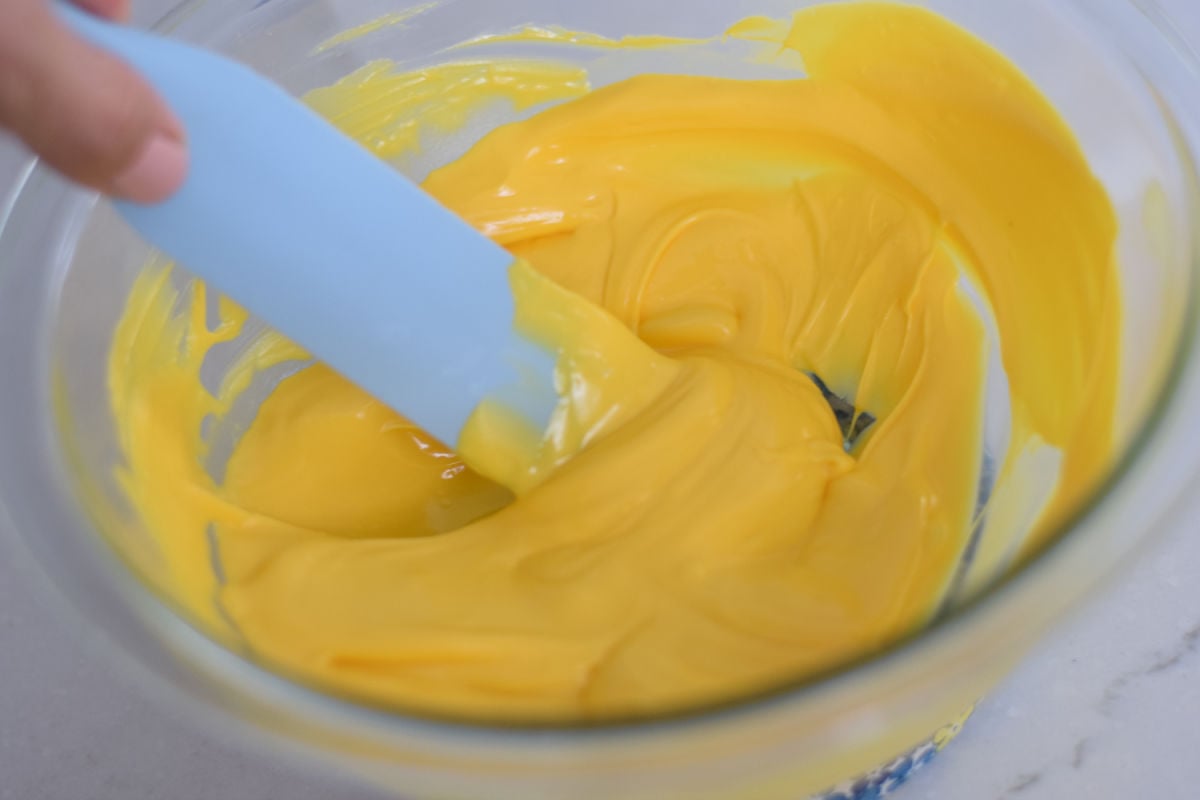
Pour the melted chocolate into a tall, heat-proof cup.
Dip each pretzel rod into the yellow chocolate, tilting and spinning to coat evenly.
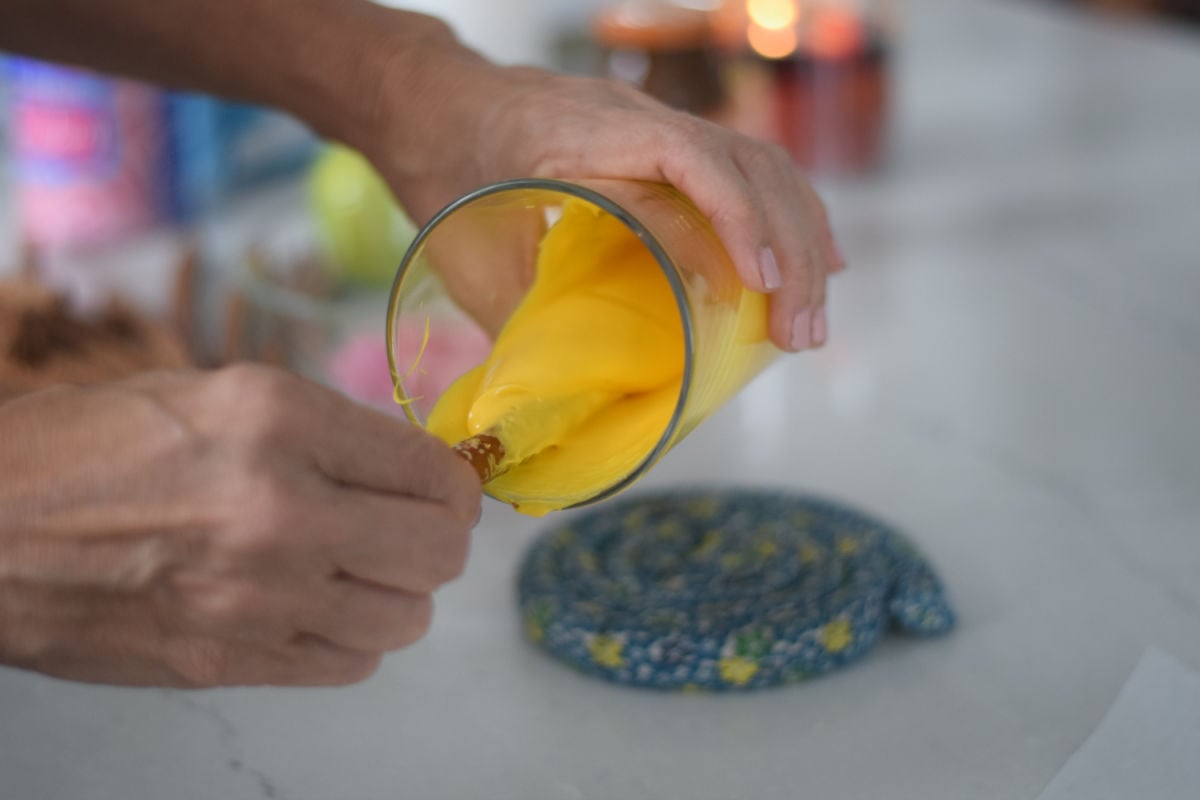
Let the excess drip off, then place the pretzel on a wax paper–lined tray.
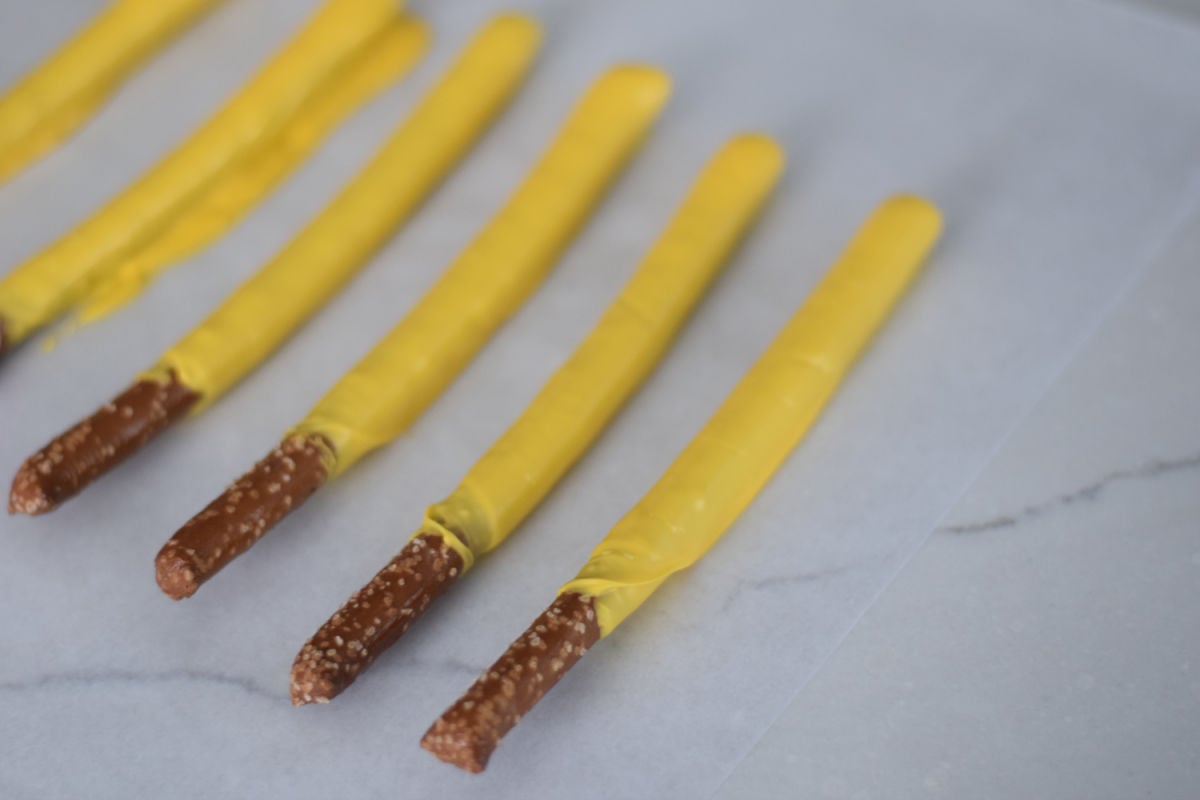
Repeat with all pretzels, then refrigerate for about 5 minutes to set.
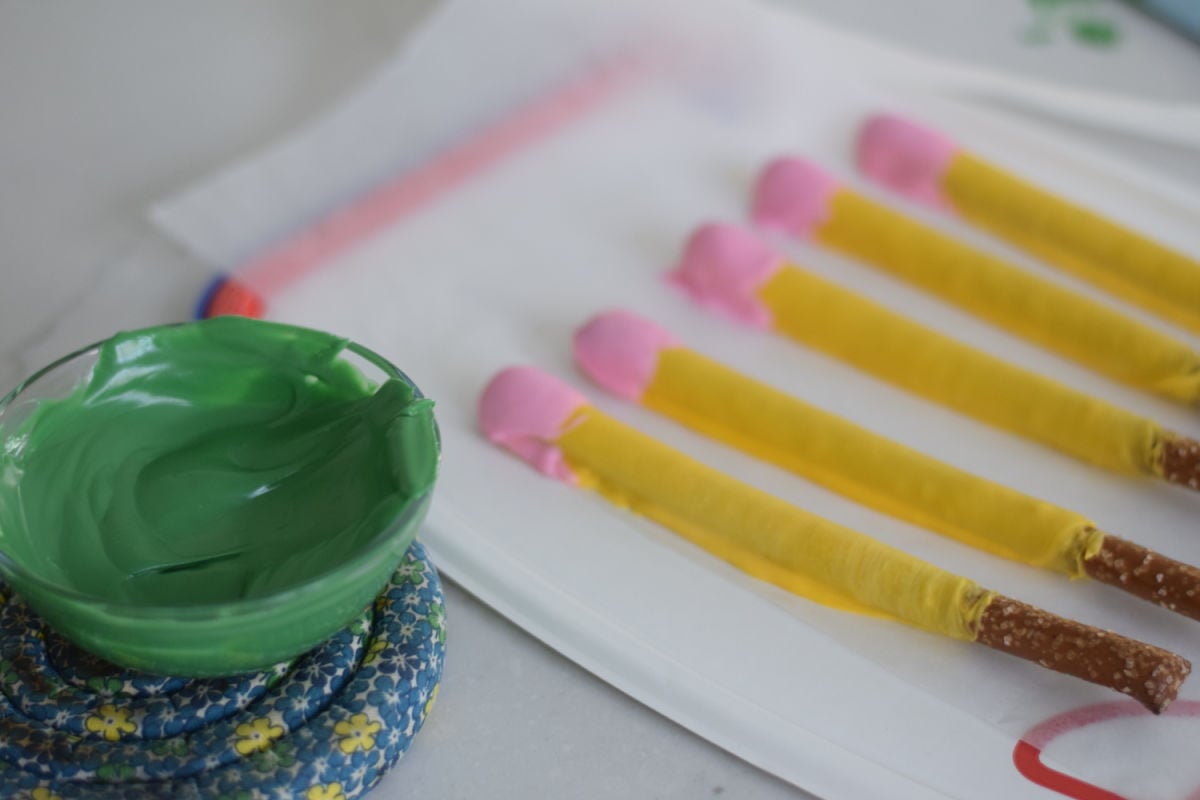
Add the Eraser
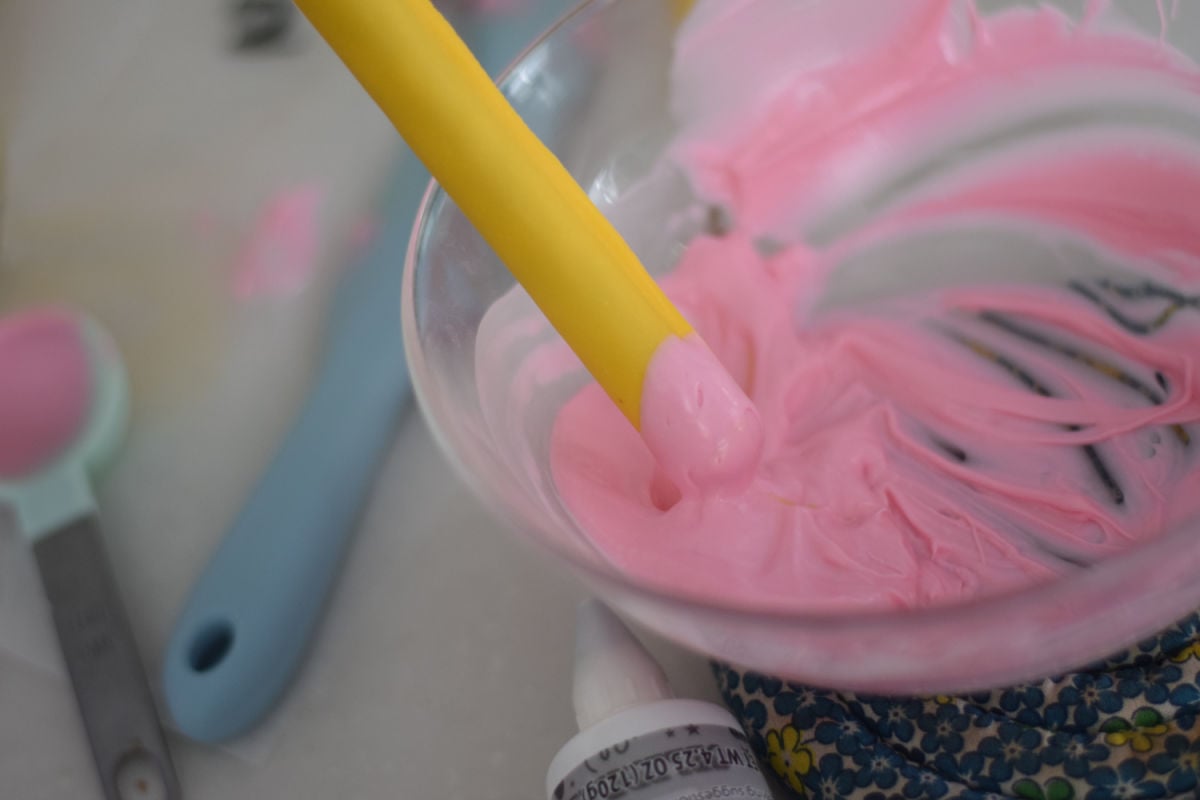
In a small bowl, melt the pink chocolate
Dip the refrigerated pretzel yellow-covered tips into the melted pink chocolate so the tip is coated in pink
Set the pretzel back onto the wax paper to dry and harden
Melt the pink candy melts in a small bowl.
Dip the top end of each yellow-coated pretzel into the pink chocolate to make the eraser.
Place back on the wax paper to harden.

Finishing Touches
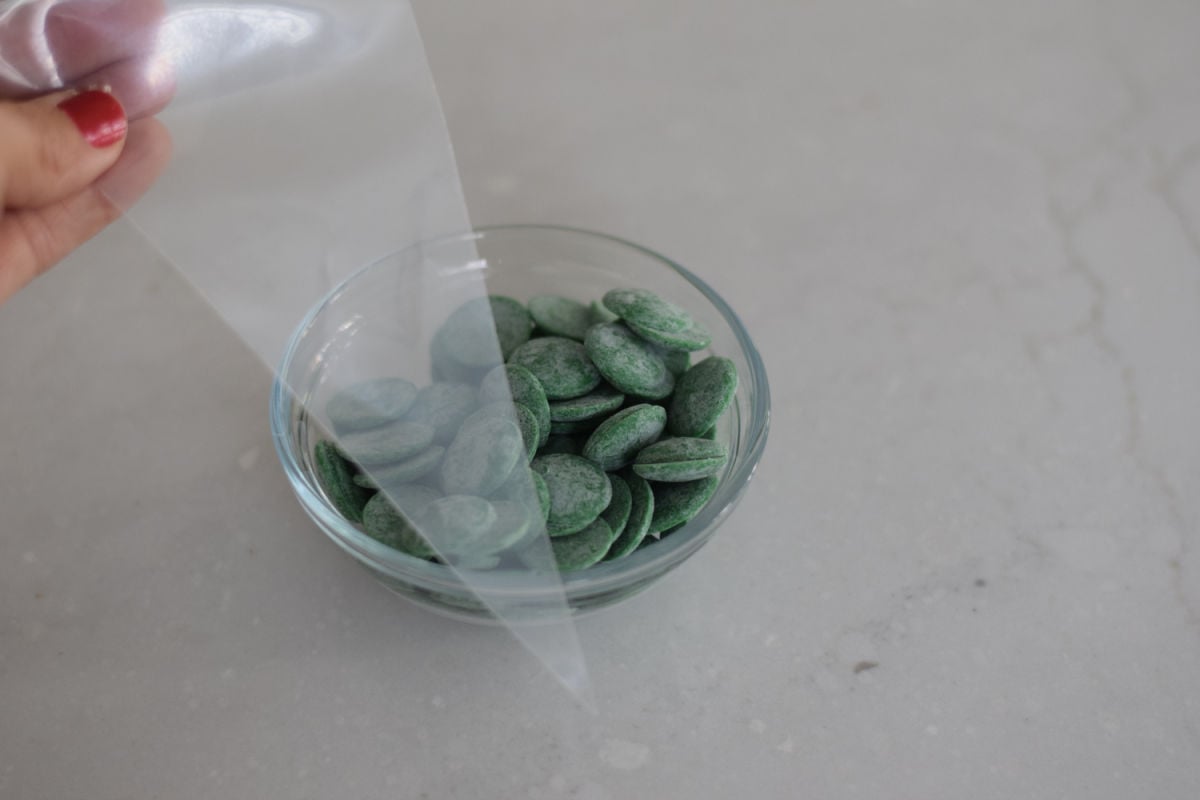
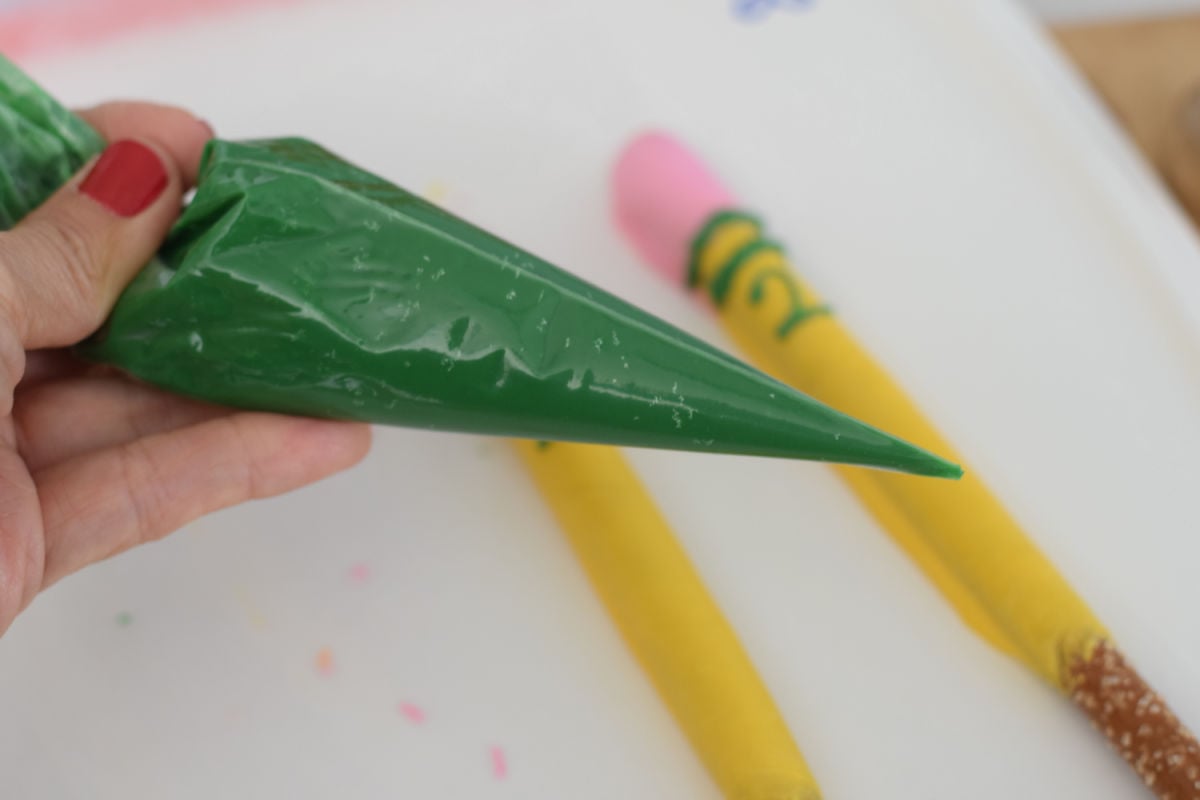
Melt the green candy melts and transfer them into a piping bag.
Snip a small tip off the bag and pipe green lines at the base of the pink eraser to look like the metal band.
Use the green chocolate to pipe a small “2” on the yellow section of each pencil.
Expert Tips
Do not skip refrigeration – The yellow chocoalte needs to be cold so that it does not melt when you dip the tip into the warm pink chocolate
Gifting Ideas
Package these pencils in cellophane bags to give out to teachers
Add them to back-to-school snack boards
Pair with a note that says – “You are the WRITE teacher for me.”
What to Serve With
Serve with fun treats like this apple topped cupcake and chalkboard topped cupakes
Popcorn Mixes like these Mini Jello Popcorn Balls
Juice Boxes
Mini sandwiches
Cheese cubes
FAQs
Storing
Store chocolate-covered pretzels in an airtight container at room temperature.
Store for up to five days. Any longer than that, the pretzels might get stale.
Serving Size
This recipe is for 24 pretzels. Double or triple for more.
More Recipes You’ll Enjoy

Printable Recipe
Pencil Chocolate Covered Pretzels
Equipment
- microwave proof bowls for melting chocolates
- piping bag
- wax paper lined tray
Ingredients
- 24 pretzel rods
- 11 oz. chocolate melts yellow
- 6 oz. chocolate melts pink
- 3 oz. chocoalte melts dark green
Instructions
- Melt the yellow candy melts according to package directions.
- Pour the melted chocolate into a tall, heat-proof cup.
- Dip each pretzel rod into the yellow chocolate, tilting and spinning to coat evenly.
- Let the excess drip off, then place the pretzel on a wax paper–lined tray.
- Repeat with all pretzels, then refrigerate for about 5 minutes to set.
Add the Eraser
- In a small bowl, melt the pink chocolate
- Dip the refrigerated pretzel yellow-covered tips into the melted pink chocolate so the tip is coated in pink
- Set the pretzel back onto the wax paper to dry and harden
- Melt the pink candy melts in a small bowl.
- Dip the top end of each yellow-coated pretzel into the pink chocolate to make the eraser.
- Place back on the wax paper to harden.
Finishing Touches
- Melt the green candy melts and transfer them into a piping bag.
- Snip a small tip off the bag and pipe green lines at the base of the pink eraser to look like the metal band.
- Use the green candy melts and transfer them into a piping bag.
- Snip a small tip off the bag and pipe green lines at the base of the pink eraser to look like the metal band.
- Use the green chocolate to pipe a small “2” on the yellow section of each pencil.