Pet Ghost Mini Dirt Pies with Printable Tags
This post may contain affiliate links – please read my disclosure statement.
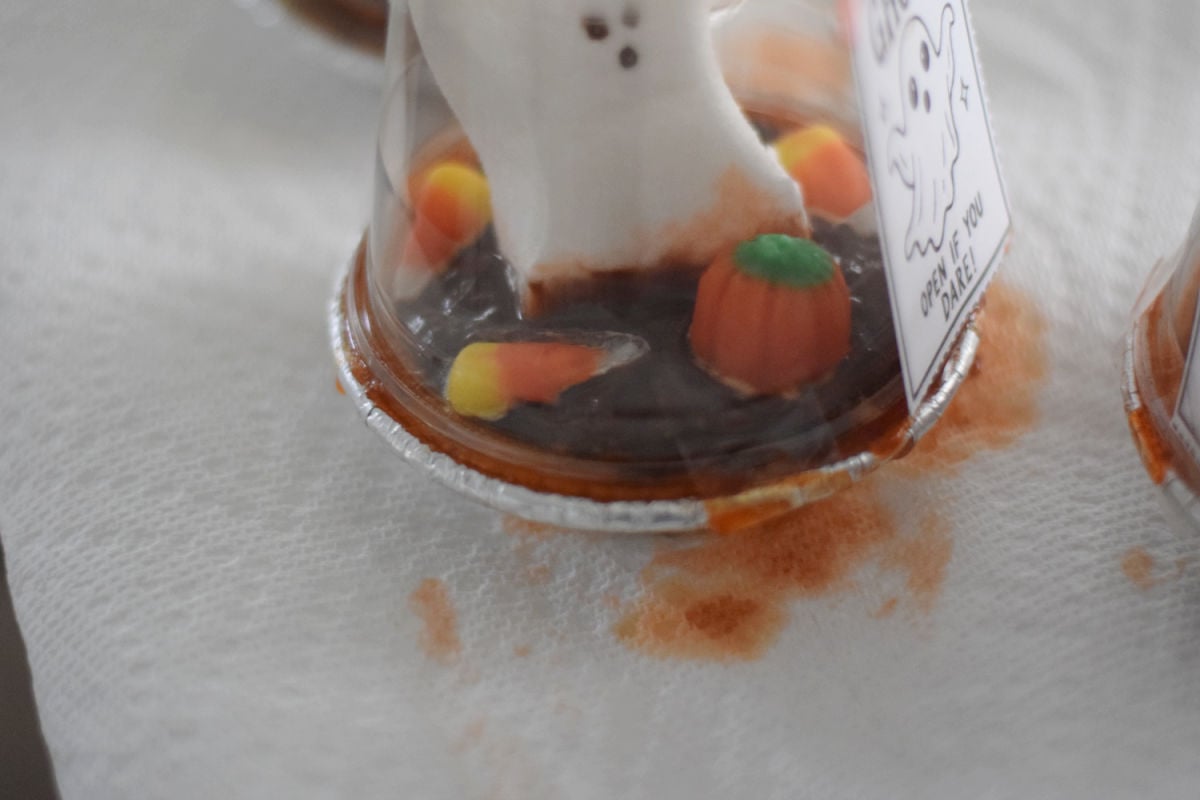
I made these Pet Ghost dirt pie treats with chocolate pudding, mini graham cracker crusts, and ghost Peeps, but my first batch taught me something important about the candy decorations. After sitting directly on the pudding, the candy corn and pumpkins softened, leaked orange color, and made a mess around the crusts.
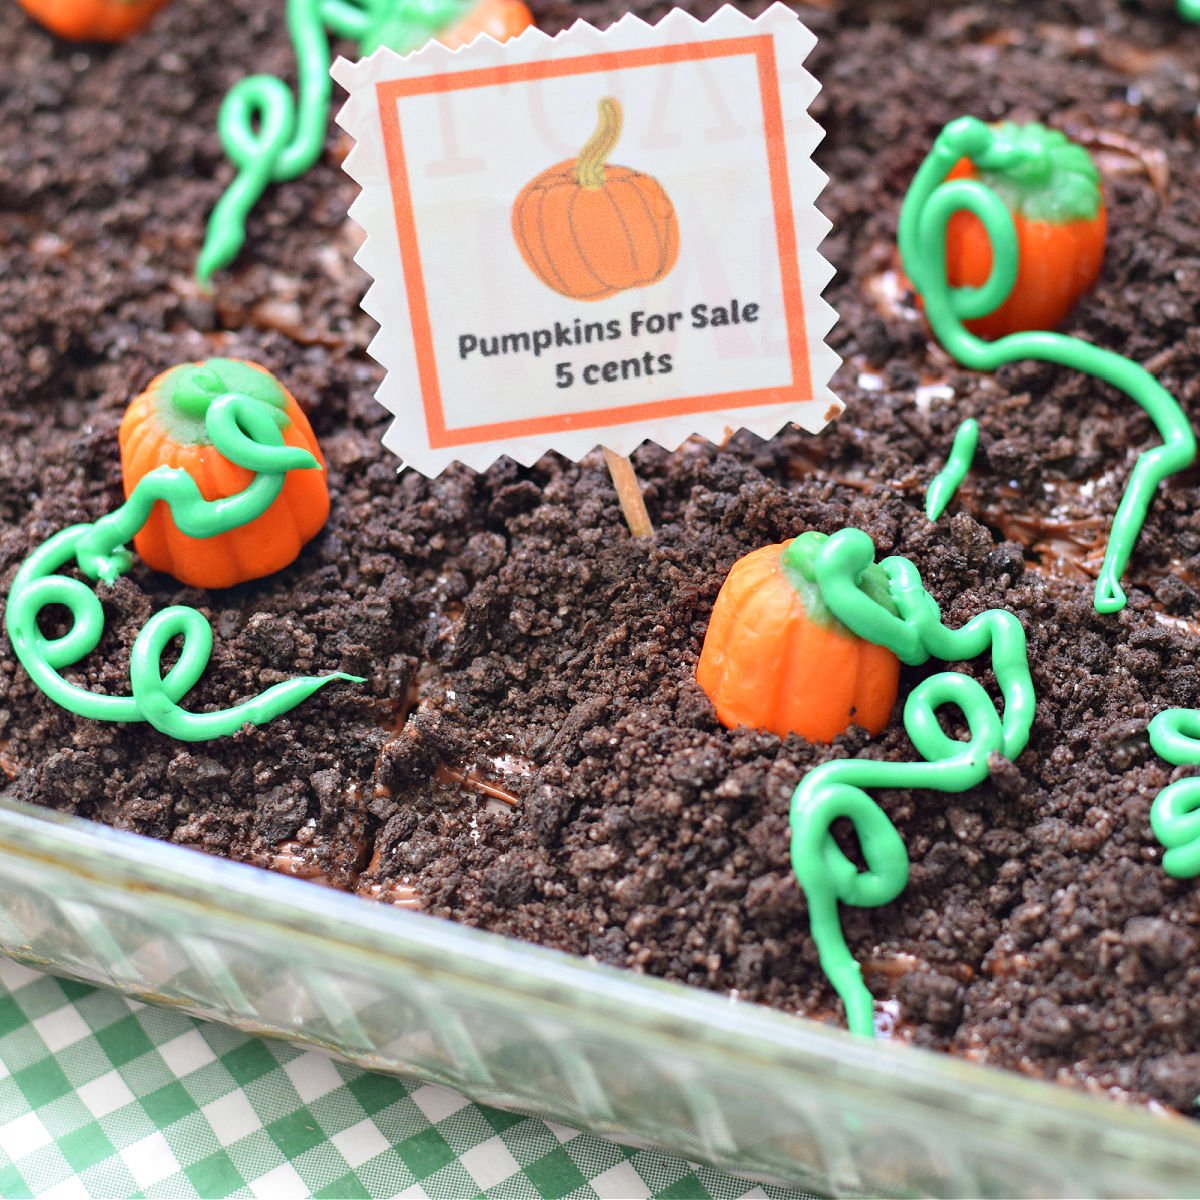
The next day, I added crushed Oreo cookies over the pudding before decorating. That cookie layer helped keep the candies from sitting directly on the wet pudding, and my next batch held up much better. One stayed in the refrigerator for a day and still looked good.
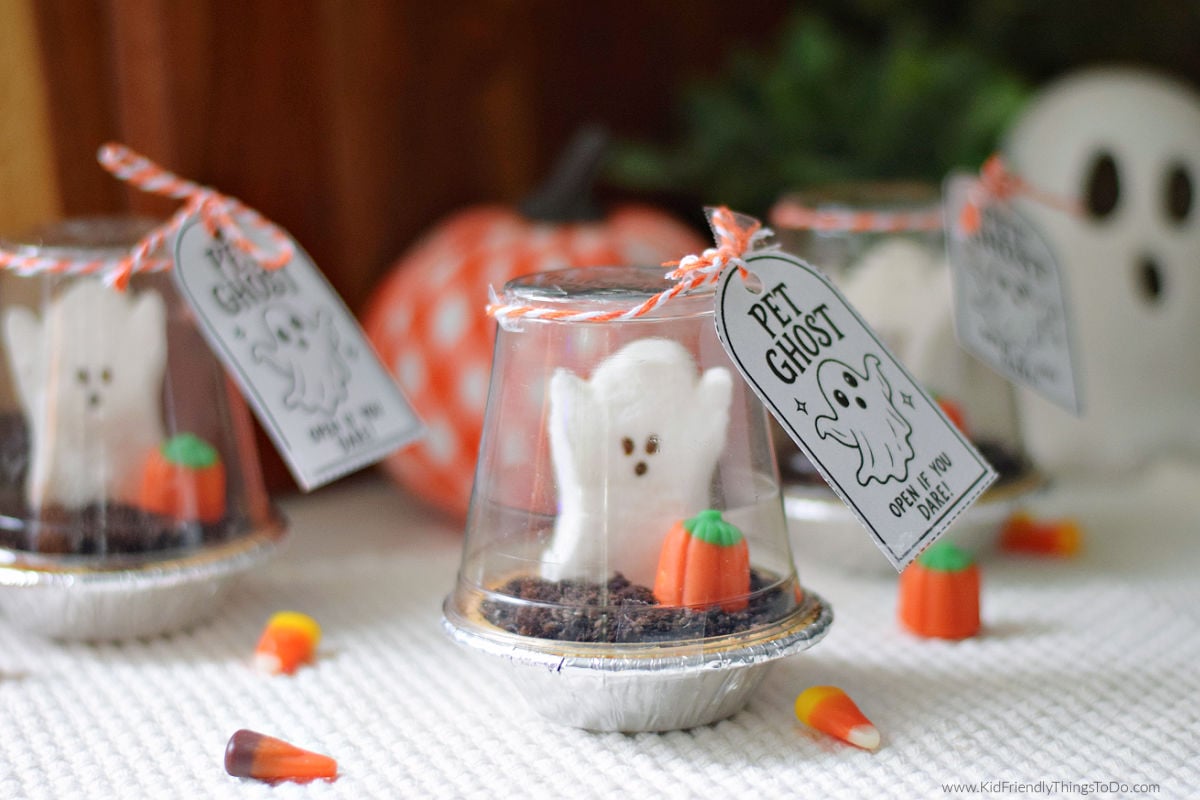
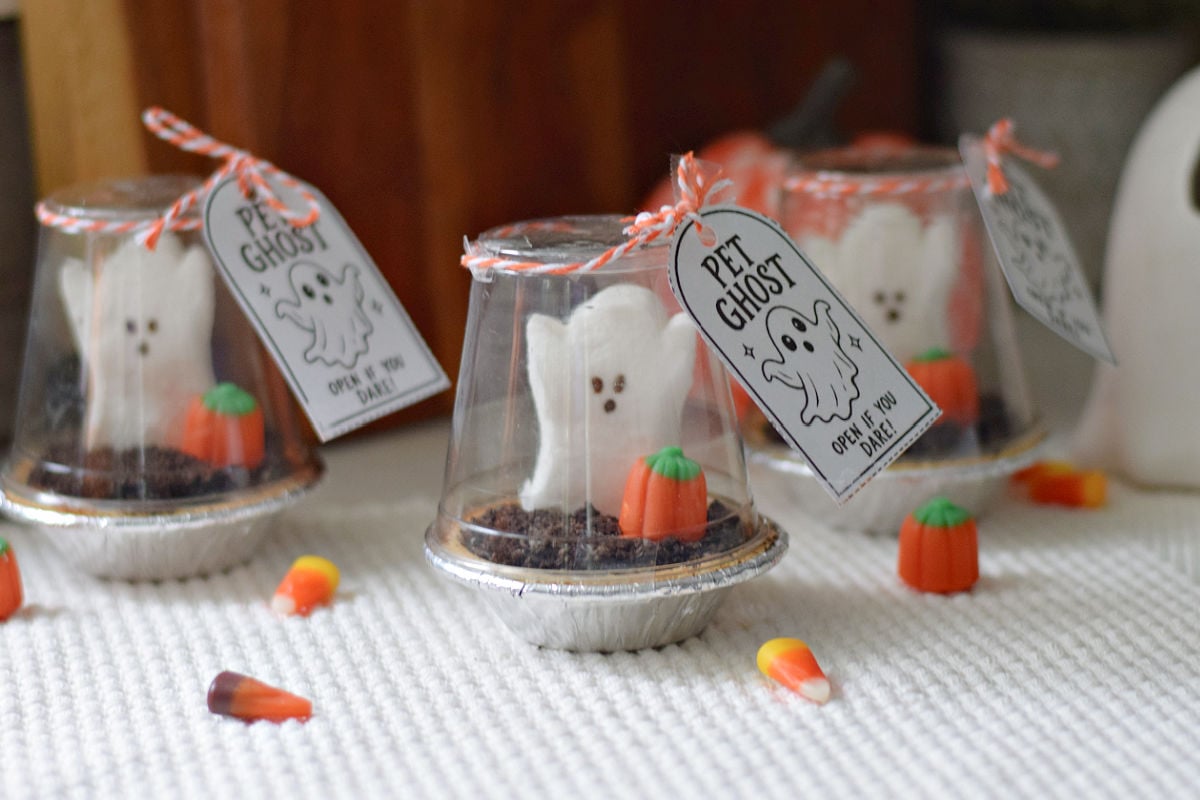
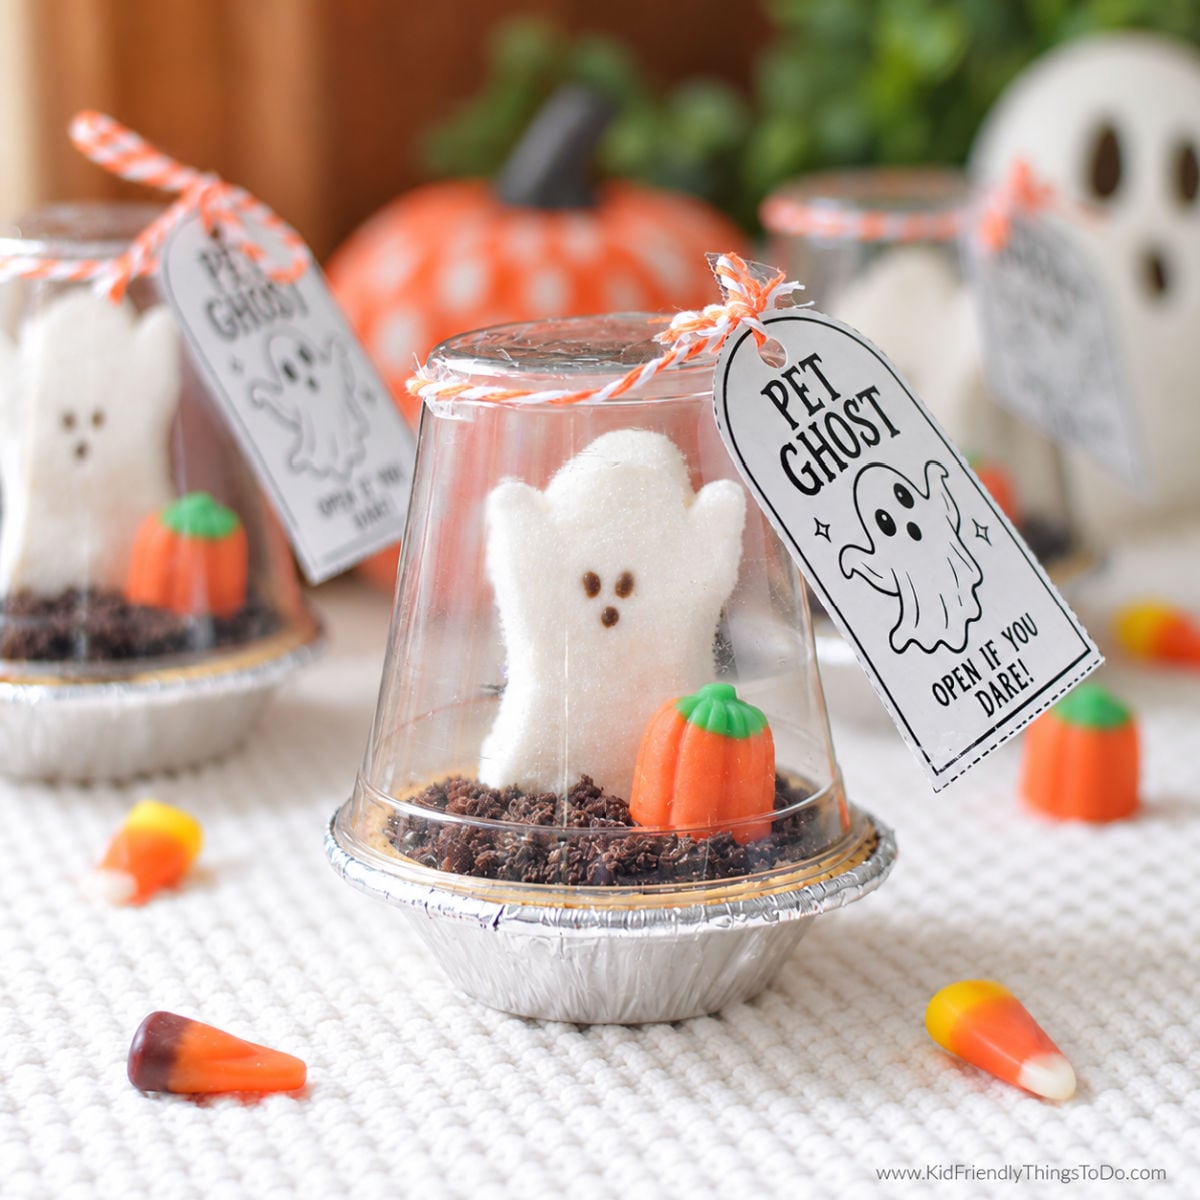
To finish them, I made printable tags that say “Pet Ghost—Open if you dare!” An upside-down clear cup becomes each ghost’s little home, and tying the tag off to the side lets you see both the ghost and its playful warning.
Why You’ll Love These Easy Halloween Treats for Kids
- Individual desserts. Each ghost has its own mini pudding pie.
- No oven needed. Use ready-made graham cracker crusts and instant chocolate pudding.
- A playful presentation. Clear cups turn the treats into little pet ghost homes.
- Printable tags included. Add the “Open if you dare!” tag to finish each one.
- A tested cookie topping. My Oreo layer helped prevent the candy-color mess I had in the first batch.
- Make ahead. My finished version held up well after one day in the refrigerator.
Ingredients for Pet Ghost Mini Dirt Pies
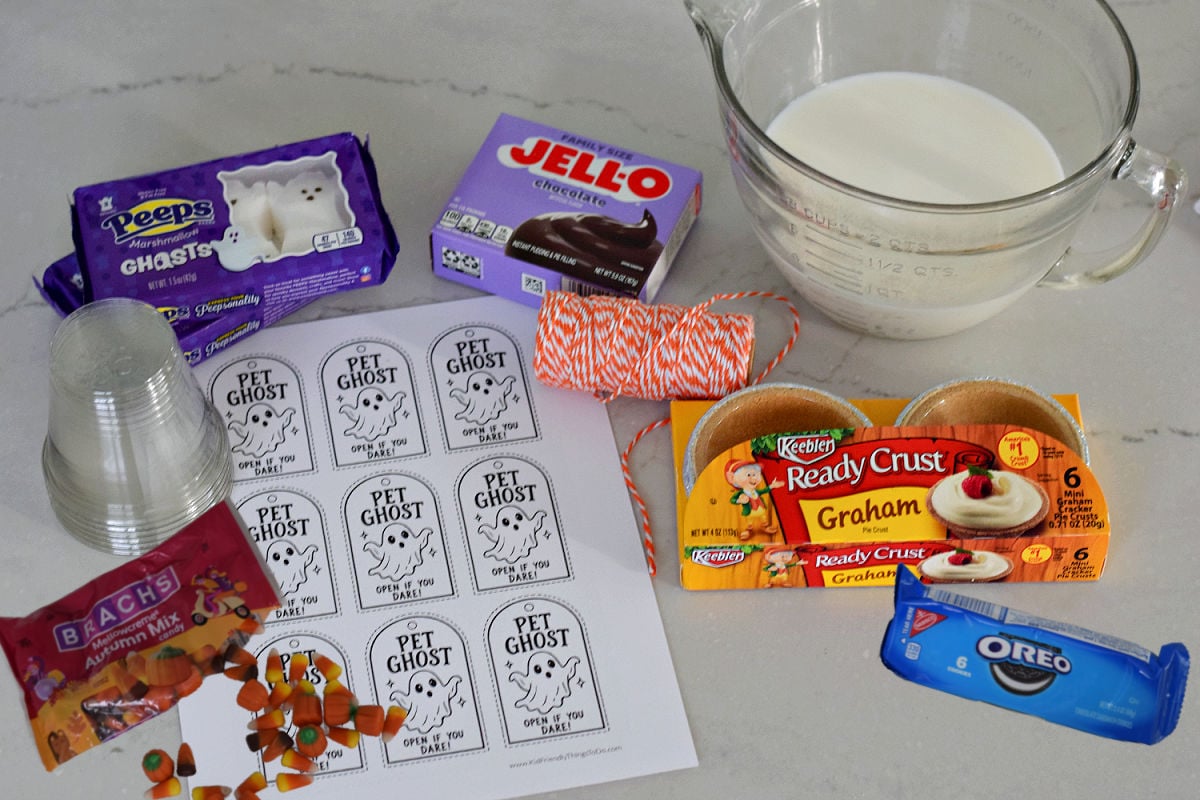
- Chocolate instant pudding mix: I used a family-size box of Jell-O chocolate instant pudding.
- Milk: Use the amount directed on your pudding package.
- Mini graham cracker pie crusts: Keep them in their individual foil tins for assembly and serving.
- Oreo cookies: Crush these to cover the pudding before adding the decorations.
- Ghost Peeps: These become the edible pet ghosts.
- Candy pumpkins or candy corn: I used candies from an autumn mix.
Exact ingredient amounts are in the recipe card below.
| Ingredient | Purpose |
|---|---|
| Chocolate pudding | Creates the creamy filling inside each mini pie. |
| Graham cracker crust | Holds the pudding and gives each treat an individual base. |
| Crushed Oreos | Create the dirt topping and separate the candies from the pudding’s surface. |
| Ghost Peep | Becomes the pet ghost inside its clear cover. |
| Candy pumpkins or candy corn | Add a colorful Halloween decoration beside the ghost. |
Equipment and Packaging Supplies
- Mixing bowl and whisk
- Measuring cup
- Spoon
- Tools for crushing the cookies
- Clear plastic cups that fit over the ghosts and rest on the pie tins – I used 9 oz. clear cups
- Printable Pet Ghost tags
- Printer and paper
- Scissors
- Hole punch
- Twine
- Clear tape
- A box that holds the treats snugly if transporting
The clear cups are covers rather than the dessert containers. Check that your cups fit over the ghosts before assembling the whole batch.
How to Make Pet Ghost Dirt Pies
Step 1: Prepare the chocolate pudding.
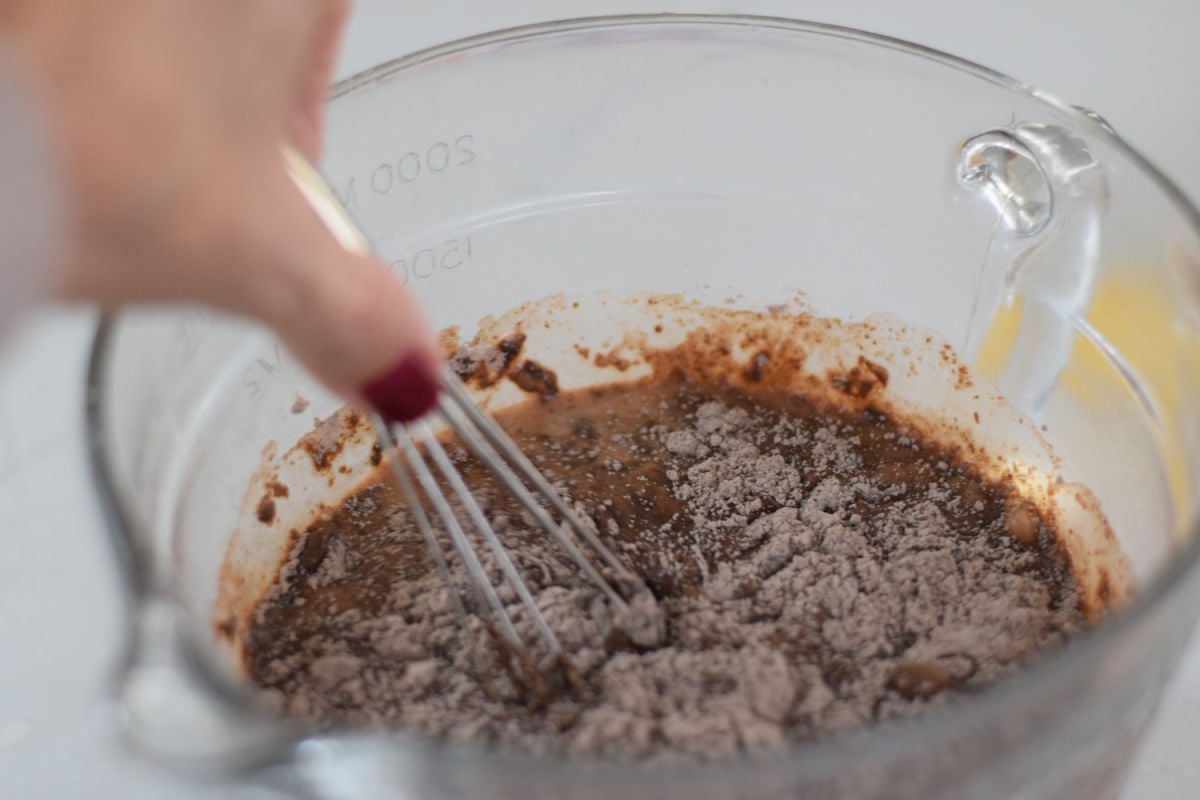
Whisk the instant pudding mix and milk together according to the package directions. Let it thicken as directed before filling the crusts.
Step 2: Fill the mini crusts.
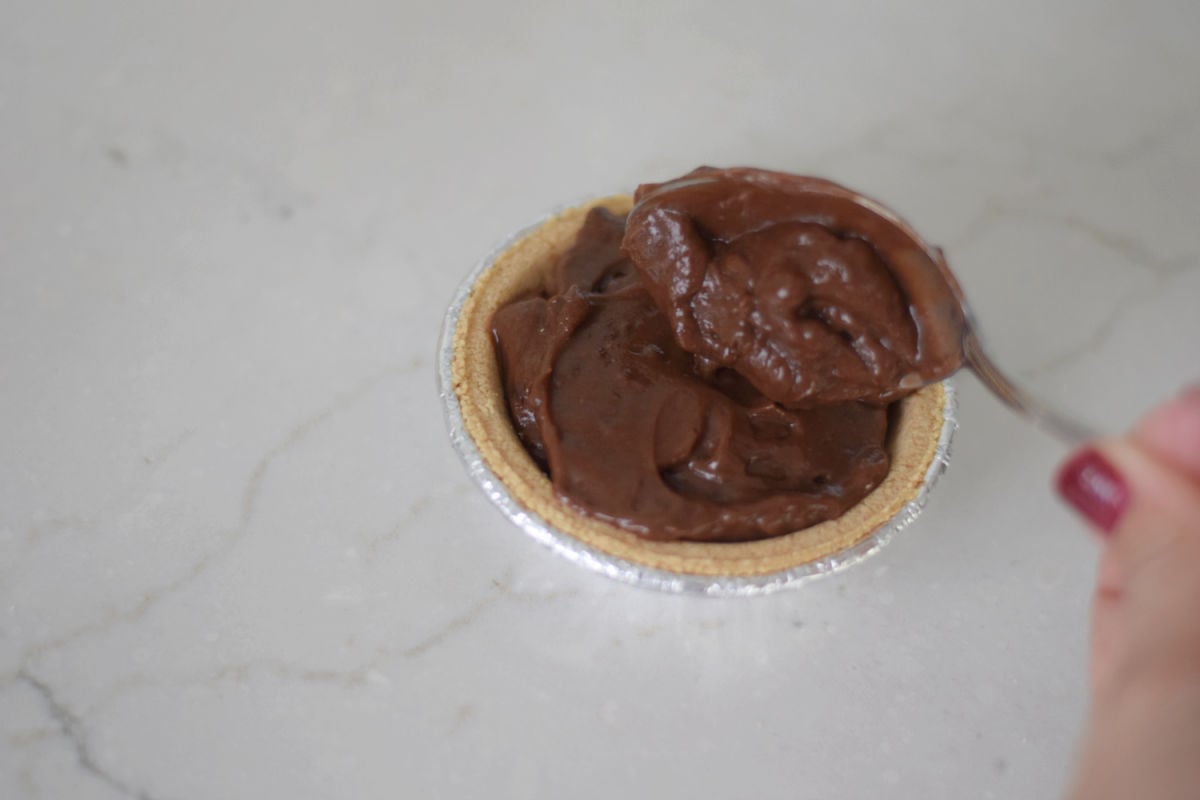
Spoon the prepared pudding into the mini graham cracker crusts, leaving room for the crushed cookies and decorations.
Step 3: Cover the pudding with crushed Oreos.
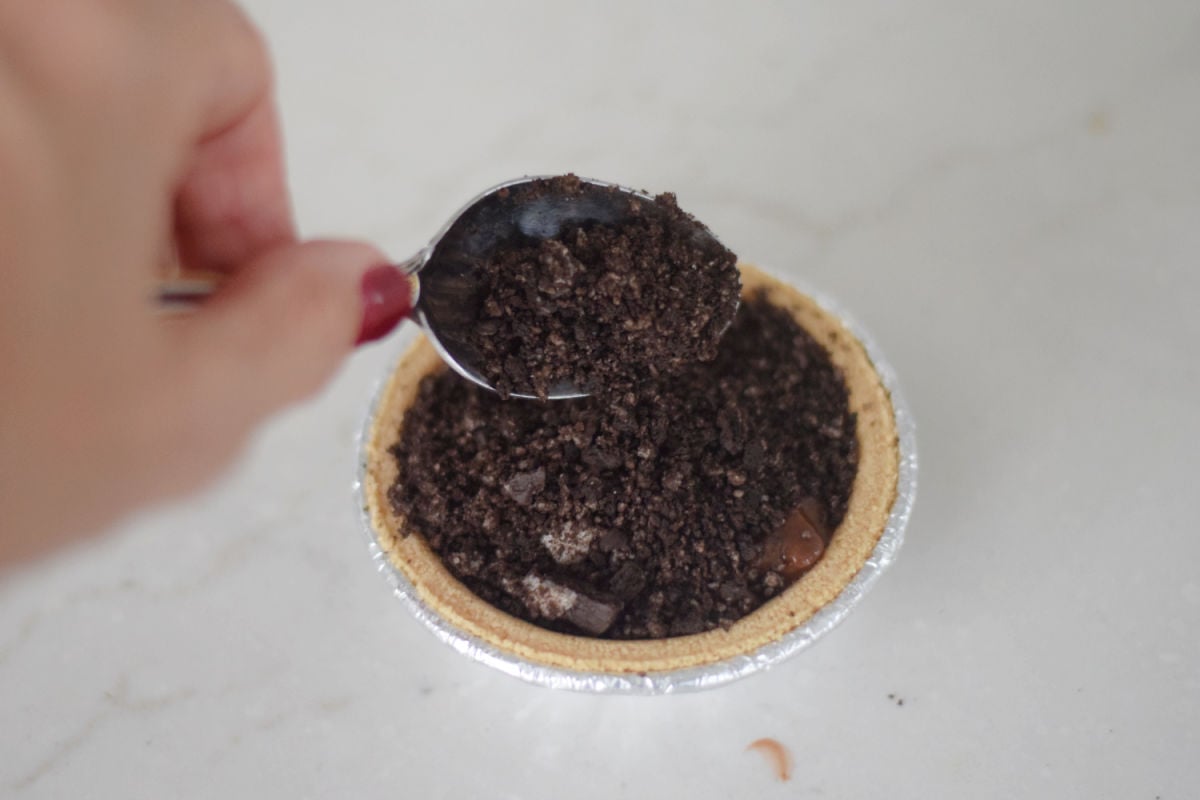
Crush the Oreo cookies and spread the crumbs over the pudding. Cover the surface so the candy decorations can rest on the cookie layer.
This is the step I added after my first batch’s candies softened and leaked orange color.
Step 4: Add the ghost and candy decorations.
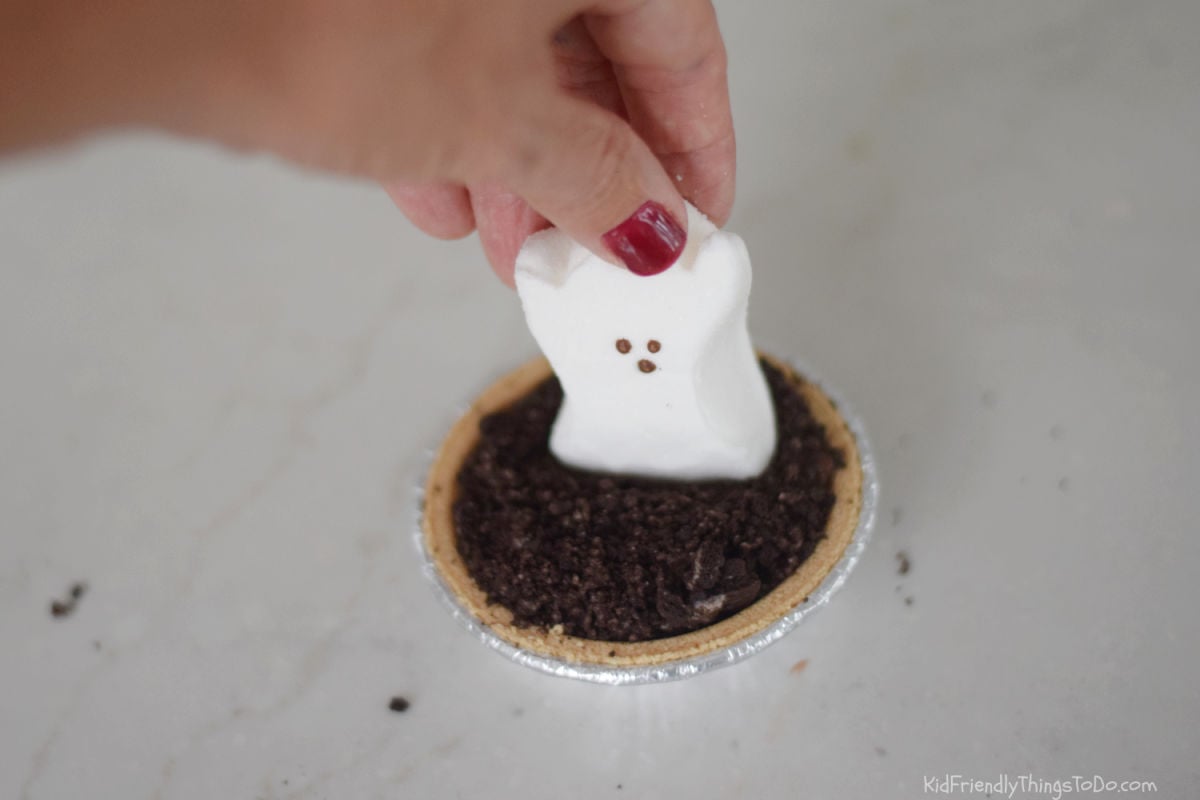
Place a ghost Peep upright in the cookie topping. Add a candy pumpkin or candy corn beside it.
Step 5: Print and prepare the tags.
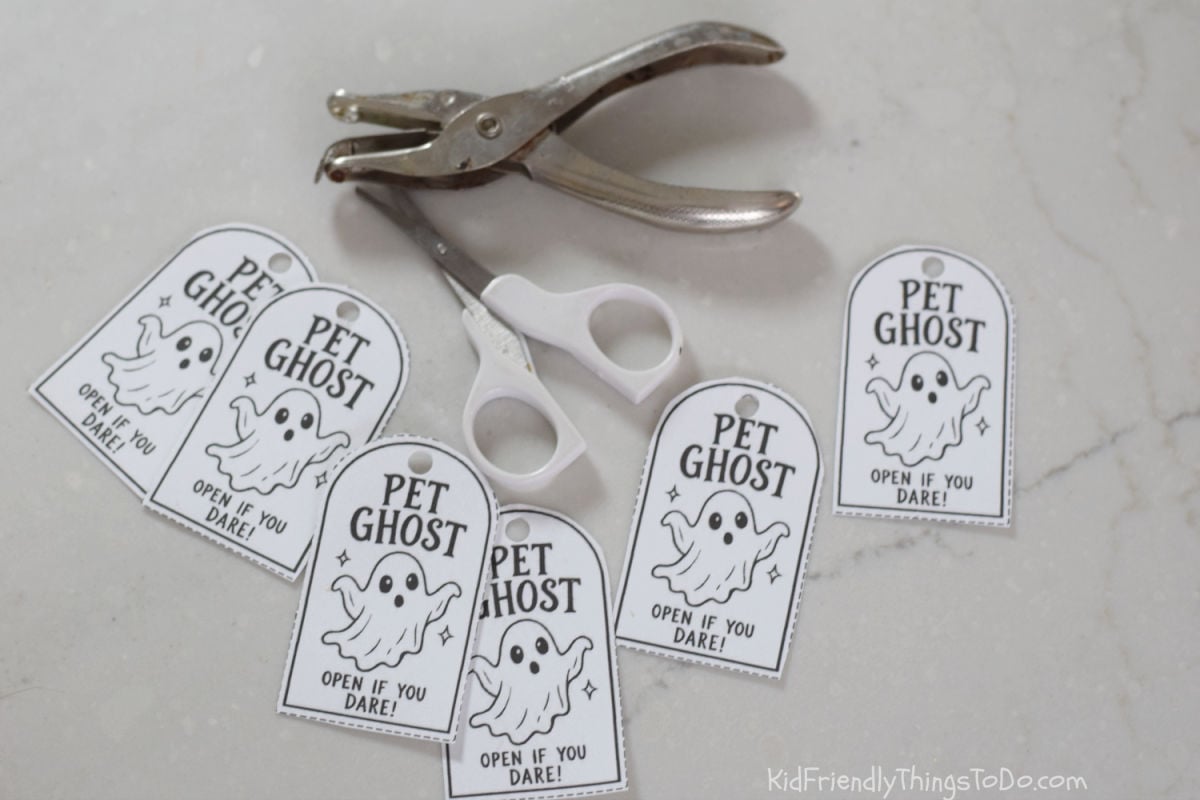
Download the tags below, print them, and cut along the dashed outlines. Punch a hole near the top of each tag.
Step 6: Attach the twine and tag.
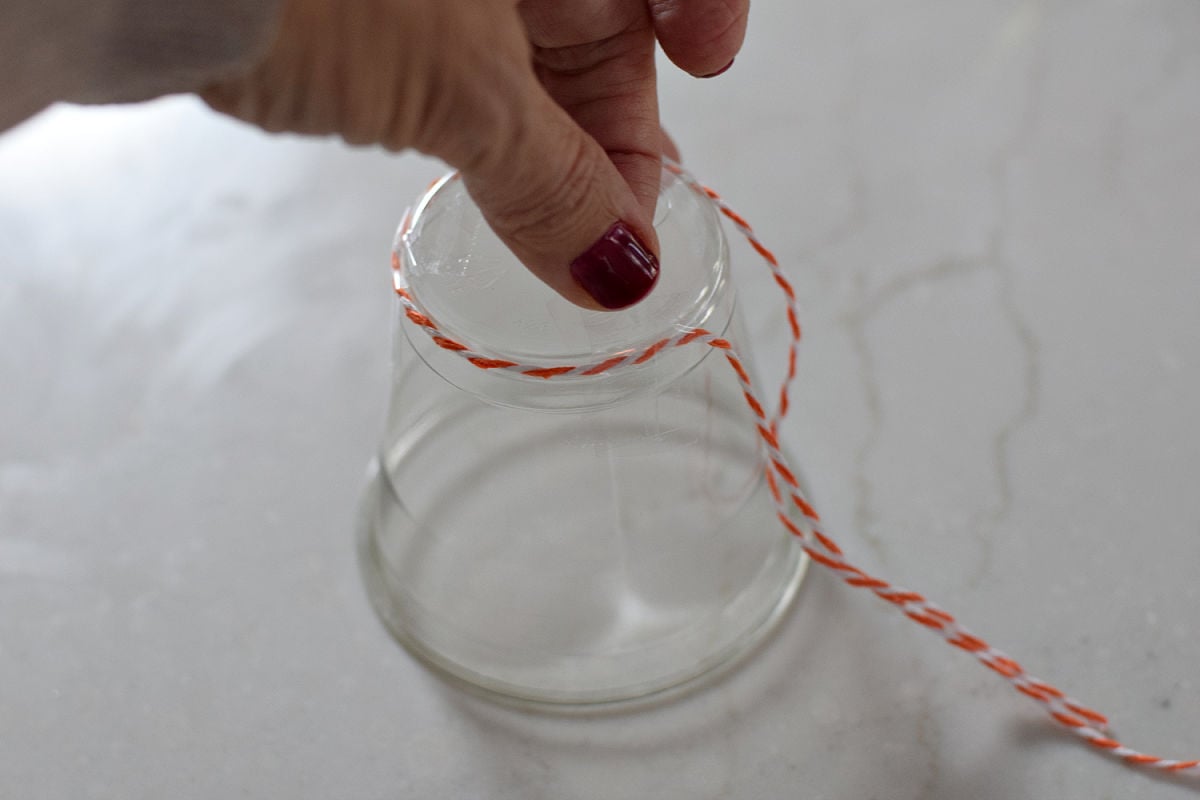
Turn a clear cup upside down. Wrap twine around the narrow end, using a small piece of tape to help keep it in place. Thread on the tag and tie it near the top of the inverted cup.
Step 7: Cover each pet ghost.
Place the inverted cup over the ghost and decorations, resting the rim on the pie tin. Use tape to help hold the cup to the tin if you will be moving the treats.
Position the tag beside the ghost’s face so you can see both.
Step 8: Refrigerate until serving.
Keep the finished pudding treats refrigerated. Remove the cup, tape, twine, and paper tag before eating.
Pet Ghost Printable Tags
Give each little ghost its own “Pet Ghost—Open if you dare!” tag!
The printable has nine black-and-white tags per page, with a ghost illustration, an arched top, and dashed cutting lines. Print additional copies for a larger batch.
Download the Pet Ghost Tags
Print your tags, cut them out, punch a hole near the top, and tie one onto each clear cup.
For a dozen treats, print two pages and use twelve tags.
Why I Added a Cookie Layer to My Oreo Dirt Pie
My first version had candy corn and candy pumpkins sitting directly on the pudding. After a couple of hours, they started softening and releasing orange color. The color spread into the crust, and liquid leaked around the treats.
Adding crushed Oreos changed how my next batch held up. The crumbs separated the candy decorations from the pudding’s wet surface.
| 🍬 Candy Directly on Pudding | 🍪 Candy on Crushed Oreos |
|---|---|
| What I tried. I placed the ghost and autumn candies directly on the pudding. | What I changed. I covered the pudding with cookie crumbs before decorating. |
| What I noticed. The candies softened and leaked orange color into the crust and around the tins. | What I noticed. The updated treats held their appearance much better during my follow-up test. |
| My choice. I would include the cookie topping when making these again. | My choice. This is the version used in the instructions and recipe card. |
The Oreo layer helped in my test, but it does not make the treats shelf-stable. They still need refrigeration.
A Pet Ghost Twist on Ghosts in the Graveyard Dessert
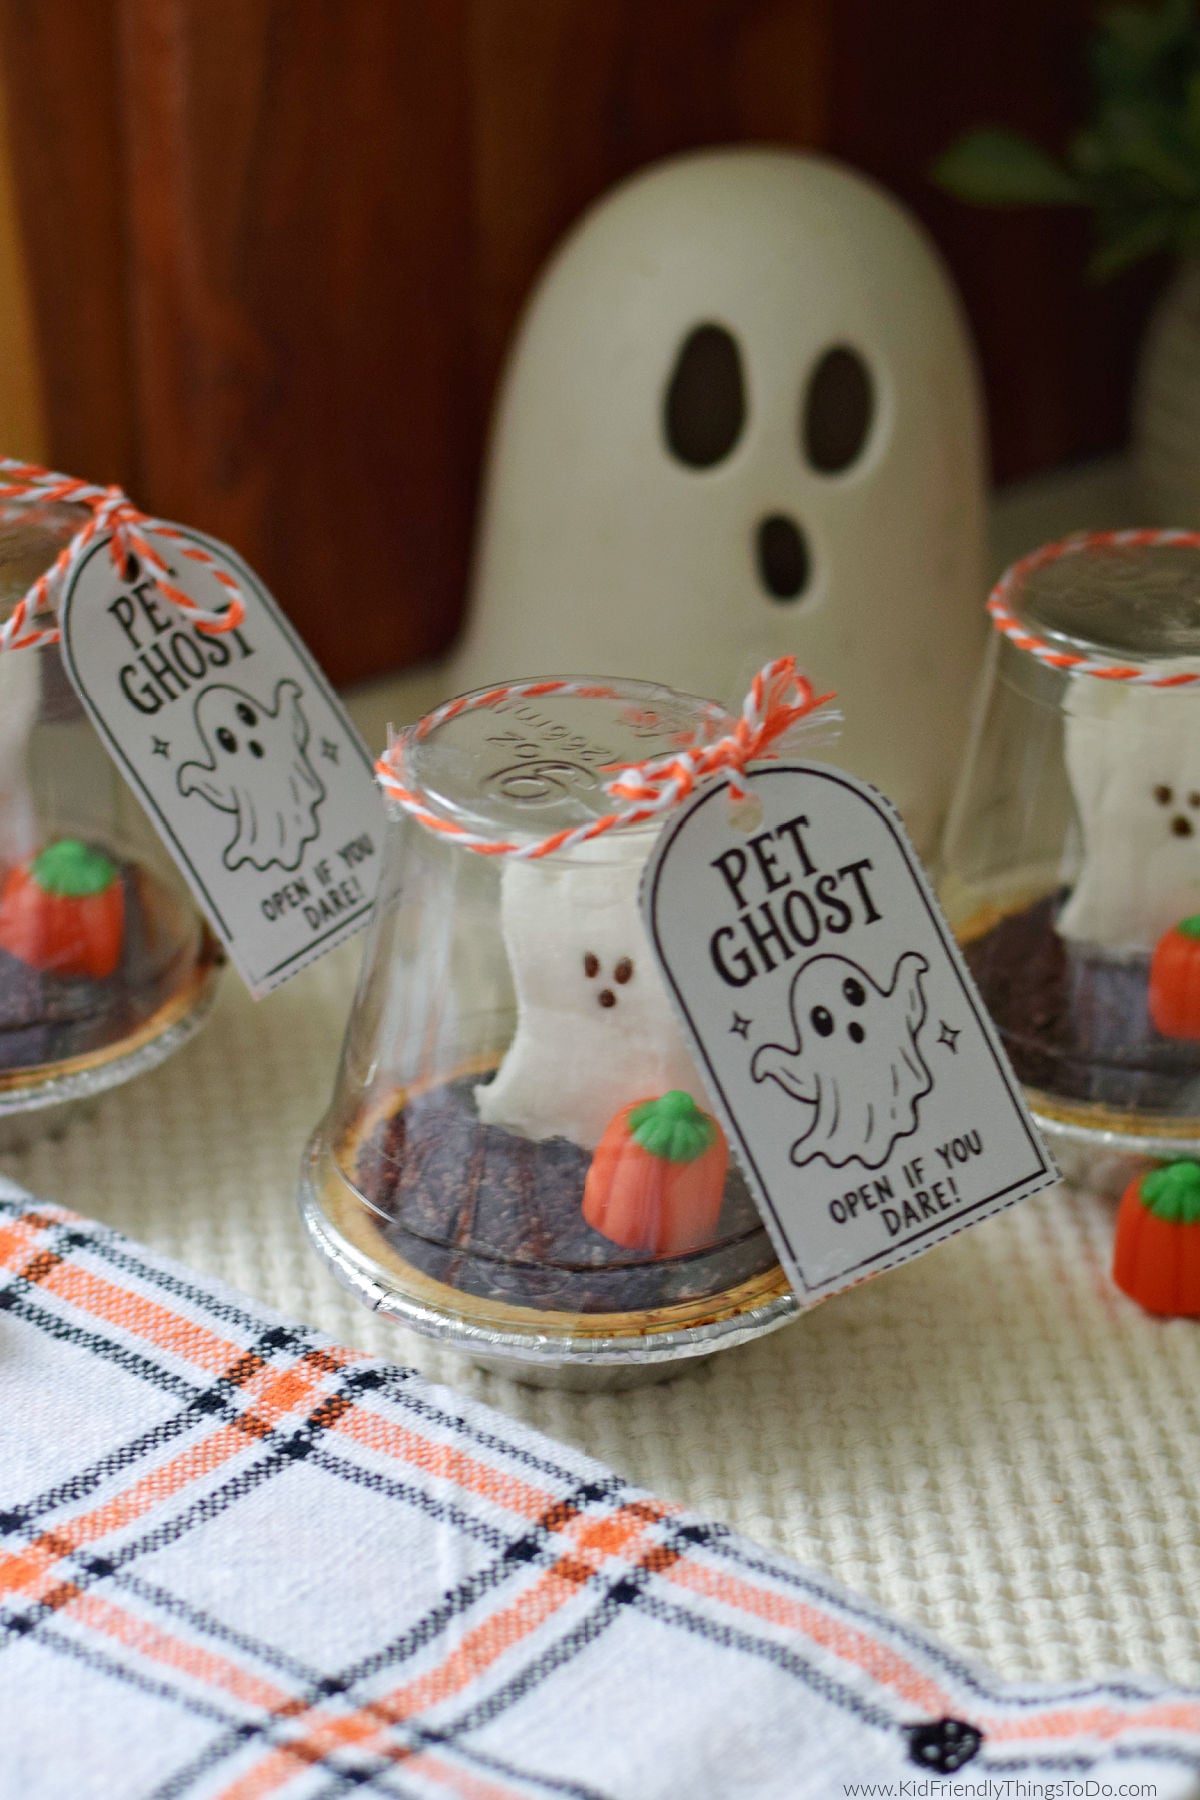
Chocolate pudding, crushed cookies, and ghost decorations give these treats the same playful look as a ghosts in the graveyard dessert.
Here, each ghost sits in its own mini graham cracker pie. The clear cup and printable tag turn it into a little pet ghost you can “release” when it is time to eat.
Melissa’s Tips for Pet Ghost Mini Chocolate Pies
- Include the Oreo topping. It helped prevent the candy-color leaking I experienced when the decorations sat directly on the pudding.
- Check the cup fit first. The cup needs to cover the ghost and rest on the pie tin.
- Keep the face visible. Tie the printable tag to the side rather than letting it hang directly over the ghost.
- Tape the twine in place. I used tape to help keep it from slipping off the narrow end of the cup.
- Support the treats during transport. Tape helps hold the covers in place, but it is not foolproof. Pack the treats snugly in a box and carry them level.
- Keep them chilled. Store the pudding treats in the refrigerator until serving.
- Plan for an approximate yield. How generously you fill the mini crusts affects how many treats the pudding makes.
Make-Ahead and Storage
I made my updated Pet Ghost treats ahead and stored one in the refrigerator for a day. It held up well during that time, so one day ahead is the make-ahead window I tested.
Keep the assembled treats refrigerated at 40°F or below. For serving, limit time out of refrigeration to two hours, or one hour when temperatures are above 90°F. Discard perishable treats left out beyond those limits. See the FDA’s food storage guidance for more information. www.fda.gov
If transporting, use a cooler with ice packs to keep them cold and a snug box to support the pies.
Pet Ghost Dirt Pie FAQs
Can I Make These Ahead of Time?
Yes. My updated version held up well after one day in the refrigerator. That is the make-ahead period I tested.
Why Did My Candy Corn or Candy Pumpkins Leak Color?
In my first batch, the candies softened after sitting directly on the moist pudding. They released orange color into the crust and around the pie tins. Adding crushed Oreos over the pudding helped prevent that in my next batch.
Do I Need the Clear Cup and Printable Tag?
They create the pet ghost presentation, but they are not edible ingredients. You can serve the decorated mini pies without them.
How Many Tags Are on Each Page?
There are nine tags per page. Print two pages if you are making a dozen treats.
Can I Carry the Treats by Their Clear Cups?
Support them from underneath the pie tins instead. The tape helps hold the covers in place, but it is not a secure handle. For transport, keep the pies level and snugly packed.
More Halloween Treats for Kids
For more Halloween dessert ideas, try my Halloween Dirt Cups or Nutter Butter Ghosts.
For a fruity option with another playful character, try Frankenstein Grape Cups.
I’d Love to Hear From You

If you make this recipe, I’d love to hear what you think! Please leave a star rating and comment below to let me know how it turned out. I love hearing from you, and your ratings help other readers find and enjoy the recipe, too!
Pet Ghost Mini Chocolate Pies
Equipment
- mixing bowl
- whisk
- measuring cup
- Spoon
- Tools for crushing cookies
- 12 clear plastic cups that fit over the ghosts and rest on the pie tins 9 oz.
- 12 printable Pet Ghost tags—print two pages
- Scissors
- Hole punch
- twine
- tape
Ingredients
- 1 family-size box chocolate instant pudding mix 5.9 ounces
- 3 cups milk as directed on the pudding package you used
- 12 mini graham cracker pie crusts
- 6 Oreo cookies (Approximately) crushed, or enough to cover the pudding
- 12 ghost Peeps
- Candy pumpkins or candy corn for decorating
Instructions
- Prepare the instant chocolate pudding with the milk according to the package directions. Allow it to thicken as directed.
- Spoon the pudding into the mini graham cracker crusts, leaving room for the cookie topping and decorations.
- Cover the pudding’s surface with crushed Oreo cookies.
- Place a ghost Peep upright on each pie and add candy pumpkins or candy corn.
- Print and cut out the Pet Ghost tags. Punch a hole near the top of each tag.
- Wrap twine around the narrow end of each inverted clear cup. Use tape to help hold the twine in place, then thread on a tag and tie it to the side.
- Place a cup over each decorated pie. Use tape to help secure the cup to the pie tin if moving the treats.
- Refrigerate until serving. Remove all packaging before eating.
Notes
- Yield is approximately twelve pies and depends on how much pudding you add to each crust.
- The Oreo quantity is an estimate from the package used; add enough crumbs to cover the pudding.
- Milk amounts and setting instructions may differ between pudding products. Follow your package directions.
- The Oreo layer helped keep the candy decorations intact in my test.
- I tested the assembled treats for one day in the refrigerator.
- Tape helps secure the cup covers but is not foolproof. Support the tins from underneath and pack snugly for transport.
- Keep refrigerated until serving.