Easy Nutter Butter Ghost Cookies for Halloween
This post may contain affiliate links – please read my disclosure statement.
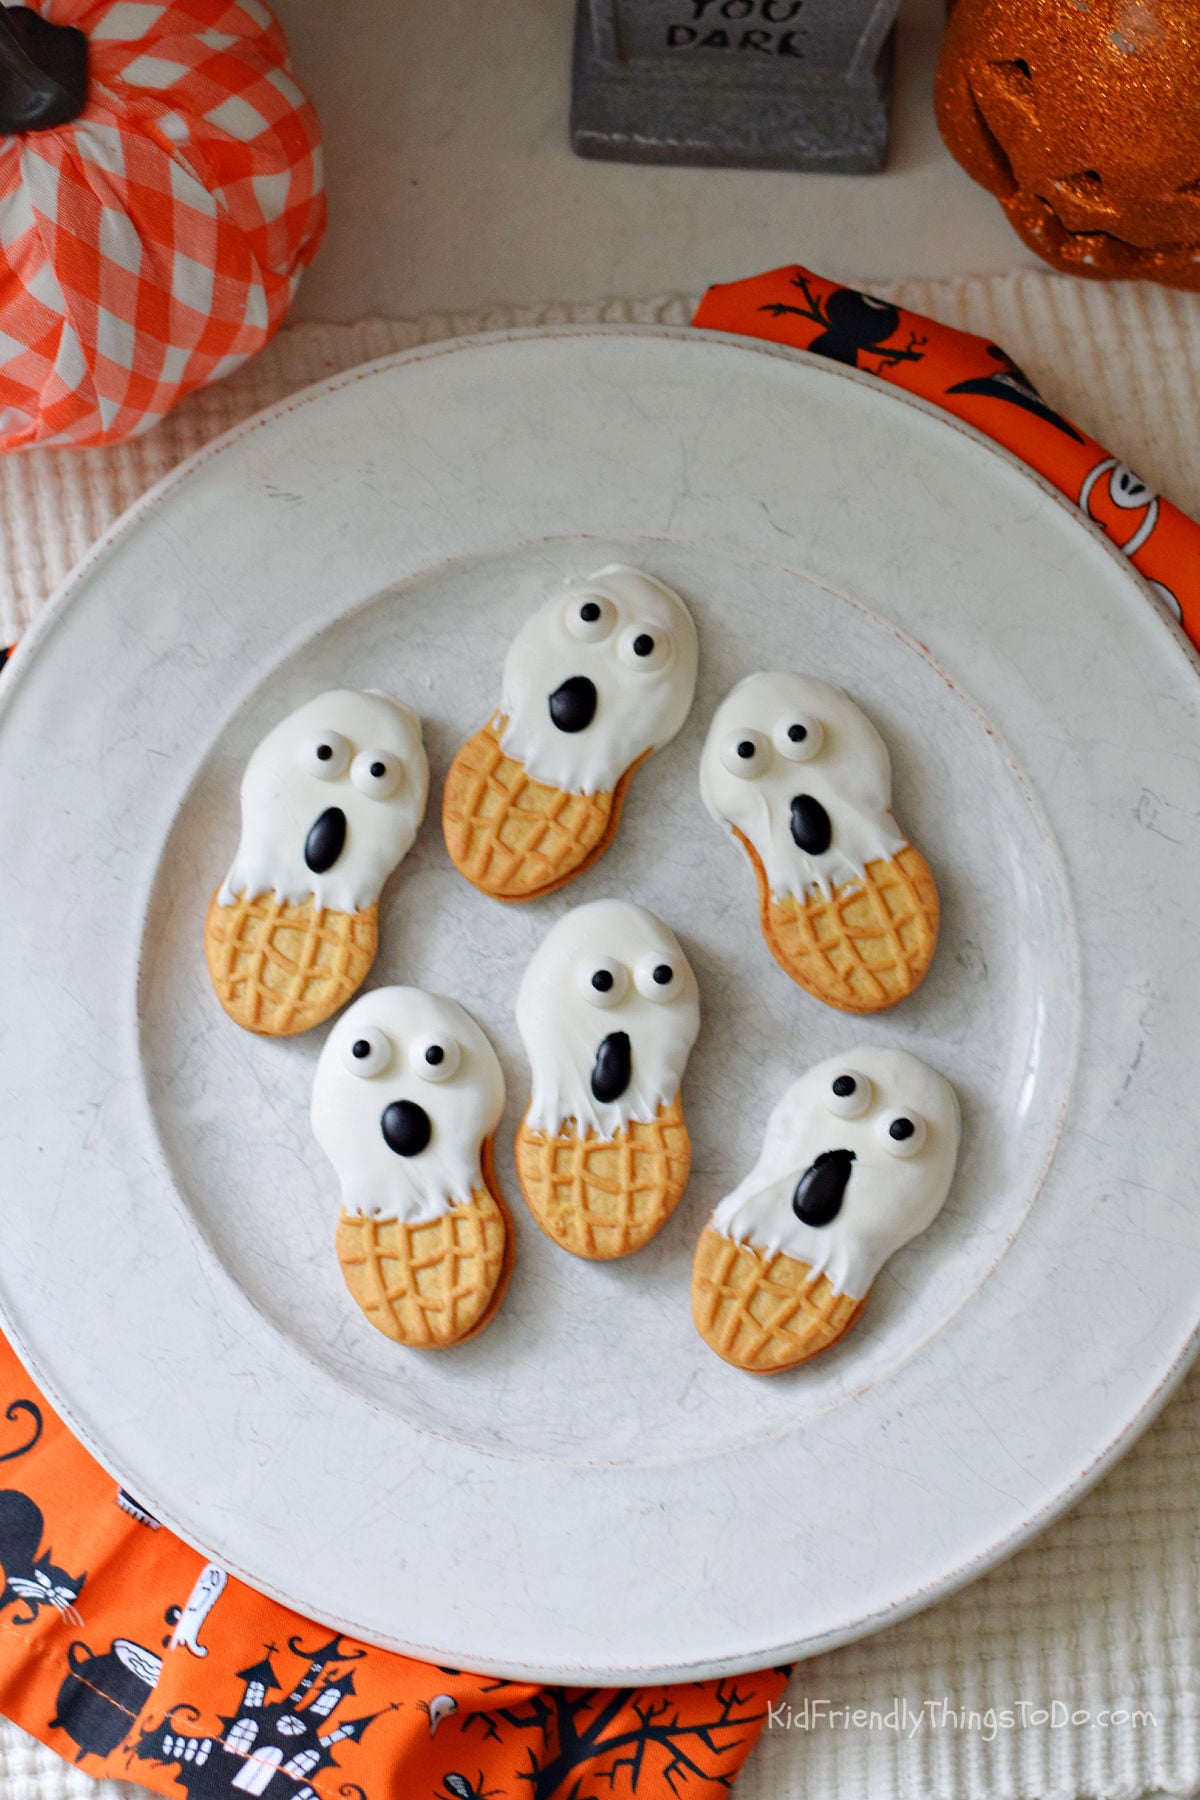
The first time I pressed the candy eyes into these Nutter Butter ghosts, the chocolate rose around them. It gave the cookies funny, grumpy expressions—but I was going for wide-eyed, surprised ghosts.
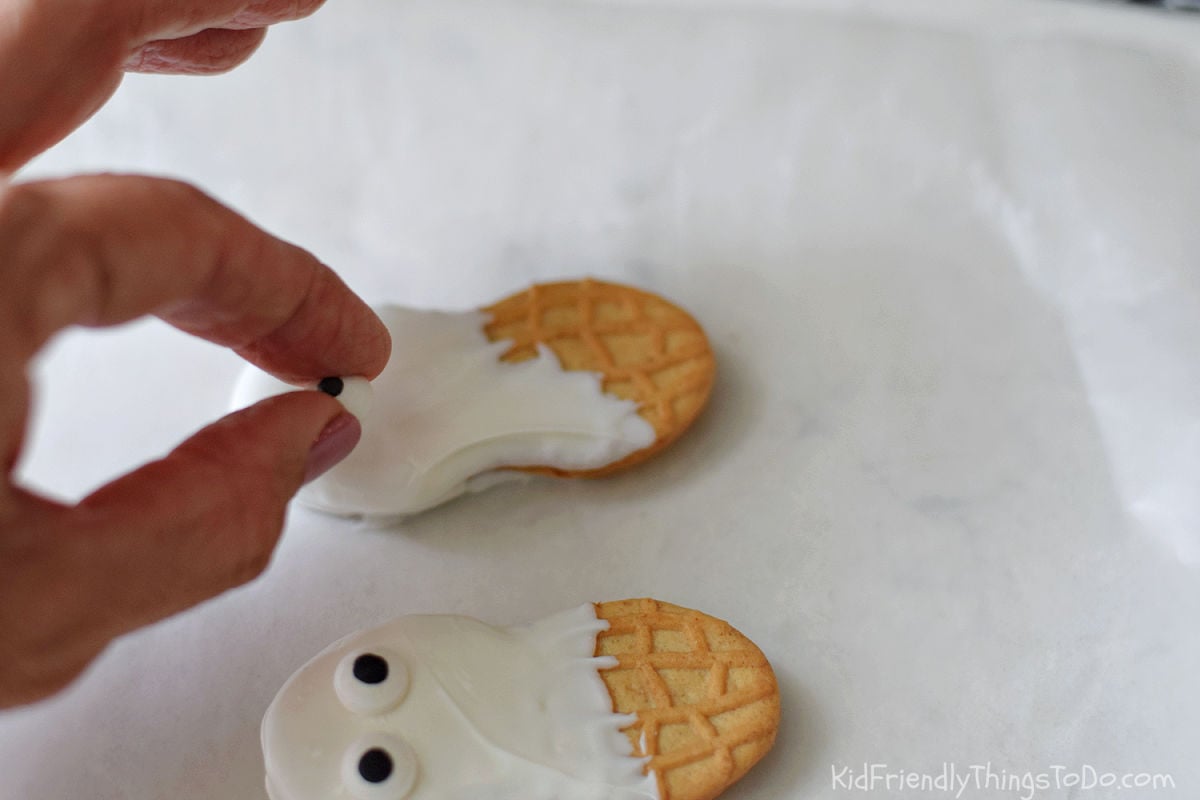
I learned to set the eyes gently on the wet chocolate instead. I also work the front of each cookie against the chocolate at the side of the bowl. That helps the white coating reach halfway to three-quarters of the way down without needing to cover the whole cookie.
For these Nutter Butter ghost cookies, I made a small batch of six. They’re a fun Halloween treat when you want just a few cookies for a plate rather than a large batch.
Why You’ll Love These Nutter Butter Ghosts
- They have personality. Each pair of eyes and surprised little mouth gives the ghosts a slightly different expression.
- You can make a small batch. I made six and still had some melted coating left over.
- The drippy edges look cute. The chocolate doesn’t need to make a perfectly straight line across the cookies.
👻 My Ghost-Cookie Cheat Sheet
| Detail | What worked for me |
|---|---|
| 🤍 Shape | Work the front of the dipped cookie against the chocolate at the side of the bowl to bring the coating farther down. |
| 💧 Neat finish | Scrape excess chocolate off the back so it doesn’t pool on the wax paper. |
| 👀 Surprised eyes | Gently set the eyes on the wet chocolate. Pressing them in creates raised rings and a grumpy look. |
| 😮 Mouth | Wait for the white coating to dry before adding the black cookie icing. |
Ingredients for Nutter Butter Ghost Cookies
- Nutter Butter cookies
- bright white chocolate melts — approximately one-third of a 12-ounce bag; I had some left over
- 12 candy eyes
- Wilton black cookie icing in a squeeze bottle, as needed for the mouths
Equipment Needed
- A microwave-safe glass bowl
- silicone utensil
- wax paper
- Something to protect your work surface from the hot bowl
How I Melt the Chocolate
After years of making chocolate-dipped treats, I prefer using a microwave-safe glass bowl. I like the consistency I get with it. A silicone utensil also makes it easier for me to scrape the chocolate off as I stir.
| ⏱️ Stage | 🍫 What I do |
|---|---|
| Heat | Microwave the chocolate melts in the glass bowl for 1 minute. |
| Stir | Stir with a silicone utensil until smooth. |
| Check for lumps | If lumps remain, microwave for another 30 seconds, then stir until smooth. |
| Set down the bowl | Place the hot glass bowl on a protected work surface. |
How to Make Nutter Butter Ghost Cookies
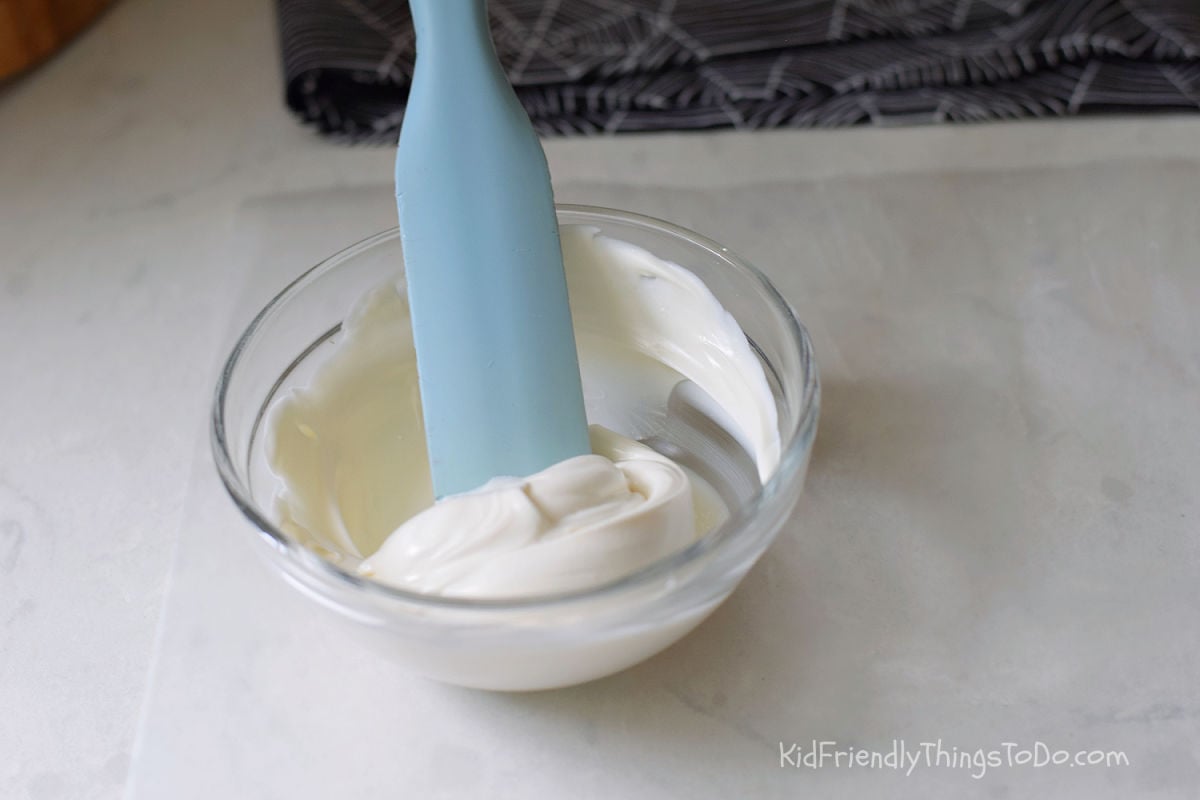
Step 1: Prepare your work surface. Lay out wax paper before you begin dipping. Melt the bright white chocolate as described above.
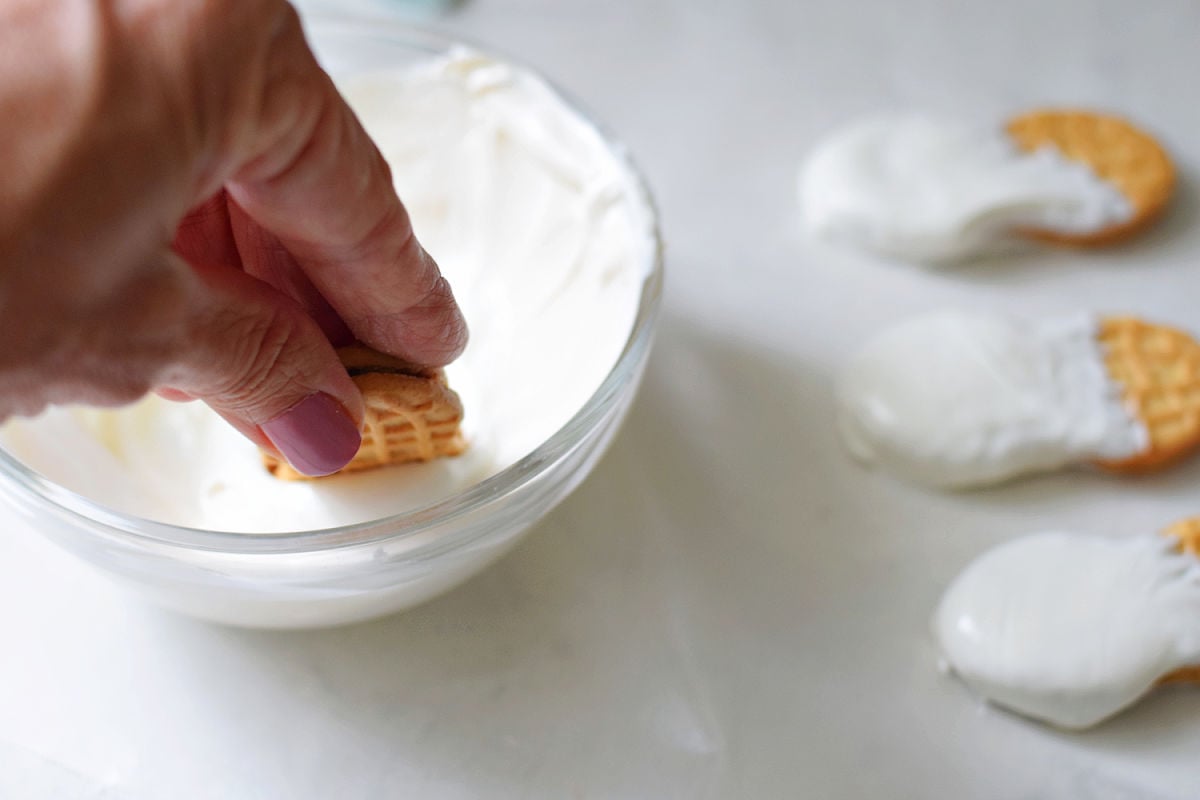
Step 2: Dip one cookie. Dip a Nutter Butter into the chocolate. Bring the front against the chocolate at the side of the bowl to help the coating reach at least halfway to three-quarters of the way down the cookie. The amount of coating on the back is up to you. Scrape excess chocolate off the back so it won’t pool underneath.
Step 3: Add its eyes right away. Set the dipped cookie on wax paper and gently place two candy eyes on the wet chocolate. Finish the eyes on each cookie before dipping the next one—the coating may dry before you can get back to them if you dip all six first. Repeat with the remaining cookies.
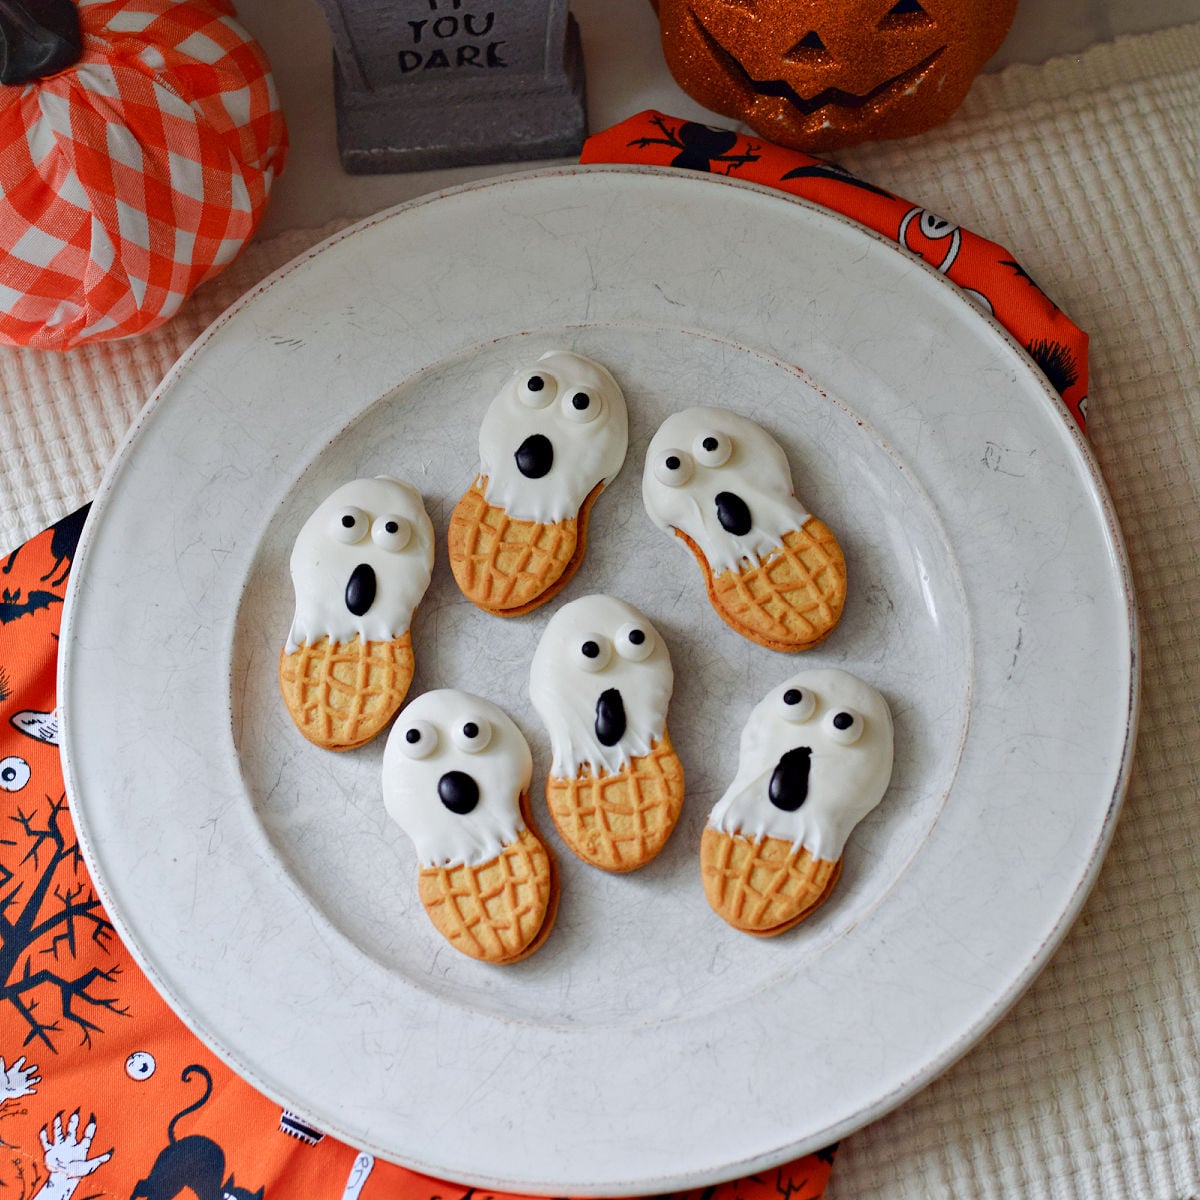
Step 4: Add the mouths. Once the white coating is dry, use the Wilton black cookie icing to make an oval mouth on each ghost. Let the icing dry and set before handling the cookies.
The white coating may set in about 1–5 minutes, depending on your kitchen; mine can set closer to a minute.
Melissa’s Tips for Halloween Ghost Cookies
- Place, don’t press, the eyes. Pushing them down creates raised chocolate rings. It’s a cute way to make a grumpy ghost, but gently placed eyes give these ghosts the surprised look I wanted.
- Dip and decorate one at a time. The eyes need to go on while the chocolate is wet.
- Scrape the back before setting the cookie down. It keeps excess chocolate from pooling around the base.
- Keep them at room temperature. I’d expect the cookies to keep for about 3–5 days in a container; the main concern is the Nutter Butters becoming stale. I wouldn’t refrigerate or freeze this batch because condensation can affect how the chocolate looks.
How do I make ghost cookies?
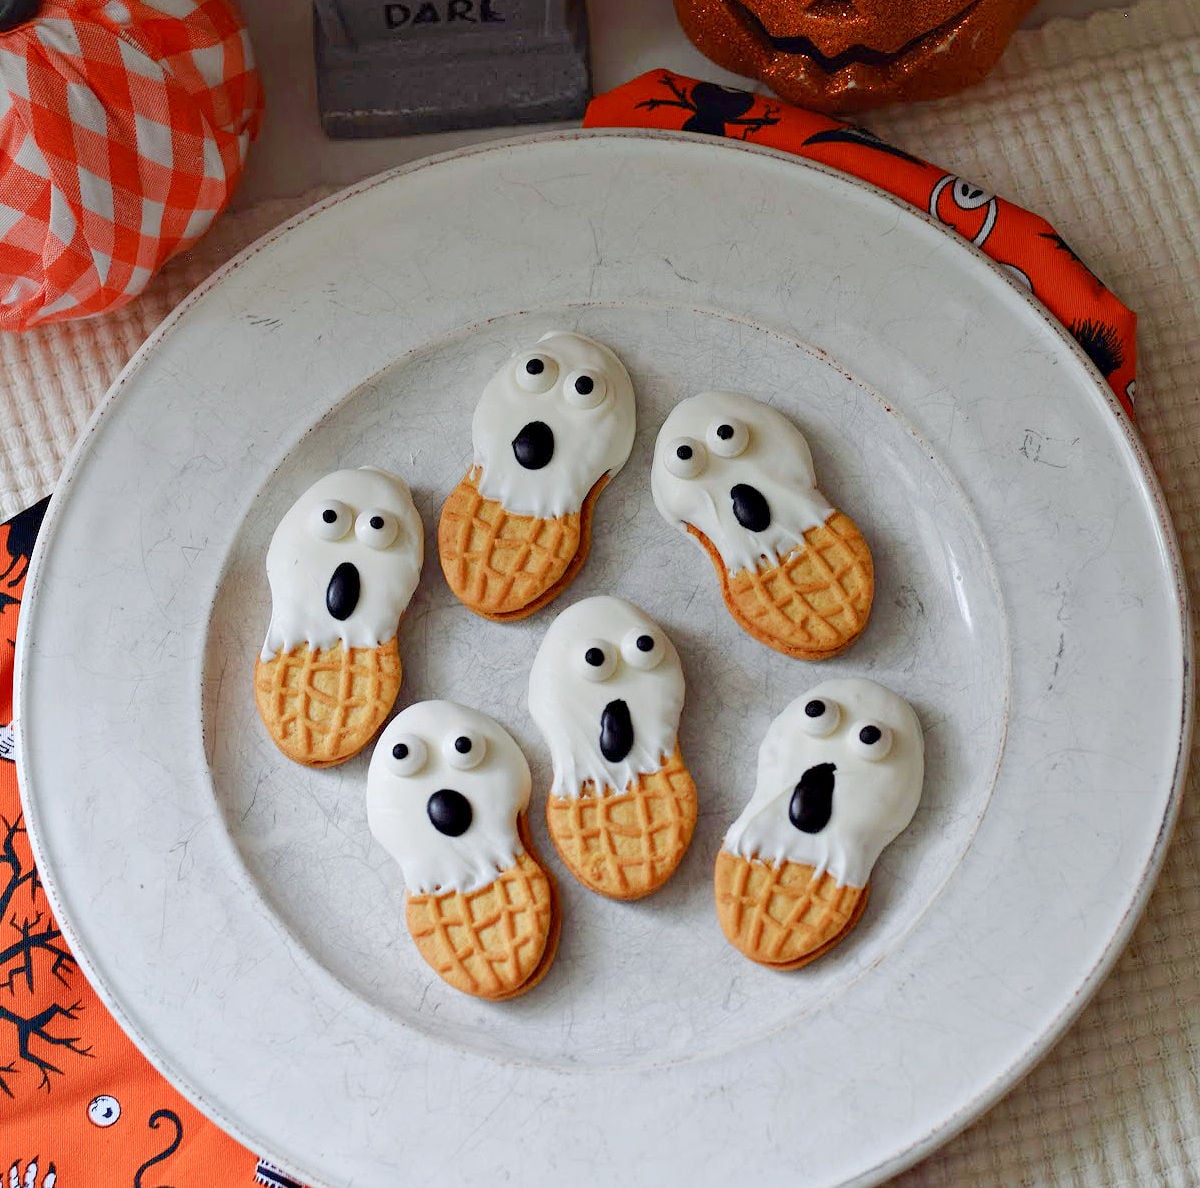
To make these ghost cookies, dip Nutter Butters in melted bright white chocolate, coating the front about halfway to three-quarters of the way down. Set each cookie on wax paper and add candy eyes while the chocolate is still wet. Once the coating dries, use black cookie icing to add an oval mouth.
I’d Love to Hear From You

If you make this recipe, I’d love to hear what you think! Please leave a star rating and comment below to let me know how it turned out. I love hearing from you, and your ratings help other readers find and enjoy the recipe, too!
More Halloween Cookies and Treats
If you enjoyed making these ghost cookies for Halloween, try my Marshmallow Ghost Cookies, Oreo Witch Hat Cookies, pet ghost treats, or Halloween Cookie Decorating Ideas next.
Watch How to Make Nutter Butter Ghosts
Nutter Butter Ghost Cookies
Equipment
- Microwave-safe glass bowl
- silicone utensil
- wax paper
Ingredients
- 6 Nutter Butter cookies
- 4 ounces bright white chocolate melts with some left over
- 12 candy eyes
- Wilton black cookie icing in a squeeze bottle as needed
Instructions
- Lay out wax paper.
- Place the chocolate melts in a microwave-safe glass bowl and microwave for 1 minute.
- Stir with a silicone utensil until smooth. If lumps remain, microwave for another 30 seconds and stir again.
- Place the hot bowl on a protected work surface.
- Dip one Nutter Butter into the melted chocolate.
- Work the front of the cookie against the chocolate at the side of the bowl until the coating reaches at least halfway to three-quarters of the way down.
- Scrape excess chocolate off the back.
- Set the cookie on wax paper and gently add two candy eyes while the chocolate is still wet.
- Repeat the dipping and decorating process one cookie at a time.Once the white coating is dry, use black cookie icing to add an oval mouth to each ghost. Let the icing dry and set before handling.
Notes
- Pressing the candy eyes into the coating creates raised chocolate rings and a grumpy expression.
- For the surprised look shown, set them gently on top.
- Store at room temperature in a container for an estimated 3–5 days.
- I would not refrigerate or freeze these because condensation can affect the coating’s appearance.