Making Rolled Beeswax Candles with Kids
This post may contain affiliate links – please read my disclosure statement.
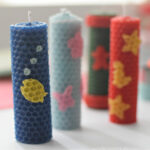
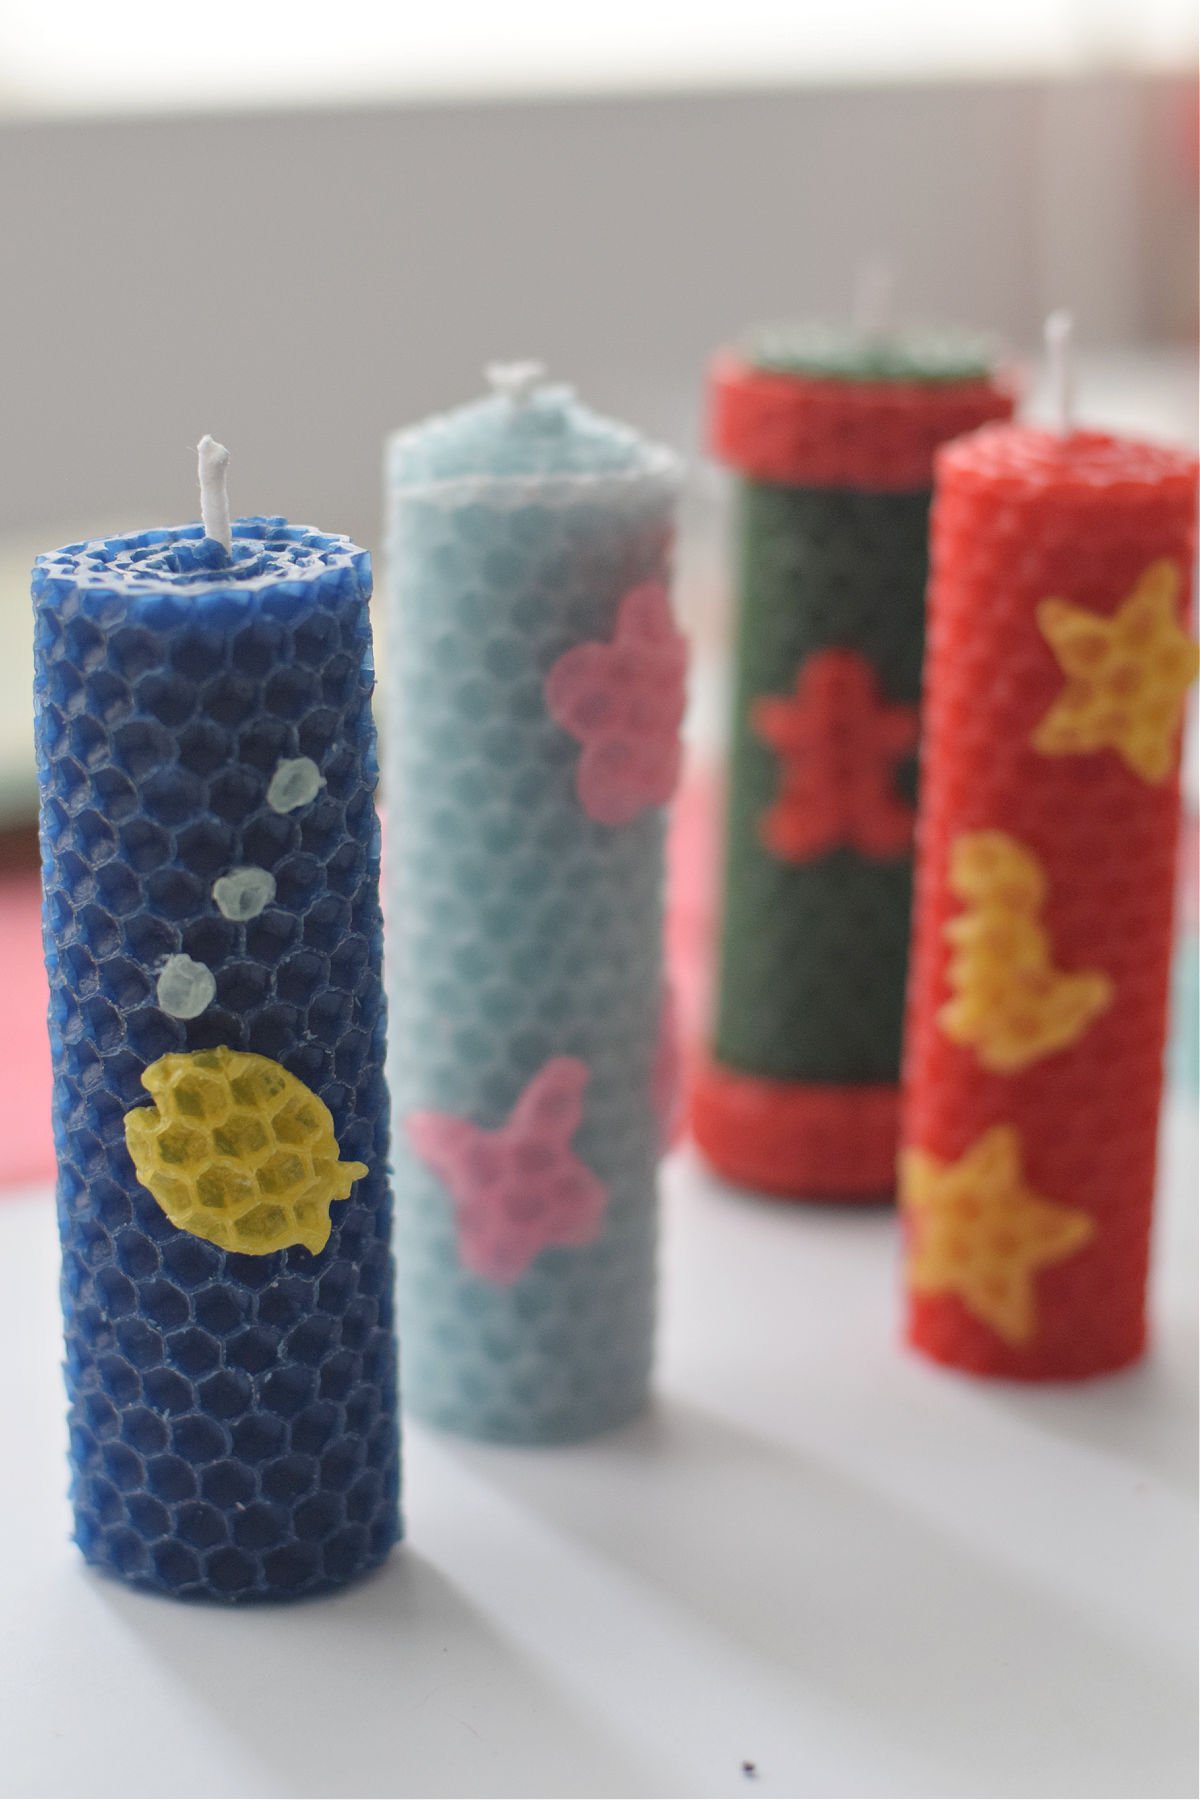
These beeswax-rolled candles can be made for any occasion or holiday. Kids and adults will love making candles and decorating them.
Adult supervision is required for each step of activities, recipes, crafts, and games with children. Small parts are a choking hazard.
Beeswax Candle Making
Making this craft with the kids is so much fun to do. These beeswax candles will be fun to use or give out as gifts. A great gift for mom on Mother’s Day and as Christmas Gifts. We love making homemade crafts to give out as gifts like these Dad and Me Painted Rocks for Father’s Day, this Shamrock Handprint Craft, and these Cupcake Paper Flowers
With a little help from an adult, these rolled beeswax candles are super fun and pretty simple to do.
Here’s What You’ll Love about this Candle Making Craft
- This beeswax candle craft is easy to make with the kids
- With cutouts, you can make candle designs for just about any theme and nature fun.
- These rolled candles are perfect for giving out as gifts.
Let’s make sure you have everything you need for this fun activity. Here’s what you’ll need to make some fun rolled candles with designs
Supplies You’ll Need for These Fun Rolled Candles
- Beeswax Sheets – I used beeswax sheets that were about four inches by twelve inches. You can find a beeswax sheet kit that comes with a wick online.
- Mini Cookie Cutters – I found some mini cookie cutters that were perfect for this craft. There are so many fun shapes you can find, like fish, dinosaurs, flowers, hearts, stares, and more
- Wick – If you didn’t get wick with your beeswax sheets, then you’ll want to find a roll of wick to use for this candle-making craft
Equipment Needed
A tool for poking the beeswax candles out of the mini cookie cutters
Hair Dryer
Optional – Wax paper
How to Make Beeswax Rolled Candles with the Kids
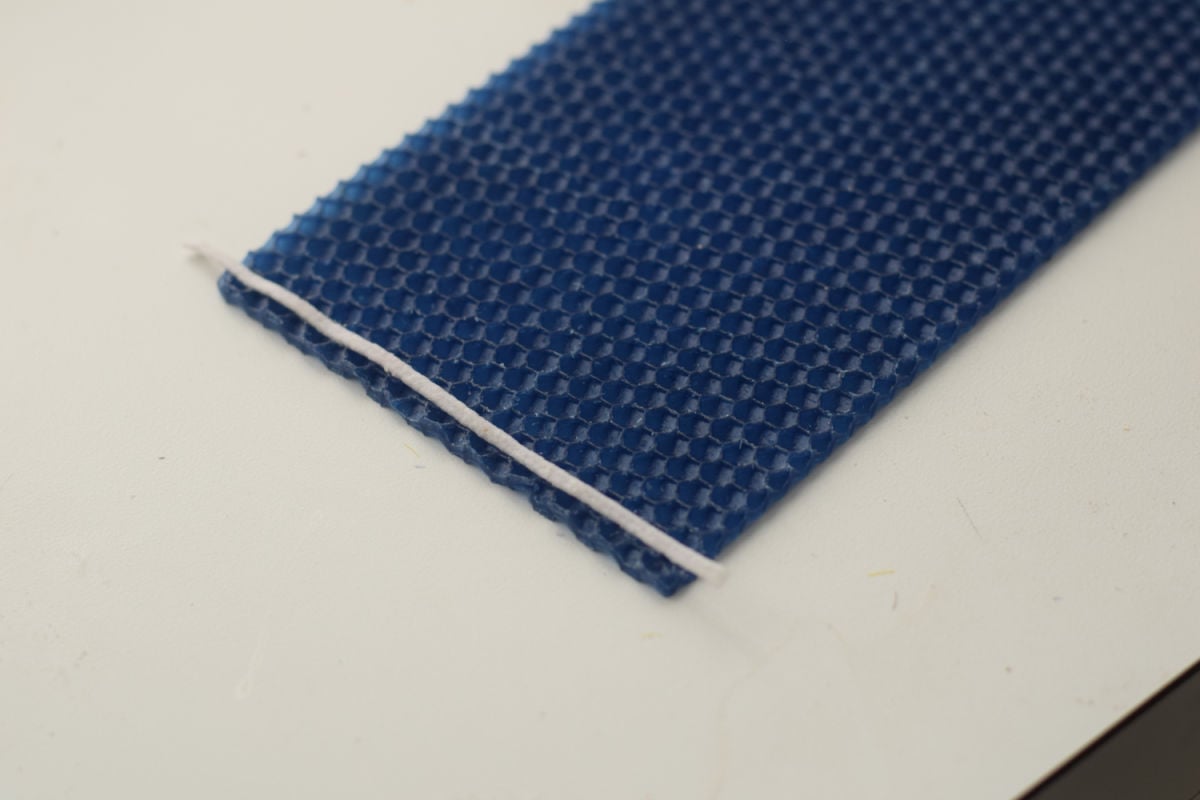
Cut the wick so it is about one inch longer than the shorter length of the beeswax candle sheet.
Optional: Place wax paper onto your work surface
Set the beeswax sheet onto the wax paper and place the wick across the short side’s edge.
If you are working with kids, a little tip is to ensure the wick extends out both edges so that if they roll it up and one side looks prettier, you’ll have options on choosing the top of your candle.
Start rolling the beeswax up and around the wick. You might notice that the first few rolls will cause the candle to break apart. Just push the broken pieces even with the rest of the candle and keep rolling. It will start to even out and roll easier.
Once you get to the end, use a hair dryer to warm the last little bit slightly.
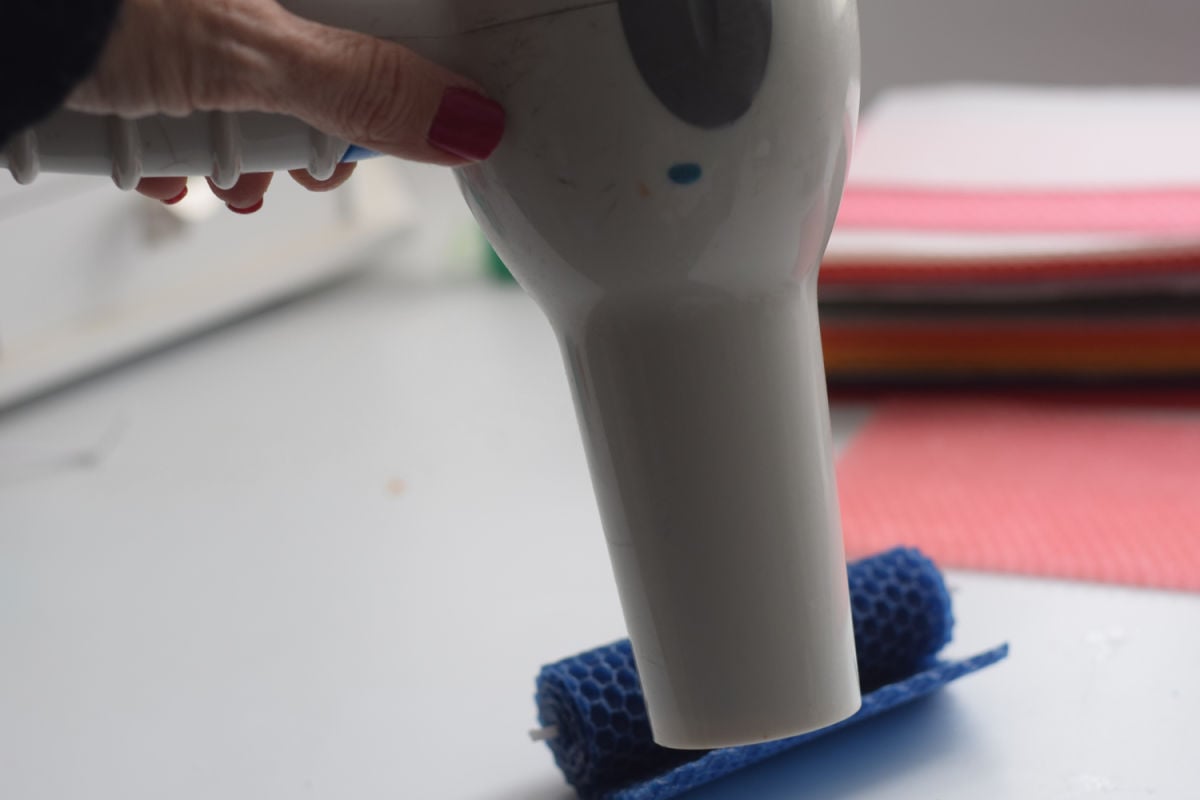
Push the warmed edge onto the candle and gently press down to seal it
Decorating Your Rolled Candles
Use your mini cutters to punch fun shapes out of contrasting beeswax colors
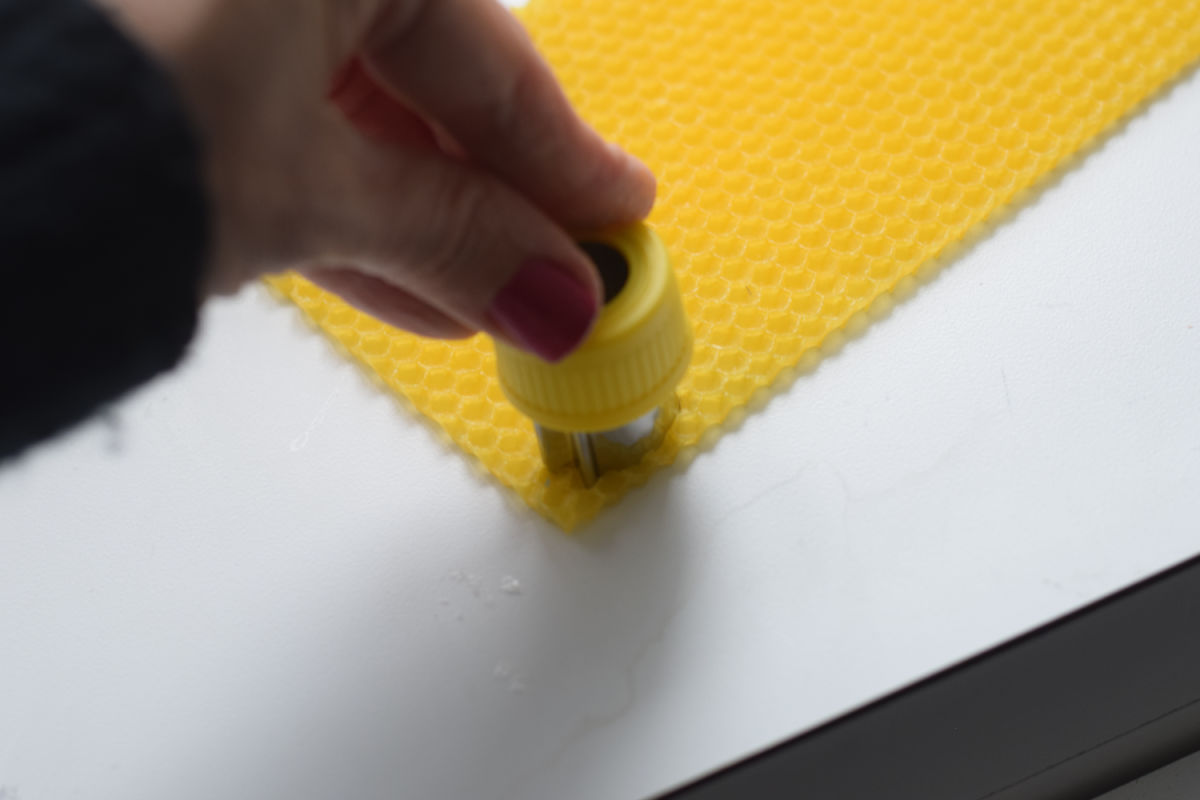
You may need to use a tool like the eraser side of a pencil to push the shape out
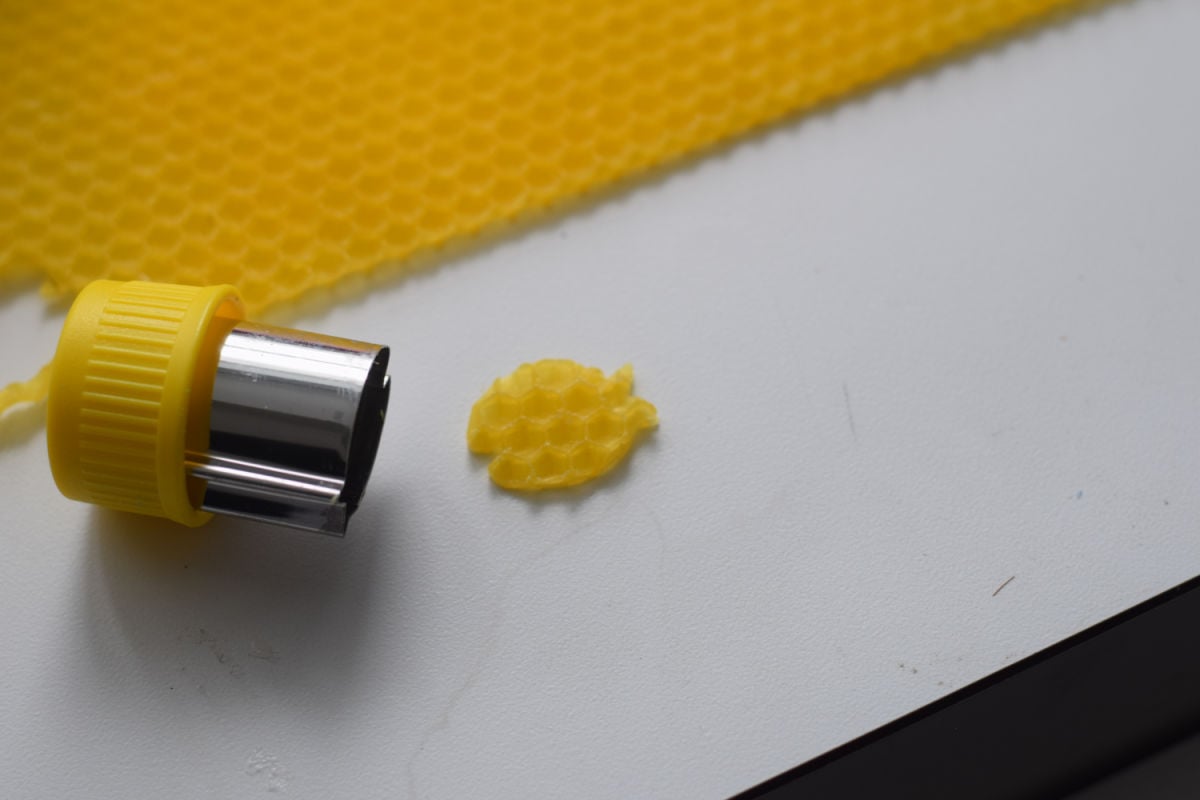
You can use other tools like straws to make little bubbles or circles and scissors to cut out more shapes to use
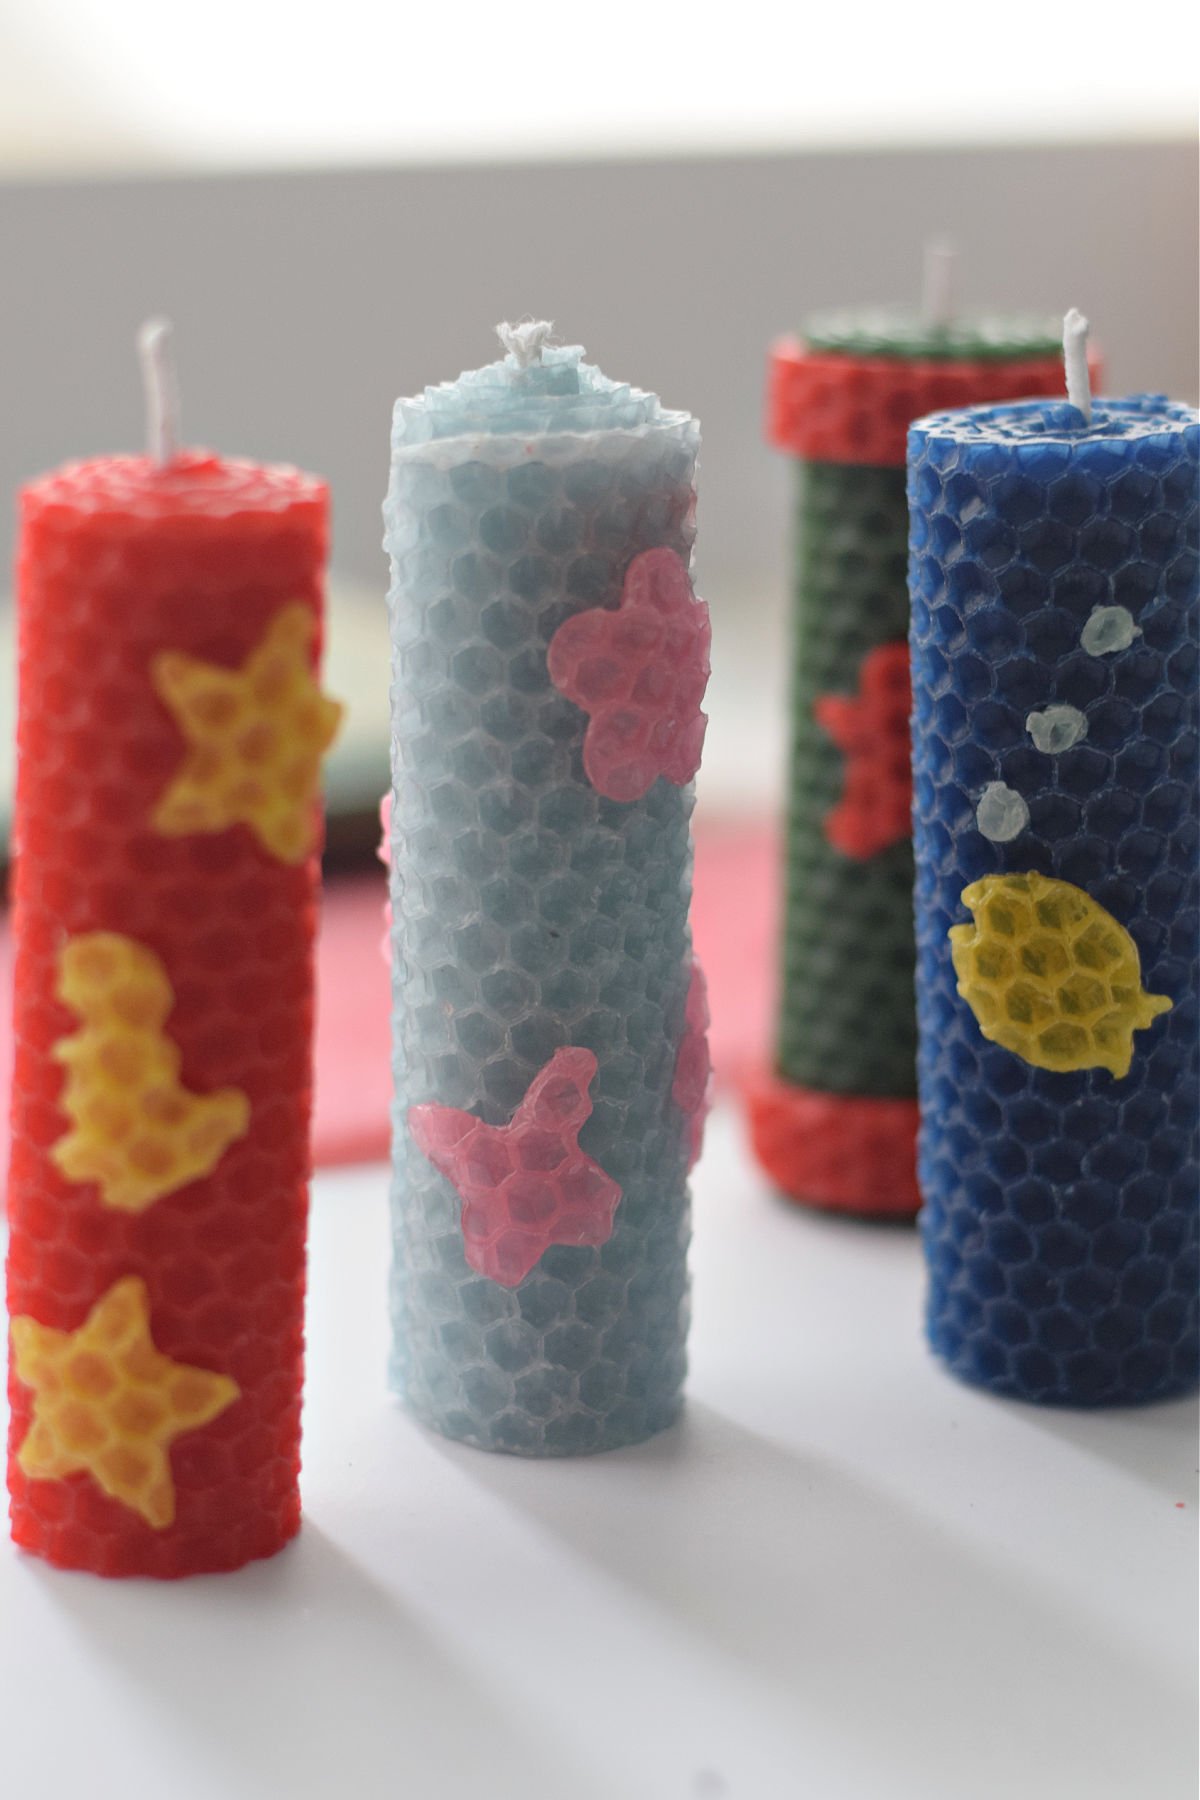
To make the shapes stick better, I used a hair dryer to warm them up so they would mold easier.
Expert Tips
Using a hair dryer is probably a job for the adult. It heats up fast, and the little cutout shapes will fly all over the place from the air pressure, so you’ll need to hold those down while you quickly warm them up.
Holiday Party Craft Idea
This is a great Classroom Party Craft – It is easy to do, and kids love working with cookie cutter shapes – Adapt it for any Holiday – Plan and order the colored beeswax sheets and have enough cookie cutters to go around.
Variation
Make shaped beeswax candles with large cookie cutters
Give each child a piece of wax paper as a work mat – This way, the candle won’t stick to your table.
Stack Beeswax sheets together, using at least four pieces.
Use your cookie cutter as a size guide to cut out a square for each cookie cutter. My kids picked out their cookie cutters in advance, and I customized the size of the squares for each cookie cutter.
Cut your wick so the wick will run down the length of your square and have an inch sticking out of the top.
Place the wick between the four square pieces, with two under the wick and two above the wick. The wick should be in the center of one stack of beeswax – I told the kids we were making a wick sandwich.
Line up your cookie cutter and push it down through the four beeswax sheets.
You may need to trim some with scissors. Our cutters did not always cut through the entire shape.
More Crafts and Activities You’ll Love
Printable Instructions
Making Rolled Beeswax Candles with Kids
Equipment
- hair dryer optional
- wax paper optional
Materials
- beeswax sheets I used 4×12 inch sheets
- wick
- mini cookie cutters
Instructions
- Cut the wick so it is about one inch longer than the shorter length of the beeswax candle sheet.
- Optional: Place wax paper onto your work surface
- Set the beeswax sheet onto the wax paper and place the wick so it is lying across the edge of the short side
- If you are working with kids, a little tip is to make sure the wick is extending out both edges so that if they roll it up and one side looks prettier than the other, you'll have options on choosing which will be the top of your candle.
- Start rolling the beeswax up and around the wick. You might notice that the first few rolls will cause the candle to break apart. Just push the broken pieces even with the rest of the candle and keep rolling. It will start to even out and roll easier.
- Once you get to the end, use a hair dryer to slightly warm the last little bit. Push the warmed edge onto the candle and gently press down to seal it.
Decorating
- Use your mini cutters to punch fun shapes out of contrasting beeswax colors
- You may need to use a tool like the eraser side of a pencil to push the shape out
- You can use other tools like straws to make little bubbles or circles and scissors to cut out more shapes to use
- To make the shapes stick better, I used a hair dryer to warm them up so they would mold easier.
Notes
Adult supervision is required for each step of activities, recipes, crafts, and games with children. Small parts are a choking hazard.
~ Melissa – KidFriendlyThingsToDo.Com

