How to Make Pie Crust in a Food Processor
This post may contain affiliate links – please read my disclosure statement.
This is the Basic Pie Crust Recipe I use for my pies. Made in a food processor, it is made quickly and easily. It’s easy-to-make and rolls nicely. Plus, it’s nice flaky pie crust, and fluffy when baked. It’s a good – “go-to” pie crust recipe to have.
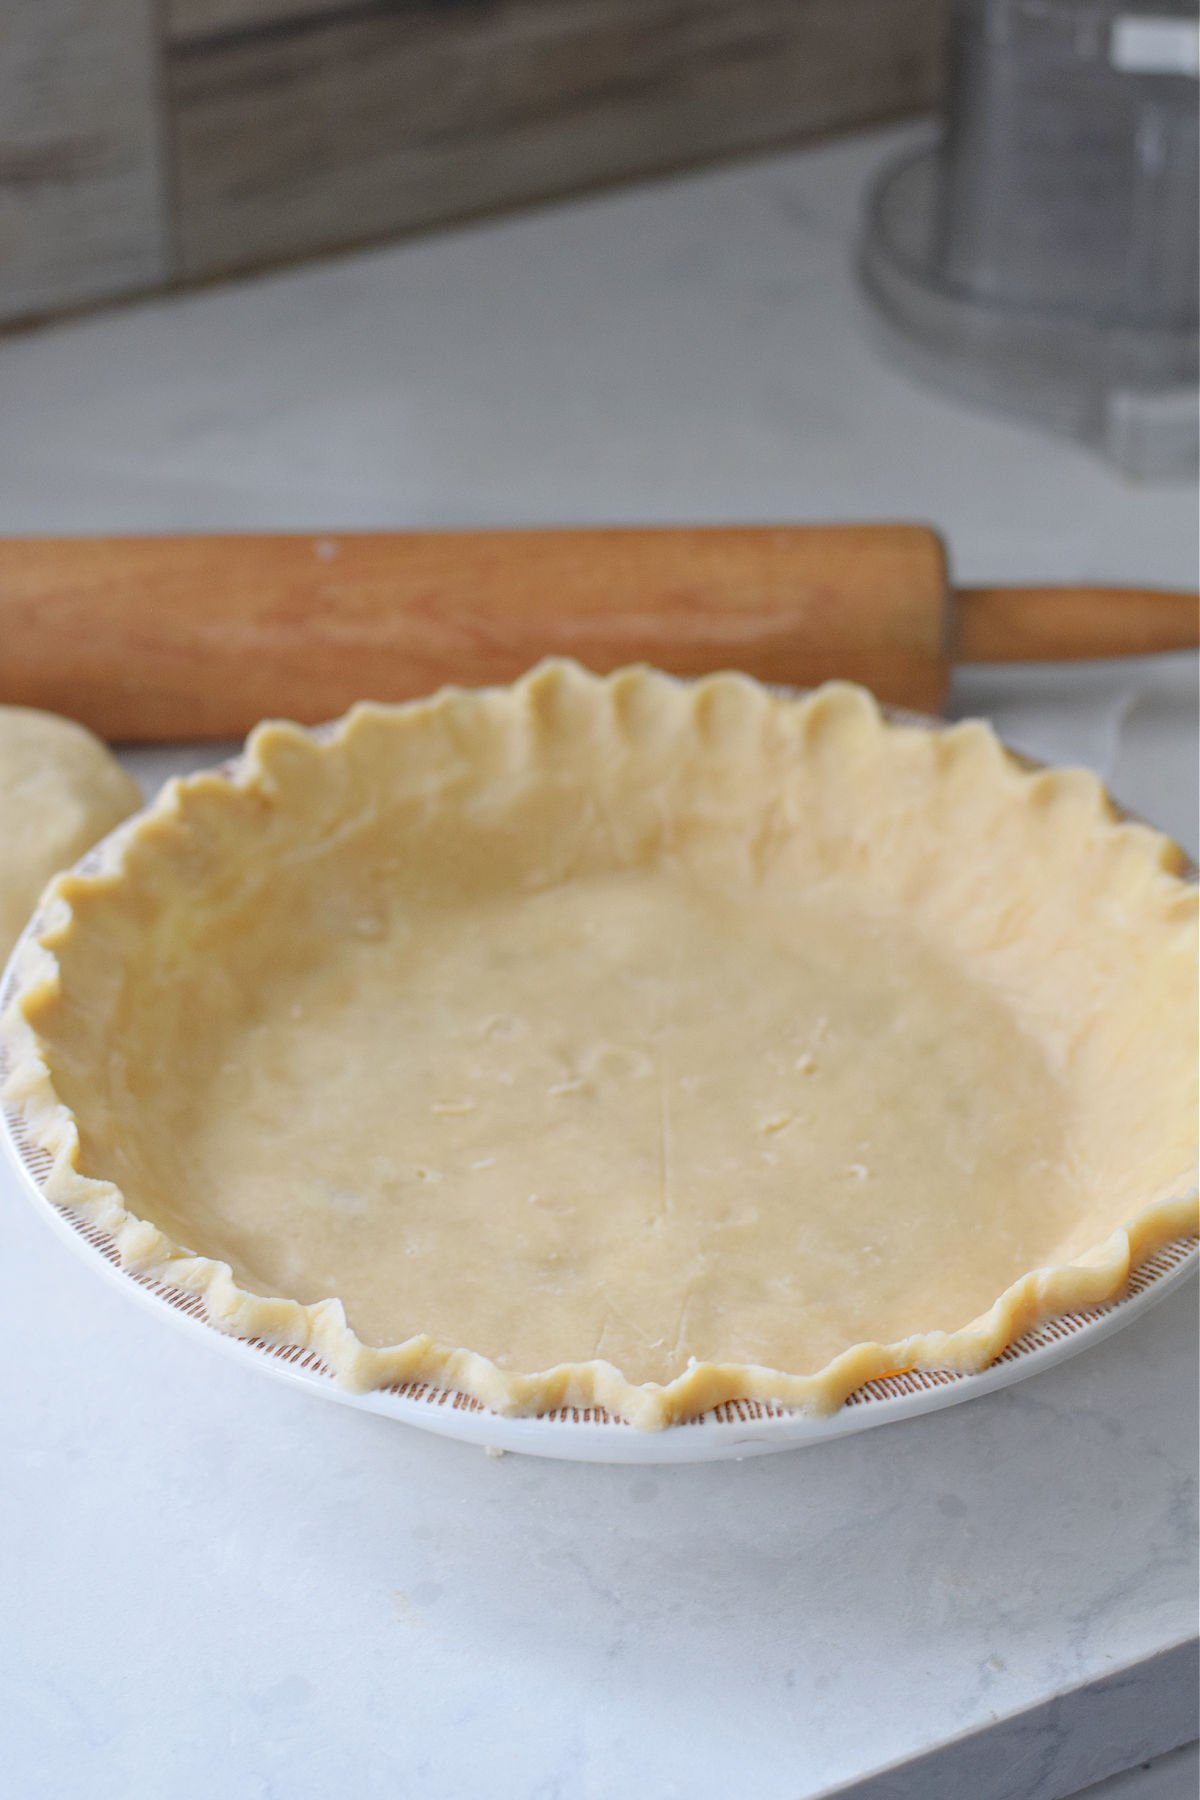
Basic Pie Crust Recipe
This recipe for pie crust is perfect every time. I love how consistent this pie crust recipe is. It’s easy to make and perfect for baking any pie. It makes two pie crusts, so if you only need one then you can freeze the other disk of pie dough in the freezer until you need it. Making pie crusts can be so daunting, so I always love a good pie crust recipe that is easy and delicious like this pie crust made in the pie pan – a no-roll pie crust.
What You’ll Love About this Homemade Pie Crust Recipe
- It is a consistent pie crust that is perfect every time.
- This recipe makes enough for two single-crust pies, or one double-crust pie
- You’ll love how easy this pie crust is to make. It’s the perfect pie crust for all of your holiday occasions
Ingredients
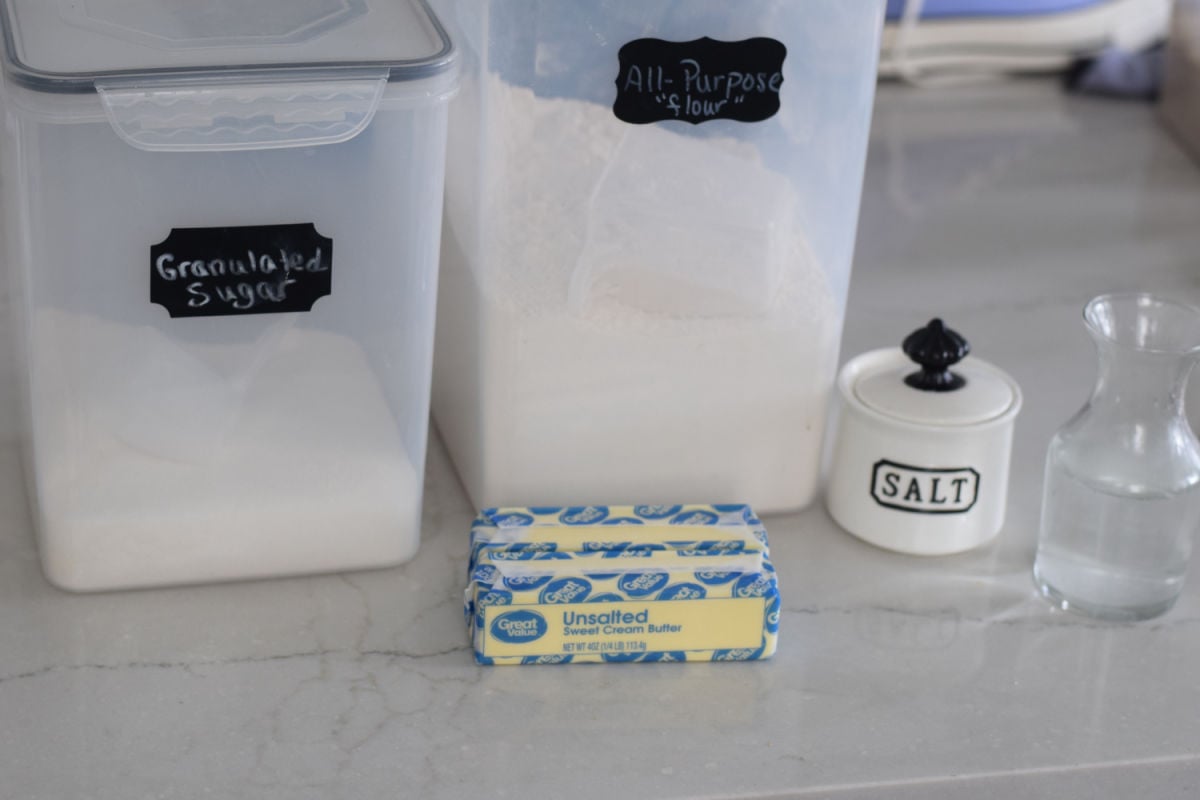
this recipe makes (2) 9-inch pie crusts
- 2&1/2 cups of all-purpose flour
- 1 tsp of salt
- 1 tsp of sugar
- 1 cup of unsalted butter – cold butter – right out of the refrigerator, and cut into 1/2 inch pieces
- up to 1/4 of COLD ice water
How to Make this Food Processor Pie Crust Recipe
Instructions
- Pour the flour into the food processor.
- Add the salt and sugar
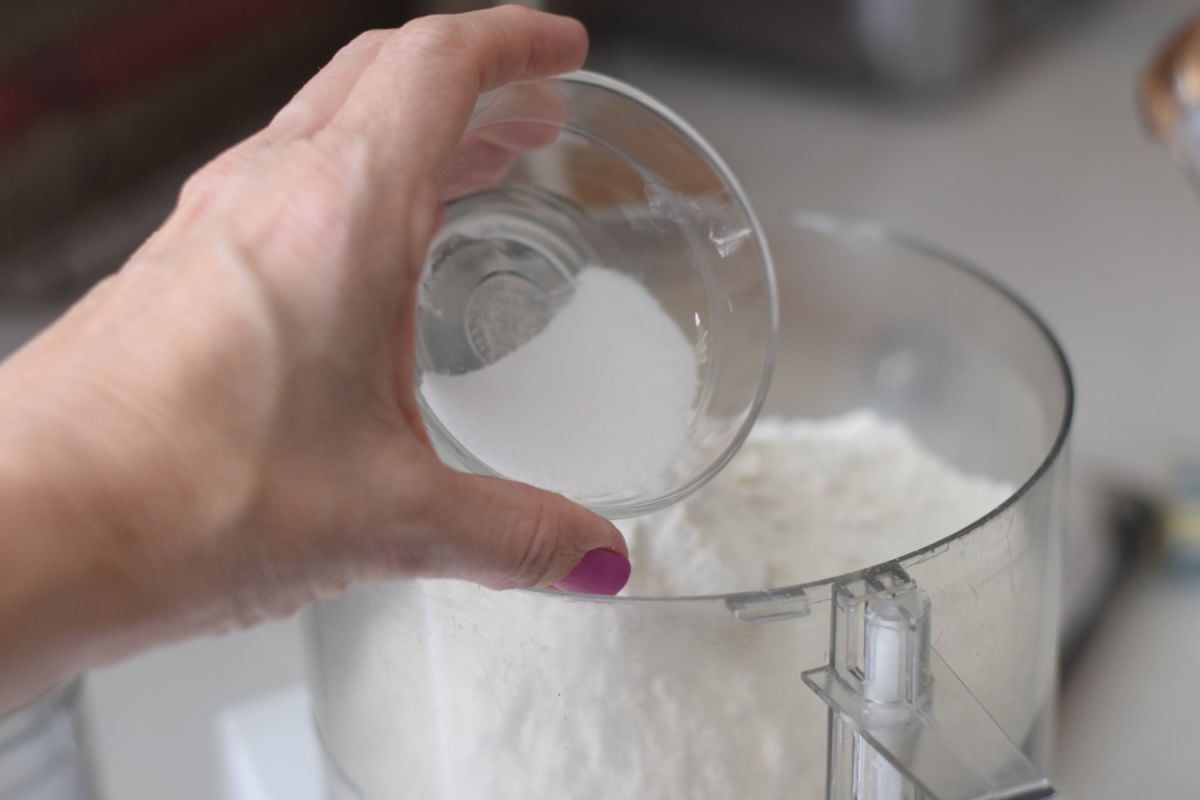
- Set the food processor to pulse so the salt is distributed throughout the flour.
- Add the cut-up pieces of butter and pulse until the mixture forms small pea-sized balls of butter, or if you use a blender, Mix until it forms small balls.
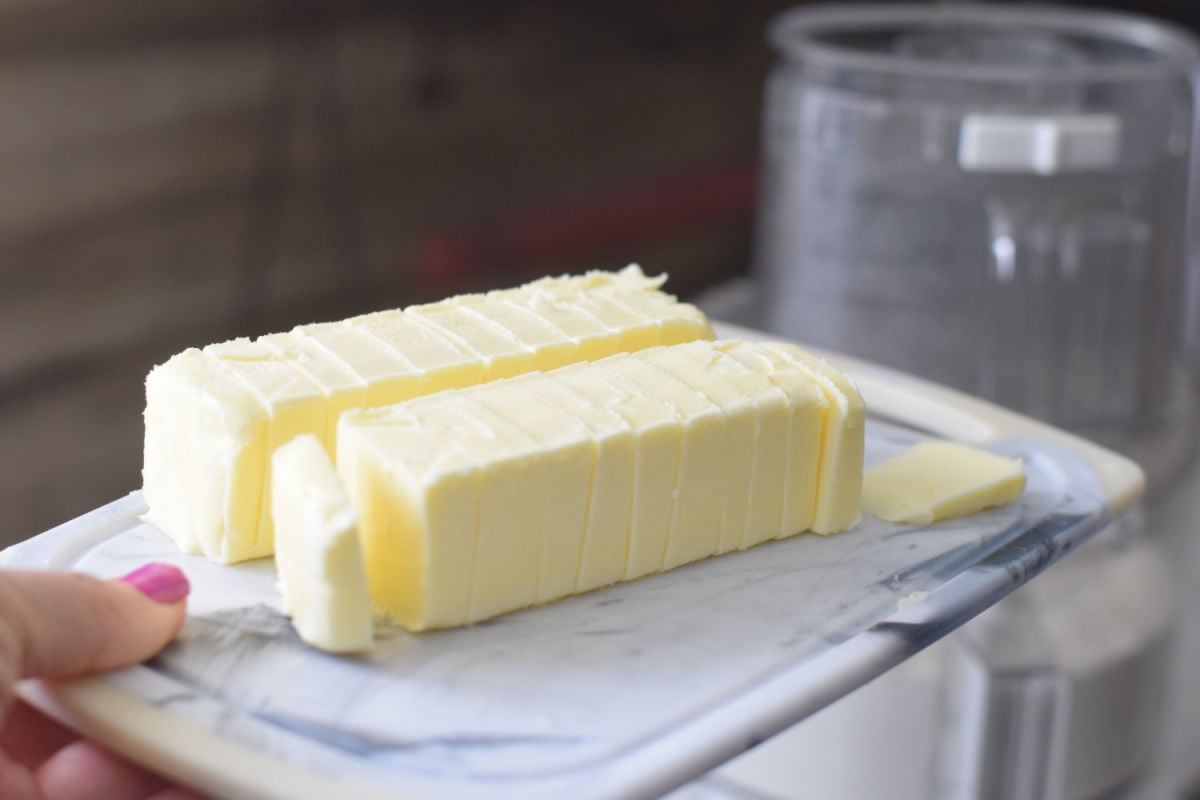
- Add the cold water one tablespoon at a time and pulse again with a food processor until the dough is chunky and looks like balls of dough.
- Some of your butter might still be in pieces—that’s exactly what you want to see. You may only use 2 tbsp. up to 1/4 cup. As soon as you see it looking chunky, then check it to see if it will come together. Don’t overwater your crust, or it will get doughy.
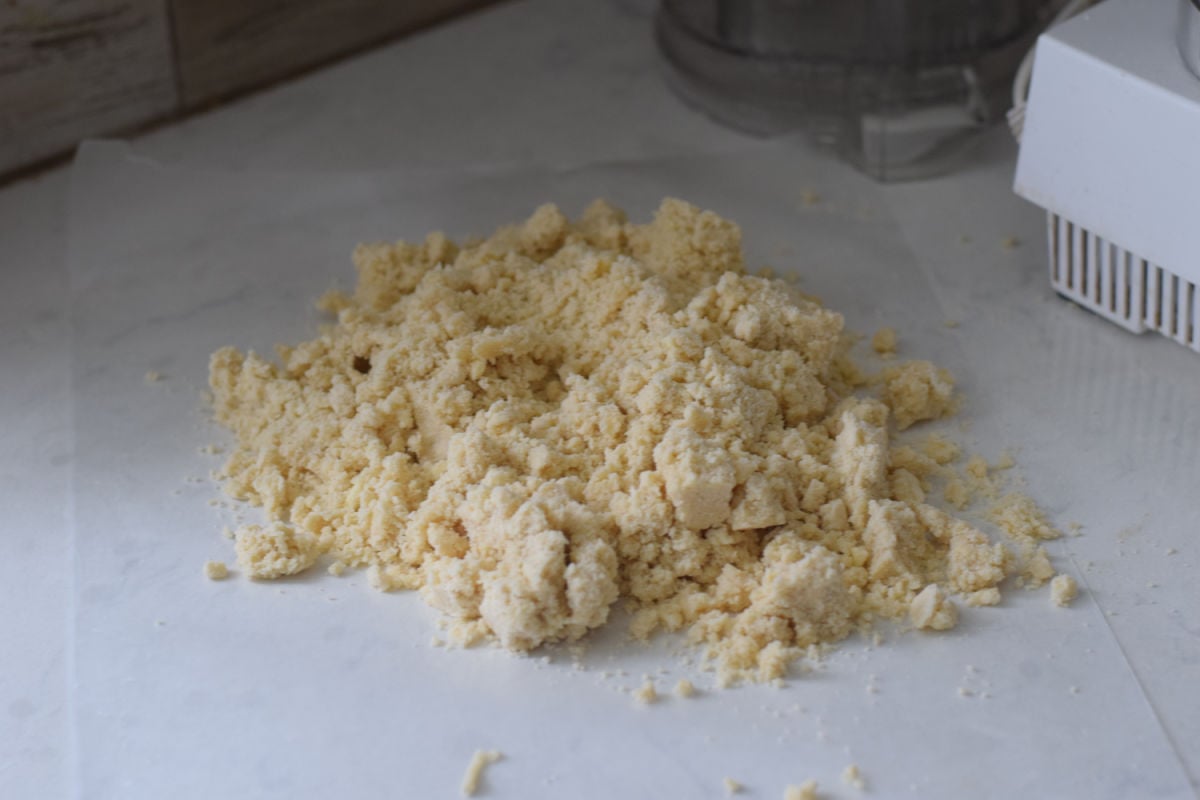
- Form a large ball with the pie dough
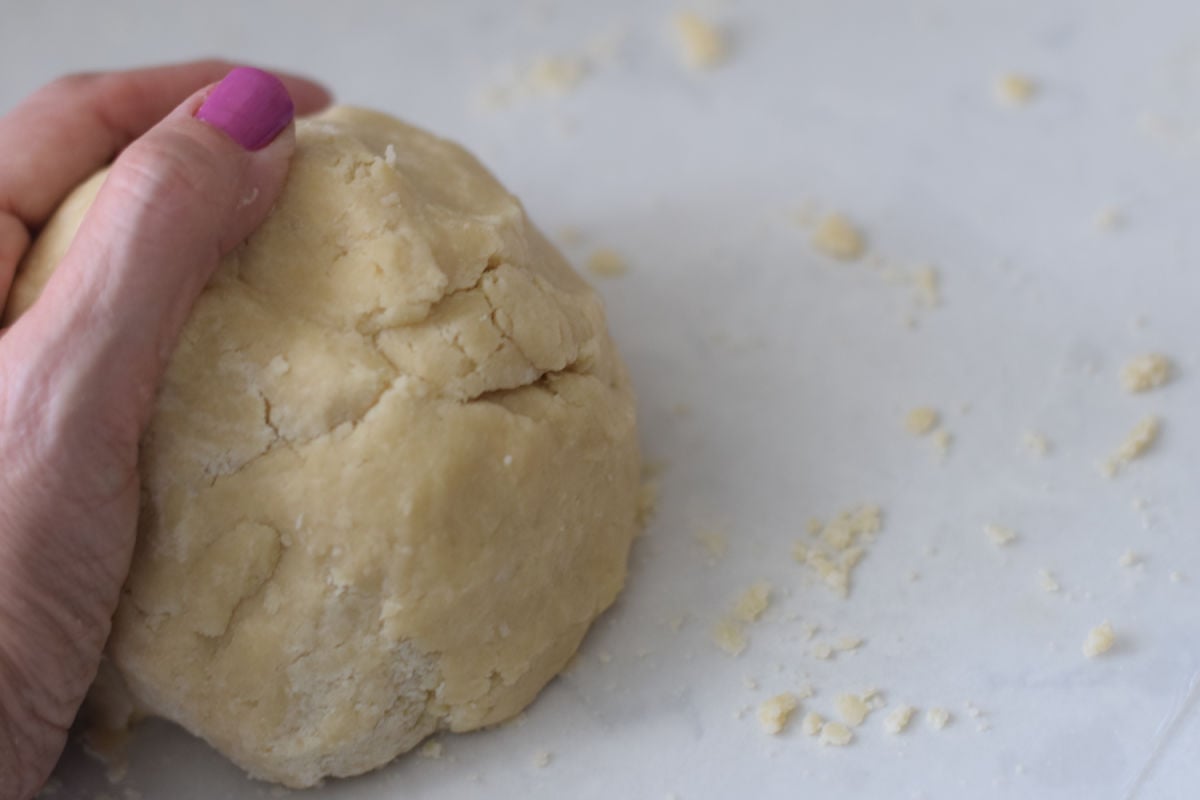
- Cut the dough in half and form pie dough discs.
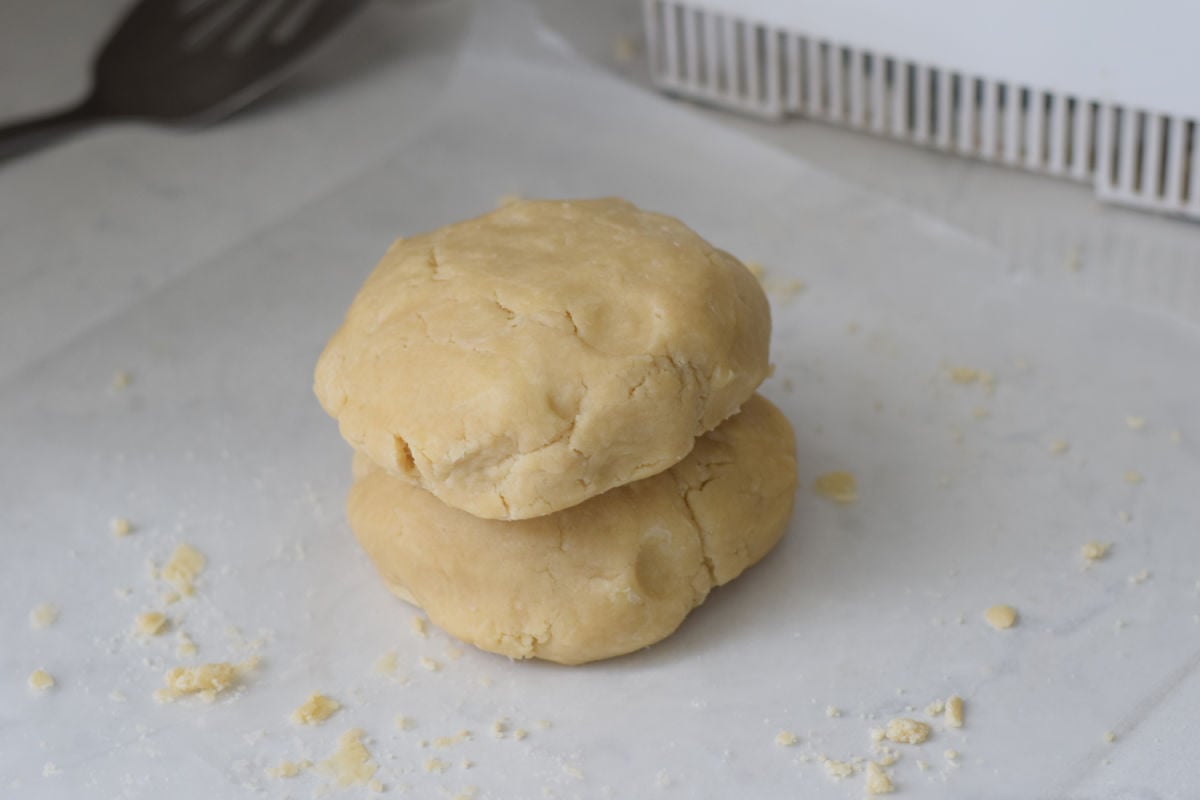
- Wrap the pie crust with plastic wrap.
- Pop the pie crust dough in the fridge to chill the pie dough for about 4 hours—one hour at the very least.
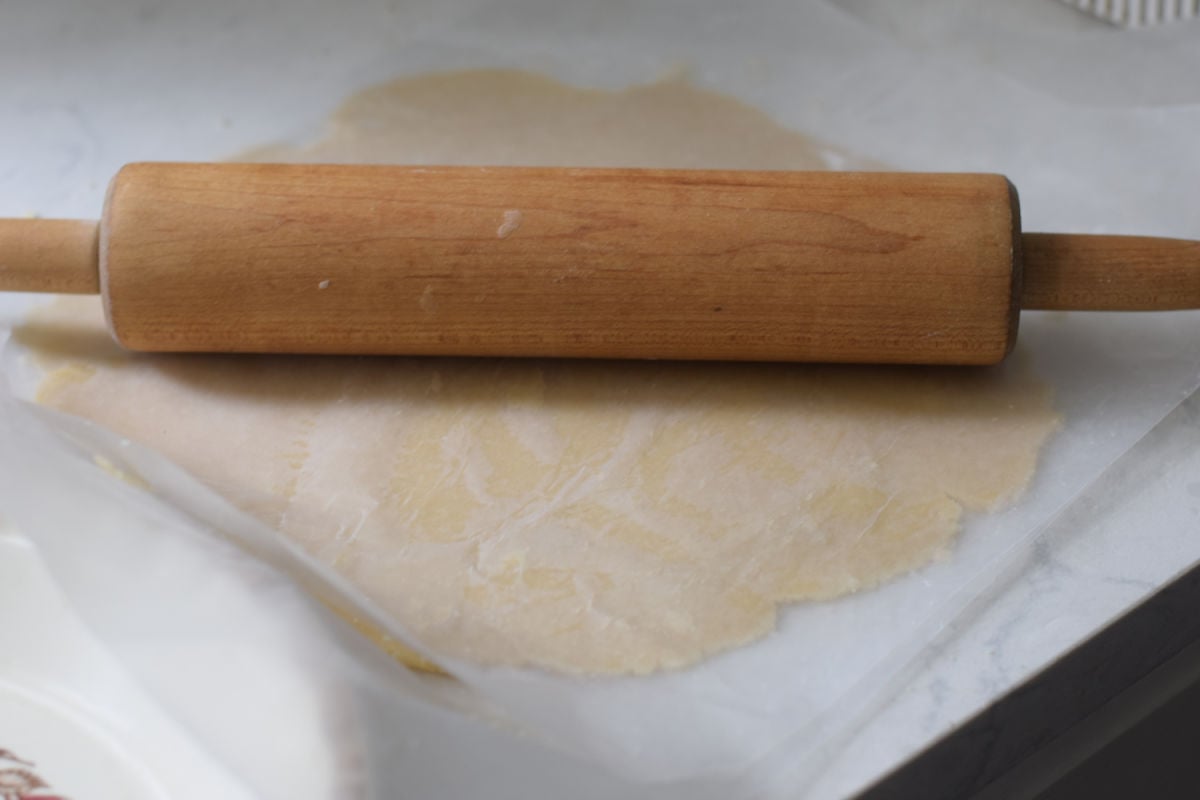
- When you are ready to use it – let it thaw, and roll each half between two sheets of wax paper.
Expert Tip
I don’t like to add extra flour to my pie crust and in all honesty, I get frustrated when the dough transfers onto my rolling pin, so I have adopted a method of rolling out pie crust in between two sheets of wax paper.
The wax paper won’t stick to the crust, so you can easily pull it off and transfer it to the pie plate for baking in the oven
Variations
You can use a kitchen aid mixer, but I prefer a food processor
Rolling and Crimping Your Pie Crust
Cut the pie into two even halves
Roll the pie crusts in between wax paper
Turn the pie pan over onto the rolled out pie crust. If the pie crust is larger than your pie crust, then it is large enough
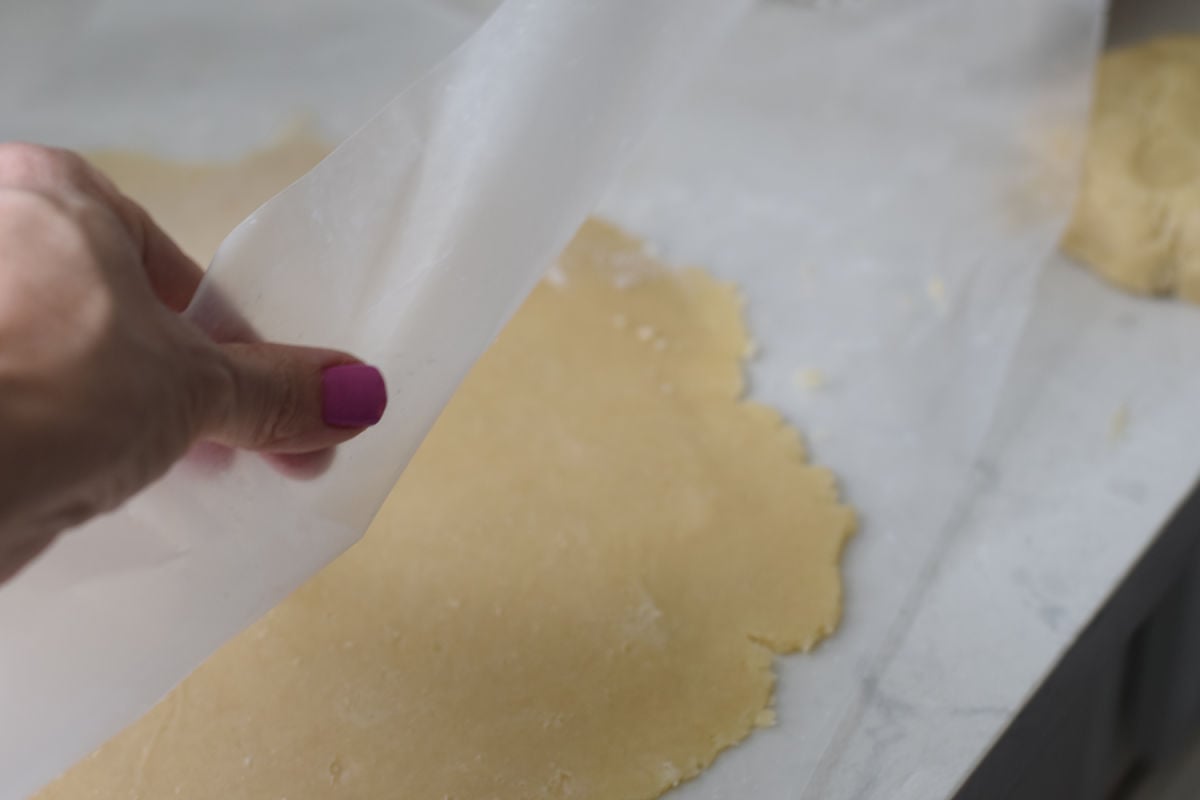
Pull the top piece of wax paper off of the dough and pick up the other piece with the pie dough
Transfer the pie dough to the pie plate and turn it over so you can place it into the pie plate
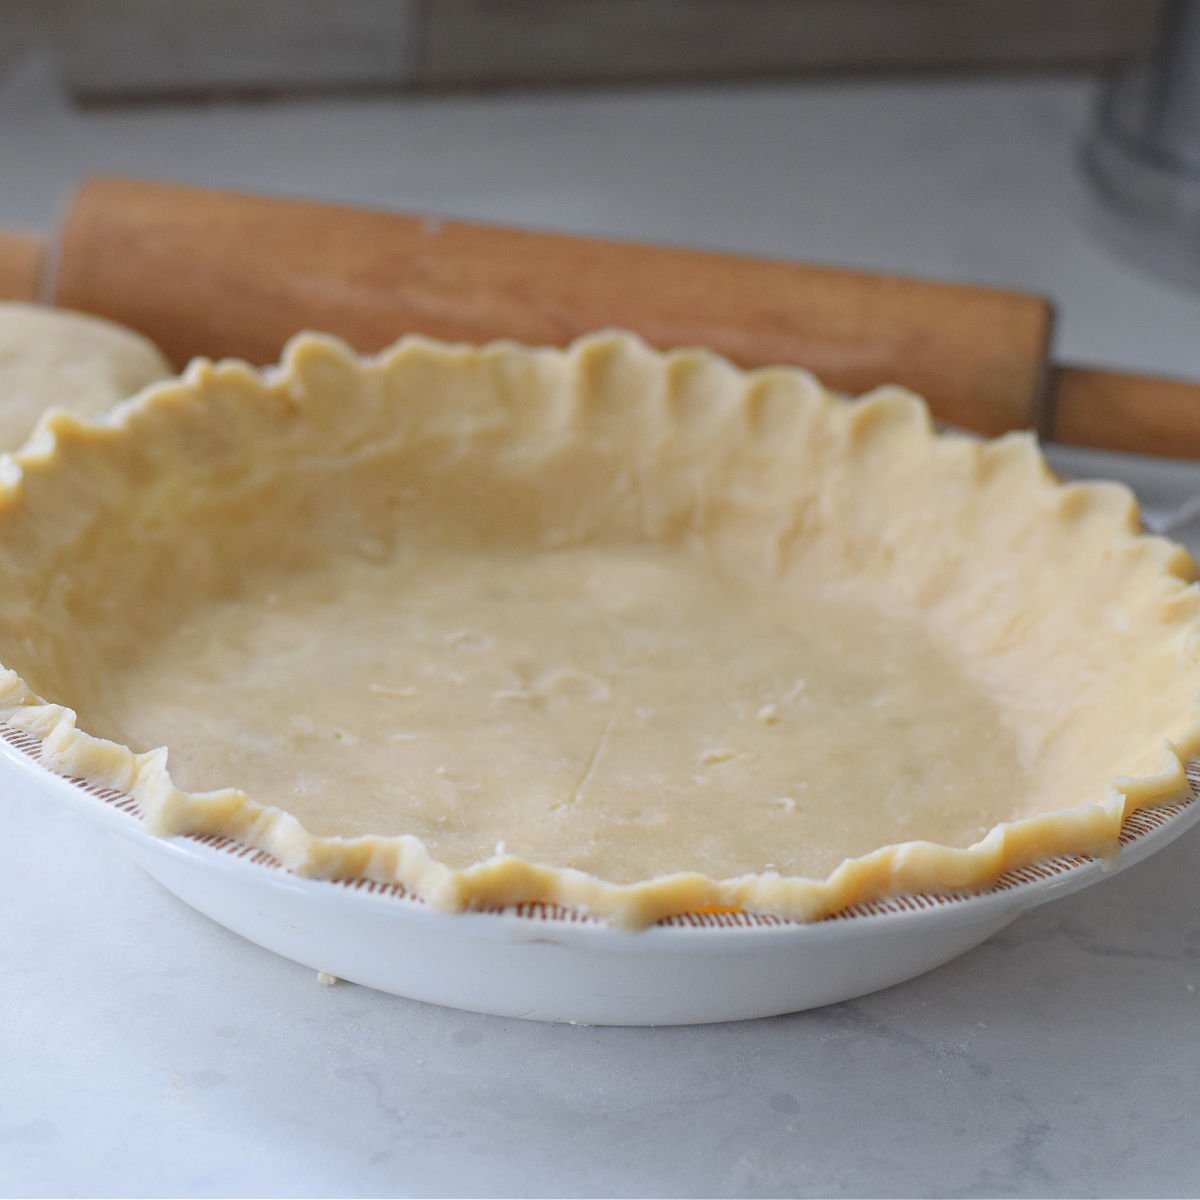
Pull the wax paper off of the pie crust
Crimping the pie crust
I like to use my index finger to push the crust outward while pinching it with my other hand
Another way that my mom used to do is pushing both thumbs together to crimp the edges
Rolling Pie Crust the Traditional Way
Sprinkle your work surface with a scant amount of all-purpose flour
Using a pie roller, roll the pie crust out until it is larger than your pie pan
Using your rolling pin, wrap the pie crust around the pie pin
Transfer the pie dough to the pie plate
Trim any excess dough from the pie dough
Crimp the edges
FAQs
What do I do if my Pie Crust Starts to Stick to My Pie Roller?
Place the dough back into the refrigerator so it can chill again
How do I Fix Pie Dough That is Breaking Apart?
Add a few squirts of water to the dough to moisten it up
Storing
Store pie dough wrapped in plastic wrap and place in the refrigerator for up to three days. After three days, the dough will start to oxidize and turn gray
Freezing: Wrap with freezer-weight plastic wrap and store in a freezer bag in the freezer for up to three months
Thawing: Thaw overnight in the fridge
You can also freeze pie crust directly in a pie pan. Roll the pie dough out and place in a foil pan. Wrap and store in a freezer bag. Just add a little extra cooking time to the pie crust to bake it from freezing
Pie Recipes You’ll Love
Serving Size
This recipe makes two 9-inch pie crusts
Let’s Hang Out!
Come and find me on Pinterest and Facebook for more recipes, crafts, party treats, and holiday games!
Printable Recipe for Pie Crust
Equipment
- food processor
Ingredients
- 2.5 cups flour
- 1 tsp. salt
- 1 tsp. sugar
- 1 cup butter unsalted – cold – right out of the fridge, and cut into 1/2 inch pieces
- ¼ cup COLD water You may not use all of the water
Instructions
- Pour the flour into the food processor.
- Add the salt and sugar
- Set the food processor to pulse so the salt is distributed throughout the flour.
- Add the cut-up pieces of butter and pulse until the mixture forms small pea-sized balls of butter, or if you use a blender, Mix until it forms small balls.
- Add the cold water one tablespoon at a time and pulse again with a food processor until the dough is chunky and looks like balls of dough. You may only use 2 tbsp. up to 1/4 cup. As soon as you see it looking chunky, then check it to see if it will come together
- Some of your butter might still be in pieces—that's exactly what you want to see.
- Form a large ball with the pie dough
- Wrap the pie crust with plastic wrap.
- Pop the pie crust dough in the fridge to chill the pie dough for about 4 hours—one hour at the very least.
- When you are ready to use it – let it thaw, cut it in half and roll each half between two sheets of wax paper.
Notes
~ Melissa – KidFriendlyThingsToDo.Com

