Tissue Paper Pumpkin Craft: Jack-o’-Lantern Lollipops
This post may contain affiliate links – please read my disclosure statement.
I originally made one of these pumpkin lollipops to show someone how easily they could make them. Then I decided it was cute enough to make a few more and share how to make them here on the blog!
Some people trace circles for the tissue paper, but honestly, I don’t have time for perfection anymore. Squares or rectangles are good enough and perfectly adorable! My green pieces were even a little smaller than the orange ones, and I didn’t line them up perfectly. There was still green showing in the finished pumpkins, and that little bit of color was enough.
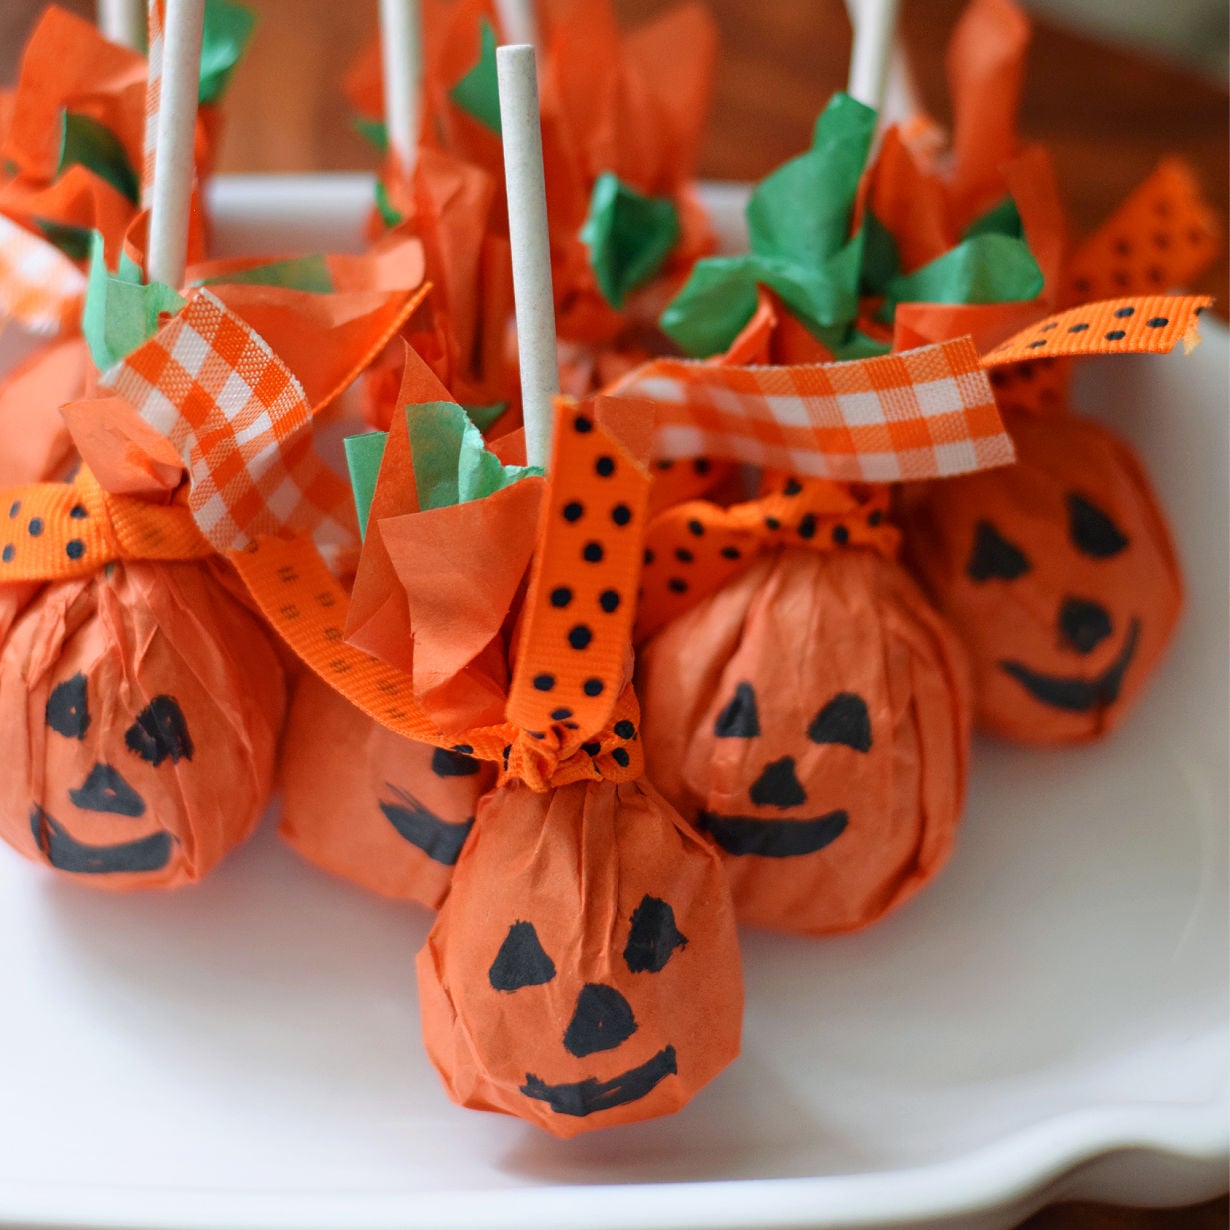
So if you’re looking at these thinking you need a template or perfectly matched pieces, you don’t. Mine have uneven edges, little wrinkles, and hand-drawn faces—and I think they’re so cute just the way they are!
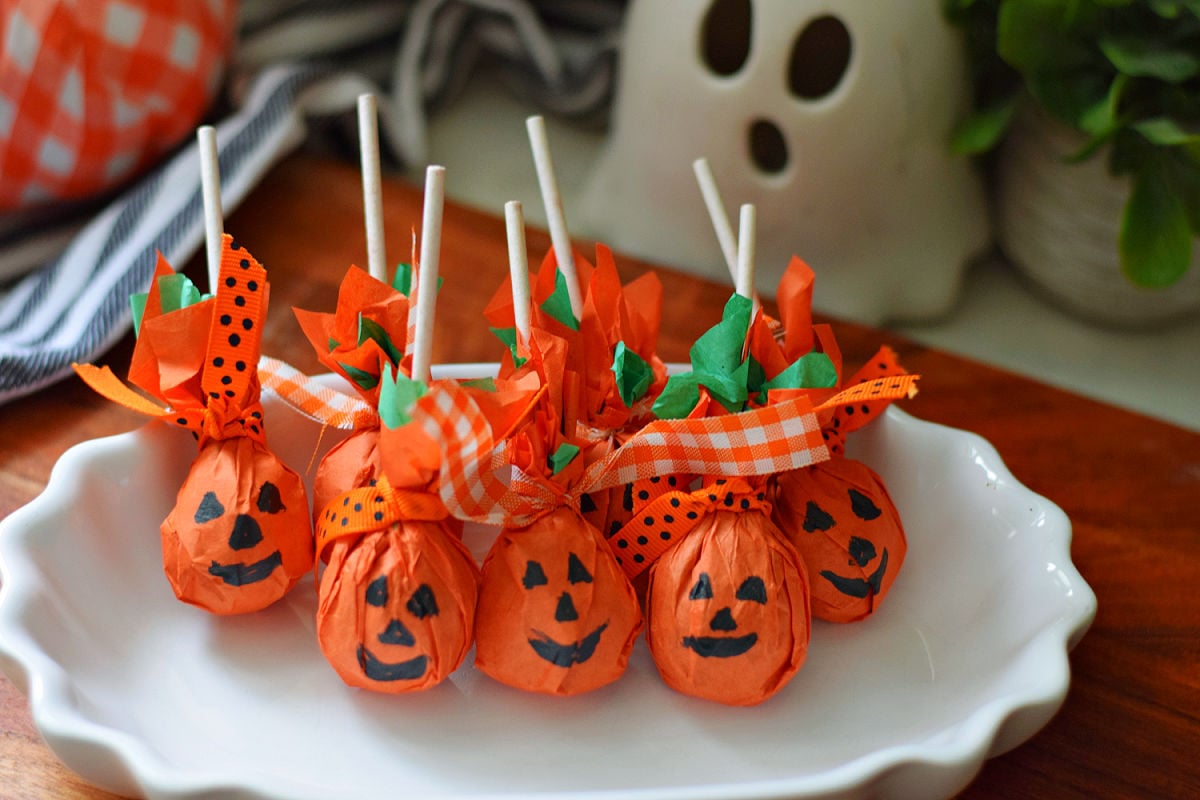
Why You’ll Love These Pumpkin Lollipops
- No tracing. Simple tissue-paper rectangles work beautifully.
- No perfect edges needed. My layers didn’t match, and they still turned out adorable.
- Craft and treat. The original candy wrapper stays on underneath the tissue paper.
- Fun to share. Make a few for friends or a batch of Halloween party favors.
Supplies for Your Pumpkin Lollipops
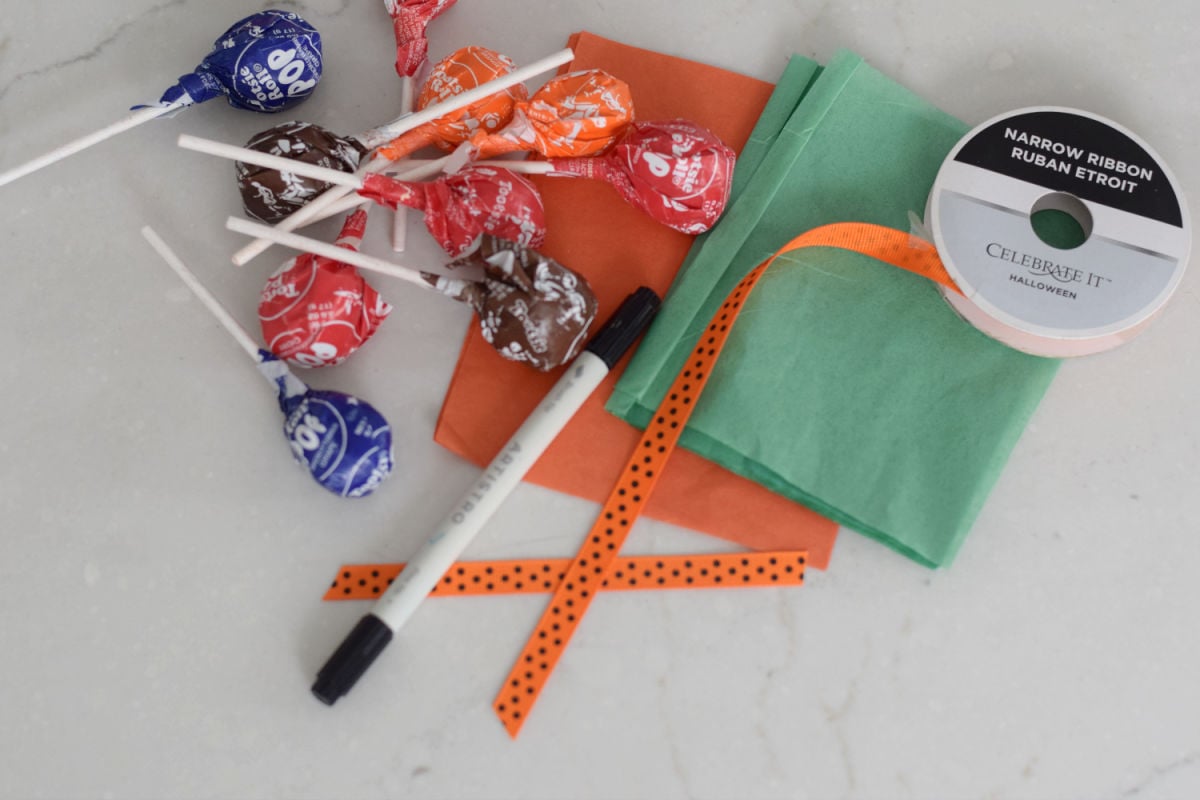
- Orange tissue paper: For the outside of the pumpkin.
- Green tissue paper: A little peeks out near the stick for a second color.
- Tootsie Pops: Leave the original wrappers on.
- Ribbon: To tie the tissue paper around the lollipop.
- Black paint marker: This is what I used for the faces. From years of crafting, I also know a Sharpie works on tissue paper, although I didn’t use one on this particular batch.
- Scissors: For cutting the tissue paper and ribbon.
See the craft card below for the tissue-paper measurements and supply amounts.
How to Make Pumpkin Suckers
Step 1: Cut the tissue paper. Cut the orange and green tissue paper into small rectangles. Don’t worry about making the edges perfect or matching the layers exactly.
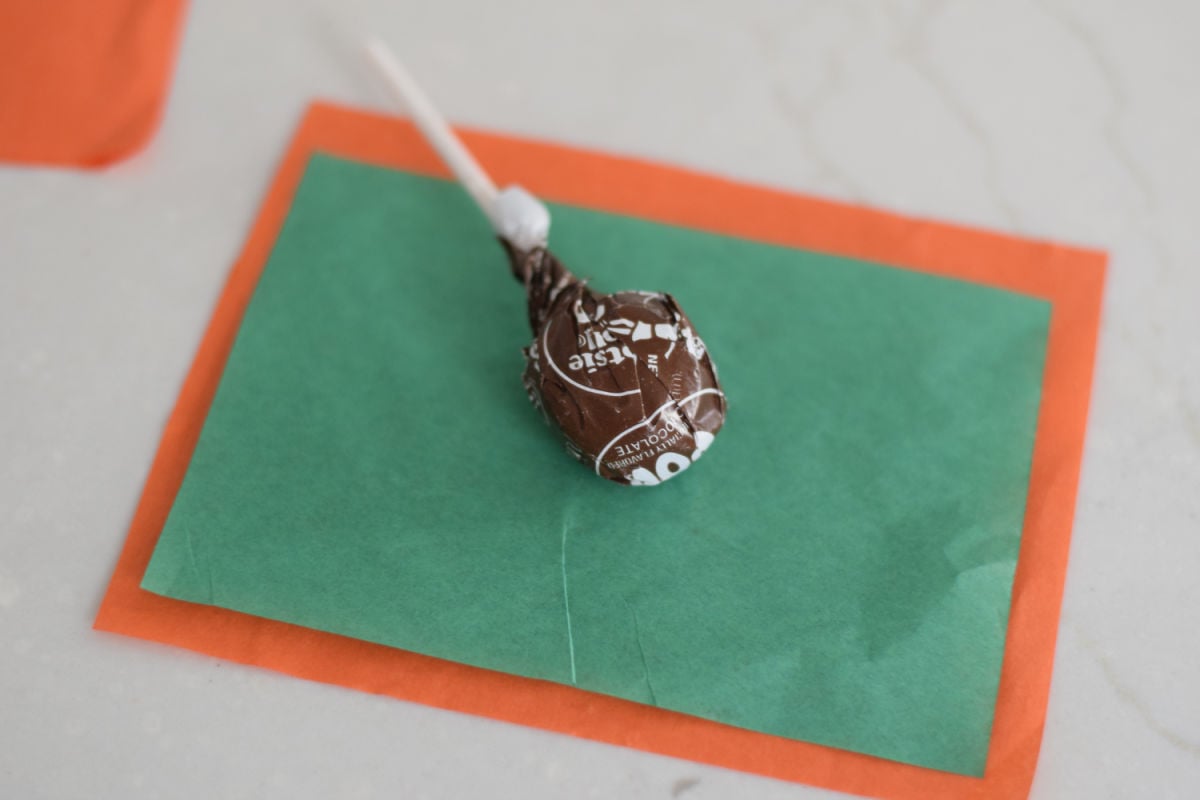
Step 2: Layer the paper. Lay the green tissue on top of the orange tissue. Place the wrapped candy in the center with the lollipop stick pointing up.
Step 3: Gather the tissue. Pull the tissue paper up around the candy and gather it around the base of the stick.
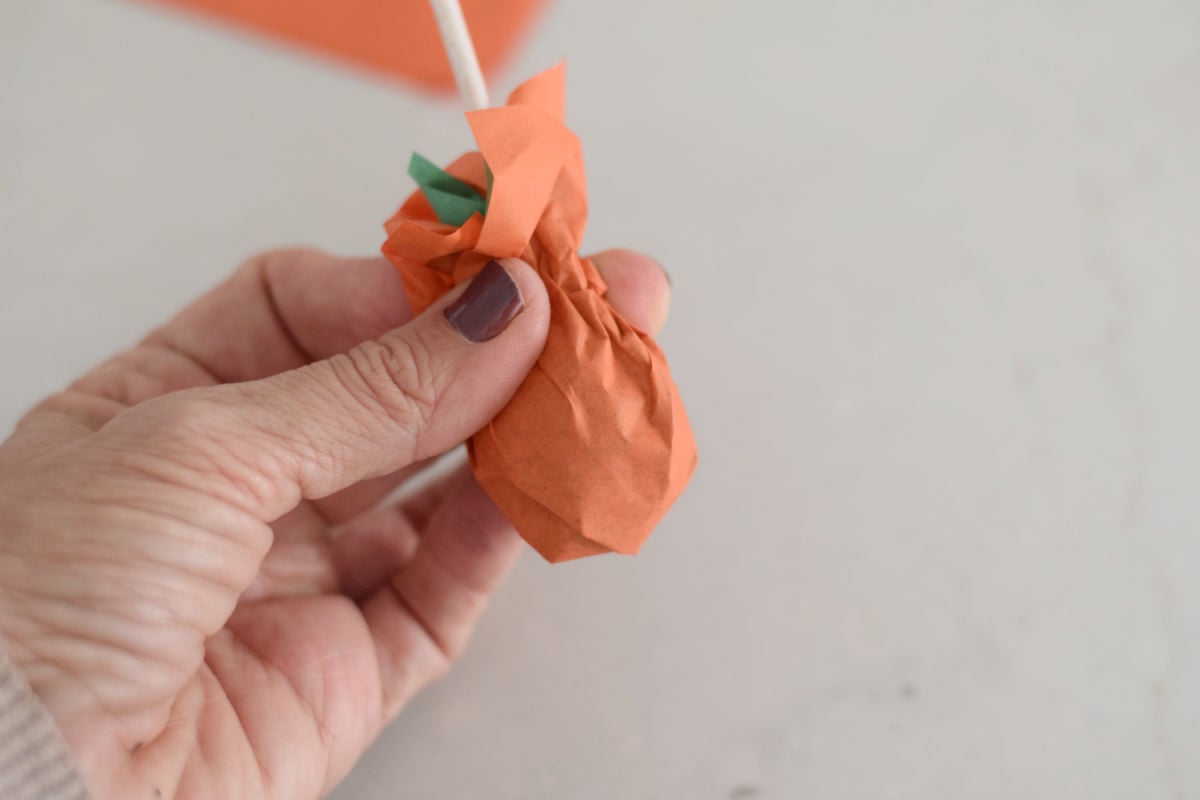
Step 4: Tie with ribbon. Tie ribbon around the gathered tissue to hold it in place.
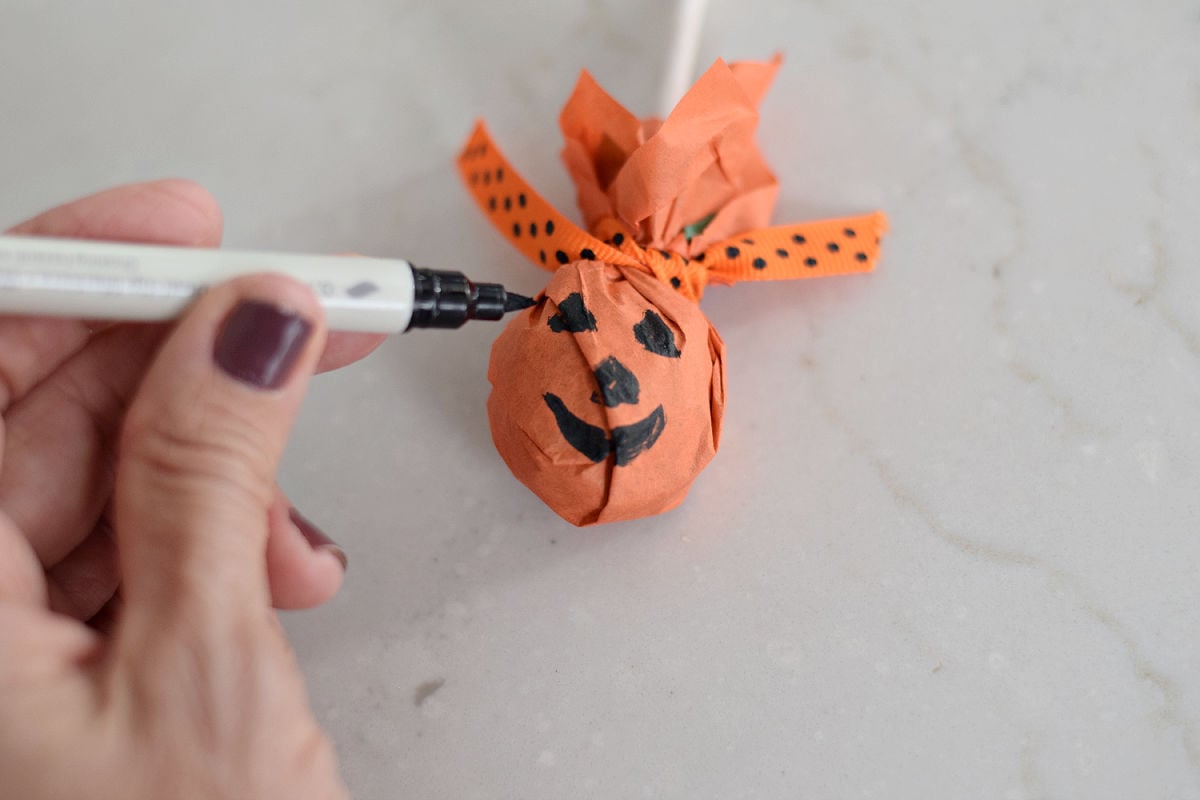
Step 5: Draw the face. Use a black paint marker to draw a jack-o’-lantern face on the orange tissue.
Easy Halloween Class Treats
These would make such cute Halloween class treats! Make a pumpkin for each classmate, or use them as a little take-home treat after a classroom Halloween party.
The tissue paper decorates the outside while the candy stays in its original wrapper. When it’s time to enjoy the lollipop, remove the ribbon and tissue paper, then unwrap the candy.
Melissa’s Tips for This Tissue Paper Pumpkin Craft
- Skip the tracing. You don’t need circles or a template. I used rectangles.
- Let the layers be a little uneven. My green tissue was smaller than my orange tissue, and it still showed in the finished pumpkins.
- Keep the wrapper on. Decorate around the original candy wrapper.
- Enjoy that little bit of green. It’s a subtle detail, but I like the extra color peeking out.
- Let go of perfect. The edges don’t have to match for these to turn out cute!
Pumpkin Lollipops FAQs
Do you take the wrapper off a jack o lantern lollipop?
No—the original candy wrapper stays on underneath the tissue paper. Draw the face on the outer orange tissue, not on the candy. Remove the tissue and the original wrapper before eating.
What marker works for a tissue paper pumpkin craft?
I used a black paint marker for these pumpkins. From years of crafting, I know a Sharpie also works on tissue paper, although I didn’t test one on this particular craft.
Can you make pumpkin lollipops with other candy brands?
I made mine with Tootsie Pops. I haven’t tested this tissue-paper size with other lollipops, so I can only share how it worked with those.
Do you need a circle template for pumpkin lollipops?
No! I used rectangles, and my green and orange pieces weren’t even exactly the same size. Once they were gathered and tied, they still made adorable little pumpkins.
More Halloween Lollipop Crafts
If you’re making a batch of these, try my spider lollipop craft, too! The pipe cleaner legs and googly eyes give each little spider its own personality.
For another pumpkin project, try my paper plate jack-o’-lantern craft with printable face shapes.
I’d Love to Hear From You

If you make this craft, I’d love to hear what you think! Please leave a star rating and comment below to let me know how it turned out. I love hearing from you, and your ratings help other readers find and enjoy the craft, too!
If you make this craft, I’d love to hear what you think! Please leave a star rating and comment below to let me know how it turned out. I love hearing from you, and your ratings help other readers find and enjoy the craft, too!

Tissue Paper Jack-o’-Lantern Lollipops
Equipment
- Scissors
- Black paint marker or black Sharpie
Materials
- 1 Tootsie Pop original wrapper left on
- 1 orange tissue-paper rectangle approximately 4 × 6 inches
- 1 green tissue-paper rectangle approximately 4 × 6 inches; slightly smaller is fine
- Ribbon enough to tie around the gathered tissue
Instructions
- Cut the orange and green tissue paper into rectangles.
- Layer the green tissue on top of the orange tissue.
- Place the wrapped Tootsie Pop in the center with the stick pointing upward.
- Pull the tissue up around the candy and gather it around the base of the stick.
- Tie ribbon around the gathered tissue to secure it.
- Draw a jack-o’-lantern face on the orange tissue with the black paint marker or Sharpie.
Notes
- My green pieces were slightly smaller than the orange pieces. A little green still showed in the finished pumpkins.
- Leave the original candy wrapper on while decorating. Remove the ribbon, tissue paper, and candy wrapper before eating.