A Cute Turkey Centerpiece For Thanksgiving
This post may contain affiliate links – please read my disclosure statement.
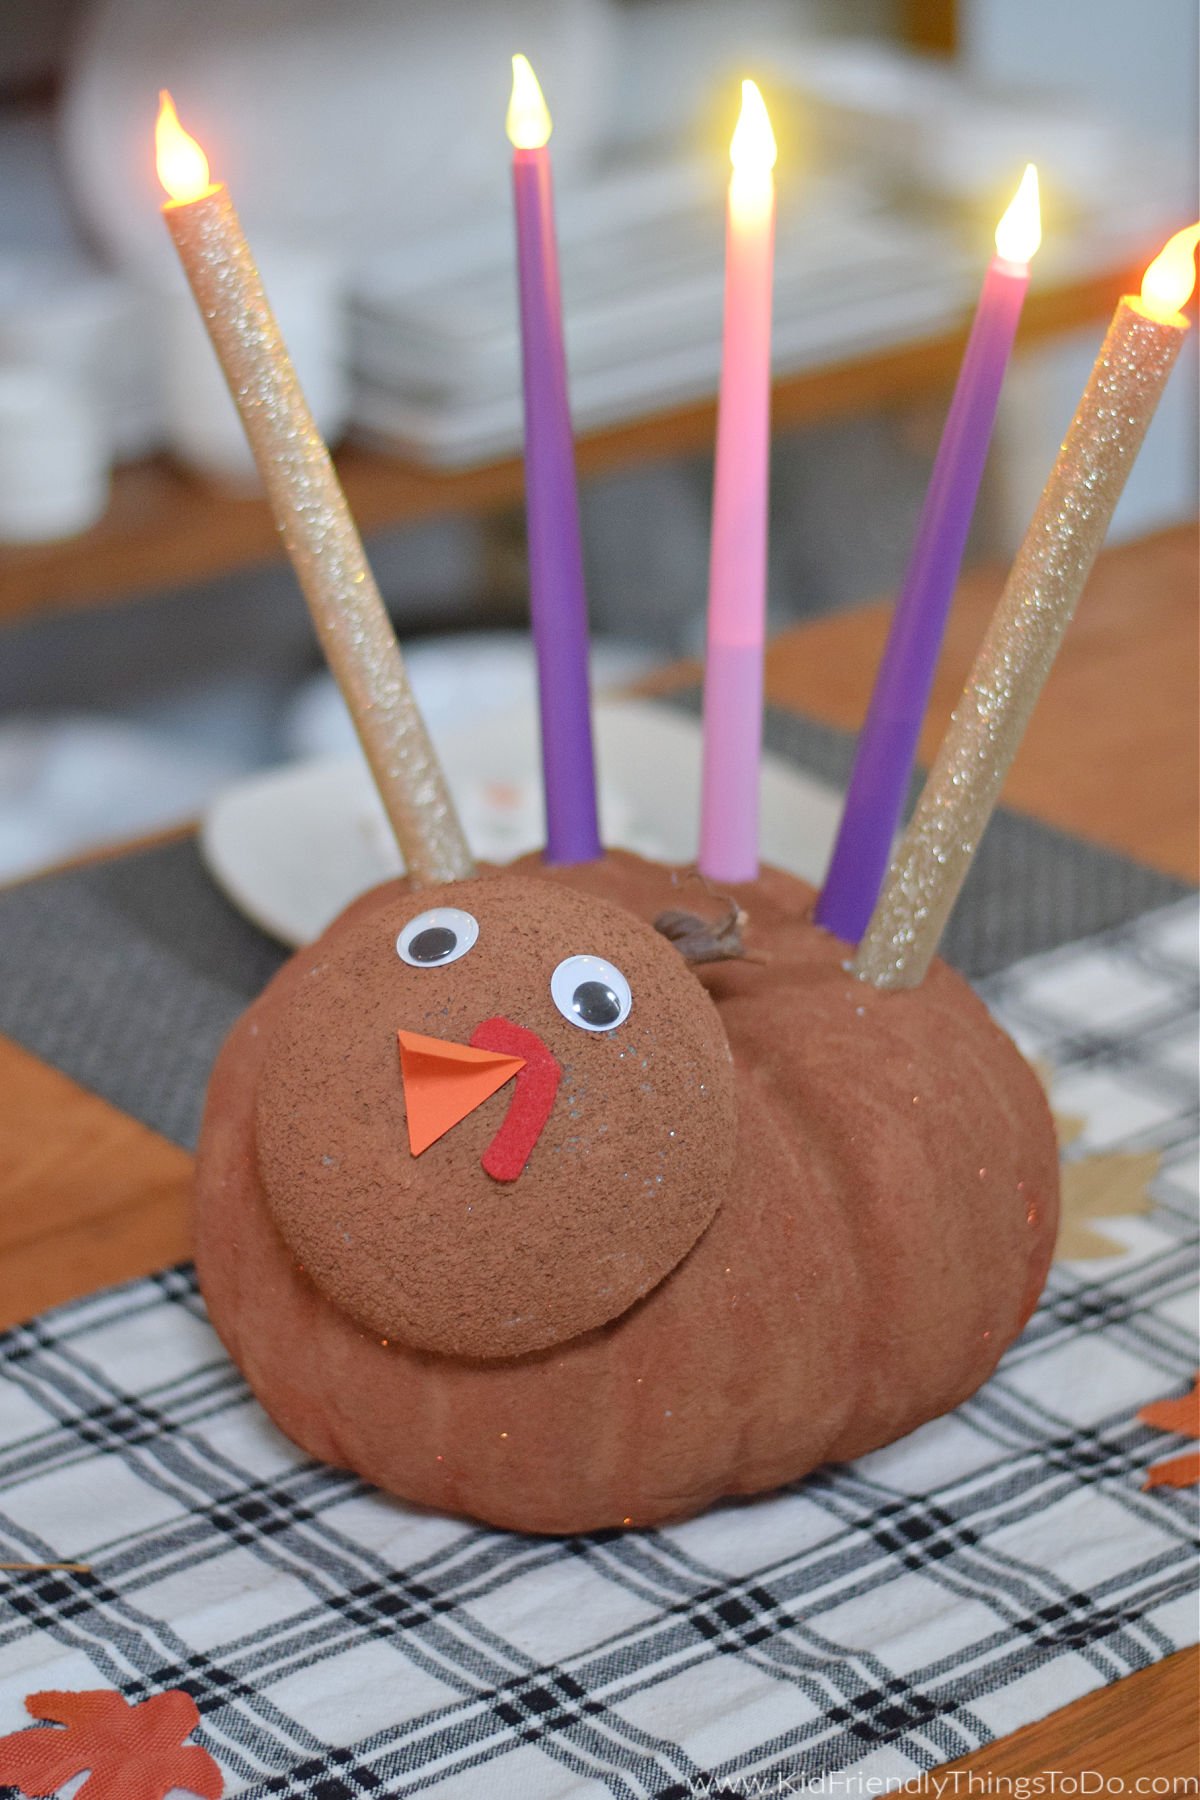
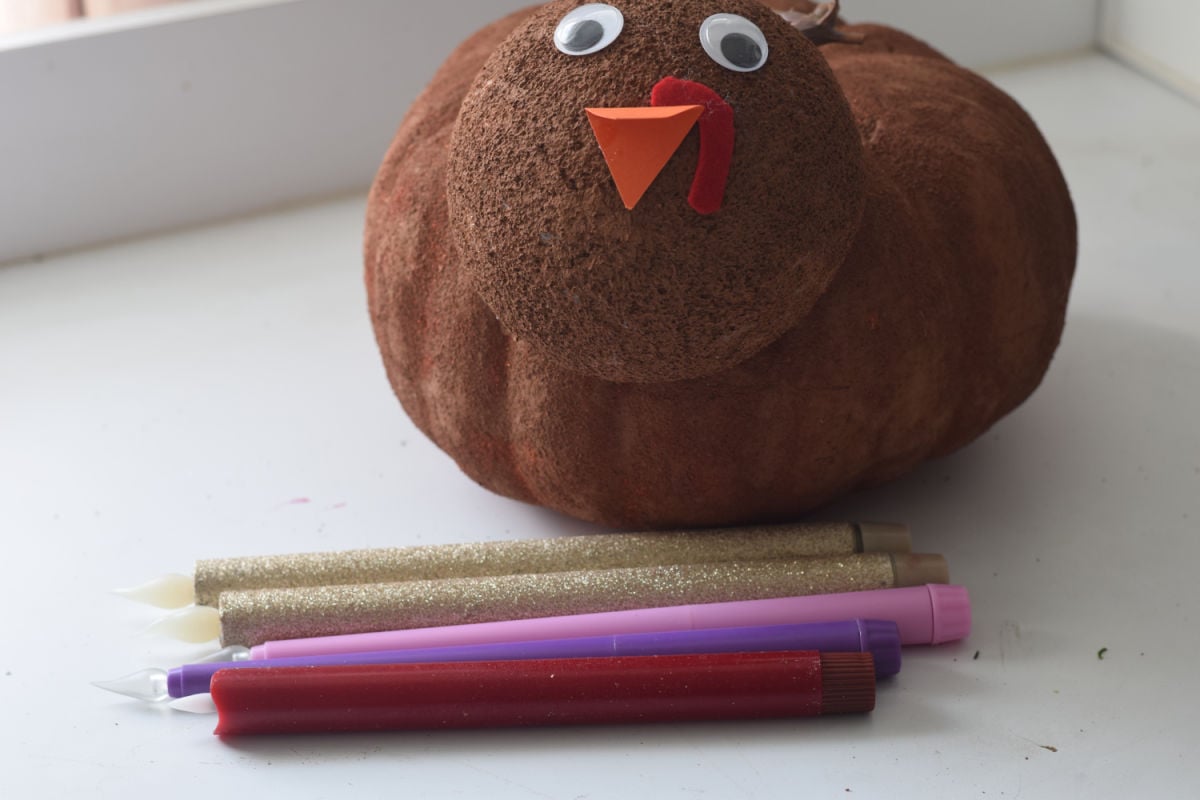
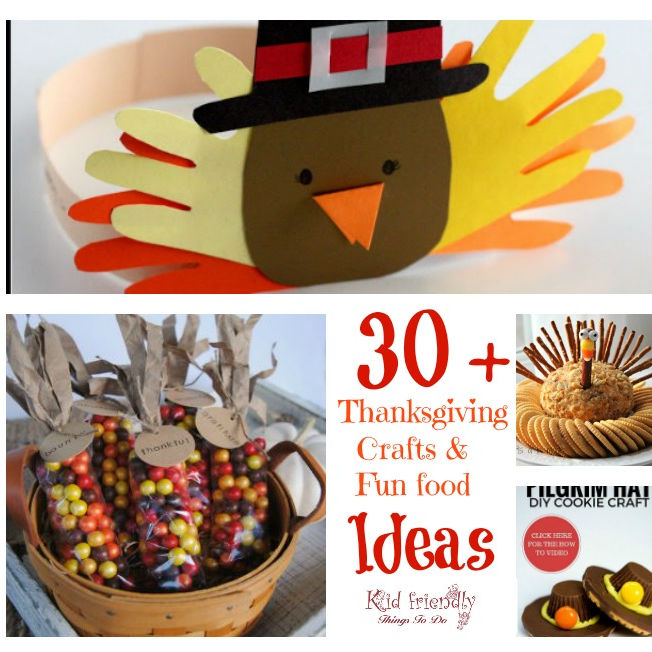
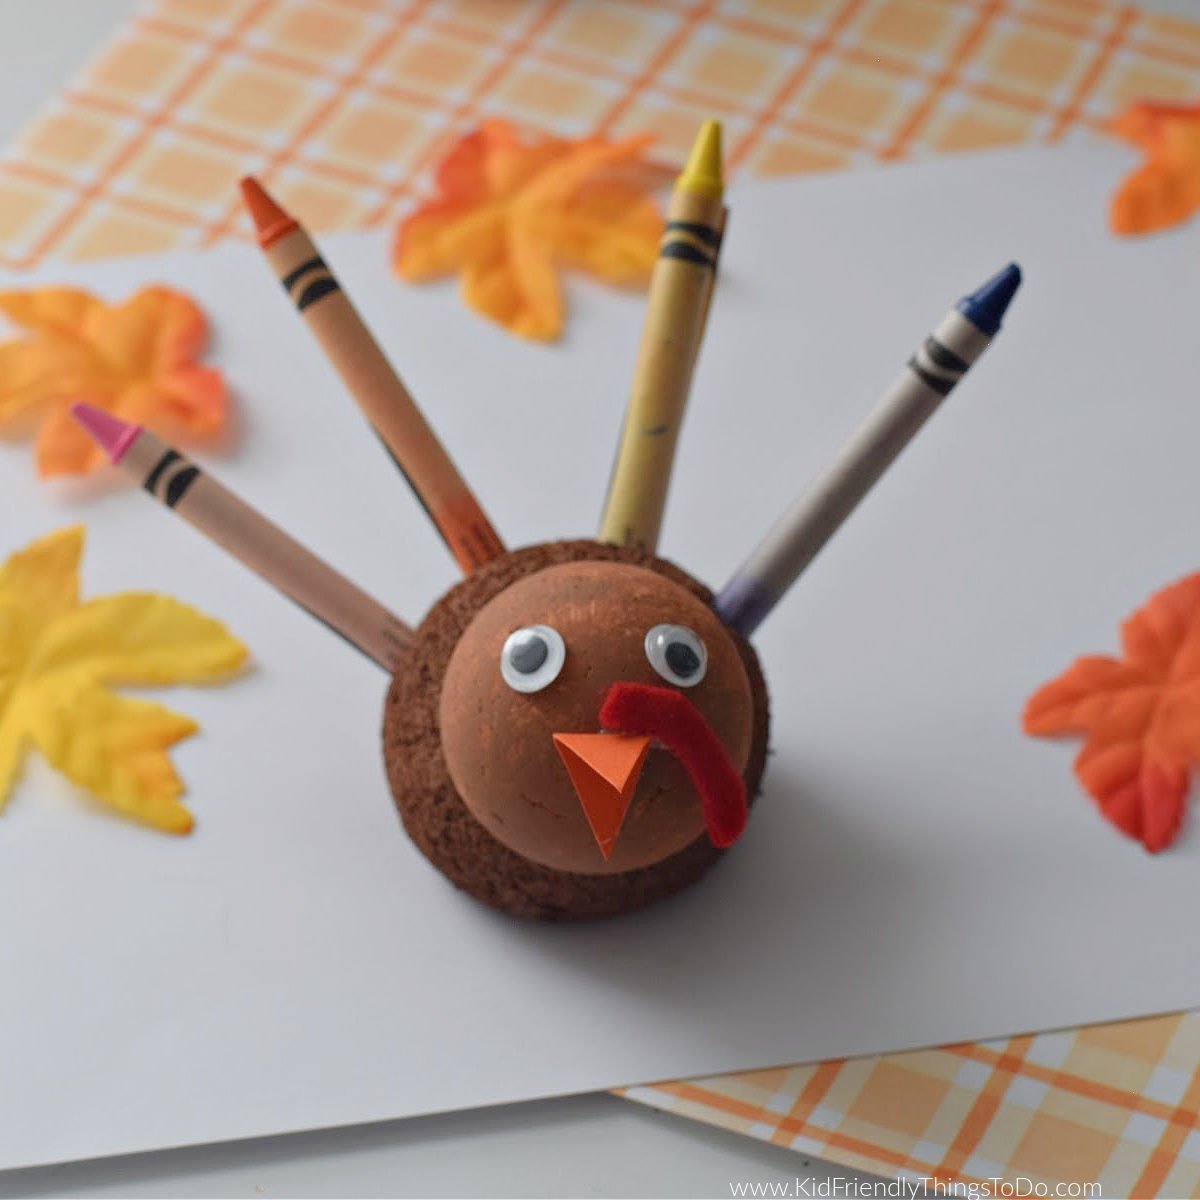
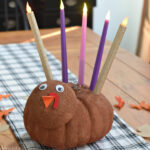
This foam turkey centerpiece is fun and adorable for Thanksgiving. With LED candles as turkey feathers, this pumpkin turkey craft is the perfect decoration for Thanksgiving dinner.
All activities, recipes, crafts, and games with children should be supervised by an adult. Small parts are a choking hazard.
Turkey Centerpiece Craft
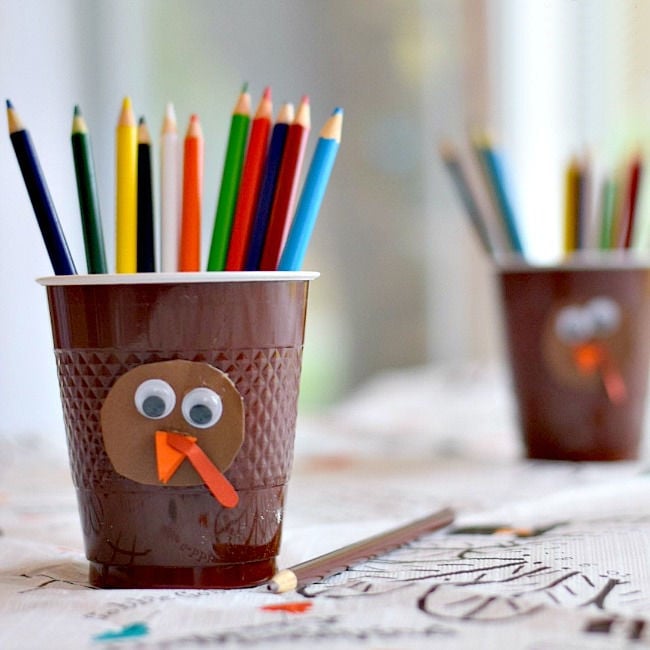
Thanksgiving crafts are such fun crafts to make. There are so many possibilities like Cornhusk dolls, Paper Cup Pilgrim Hats, and Foam Gourd Candles. This turkey centerpiece with LED candles is perfect for Thanksgiving dinner. Imagine the LED feathers glowing on the table. It is such a pretty Thanksgiving table decoration.
What You’ll Love about this Pumpkin Turkey Craft
- The kids will love seeing this cute turkey pumpkin craft all lit up at the Thanksgiving table
- It is a great craft for kids and adults to do together
Supplies needed:
- A large foam pumpkin – you can usually find the carvable pumpkins at big stores around Halloween and shortly after Halloween
- Styrofoam (Half) Ball-Sized Proportionate to your pumpkin – You’ll use this as the turkey’s head. My Styrofoam ball was about six inches.
- Brown paint – I used chocolate brown
- Red felt – cut a piece like a long skinny triangle for your waddle
- Large googly eyes (2)
- Orange felt or paper for the beak.
- Toothpick or wooden skewer
- 5 LED tapered candles in a variety of colors
Equipment Needed
Knife – for cutting holes in the pumpkin.
Sponge paintbrush
How to Make the Turkey Centerpiece Craft
- Paint the large pumpkin brown – let dry.
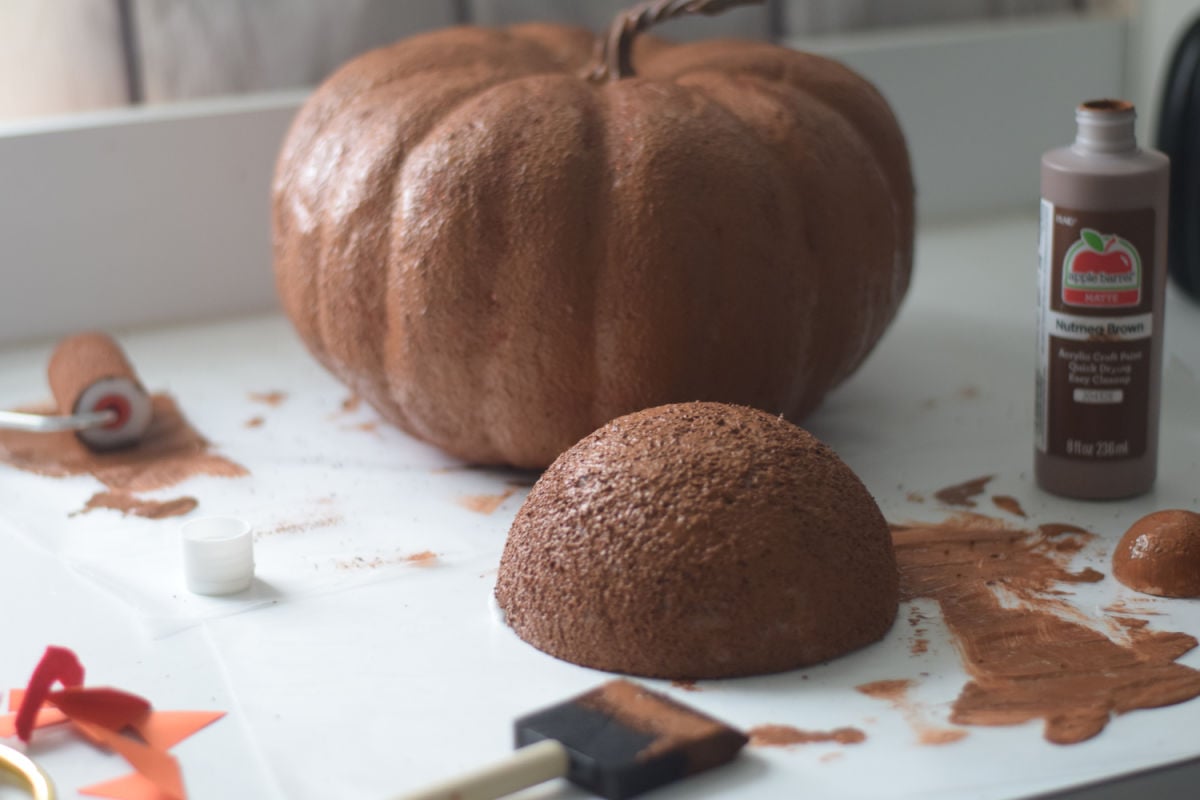
- Paint the Styrofoam (half) ball with the brown craft paint – let dry
- Glue googly eyes, orange clothespin, and red felt to the Styrofoam half-ball.
- Slide the head onto a wooden skewer or use a toothpick to attach it to the pumpkin base
- Use the candle base as a sizing guide to cut out five holes the same size as the candles about one inch deep in the back of your pumpkin. These should be spread out around the back side of the pumpkin
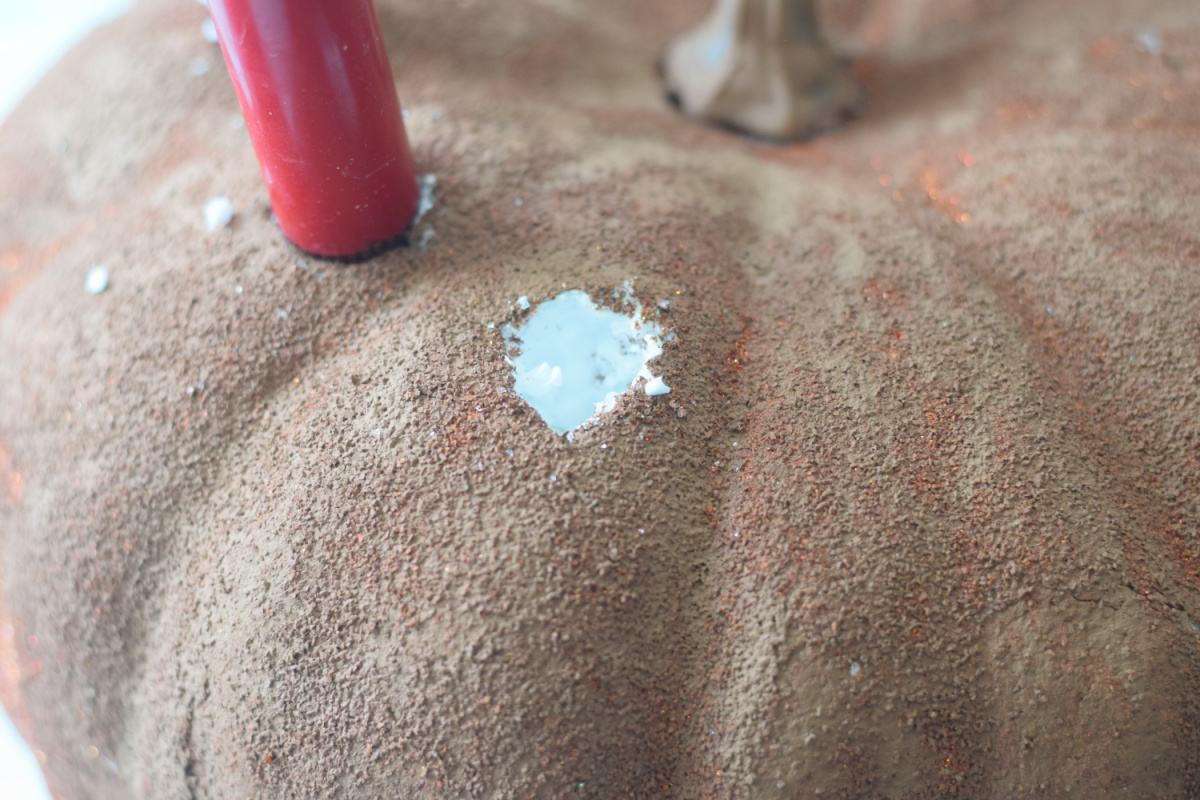
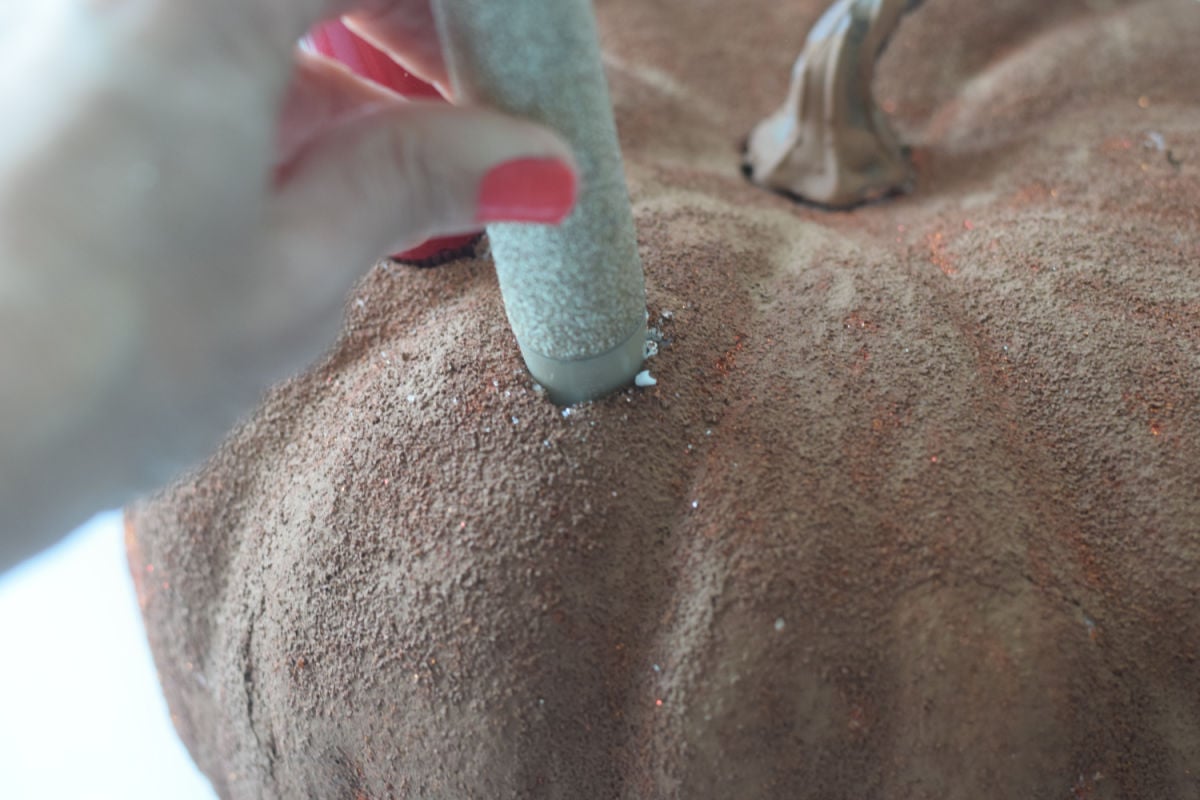
- Place candlesticks into your five depressions
- When you are ready to display the centerpiece, turn the candles on for a beautiful display
Expert Tip
An adult should cut the foam pieces out of the pumpkin as it will probably require a sharp knife
To easily pull the foam circle out, cut slices in the circle like pie pieces and pull those out individually
Variation
Use a real pumpkin as the turkey body for a painted turkey pumpkin craft.

More Thanksgiving Crafts You’ll Enjoy
Are you looking for Thanksgiving Table Ideas? Try some of my other posts, like:
Let’s Hang Out!
Come and find me on Pinterest and Facebook for more recipes, crafts, party treats, and holiday games!
Printable for Foam Turkey Centerpiece
A Cute Turkey Centerpiece For Thanksgiving
Materials
- A large foam pumpkin
- Styrofoam Ball – Sized Proportionate to your pumpkin – You'll use this as the turkey's head. My Styrofoam ball was about six inches
- Brown paint – I used chocolate brown
- Red felt – cut a piece like a long skinny triangle for your waddle
- 2 Large googly eyes
- Orange felt or paper for the beak
- Toothpick
- 5 LED tapered candles in a variety of colors
Instructions
- Paint the large pumpkin brown – let dry.
- Paint the Styrofoam (half) ball with the brown craft paint – let dry
- Glue googly eyes, orange clothespin, and red felt to the Styrofoam half-ball
- Slide the head onto a wooden skewer or use a toothpick to attach the head to the pumpkin base
- Use the candle base as a sizing guide to cut out five holes the same size as the candles about one inch deep in the back of your pumpkin. These should be spread out around the back side of the pumpkin
- Place candlesticks into your five depressions
Notes
This post may contain affiliate links. As an Amazon Associate, I earn a small commission from qualifying purchases. See my disclosure policy to read more. Adult supervision is required for each step of activities, recipes, crafts, and games with children. Small parts are a choking hazard. Sharp objects can cause injury.
Melissa – KidFriendlyThingsToDo.Com –