Garden Of Carrots Craft for Kids
This post may contain affiliate links – please read my disclosure statement.
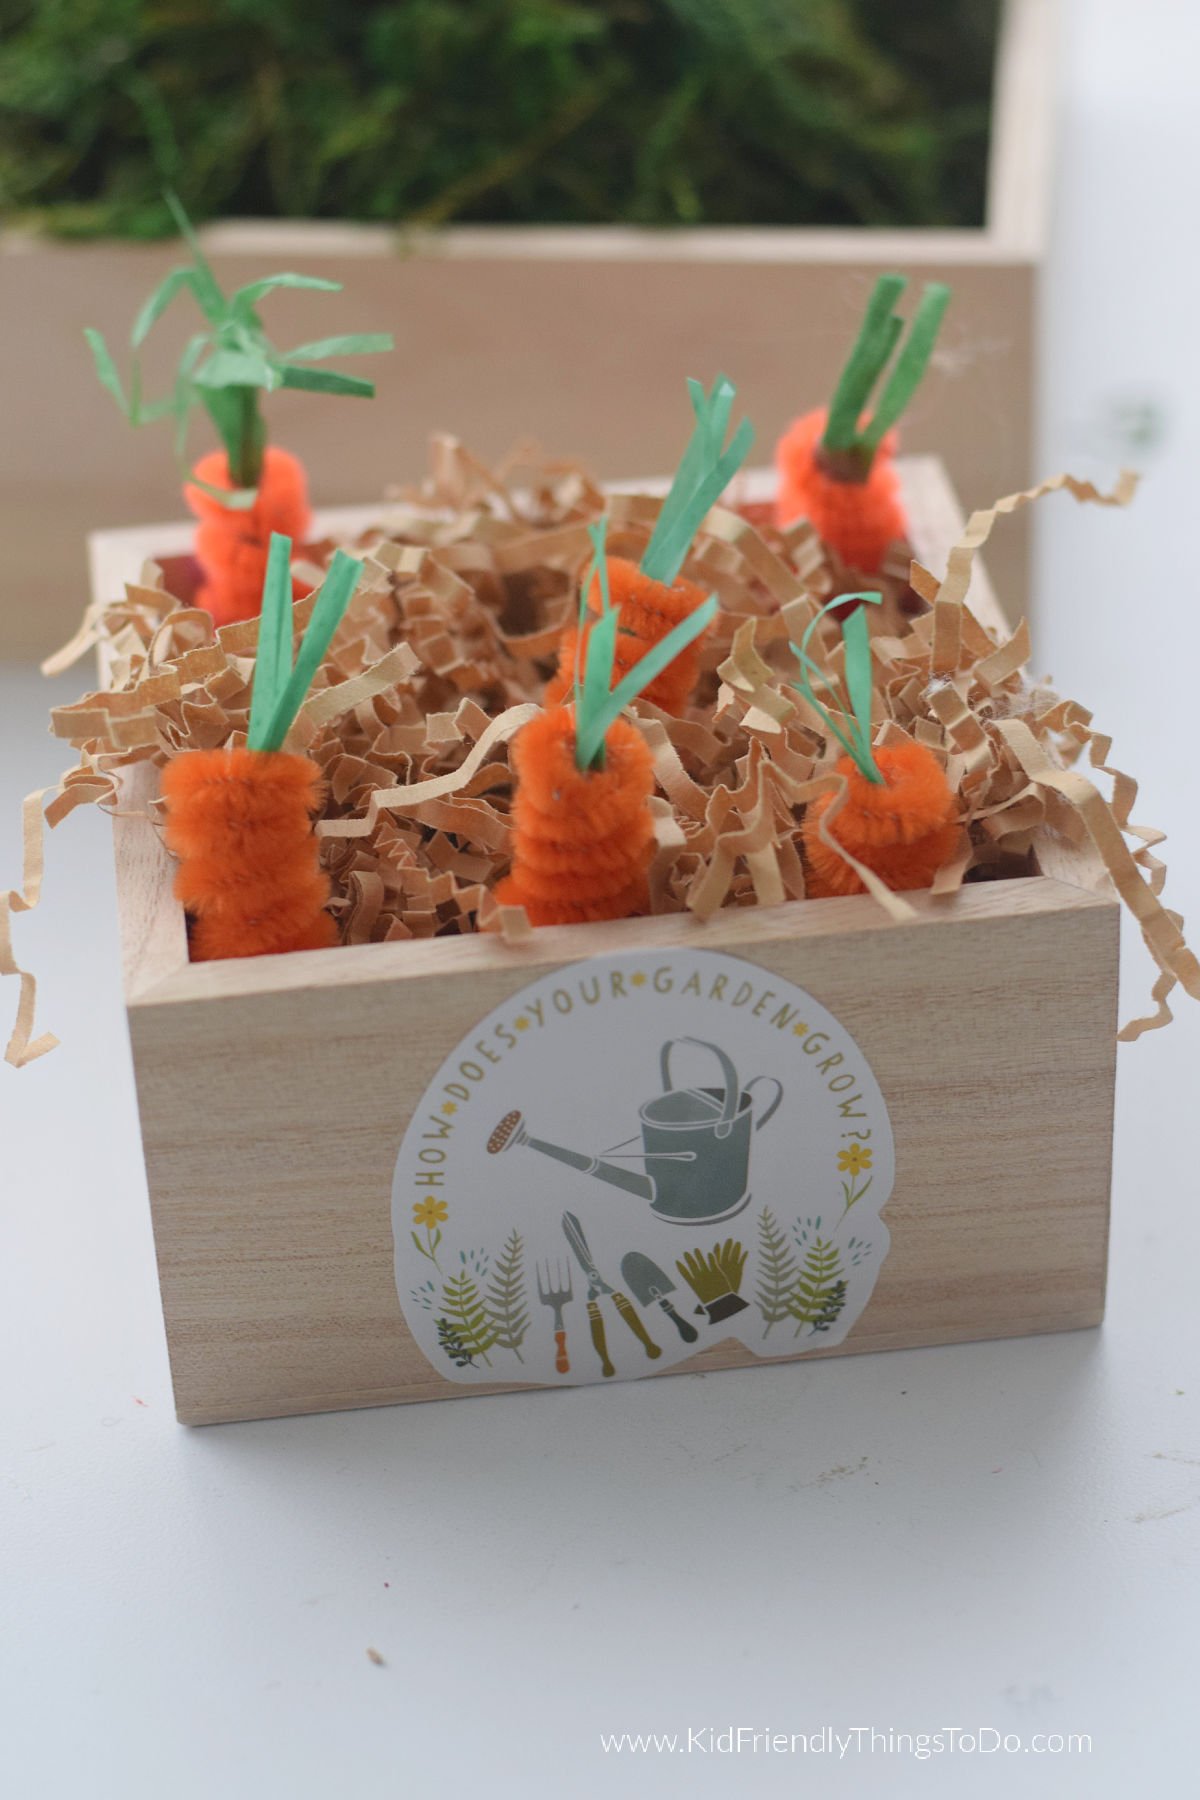
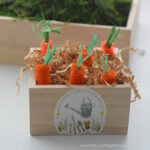
Here’s a garden where the kids can have some fun. Use it for the pipe cleaner craft for decoration on the Easter table, but leave it up all Spring. Or, use it in the classroom when teaching little kids about plants. It’s such a cute display that is fun to play with.
Carrot Garden Craft
This pipe cleaner carrot craft is such a fun craft. It is a fun and interactive spring craft for kids to play with. The kids can take this carrot craft idea and play with it. Take the carrots out of their holes and plant them all over again & again. It’s the perfect addition to any plant lesson for preschool or kindergarten. Another great spring craft to add would be making a popsicle soup can planter for kids to plant actual carrots into. Add DIY garden markers for a unit on planting in the garden.
What You’ll Love about this Spring Craft
- It’s an interactive craft for kids to play with
- It is a cute decoration for spring and Easter
- Easy to make
Supplies You’ll Need
Carrots
Orange Pipe Cleaners – These are available at most local craft stores or online. If you have to buy them in bulk, don’t worry. They are a handy craft supply to have around.
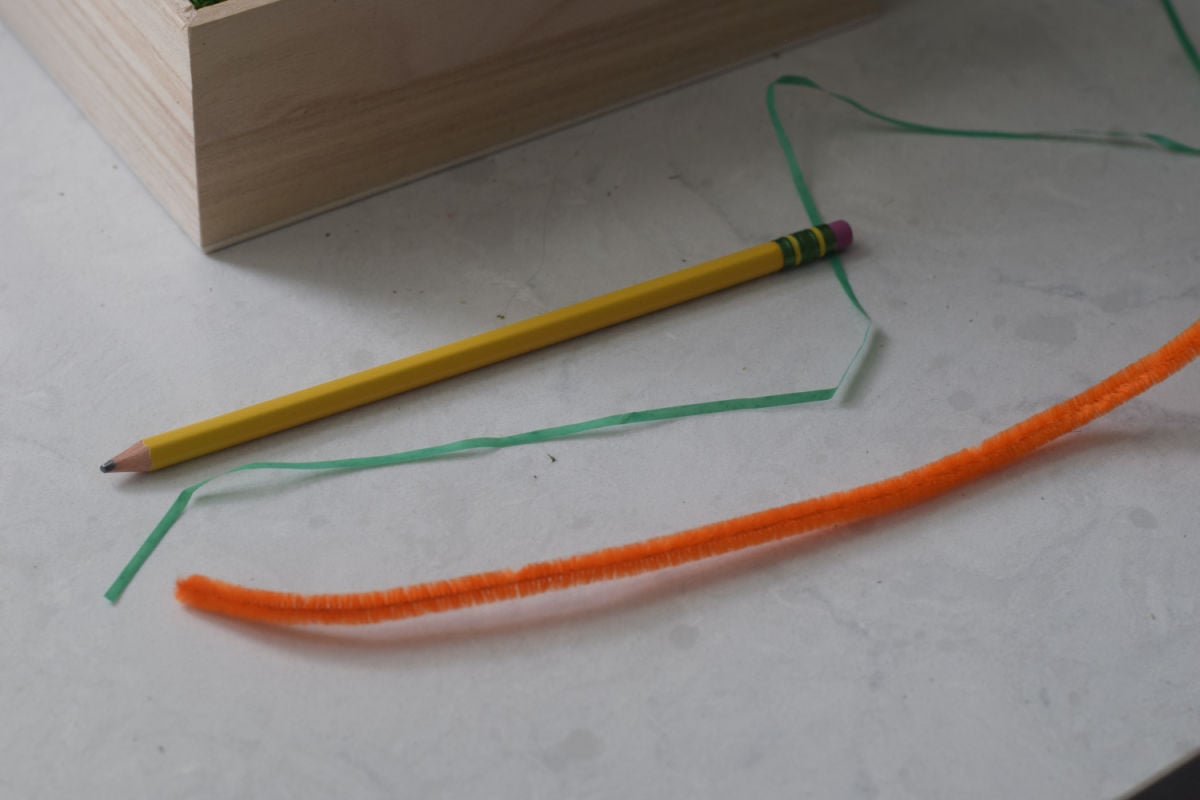
Sharpened Pencil – You want it to be sharpened for the shape of the sharpened pencil. This will be used to form the carrots
Green Raffia – If you can’t find green raffia, then you can use shredded green paper
Garden:
- Wooden Box – You’ll want a box to hold your garden of carrots. You could also use a Berry Baskets
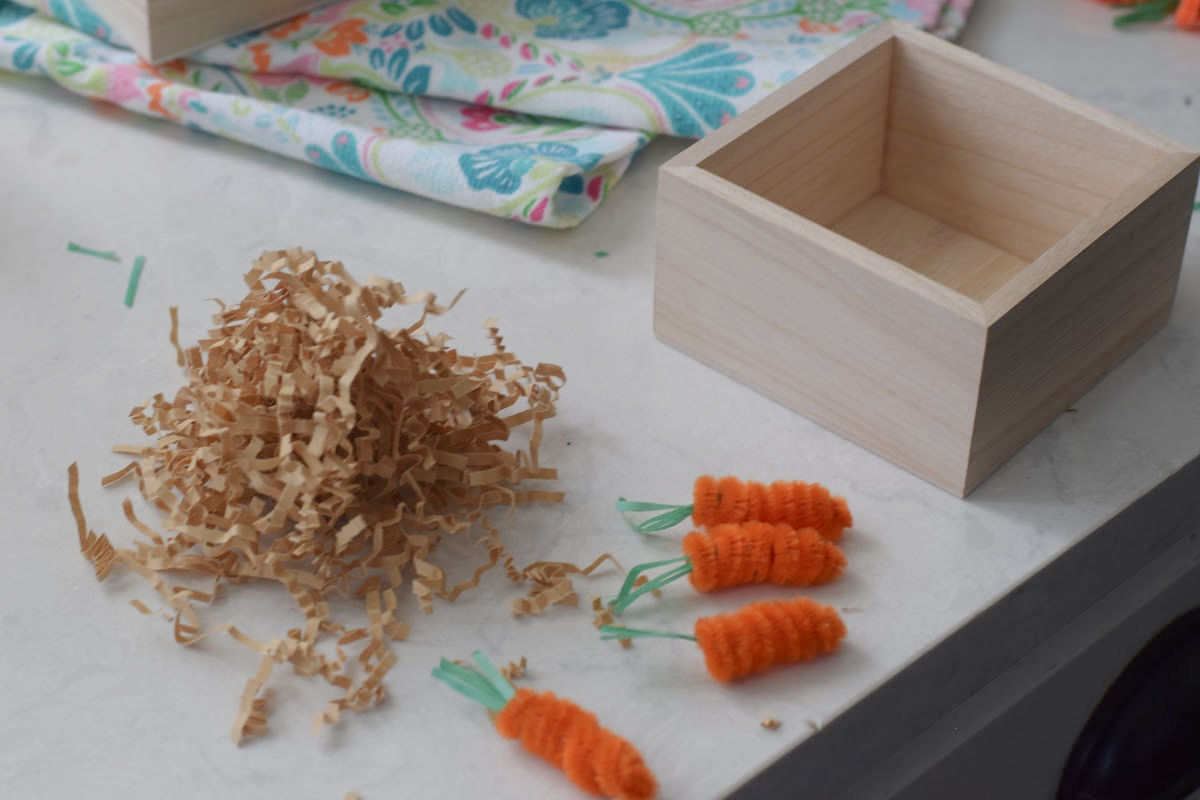
- Shredded brown paper – This will represent soil for your garden of carrots
Optional Extra
- Paint – Kids can paint the box to make it their own
- Vegetable Stickers – to decorate their box
Making the Carrots:
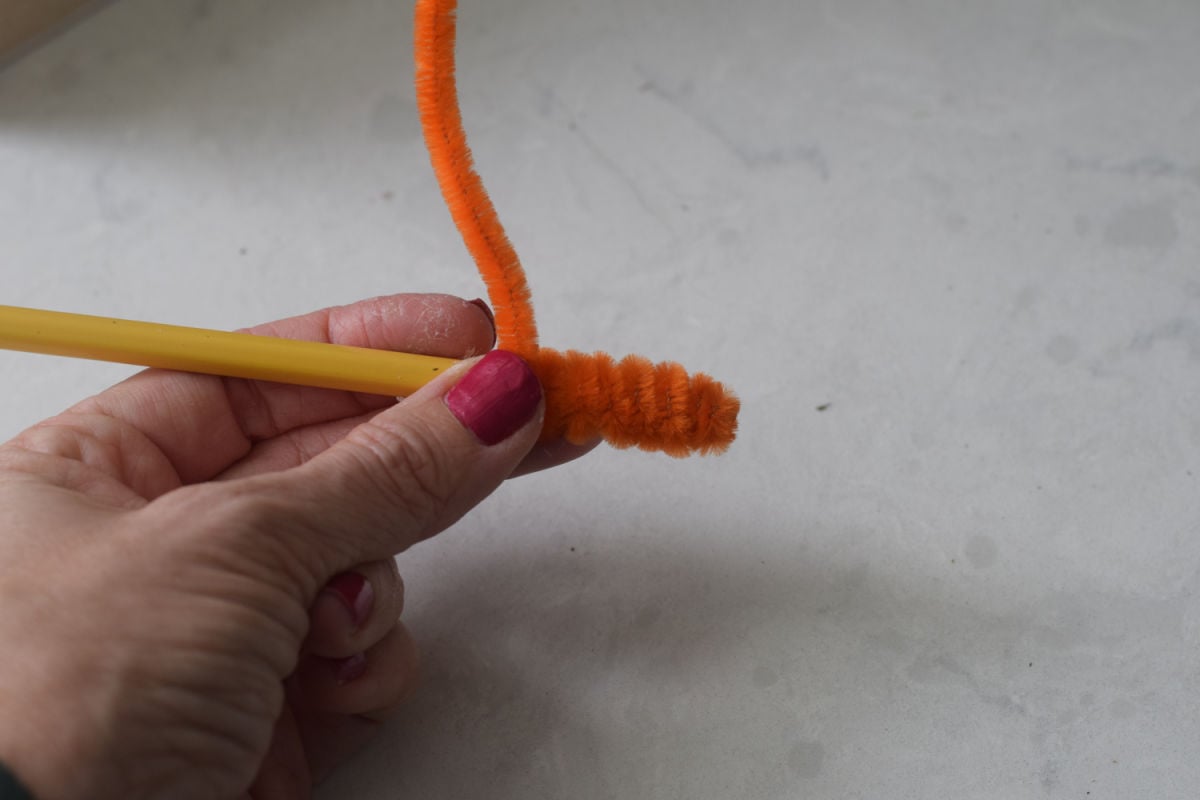
- Hold the sharpened pencil in your hands.
- Start at the pointed tip and wrap the pipe cleaner tightly around the pencil.
- Continue to go up until your carrot is as tall as you want it to be
- Cut off any excess pipe cleaner.
- Cut a 2-inch piece of raffia and make a few cuts to make strips.
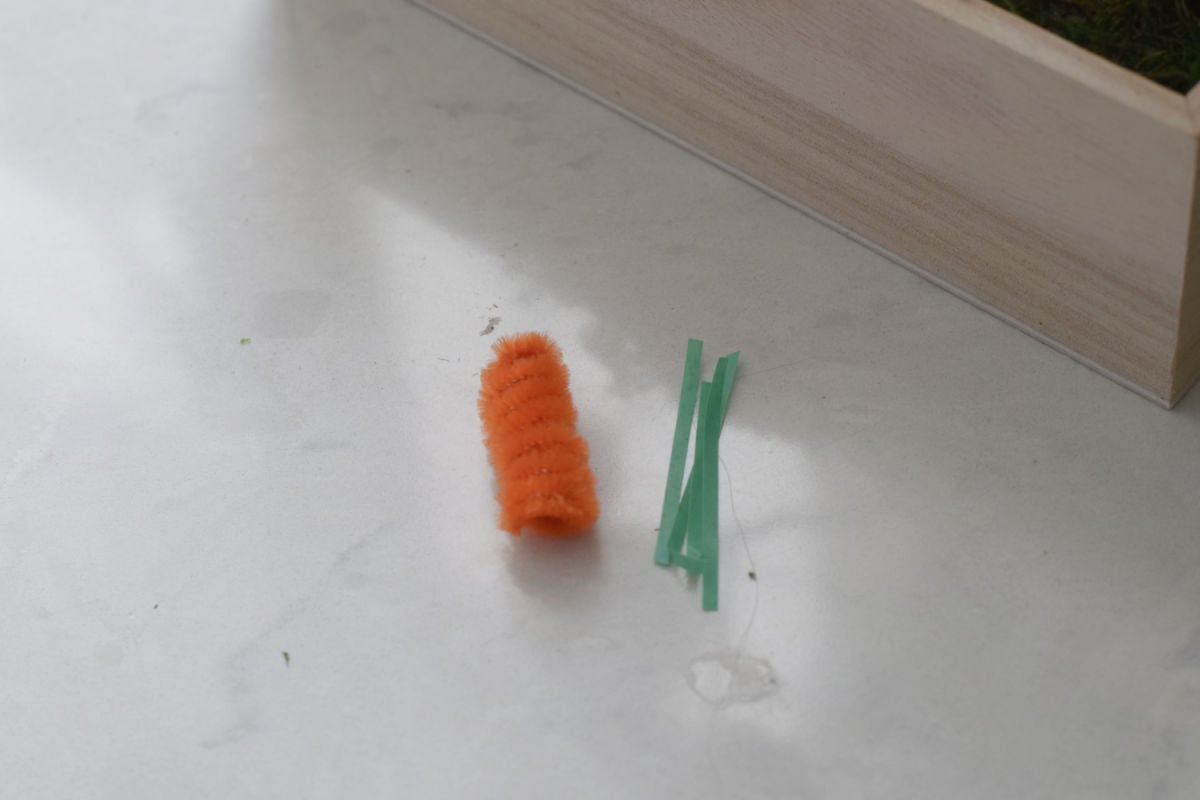
- Glue the intact end of the raffia inside the top of the carrot.
Garden Instructions
- Add shredded paper to the box and stick your carrots in.
Variations
Use green pipe cleaner for the greenery on the carrots
Use a foam block painted brown for the soil. You can push the pencil into the foam to make depressions for the carrots to sit inside. Add shredded paper to the top
More Spring Crafts You’ll Love
Let’s Hang Out
If you love this garden craft for kids, then you’ll love all of my other crafts, fun ideas, and easy recipes.
Printable Instructions
Garden Of Carrots Craft for Kids
Materials
- 6 pipe cleaners orange
- 1 sharpened pencil
- raffia or shredded paper green
- 1 wooden box or berry basket
- 1 bag shredded paper brown
Instructions
- Hold the sharpened pencil in your hands.
- Start at the pointed tip and wrap the pipe cleaner tightly around the pencil.
- Continue to go up until your carrot is as tall as you want it to be
- Cut off any excess pipe cleaner
- Cut a 2-inch piece of raffia and make a few cuts to make strips.
- Glue the intact end of the raffia inside the top of the carrot.
Notes
~Melissa – KidFriendlyThingsToDo.Com