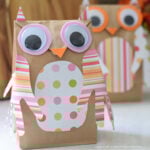
Paper Bag Owl Craft with Handprint Wings
This post may contain affiliate links – please read my disclosure statement.
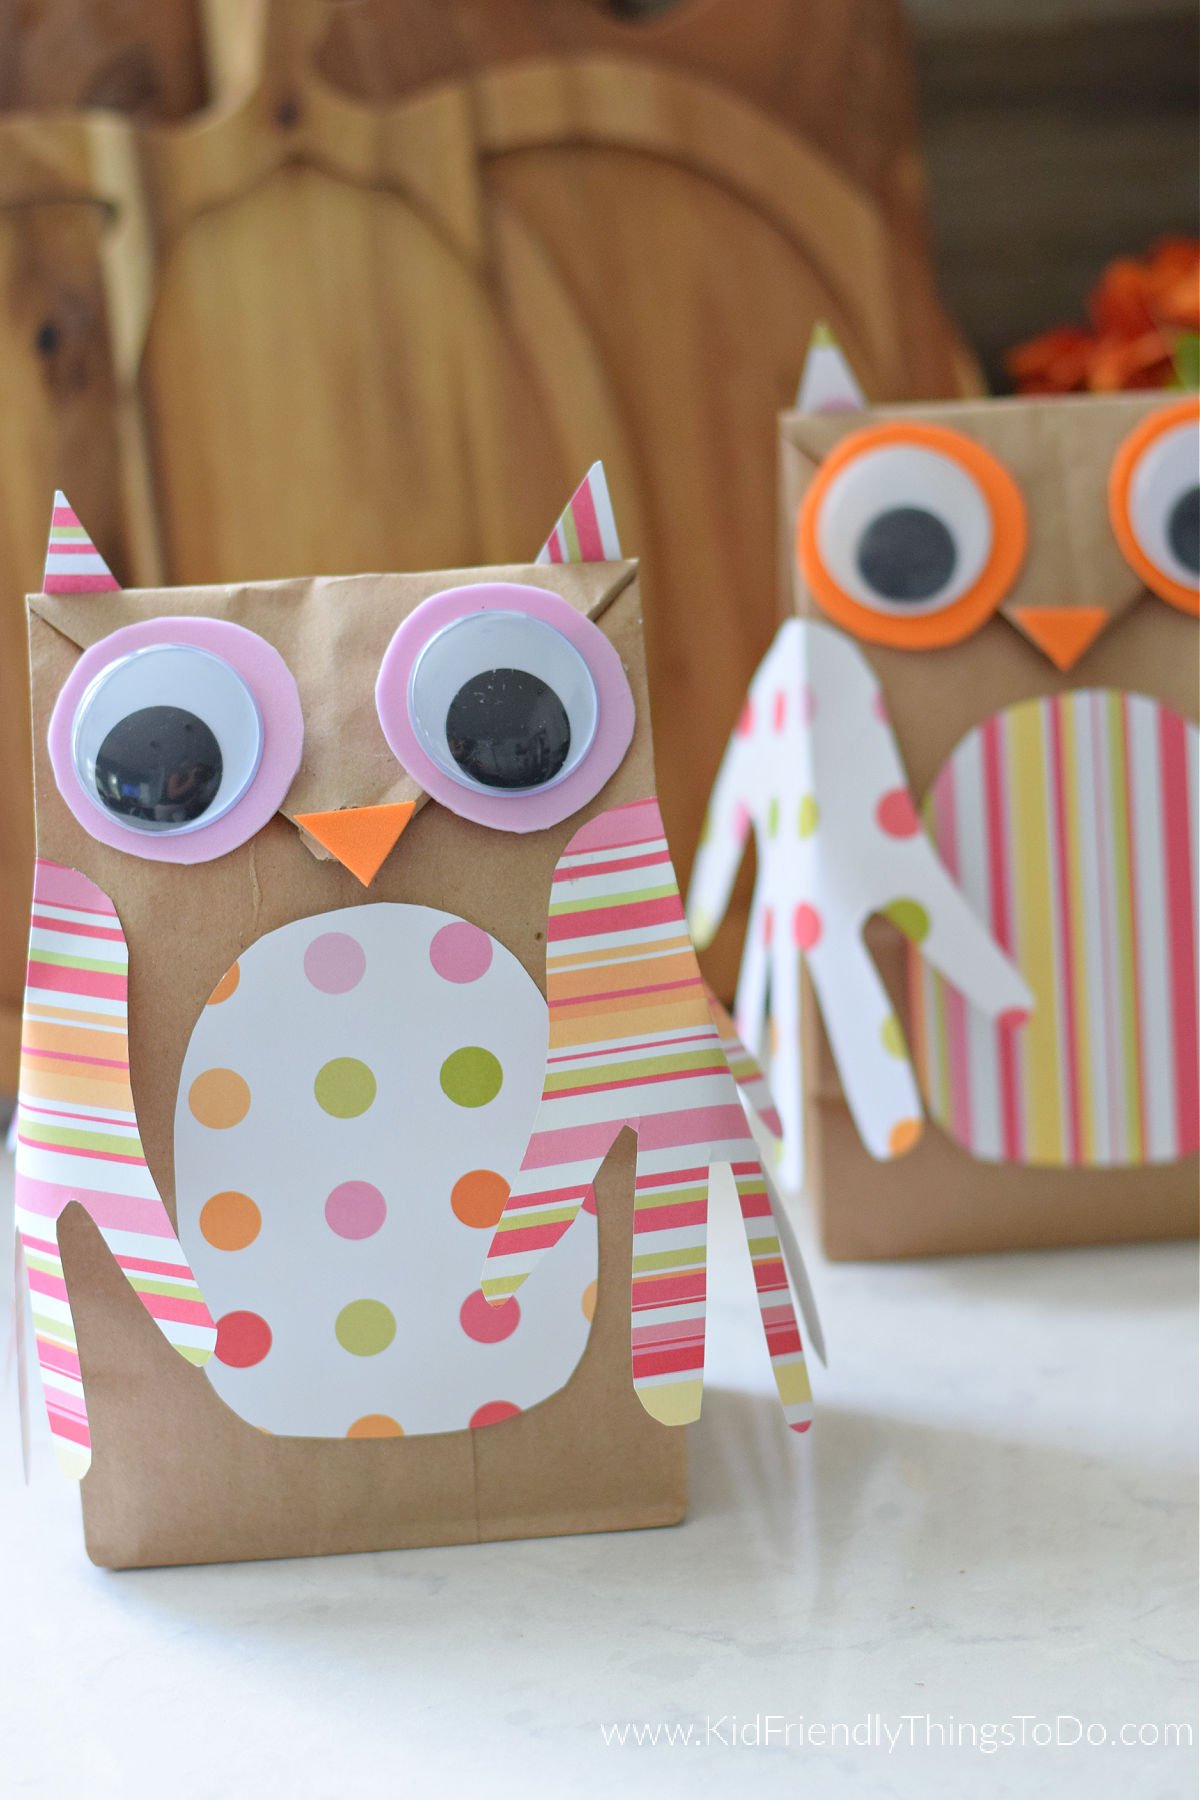
This Paper bag owl craft is a sweet project that the kids will love. With just a few supplies, kids can transform a paper bag into an adorable owl with colorful handprint wings. It’s the perfect mix of creativity and a keepsake craft for back-to-school fall crafts.
I am always a sucker for a handprint craft. They are the sentimental ones that you love taking out to decorate with, year after year. Like this Shamrock Handprint Craft, this apple handprint craft, and this Handprint Indian corn craft.
Why you’ll love this look
Supplies You’ll Need
- paper lunch bag
- scrapbook paper
- filler – like cotton, newspaper crumpled up, or pillow filler
- foam paper – orange for the beak, another color for eyes
- large googly eyes – about 1&1/2 inches wide
Equipment Needed
- scissors
- glue
- small round object for tracing circles – about 2 inches wide
How to Make Paper Bag Owls
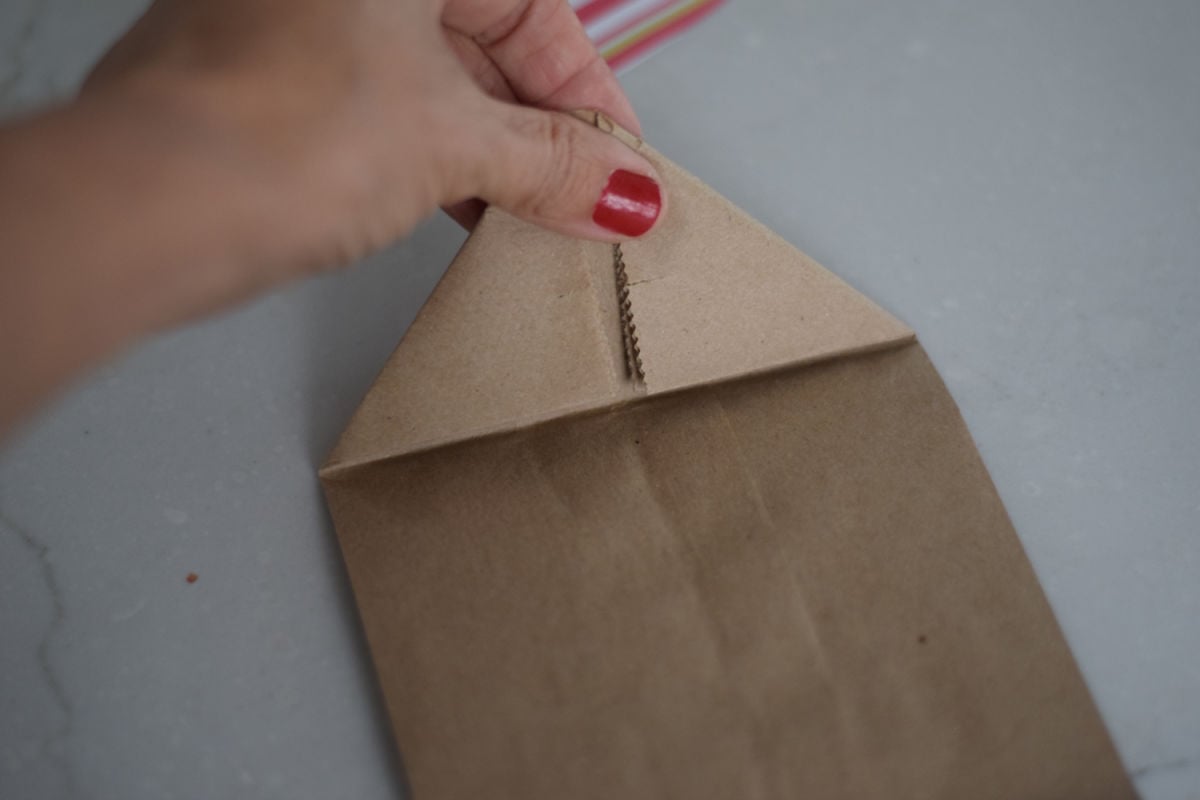
Prepare the bag – Start with a plain brown paper lunch bag as your owl’s body. Fold the top of the paper bag into a point. The folded flap at the top will be the face.
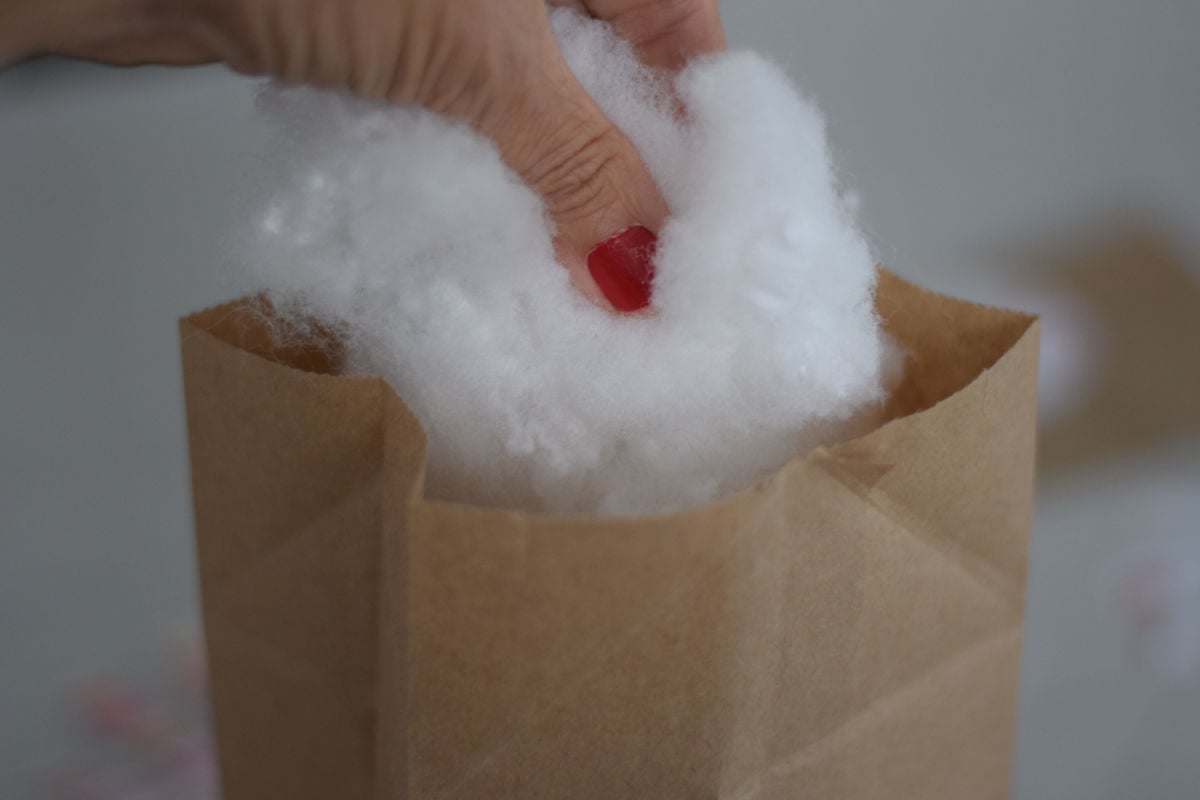
Stuff the paper bag with cotton fill or newspaper.
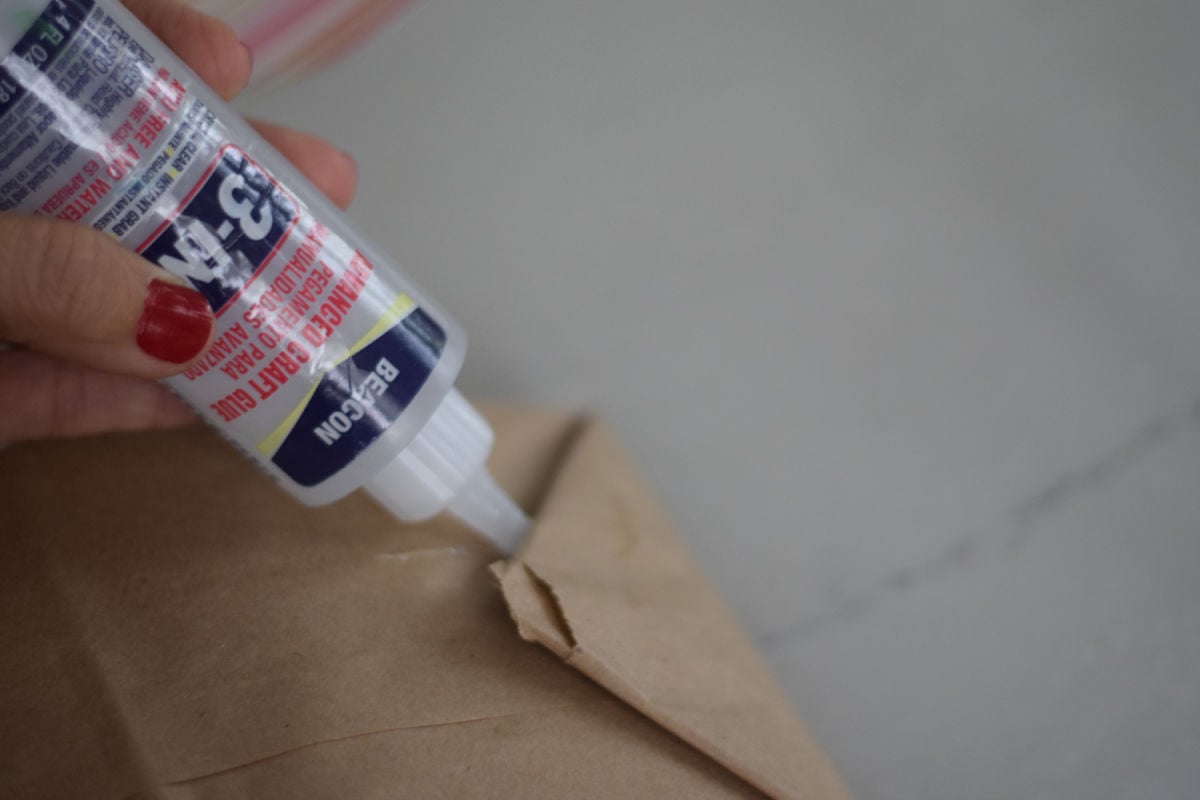
Fold the pointed part of the paper bag over to create the head of the owl and glue it to secure it there.
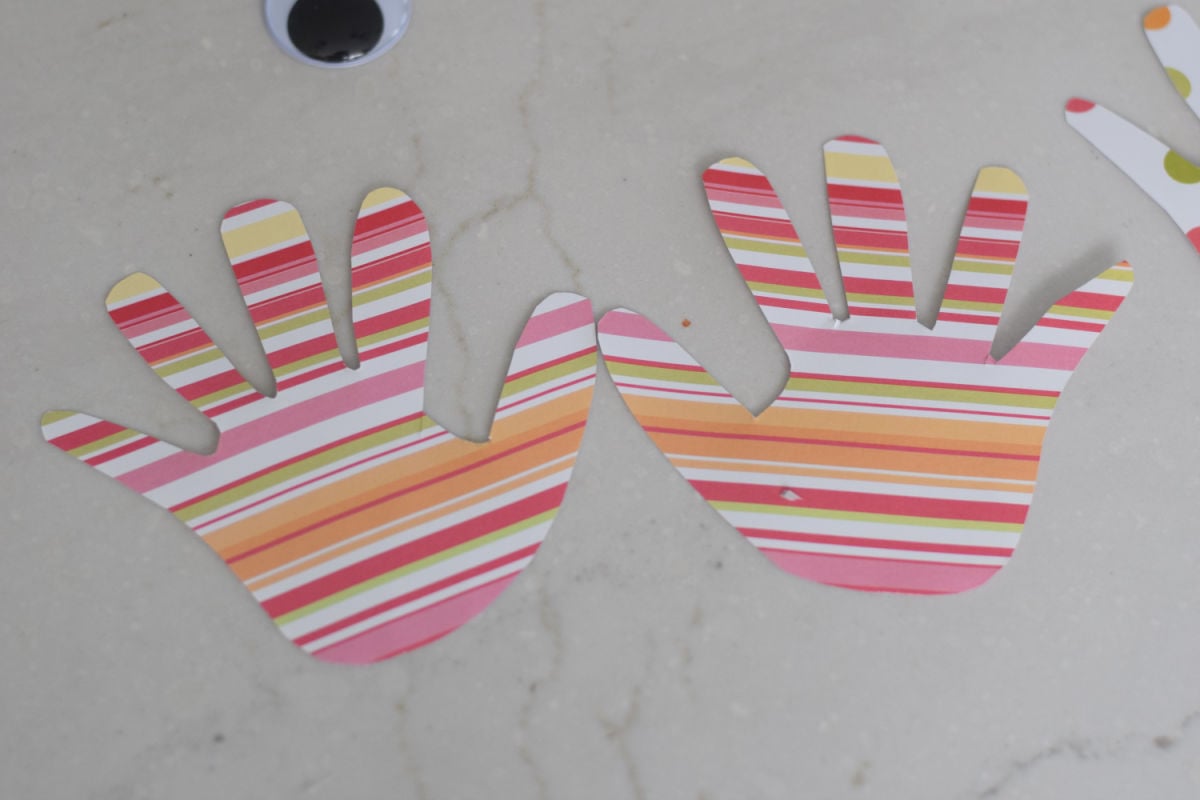
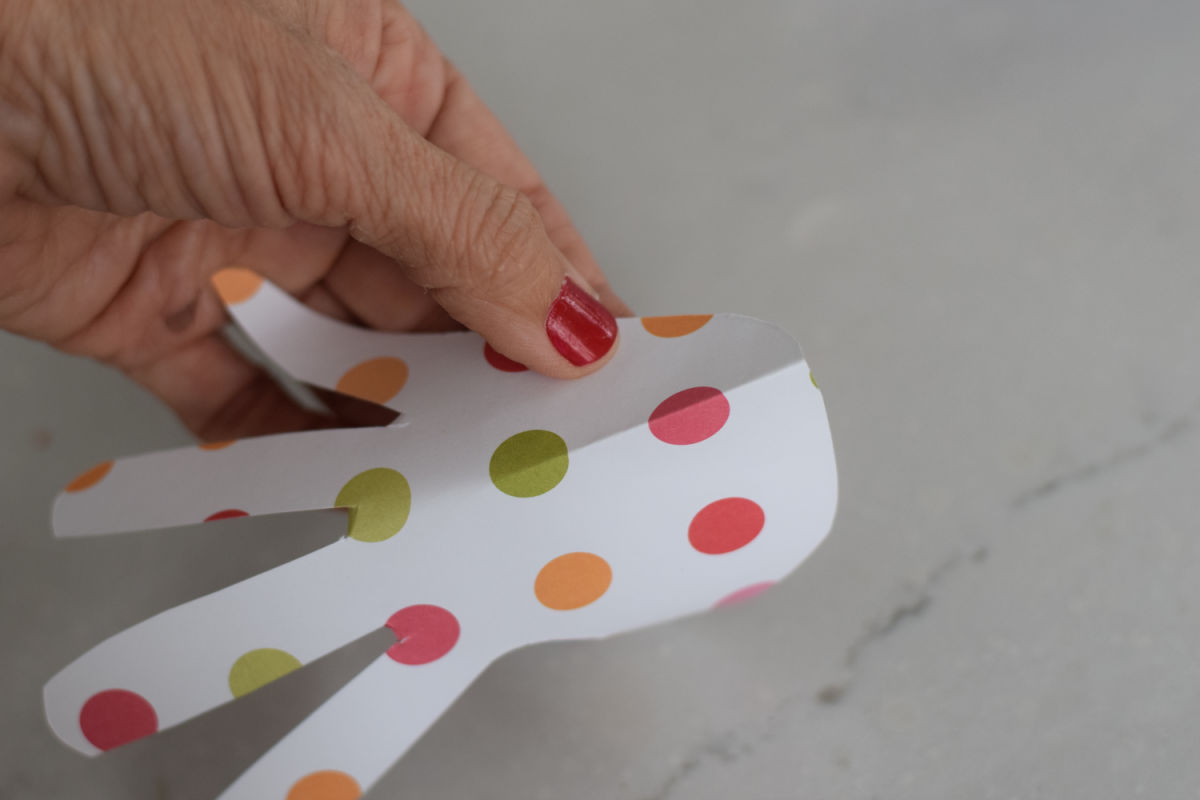
Make the wings – Trace your child’s hands on construction paper and cut them out. These will become the owl’s wings. You can use colorful scrapbook paper or fall colors like orange, red, or yellow.
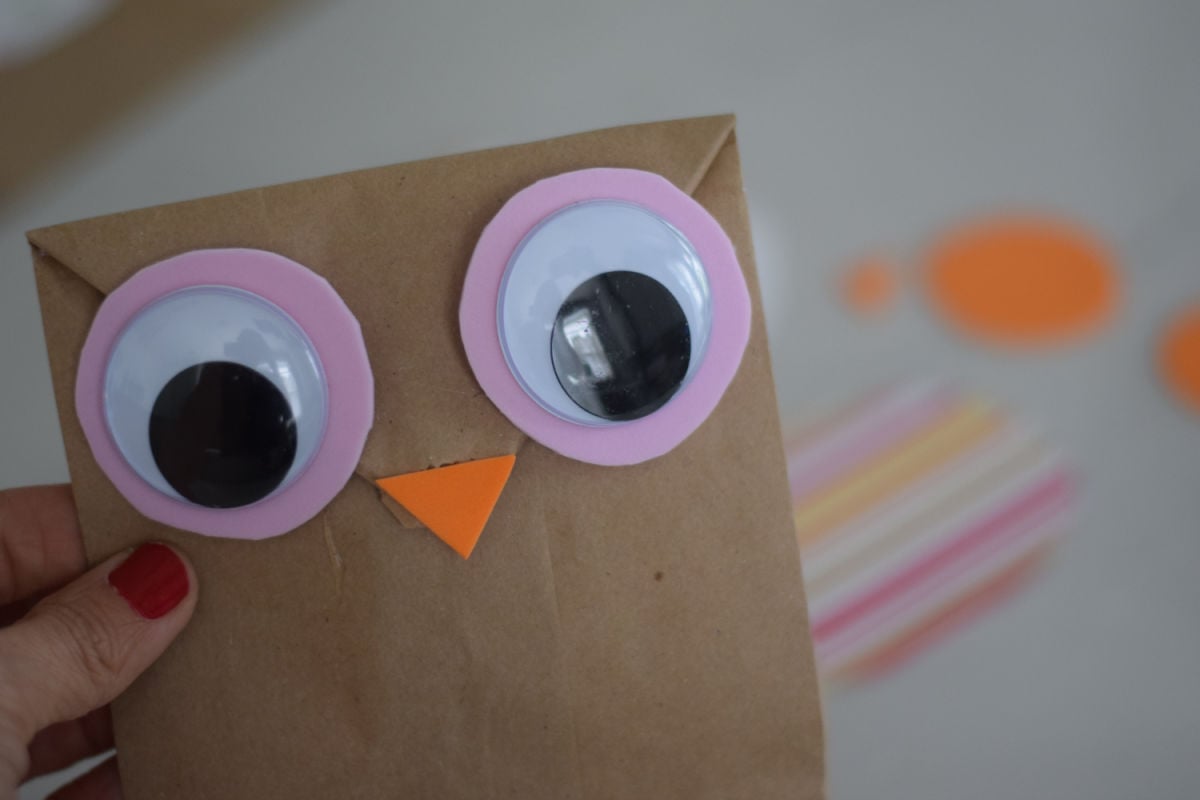
Add the face – Use a round object to trace 2 (2-inch wide) circles onto foam paper. Cut those out. – These will be used for the eyes.
Glue the round foam circles onto the owl’s face.
Glue on two big googly eyes.
Cut out a small triangle for the beak and glue it just below the eyes.
Create the belly – Cut an oblong shape from paper (a contrasting scrapbook paper works great) and glue it to the center of the bag for the owl’s belly. Kids can decorate it with lines, dots, or feather-like shapes if they’d like.
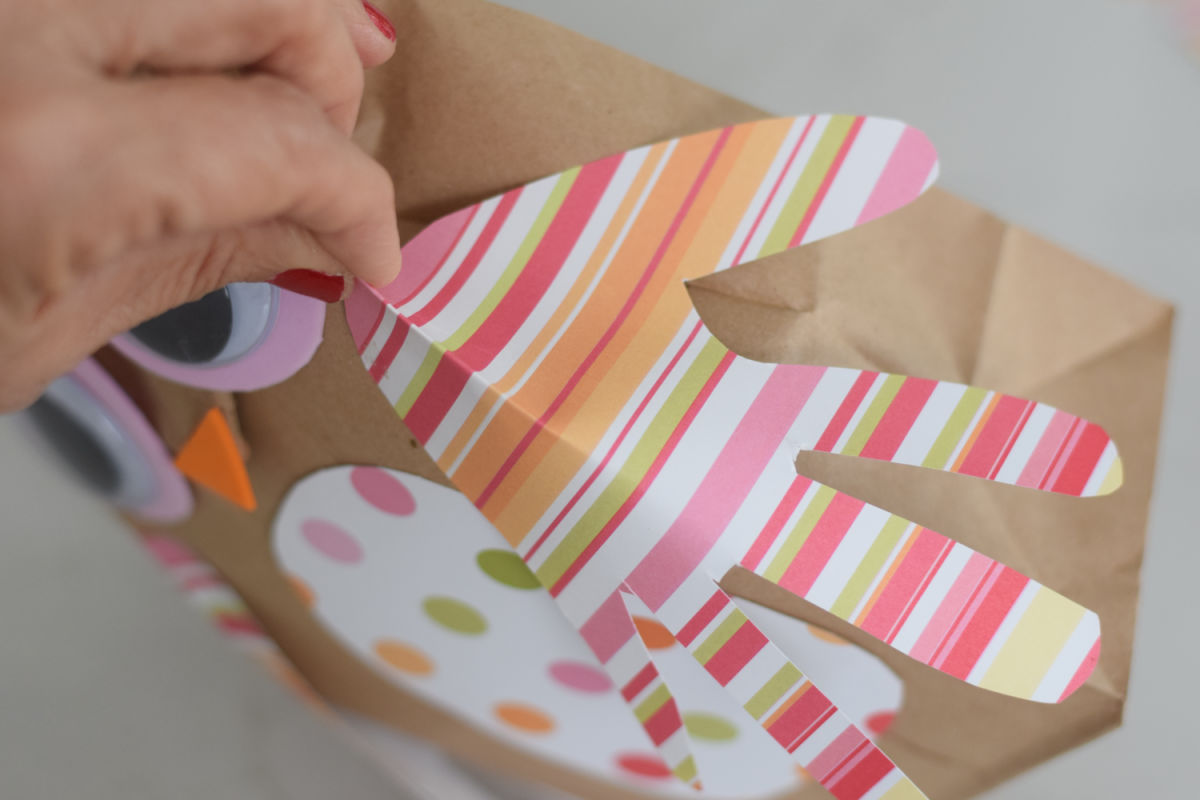
Attach the wings – Make a crease in the paper hands
Glue those facing down on the edges of the bag.
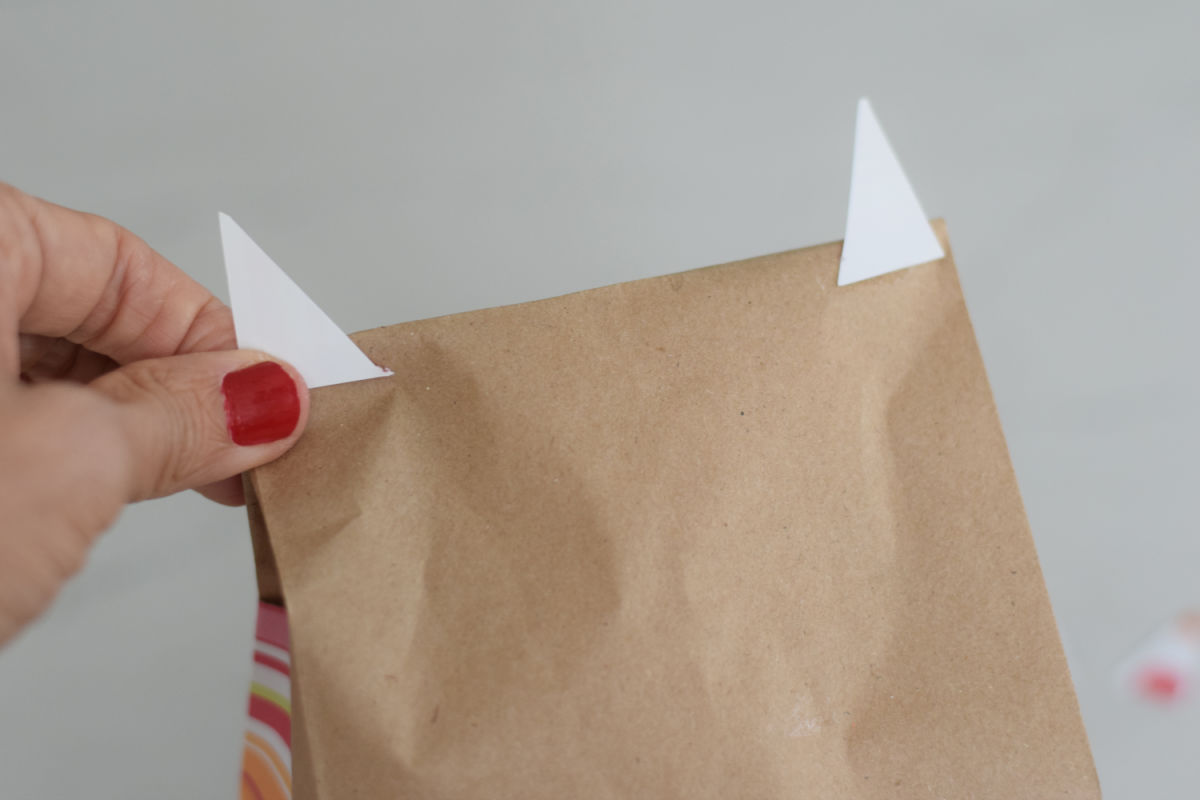
Final Touches – Add triangle ears to the back of the bag
Expert Tips
Only fill the bag about three-quarters full and don’t pack it too tightly.
Use a strong hold glue like 3-in-1 Beacon Glue glue to instantly grab materials and dry quickly
Variations
Owl Color – Use different colors for bags, or use a white bag that kids can color on.
Add Texture – Let kids tear paper or use crumpled tissue paper to make the owl’s belly.
FAQs
Can I use a white paper lunch bag instead of a brown one?
Yes! White paper bags are a great alternative, because kids can color them. You can also use colorful paper bags.
More Fall Crafts
Paper Bag Owl Craft with hand-print wings
Equipment
- glue – like tacky craft glue
- Scissors
Materials
- paper lunch bag
- scrapbook paper
- filler – like cotton, newspaper crumpled up, or pillow filler
- foam paper – orange for the beak, another color for eyes
- large googly eyes – about 1&1/2 inches wide
Instructions
Prepare the bag
- Start with a plain brown paper lunch bag as your owl’s body. Fold the top of the paper bag into a point. The folded flap at the top will be the face.Stuff the paper bag with cotton fill or newspaper.Fold the pointed part of the paper bag over to create the head of the owl.
Make the wings
- Trace your child’s hands on construction paper and cut them out. These will become the owl’s wings. You can use colorful scrapbook paper or fall colors like orange, red, or yellow.
Add the face
- Use a round object to trace 2 (2-inch wide) circles onto foam paper. Cut those out. – These will be used for the eyes. Glue the round foam circles onto the owl's face.Glue on two big googly eyes.Cut out a small triangle for the beak and glue it just below the eyes.
Create the belly
- Cut an oblong shape from paper (a contrasting scrapbook paper works great) and glue it to the center of the bag for the owl’s belly. Kids can decorate it with lines, dots, or feather-like shapes if they’d like.
Attach the Wings
- Make a crease in the paper hands and glue those facing down on the edges of the bag.
Final Touches – Ears
- Cut out triangles from scrapbook paper and attach them to the back of the bag as ears
Happy Fall Y’all!
~ Melissa – KidFriendlyThingsToDo.com