Sugar Cone Christmas Tree Craft (Perfect for Kids!)
This post may contain affiliate links – please read my disclosure statement.
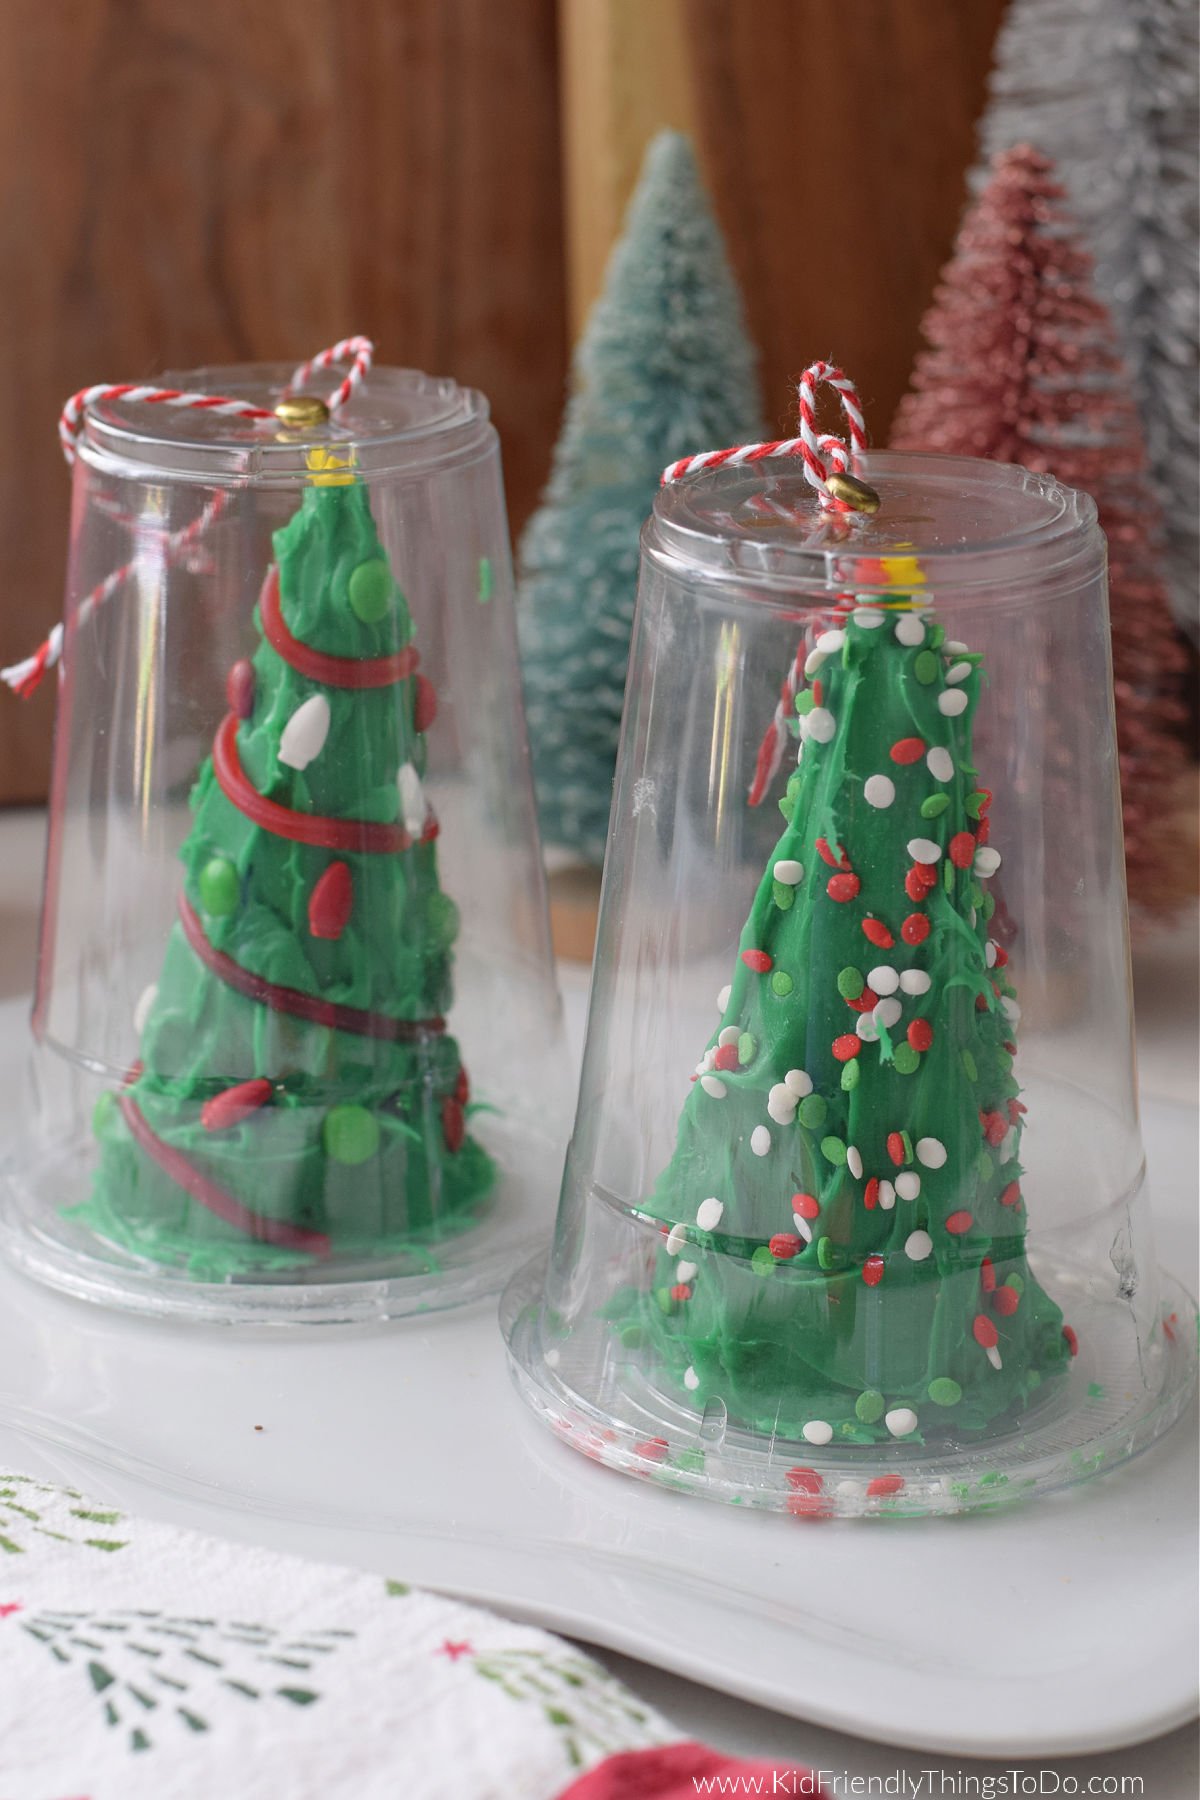
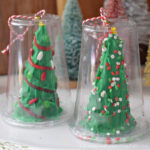
If you’re looking for a fun and festive Christmas craft that kids will love, these Sugar Cone Christmas Trees are perfect. Not only are they adorable and easy to make, but with one simple extra step, they can even be turned into ornaments or little display pieces you can proudly show off at home.
This project starts with a simple sugar cone, green frosting, and all kinds of fun decorations — like licorice rope, mini M&Ms, and sprinkles. But the real magic happens when you turn your decorated tree into a sweet keepsake inside a clear plastic cup with a lid.
Sugar Cone Christmas Trees
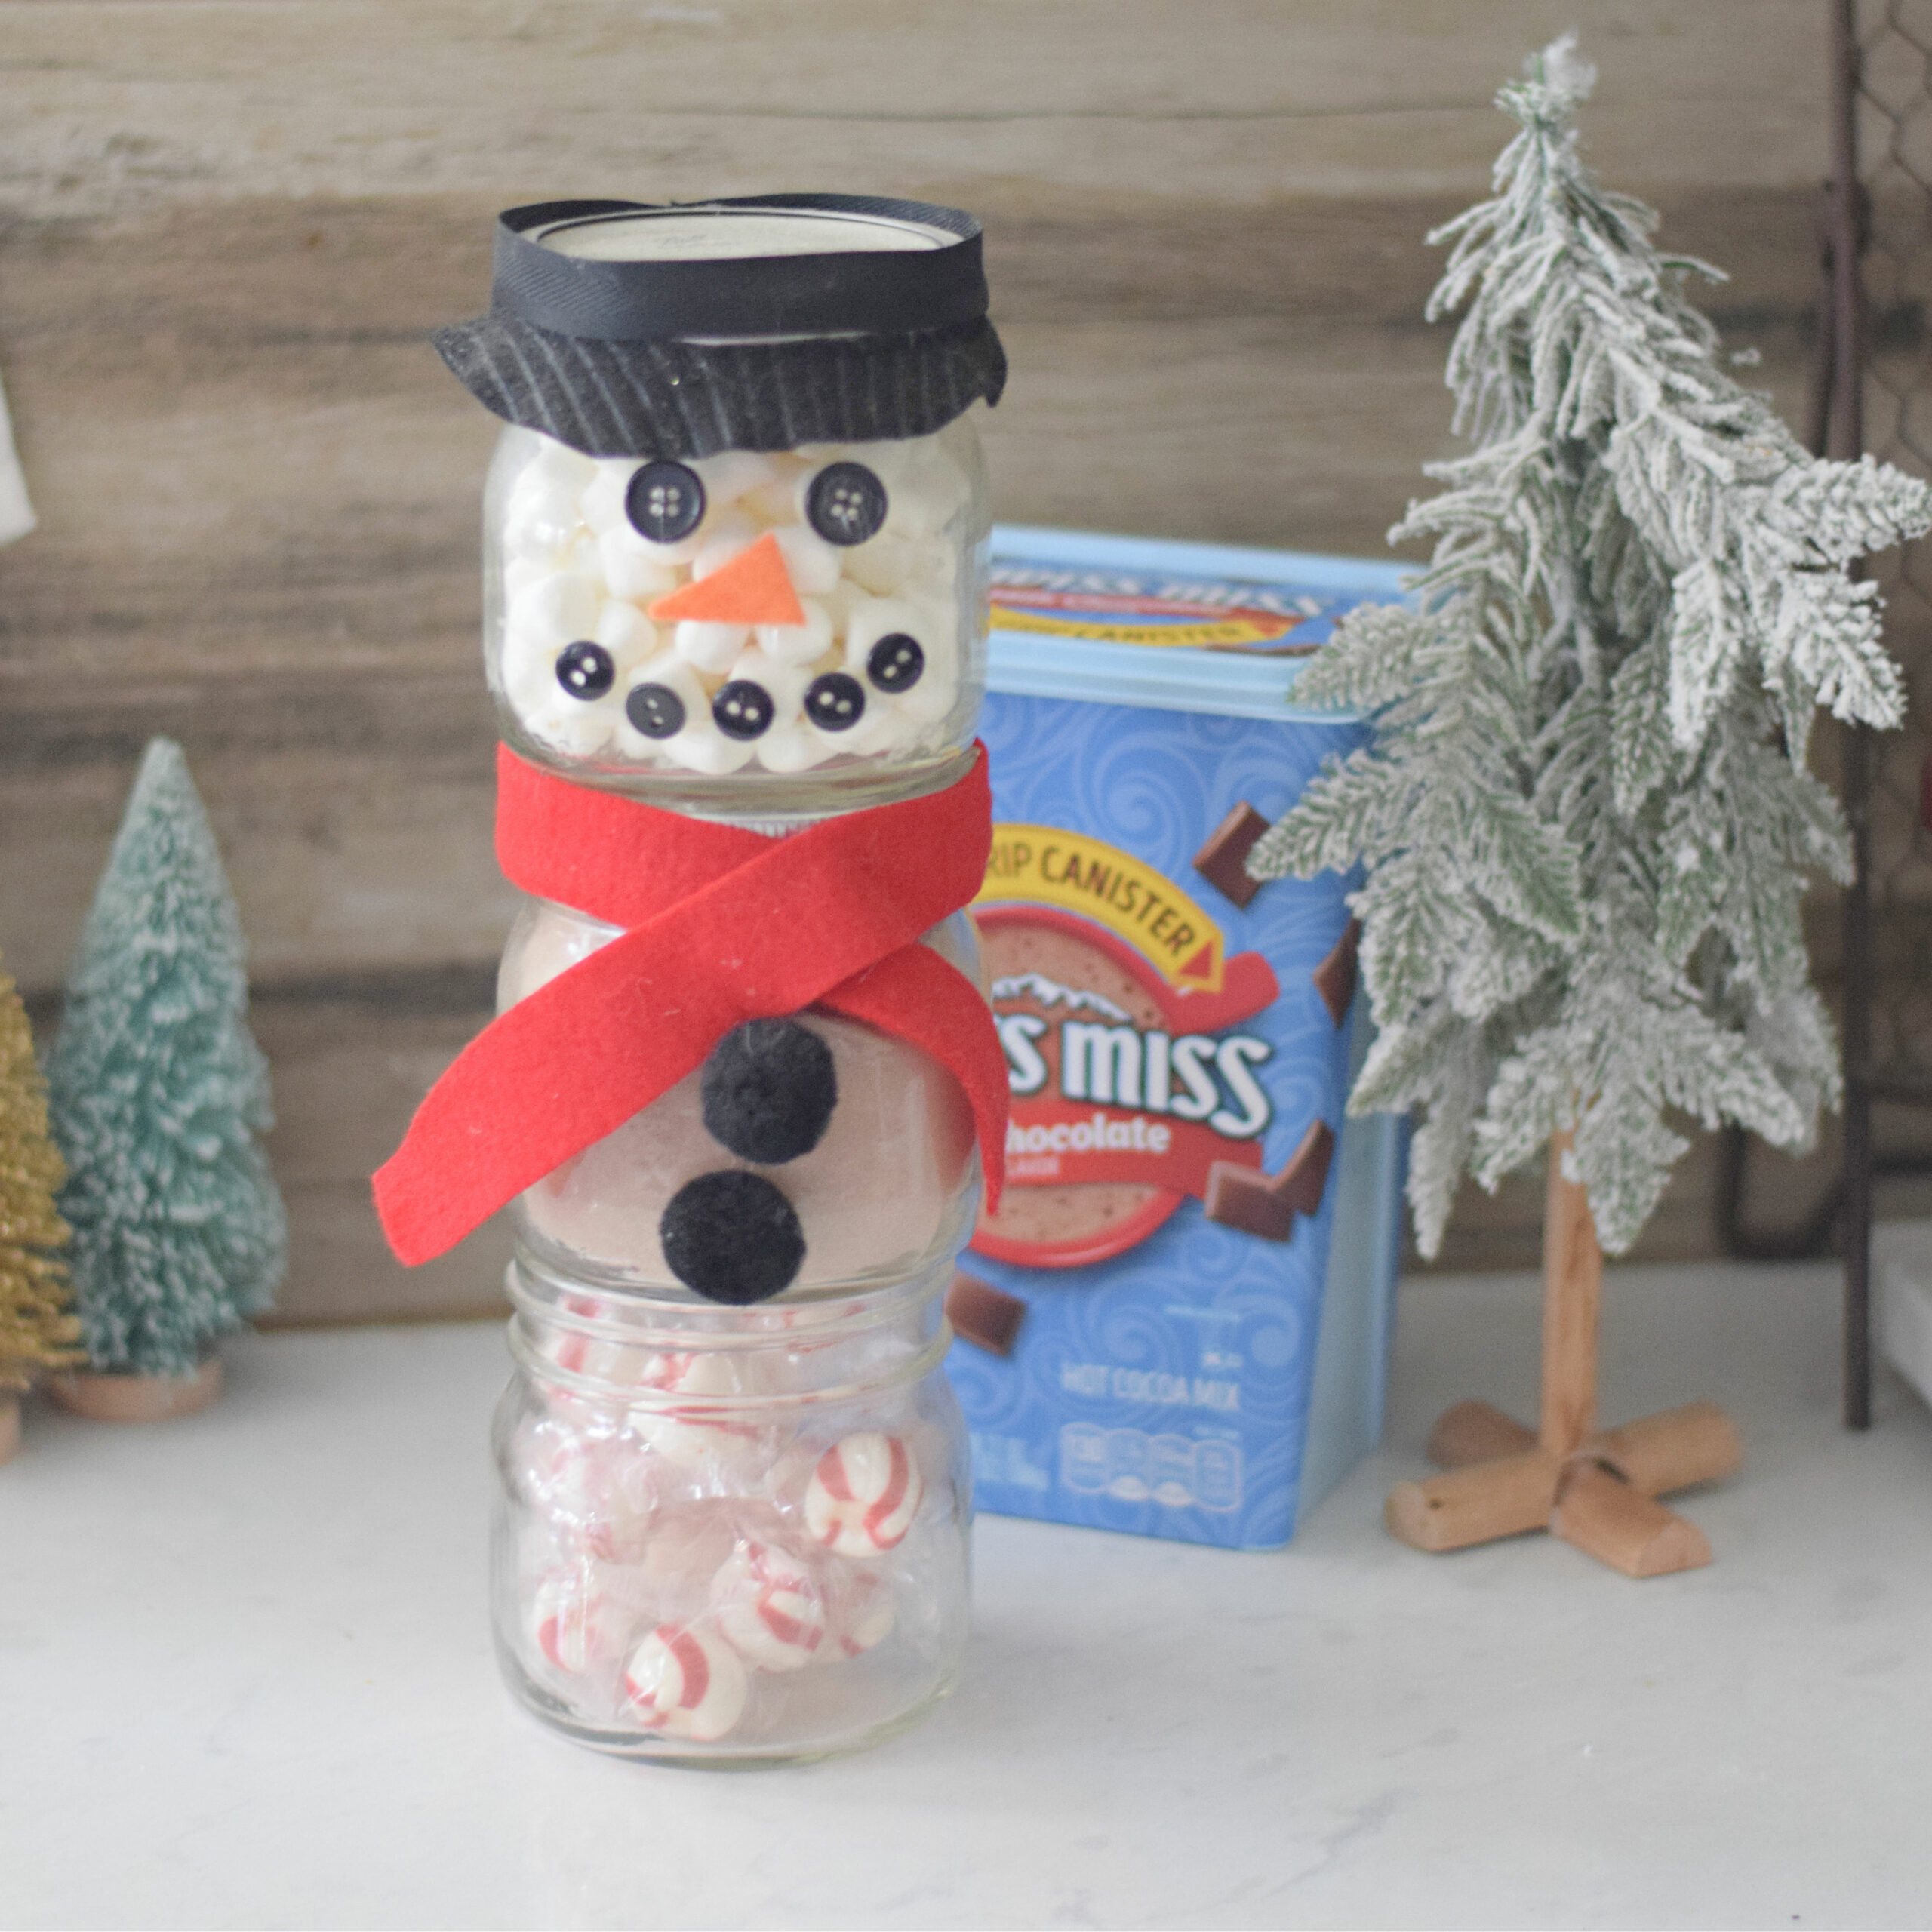
Christmas crafts are among my favorites. The memories made from making crafts with the kids like Puffy Paint Window Clings, Reindeer Food, and Snowman Hot Chocolate in Jars Kits are so precious. This Sugar Cone Tree is a fun and simple craft to make arount the busy hustle and bustle of the holidays.
You may have already seen this fun idea of simply spreading frosting on an upside-down sugar cone to create a tree. Years ago, I first saw this clever concept when my daughter and I went to a Gingerbread House Function. I thought it was so clever and couldn’t wait to try it with the kids. I’m so glad that we started making sugar cone trees like this. It really adds a fun and easy element to the holiday season.
What You’ll Love About this Craft
Perfect for Kids: Easy enough for little hands and tons of fun to decorate.
Double Purpose: A fun craft to make and a cute display for the tree.
Minimal Prep: A little glue work and a hole punch the night before, and you’re ready for a stress-free crafting session.
Creative & Customizable: Kids can decorate however they like — add candy garlands, sprinkle ornaments, and a star on top.
Classroom-Friendly: This project is perfect for holiday parties or group activities, as everything can be prepped ahead of time.
Festive & Adorable: The finished trees look like mini winter wonderlands or snow globes inside their clear cup ornaments.
Supplies You’ll Need
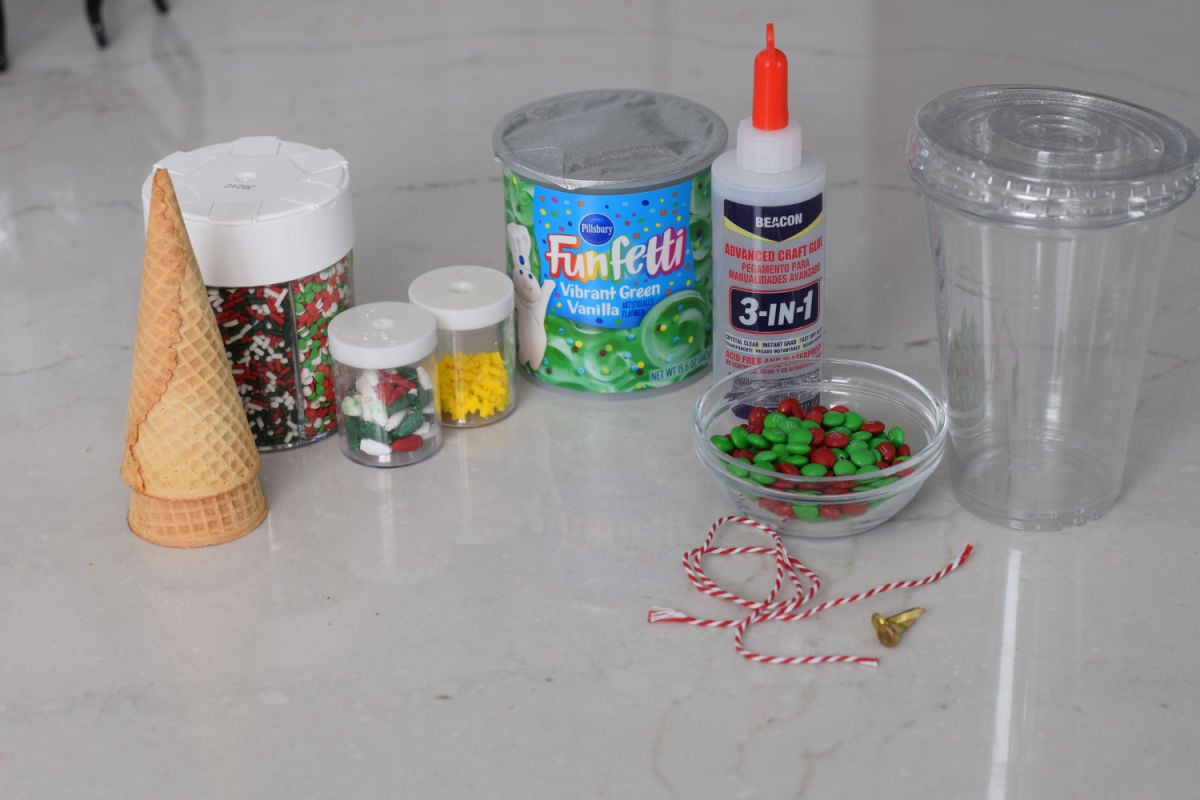
- Sugar cones
- Cookie Icing
- green frosting
- spreading utensils – spatulas, offset icing spatulas, and craft sticks work well for this
- assorted candies to decorate with – my suggestions are Pull-n-Peel red licorice, M&Ms, Mini M&Ms, Assorted Christmas Sprinkles
- Clear plastic cups with lids – 16 oz. cups or larger
- A Hole Punch Tool, such as an Awl Hole Puncher or Straw Punch (for an adult to use)
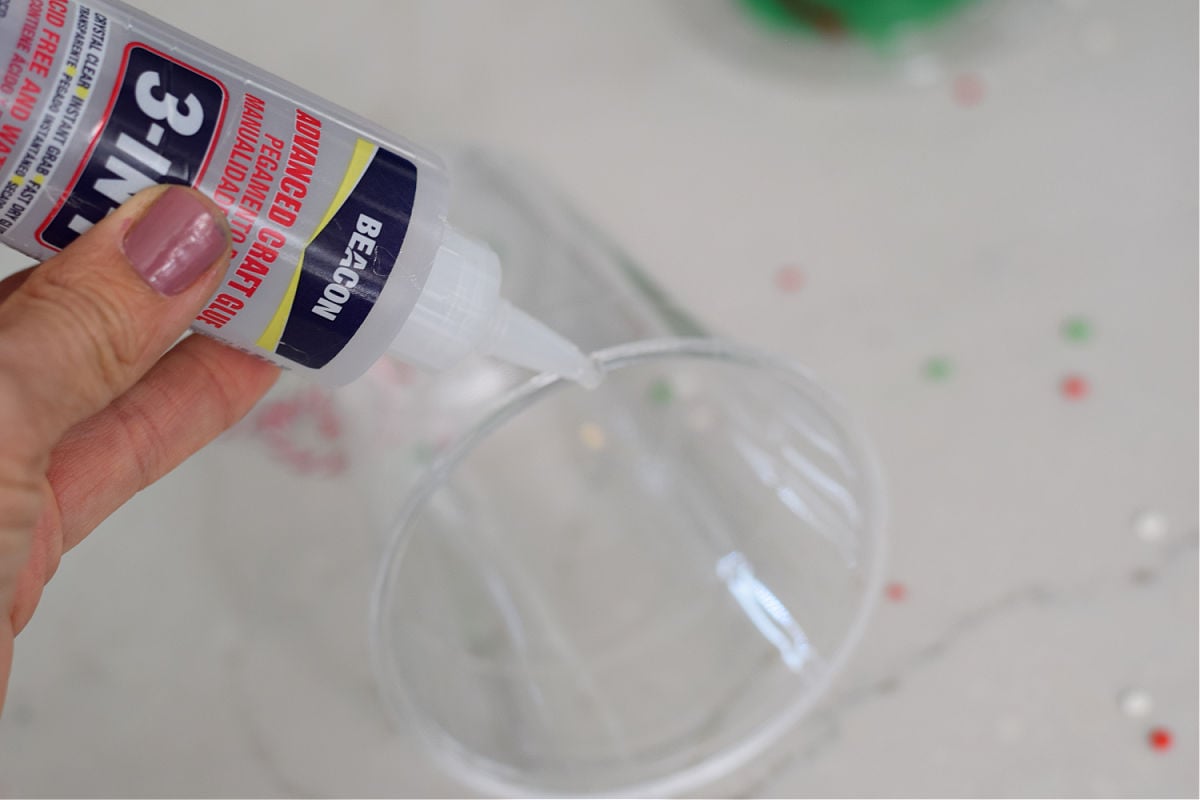
- Tacky glue (or another quick-grabbing craft glue) I use Beacon 3-in-1.
- Paper fasteners (brads)
- Christmas twine or ribbon
Optional: gold star sprinkle for the tree topper
How to Make a Sugar Cone Christmas Tree Ornament
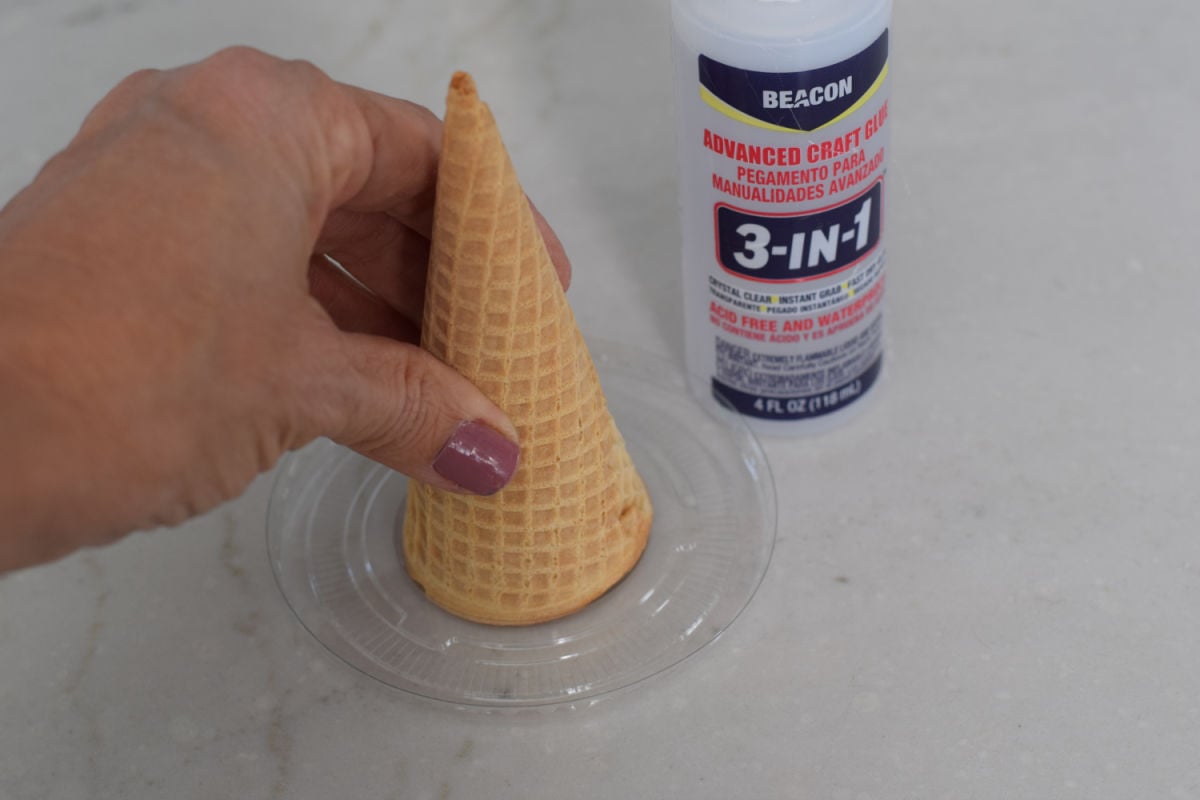
Step 1: Prep the Craft
Before the kids start decorating, you’ll want to do a little prep work. Glue each sugar cone with cookie icing (point facing up) onto the inside of a cup lid. Let that dry and set up overnight — this will keep the cone stable while kids decorate.
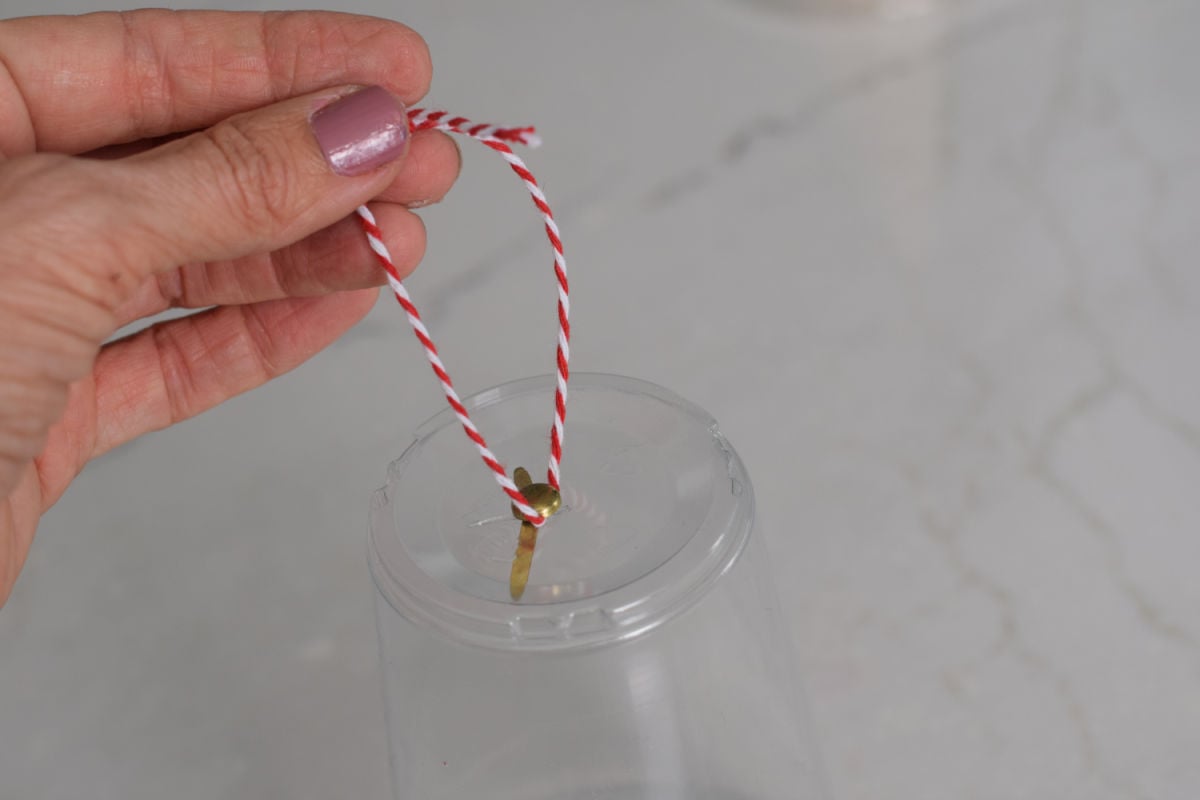
Next, have an adult use a hole puncher to poke a small hole in the bottom of each clear plastic cup. Insert a paper fastener through the hole, spread the prongs out, and tie a piece of Christmas twine or ribbon to the fastener for hanging later.
Step 2: Decorate the Trees
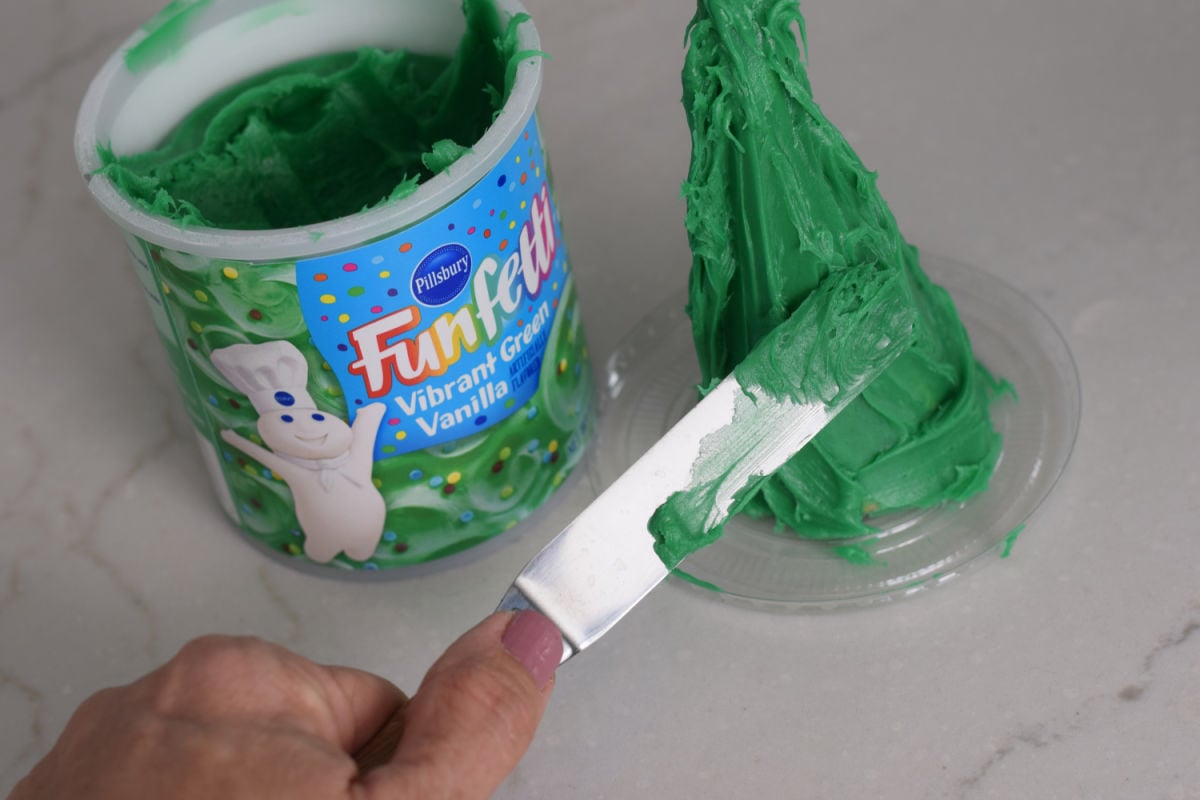
During your classroom party, family gathering, or holiday crafting session, give each child a “tree base” (the lid and cone combo). Let them frost the cone with green frosting using a small spatula or craft stick.
Then, decorate with candy, sprinkles, and licorice pieces.
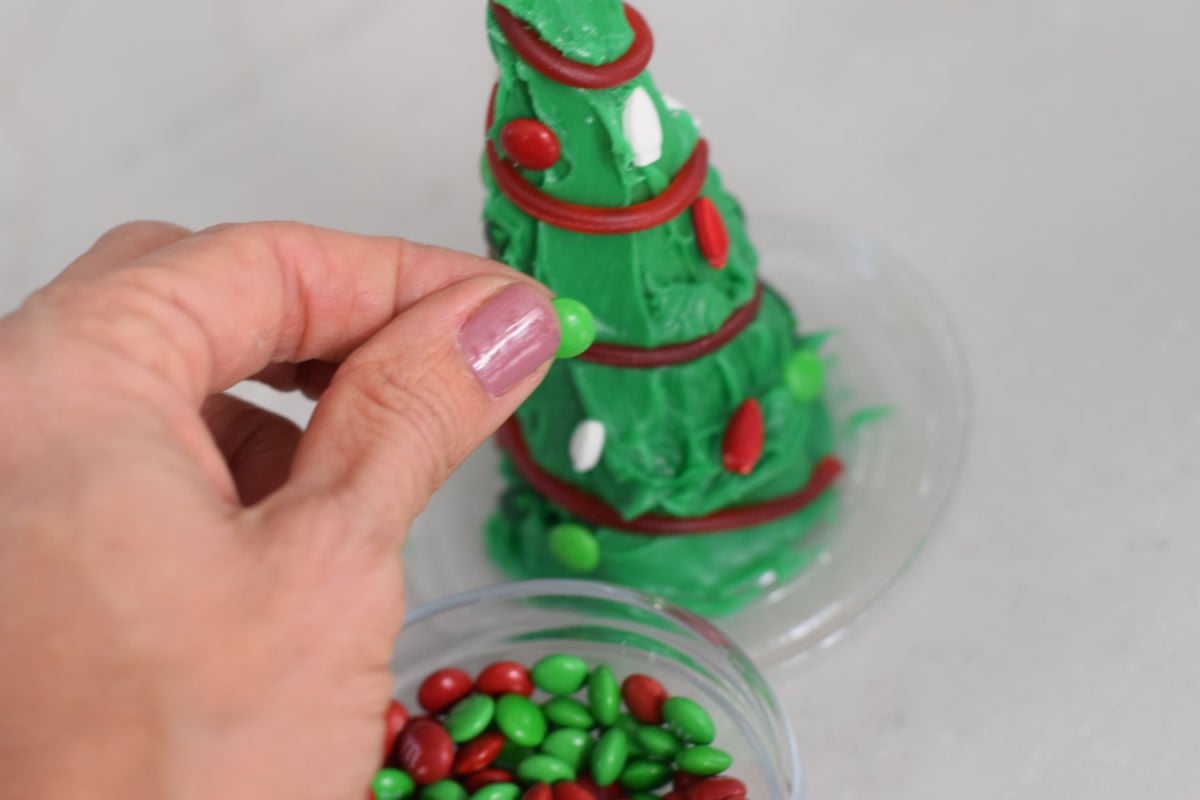
A gold star sprinkle on top makes the perfect finishing touch.
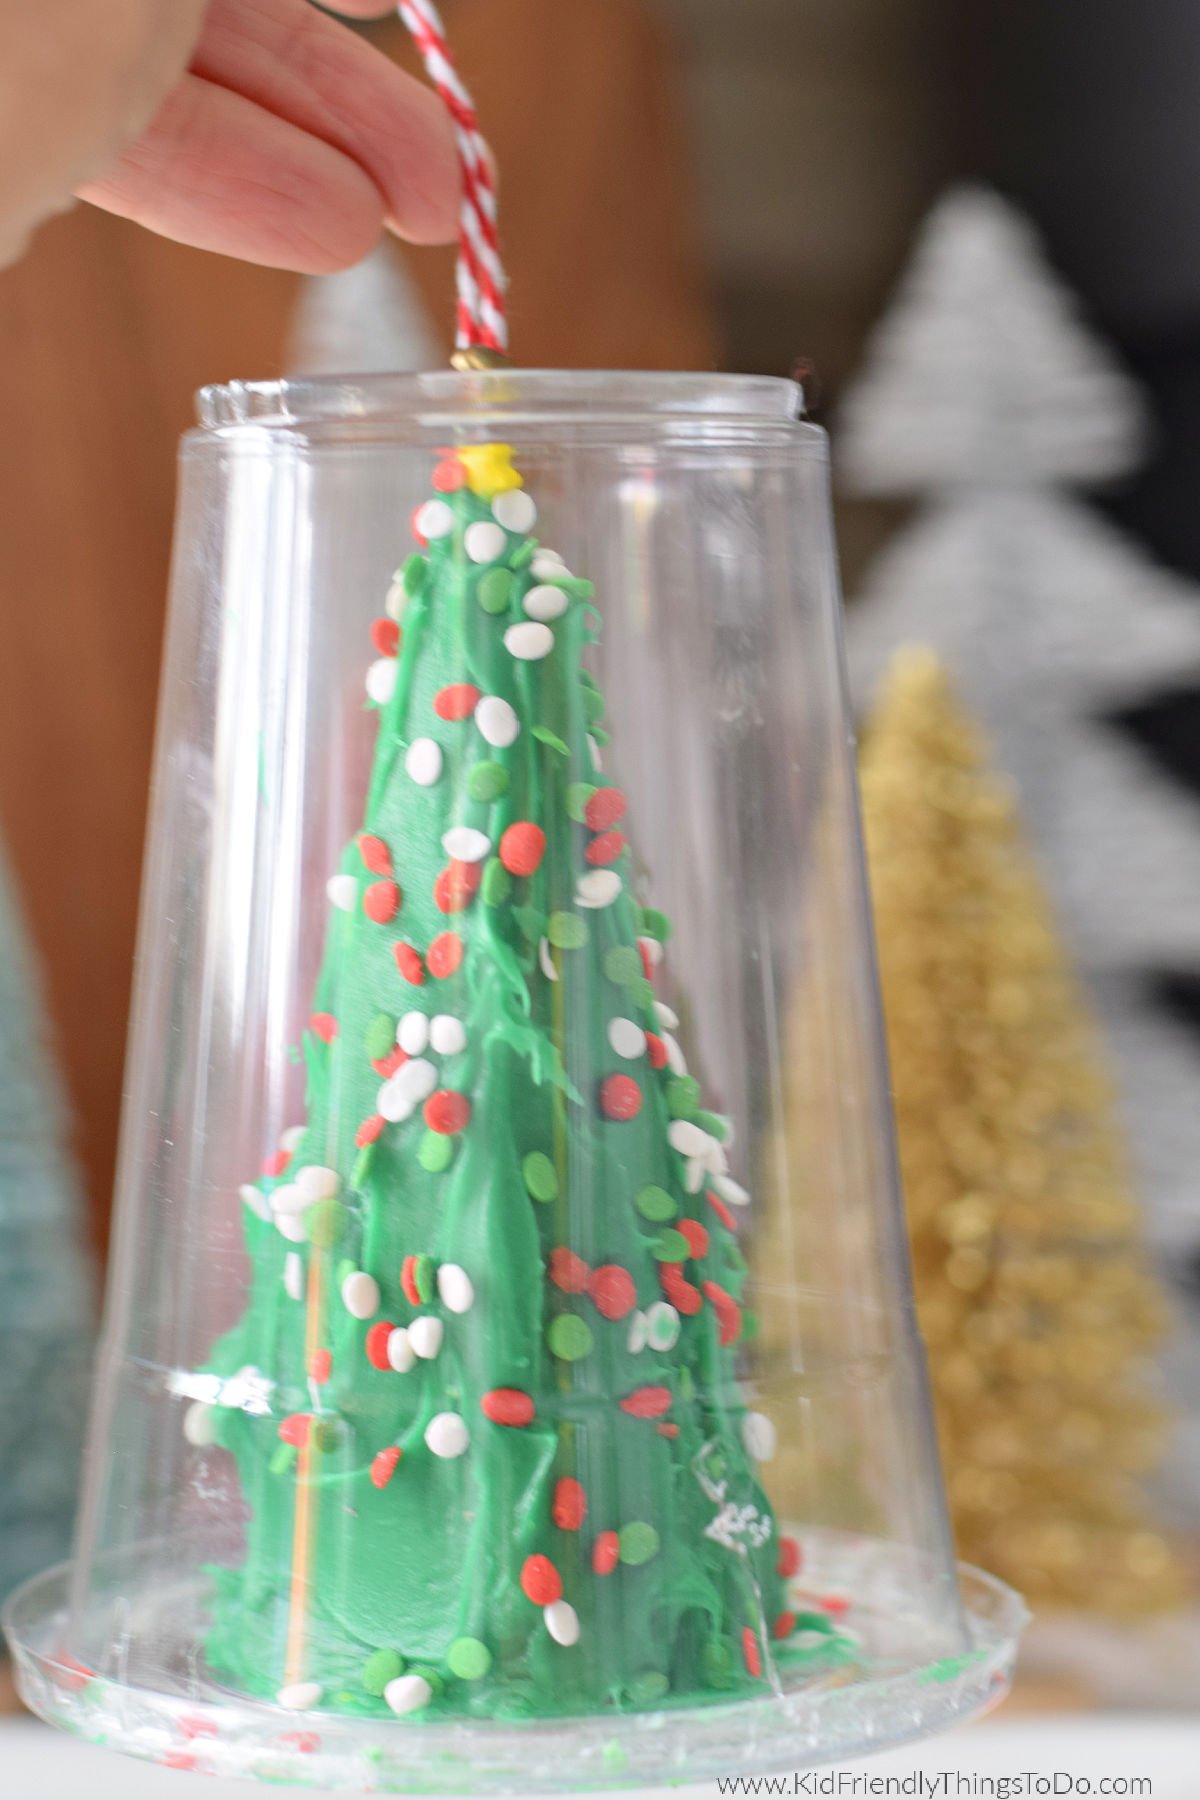
Step 3: Seal and Display
Once the trees are decorated, place the clear cup over the frosted cone and glue the rim of the cup to the lid. I like to use tacky glue because it grabs quickly but still allows a little time to adjust before fully drying (about 30 minutes).
When finished, kids will have their very own Sugar Cone Christmas Tree Ornament — cute enough to hang on the tree or display on a counter or shelf all season long.
Expert Tips for Class Parties
- When I have hosted class parties, I would divide the candy and frosting up for each table
- I would even go as far as putting frosting in individual Dixie Cups. You wouldn’t believe the taste testing that goes on. Nobody wants to take a holiday virus home, so I would strongly recommend this idea.
Tips and More Decorating Ideas
Snow:
Spread white frosting around the base of the tree for a snow-covered ground
Shake powdered sugar over the trees for a snowy look
Coconut Flakes also make a fun snow effect
Silver or sugar sprinkles make for a glistening snow look
Additional Decorations:
Little candy cupcake decorations, such as gingerbread people and snowmen, add cute accents to this craft. Use frosting to glue them to the cup lid.
Variation
Place several sugar cone trees on a platter for a forest of trees.
Add a Dollar Tree pre-made gingerbread house to a platter of sugar cone trees for a cozy Christmas cabin in the woods.
FAQs
What kind of glue works best for this craft?
I like using tacky glue because it grabs quickly, yet still allows for adjustments as needed. It usually takes about 30 minutes to fully set.
Can kids eat the Sugar Cone Trees they’ve made?
If you’re turning them into ornaments or displays, it’s best to treat them as a fun decoration — not a snack. However, if you’re just decorating for fun and not using glue, then they should be completely edible.
What frosting should I use?
Any store-bought green frosting works great. You can also tint white frosting with green food coloring if you prefer, you can make homemade frosting.
How long will these last?
Once sealed in the plastic cups, these little trees can last several weeks as a festive decoration — just keep them in a cool, dry place away from heat or sunlight.
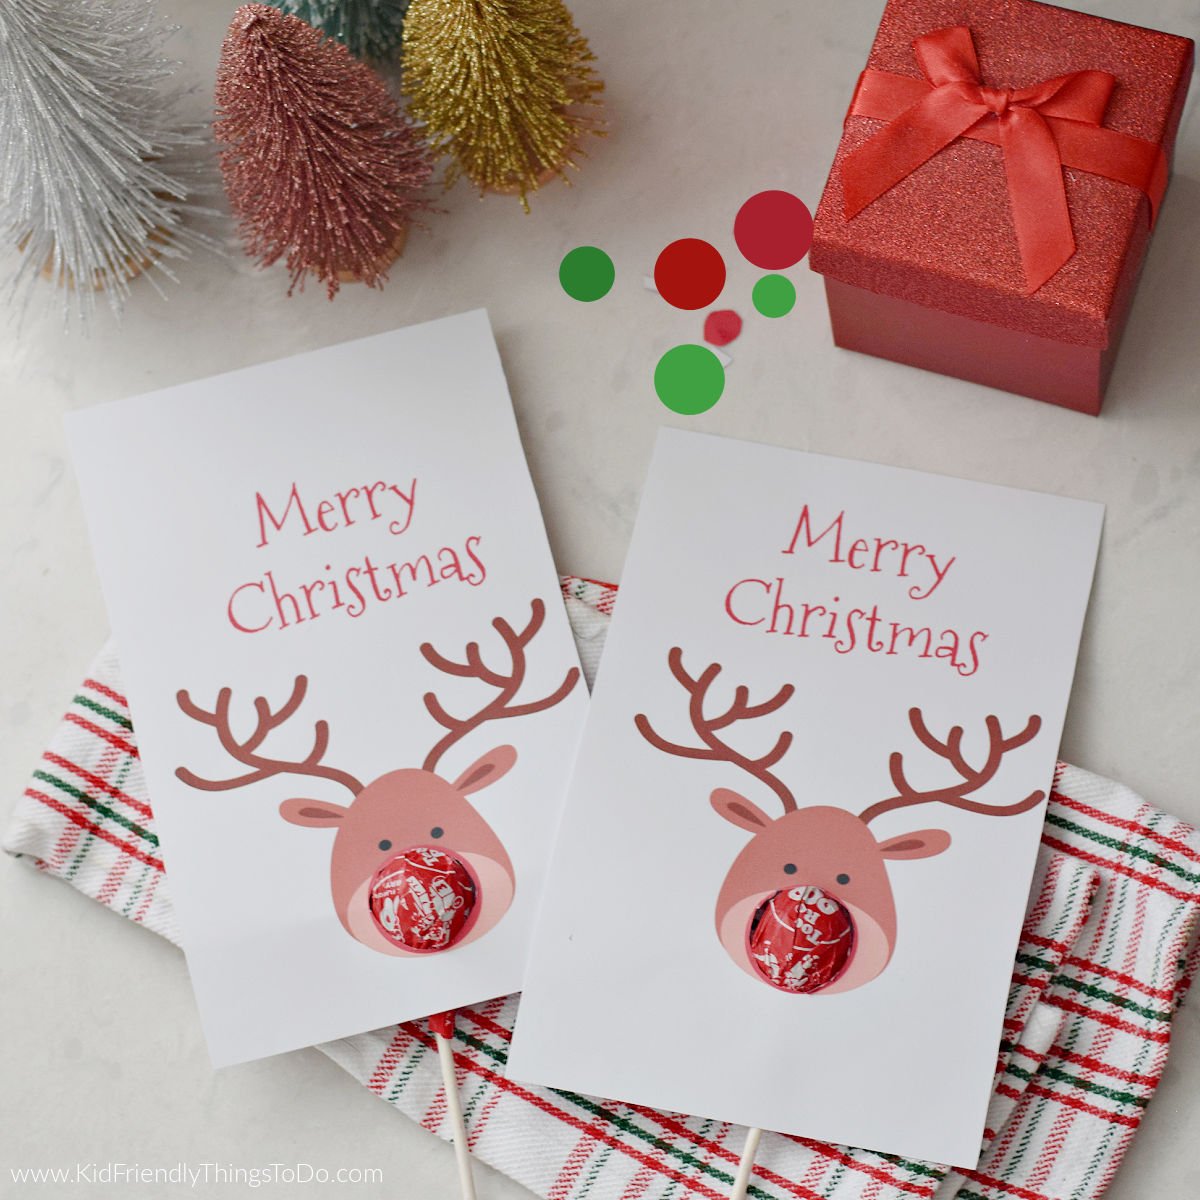
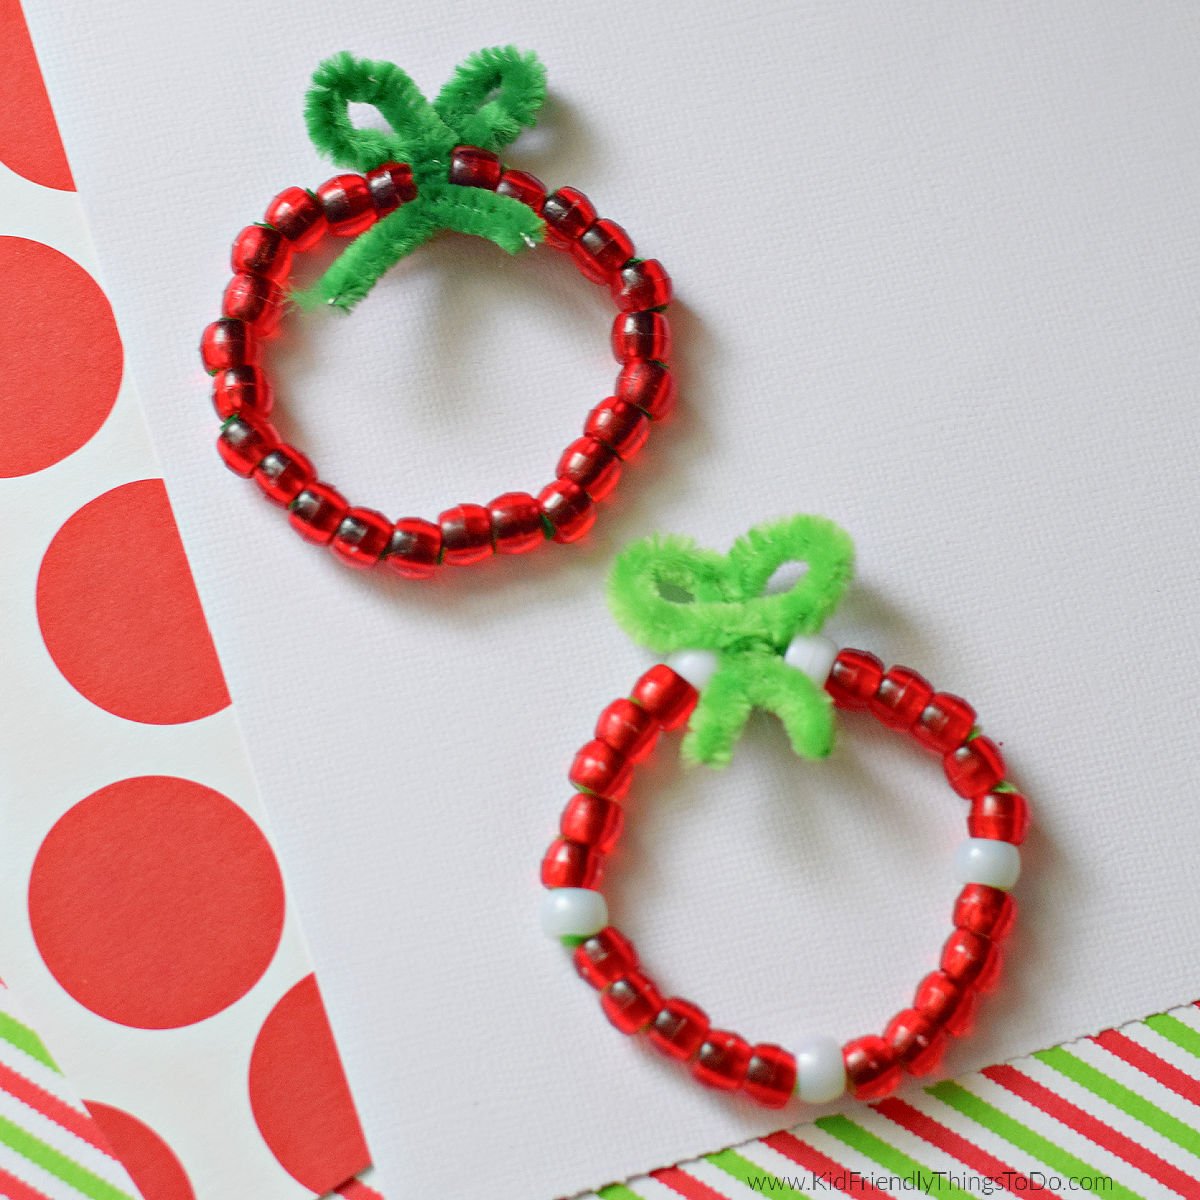
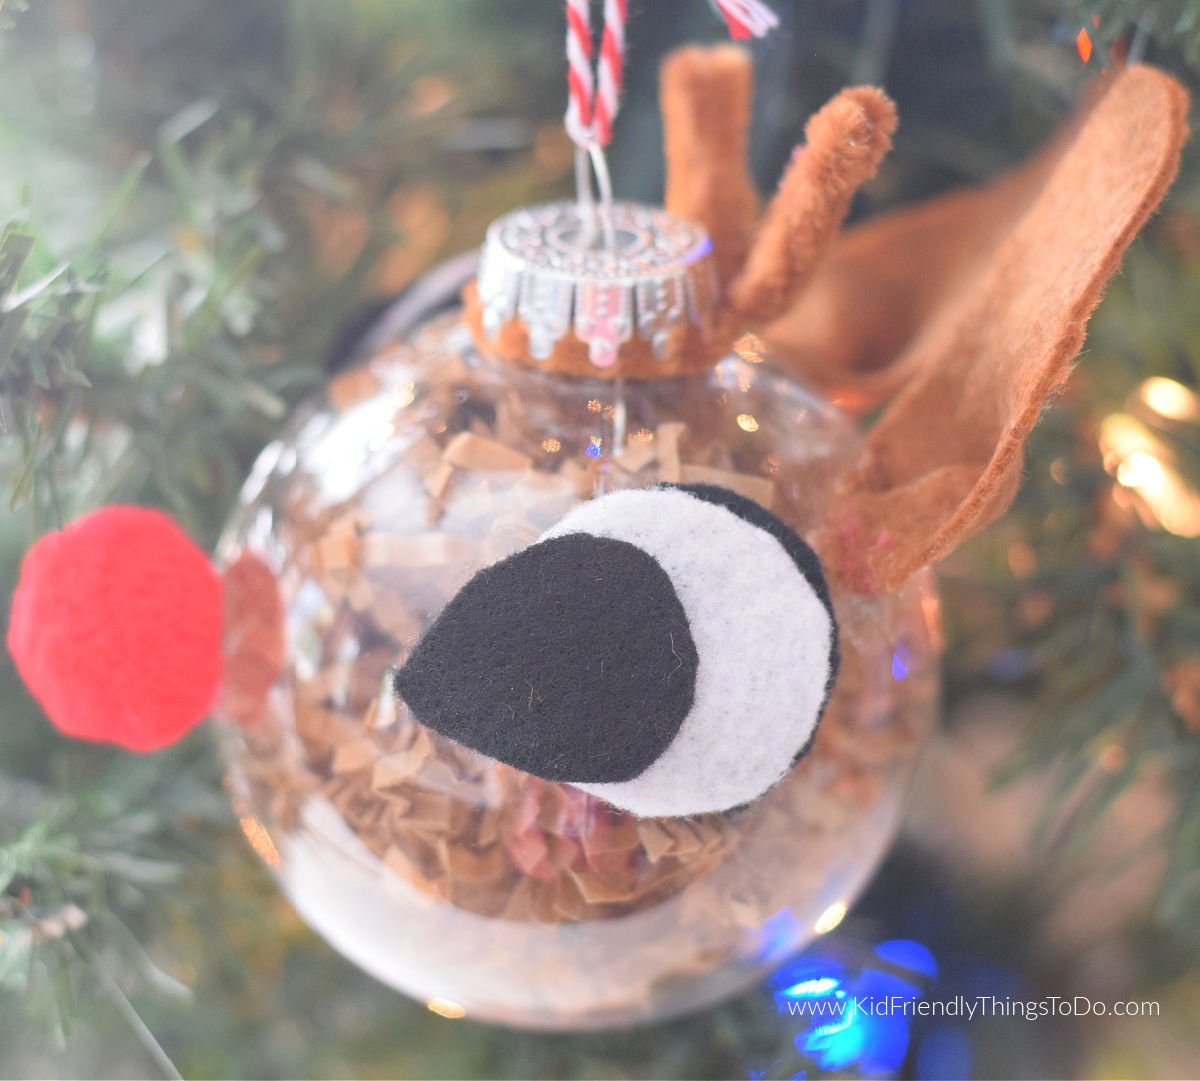
More Christmas Crafts You’ll Enjoy
Merry Christmas, everyone & Happy Holidays
Sugar Cone Christmas Tree Craft (Perfect for Kids!)
Equipment
- 1 Sharp pointed object like an Awl for an adult to use
- spreading utensils
- clear plastic cups with lids 16 oz. or larger
Materials
- 1 sugar cone
- green frosting
- assorted candies suggestions include: Pull-N-Peel red licrorice, M&Ms, mini M&Ms, assorted Christmas sprinkles
Instructions
Prep the Craft for the kids
- Before the kids start decorating, you’ll want to do a little prep work. Using cookie icing, glue each sugar cone (point facing up) onto the inside of a cup lid. Let the glue dry and set up overnight — this will keep the cone stable while kids decorate.
- Next, poke a small hole in the bottom of each clear plastic cup. Insert a paper fastener through the hole, spread the prongs out, and tie a piece of Christmas twine or ribbon to the fastener for hanging later.
Decorate
- During your classroom party, family gathering, or holiday crafting session, give each child a “tree base” (the lid and cone combo). Let them frost the cone with green frosting using a small spatula or craft stick, then decorate with candy, sprinkles, and licorice pieces.
- A gold star sprinkle on top makes the perfect finishing touch.
Finish Up
- Once the trees are decorated, place the clear cup over the frosted cone and glue the rim of the cup to the lid. I like to use tacky glue because it grabs quickly but still allows a little time to adjust before fully drying (about 30 minutes).
~Melissa – KidFriendlyThingsToDo.com