Layered Jell-O Mold – Valentine’s
This post may contain affiliate links – please read my disclosure statement.
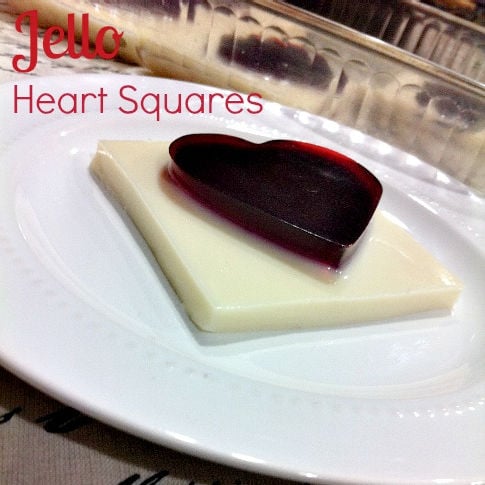
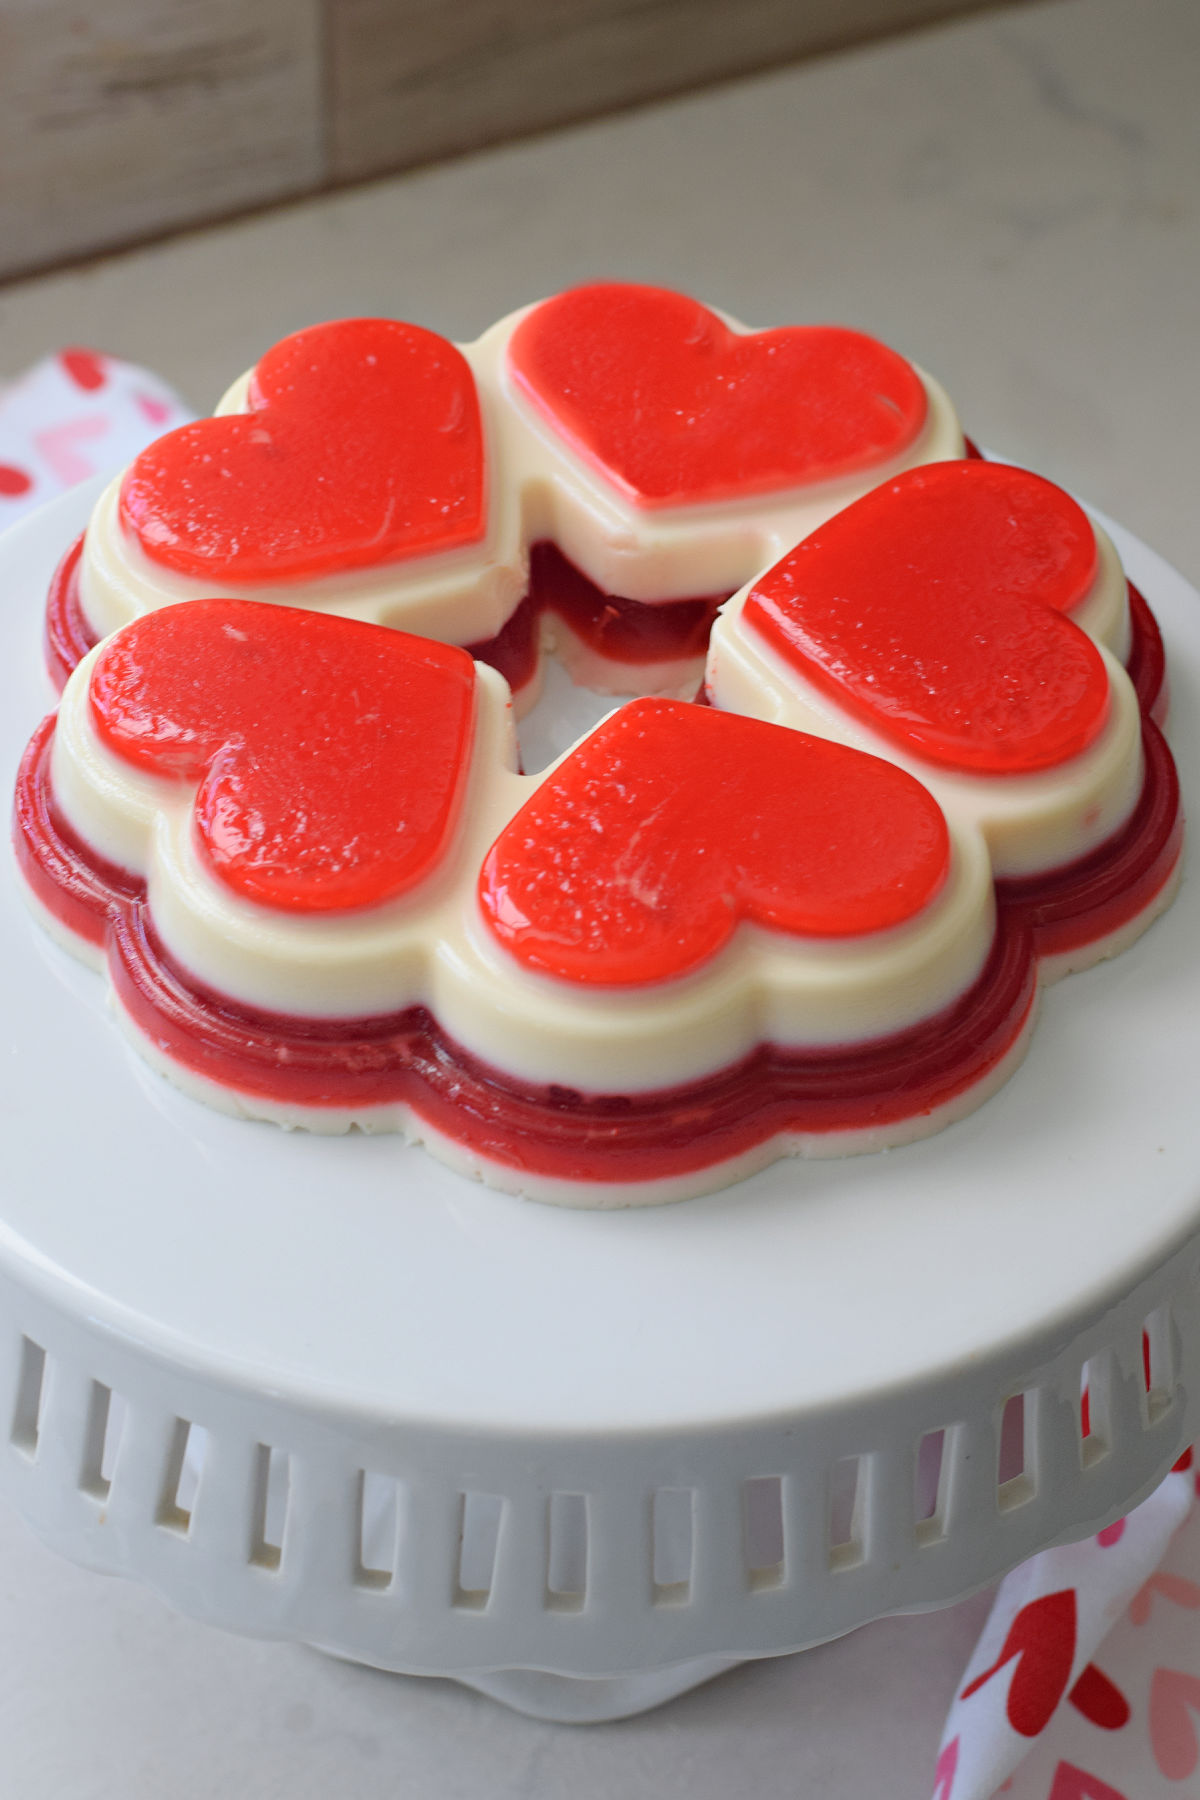
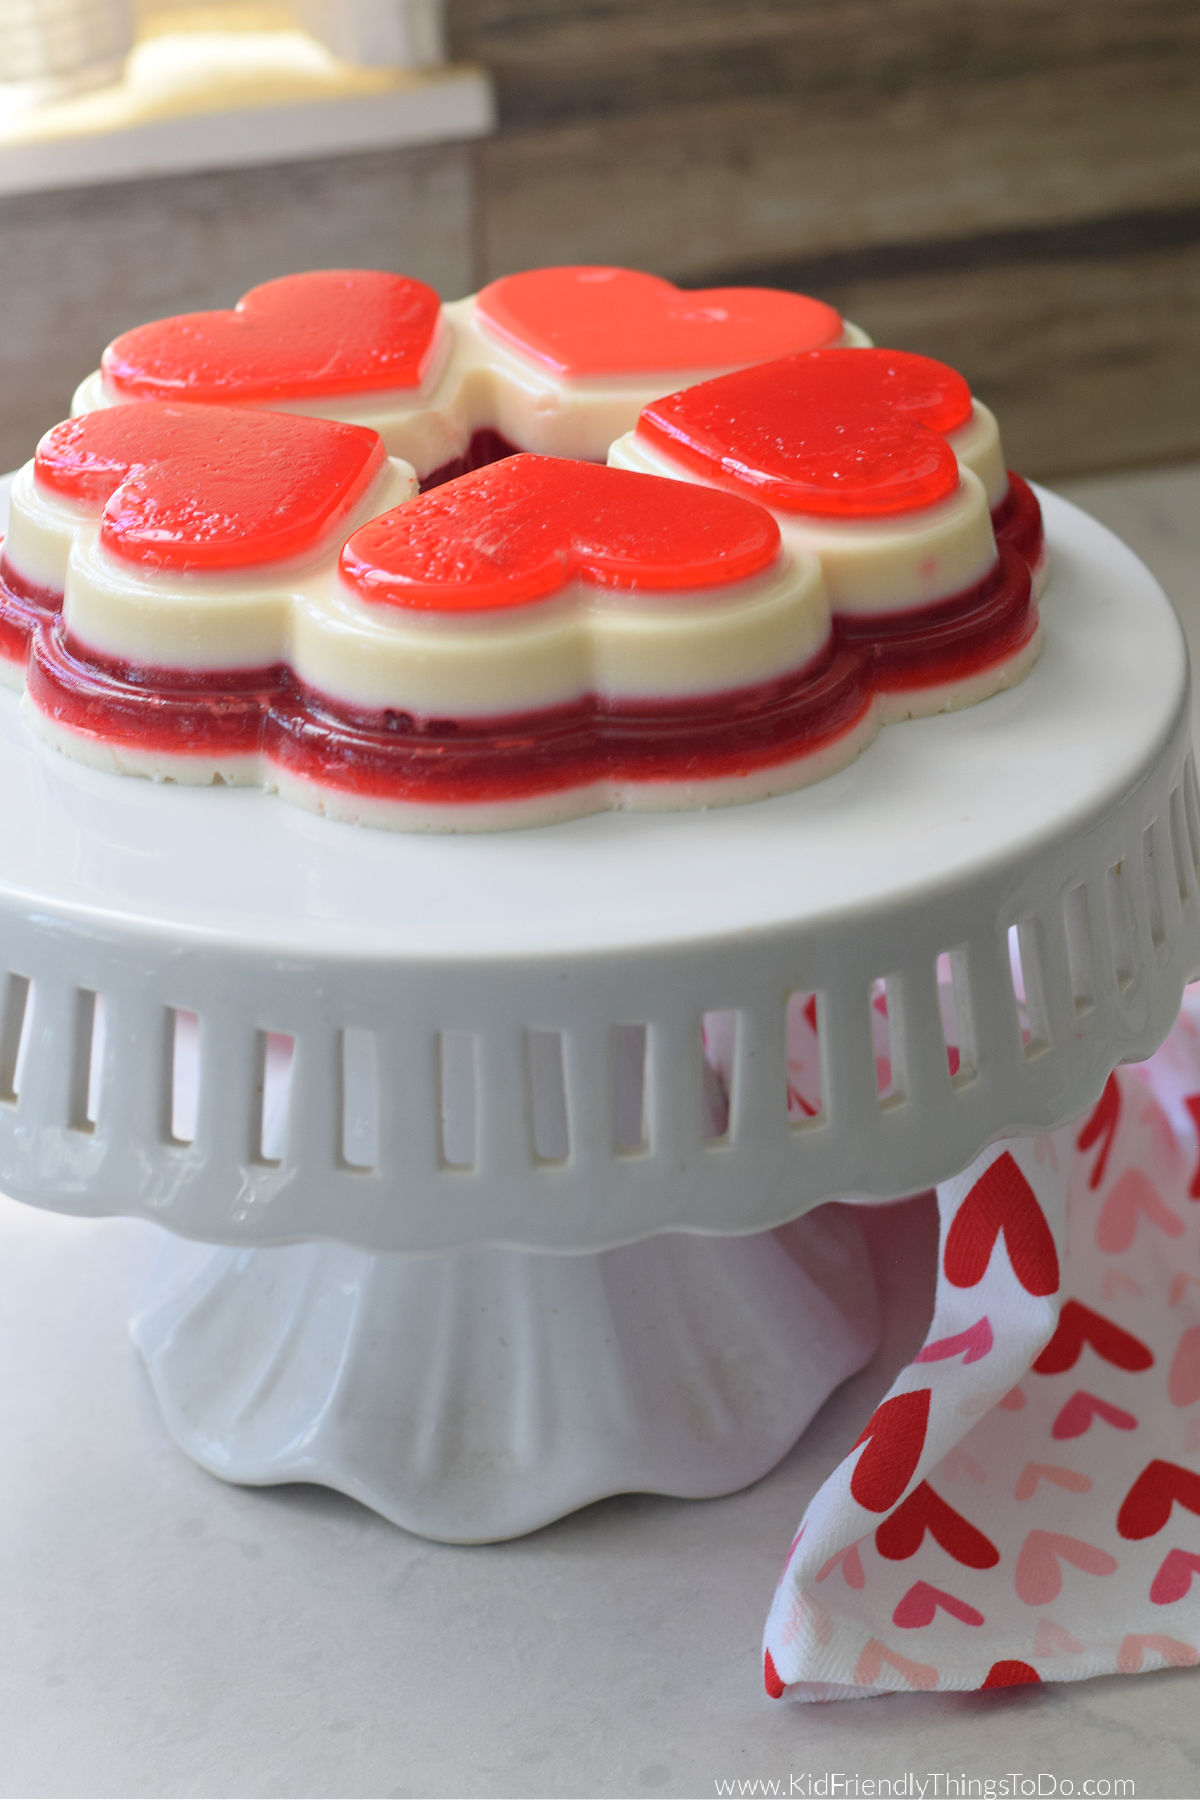
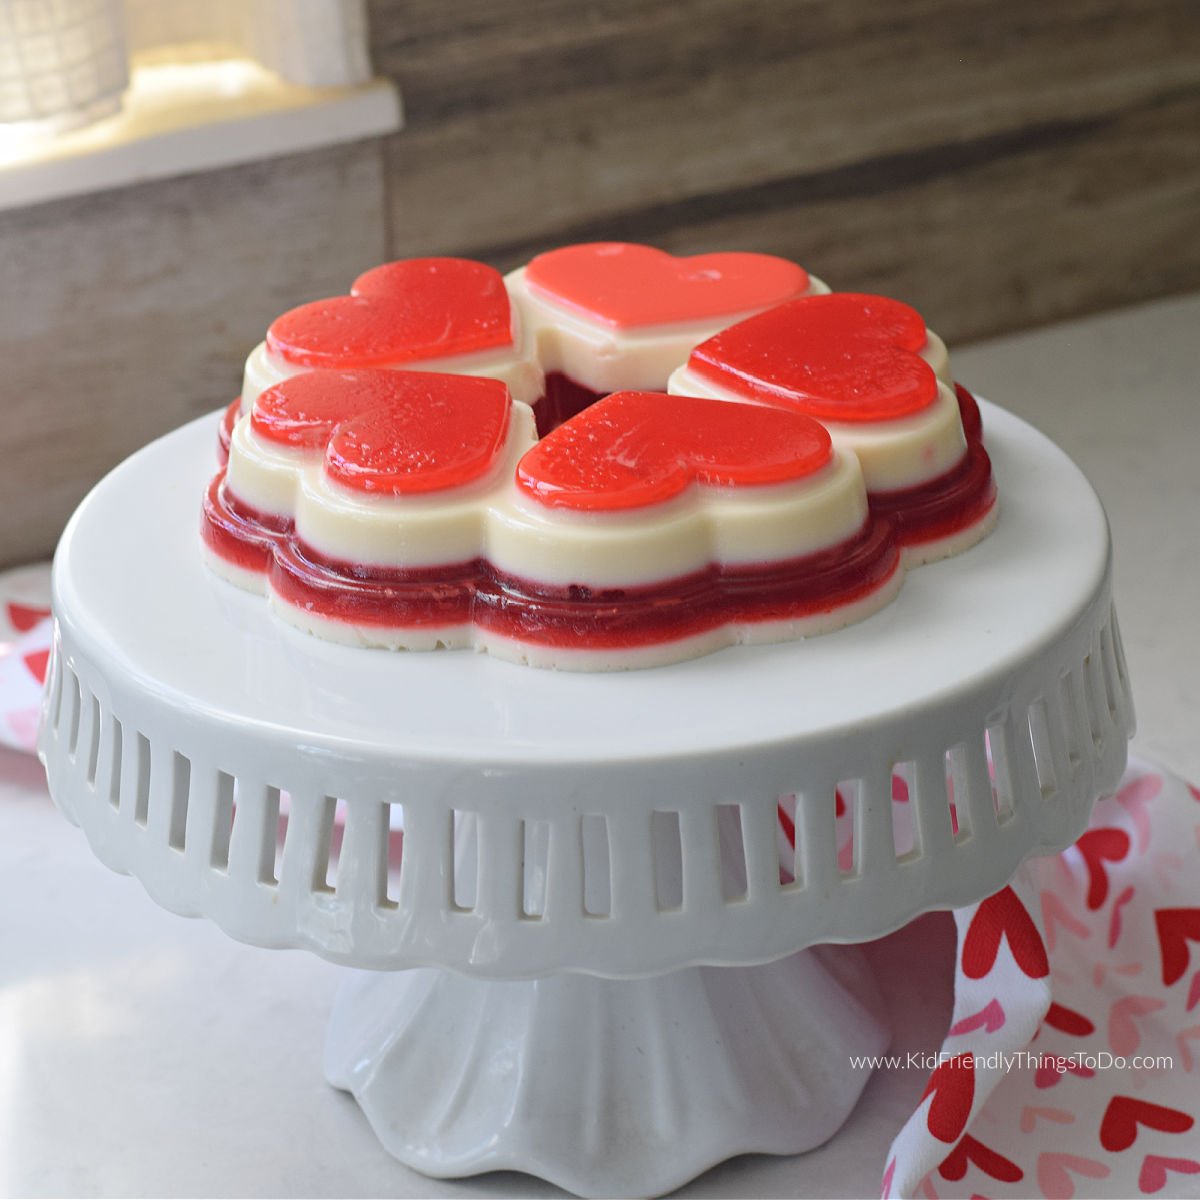
White and Red Jell-O Hearts come together to make this beautiful layered Jell-O Recipe for Valentine’s Day. It’s easy to make and makes a beautiful display.
Adult supervision is required for each step of activities, recipes, crafts, and games with children. Small parts are a choking hazard.
Valentine’s Day Jell-O
I grew up in a midwestern family where Jell-O molds were a side and a dessert. Jell-O molds were an art form for my mother. They were filled with fruit, layered, and displayed at every Sunday dinner. Sometimes another dessert followed the meal, but it was always a version of a Jell-O mold, like Jell-O and Pudding Poke Cake, Orange Dreamsicle Salad, or a Layered Jell-O Salad.
Back in 2013, when I originally published this post, I tackled white jello. It took me a while to figure out how in the world people turn Jell-o white. As far as I can remember, there were no white Jello packets. I looked online and didn’t turn up a whole lot. That’s when I put a call into my mom – the Jello Queen. She happened to be with her quilting friends. They’re always shopping for fabric somewhere in the Indiana/Illinois vicinity. With the help of many wise women, I figured out the magic of white jello. With the mention of stained glass jello and a little surfing the web…I found the secret. It’s sweetened condensed milk.
Ingredients
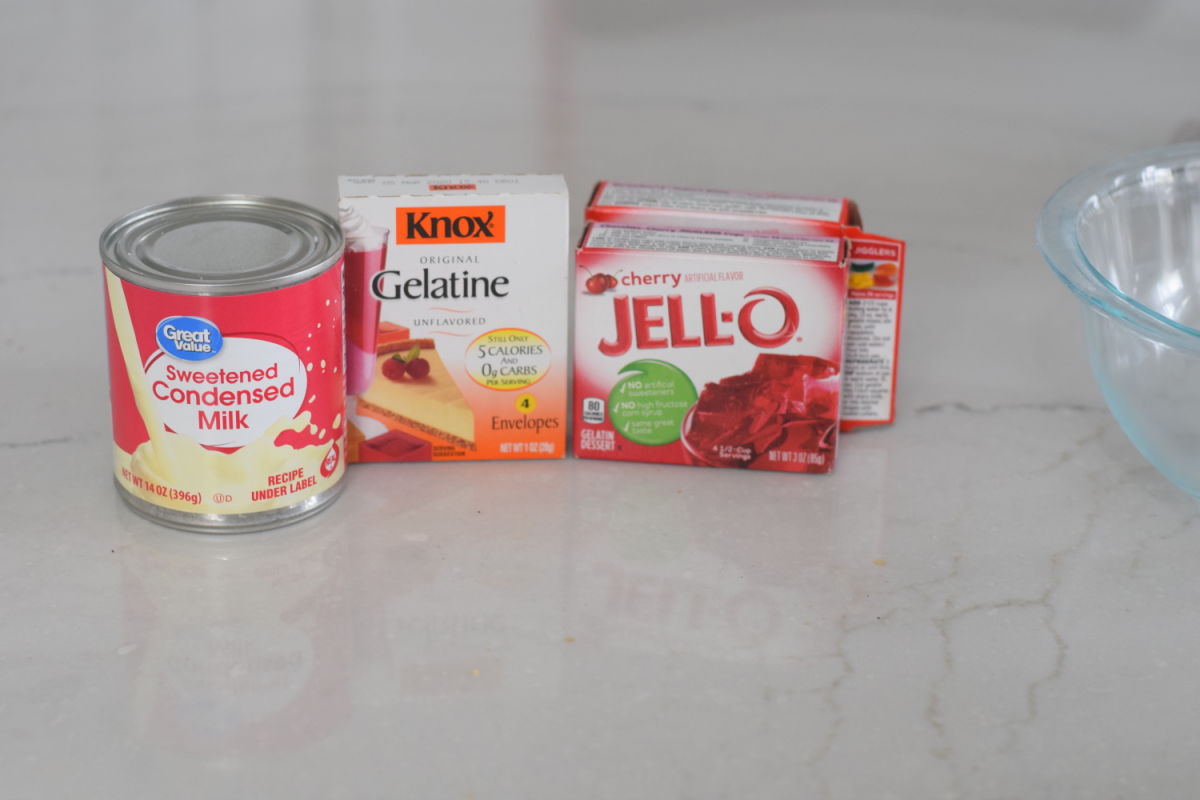
- Two small packs of cherry jello – or other red jello – divided
- 2 cups of boiling water – divided
White Jell-O
- Two packs of unflavored gelatin
- 1/2 cup of cold water
- 1&1/2 cups of boiling water
- 14 0z. can of sweetened condensed milk
Equipment
- Bundt Cake Mold (Valentine’s Themed) – The mold I used for this is called the Dimension Queen of Hearts Pan by Wilton, but it no longer exists. I perused Amazon for you and found some beautiful Heart Jell-O Molds that would be perfect. Some Valentine molds even have roses on the mold.
How to Make a Layered Jell-O Mold
- Mix one packet of cherry jello with 1 cup of boiling water. Stir until the Jello is dissolved. We are going for a firm jello-jiggler-type Jello.
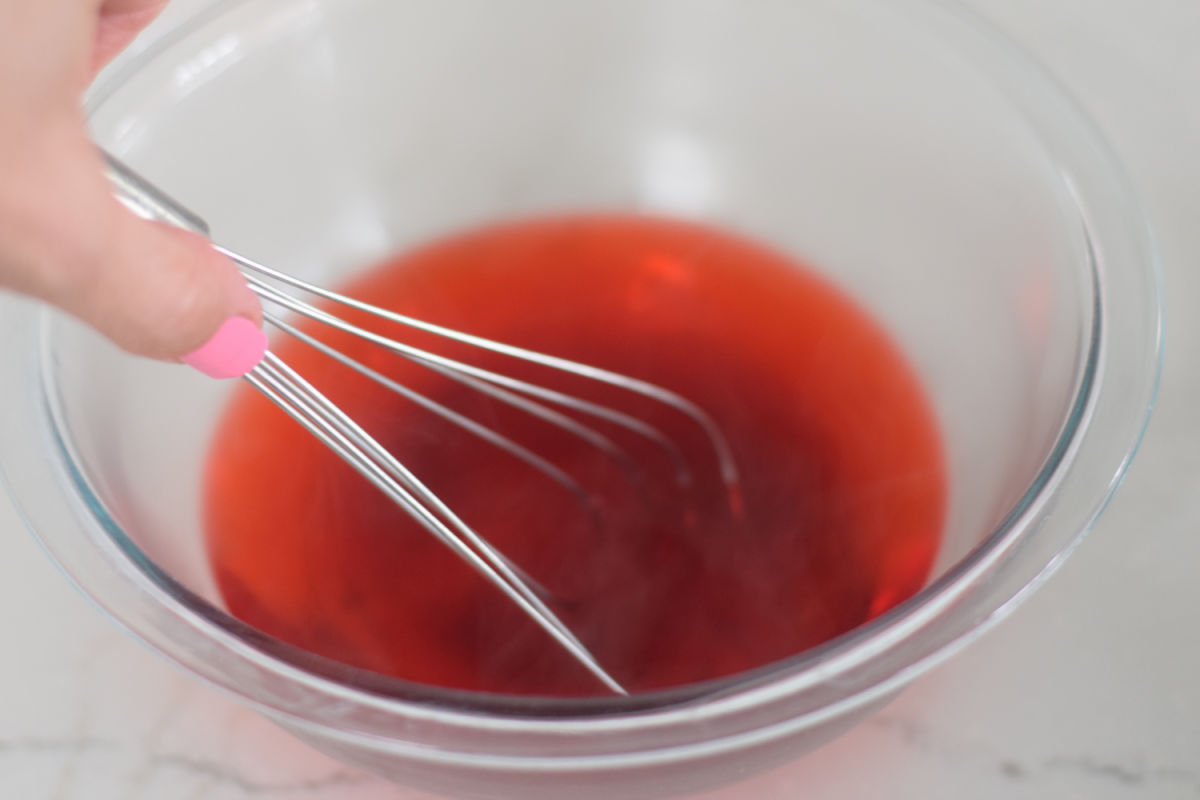
- Pour the red Jell-O into the bottom portion of the pan using a small measuring cup or something similar. My pan has heart shapes in the bottom, so I filled those and stopped.
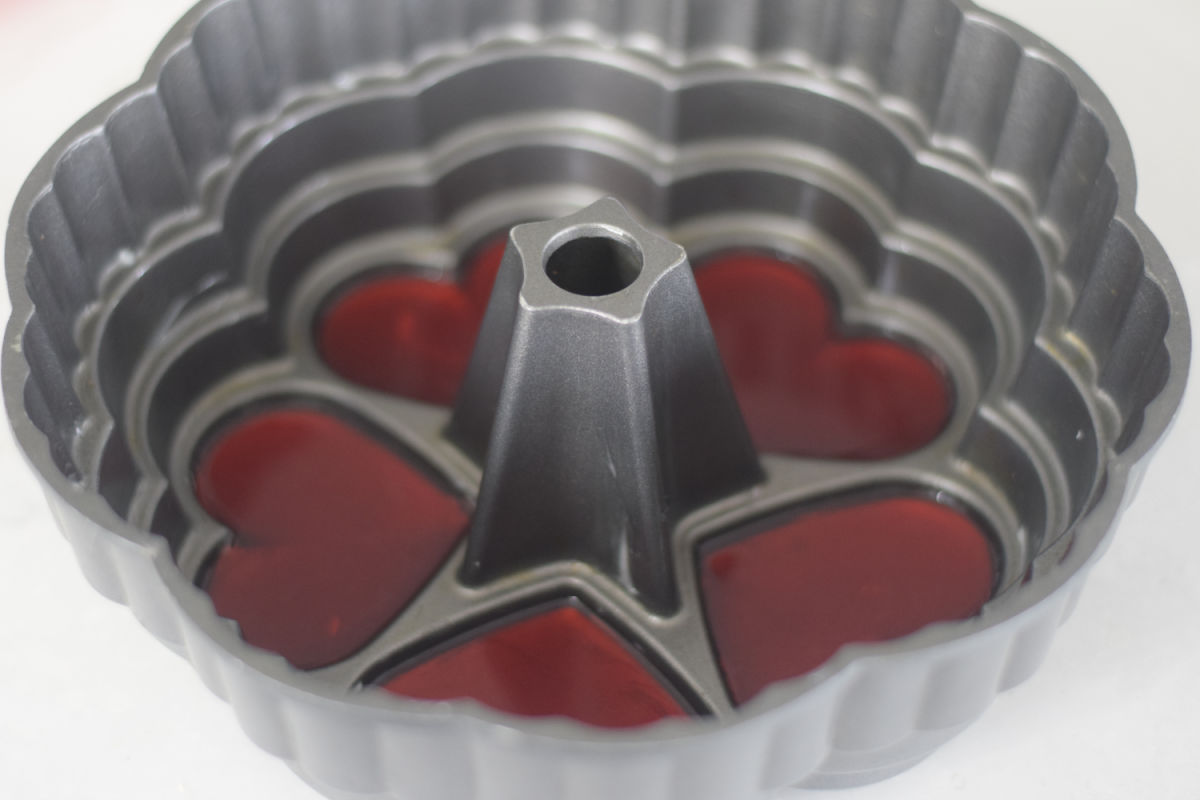
- Place this in the fridge to set up. It will probably take about 45 minutes. The Jell-O should be jiggly when you touch it and firm at the same time.
How to Make white Jell-O
Note: I mixed both of the packets of white at the same time, so the Jell-O can bloom at the same time. If it sets up and gets thick during the refrigeration process, add a tablespoon of hot water to melt it again and proceed
- You’ll need to combine two packets of the unflavored gelatine with the 1/2 cup of COLD water – mix to distribute
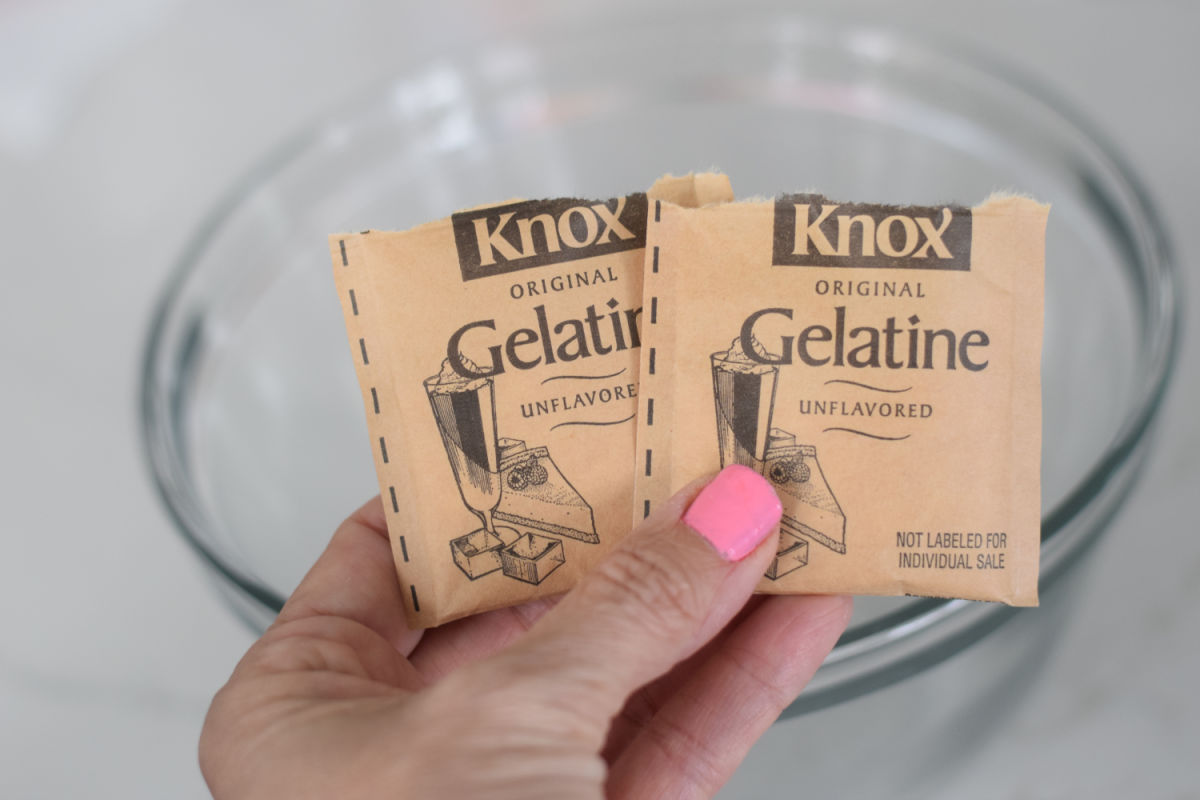
- Let it set up – about 2-4 minutes. It will resemble crystals, which is perfect. This means it has bloomed.
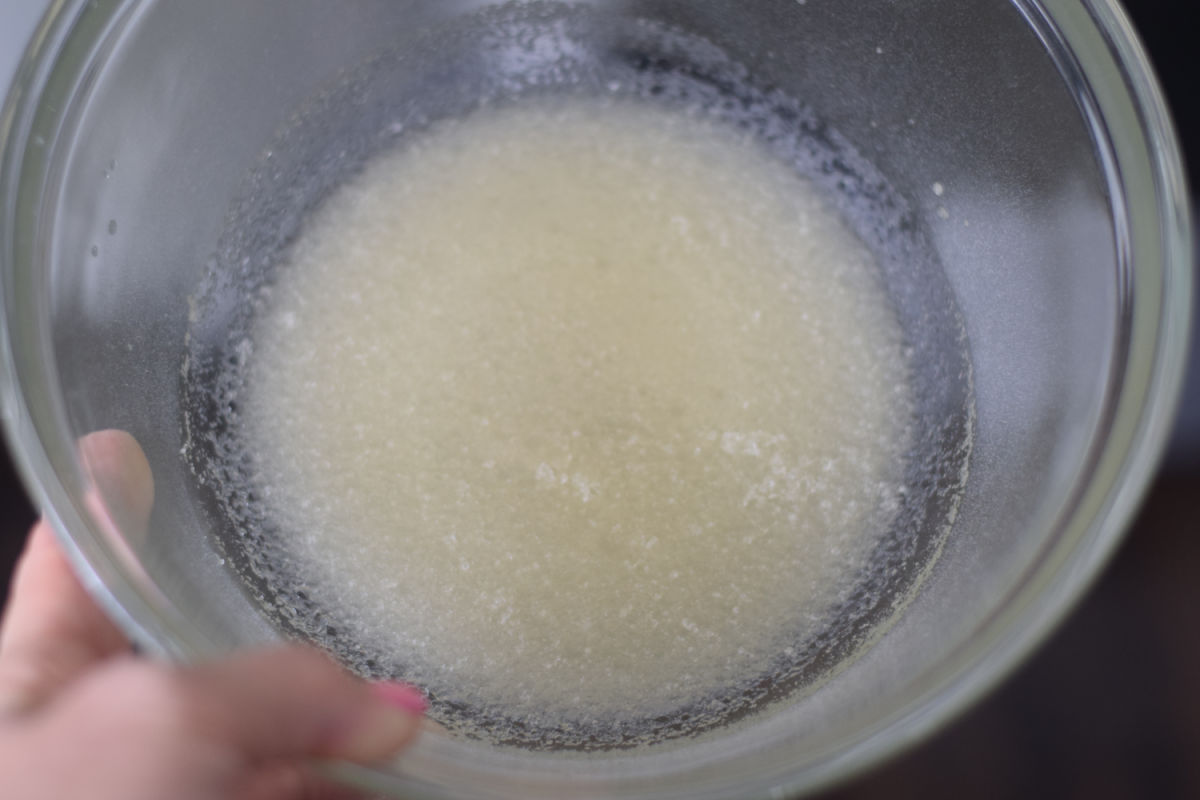
- Add the 1&1/2 cups of boiling water to the gelatine mixture and stir to dissolve
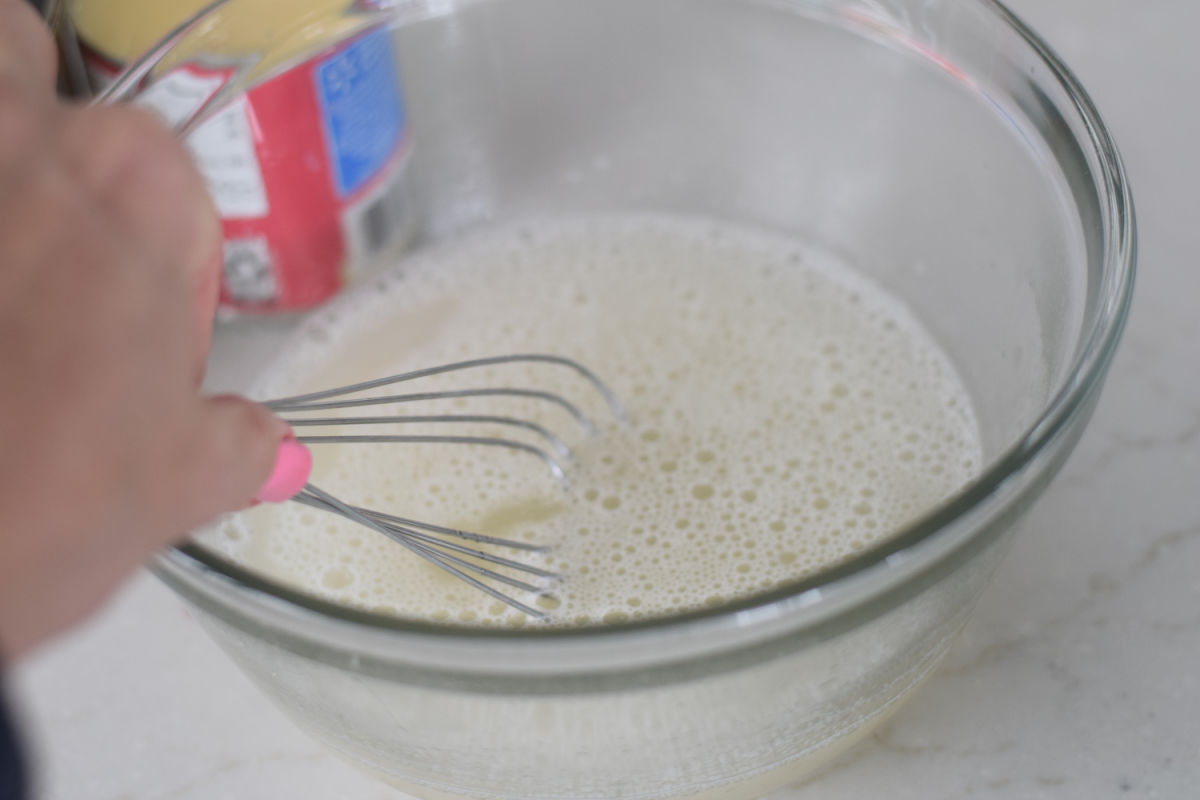
- Add the sweetened condensed milk, and stir in
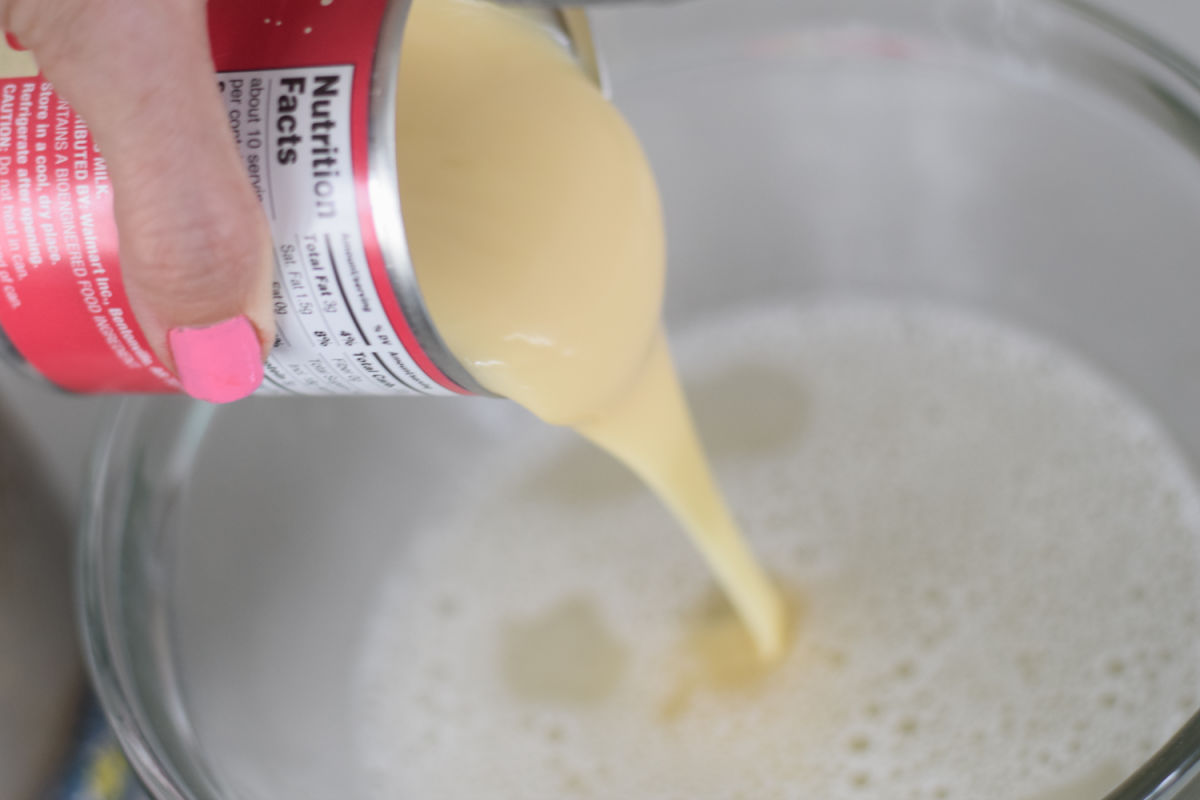
- Let sit for a while to cool off – you don’t want it to melt the red jello that you waited so long to set up – it will still be warm to touch, but only luke-warm
Adding Layers:
Note: Since you will not have my exact pan, you will have to judge how much white and red you want for each layer. You will ultimately end up with four layers.
- We will only pour some of the white onto the mold over the red Jell-O, reserving the rest for another layer.
- Use another small measuring cup or something similar to gently pour the white Jell-O into the mold. Do not pour it directly onto the red Jell-O. It might melt it, and then you’ll have pink Jell-O. Pour the white Jell-O onto the side of the mold and let it trickle down over the red.
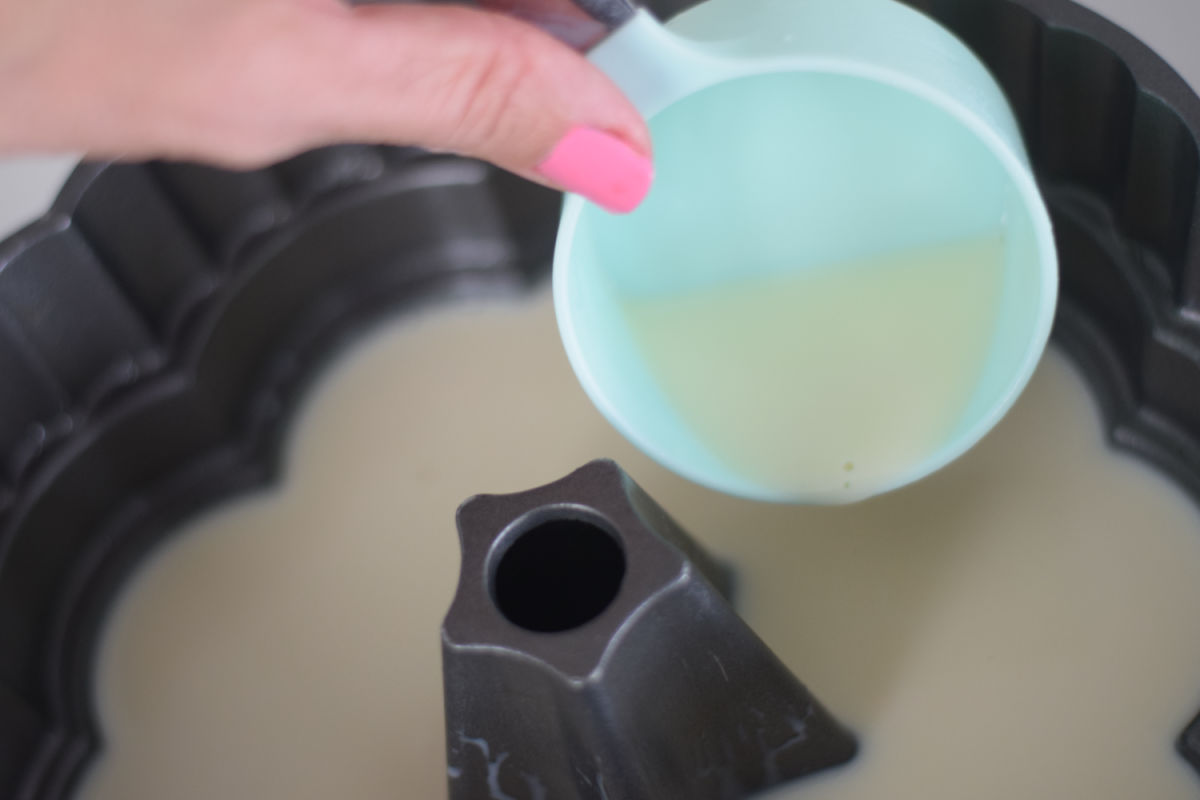
- Set in the fridge to allow the white to set up – about 20-30 minutes. Again, it should be firm and jiggly to touch
- While that is setting up, prepare more red Jell-O by mixing another 3 oz. Packet with 1 cup of hot water. Let it cool off so it will not melt the white layer, but is still liquid
- Pull the mold out of the refrigerator and add another layer of red Jello
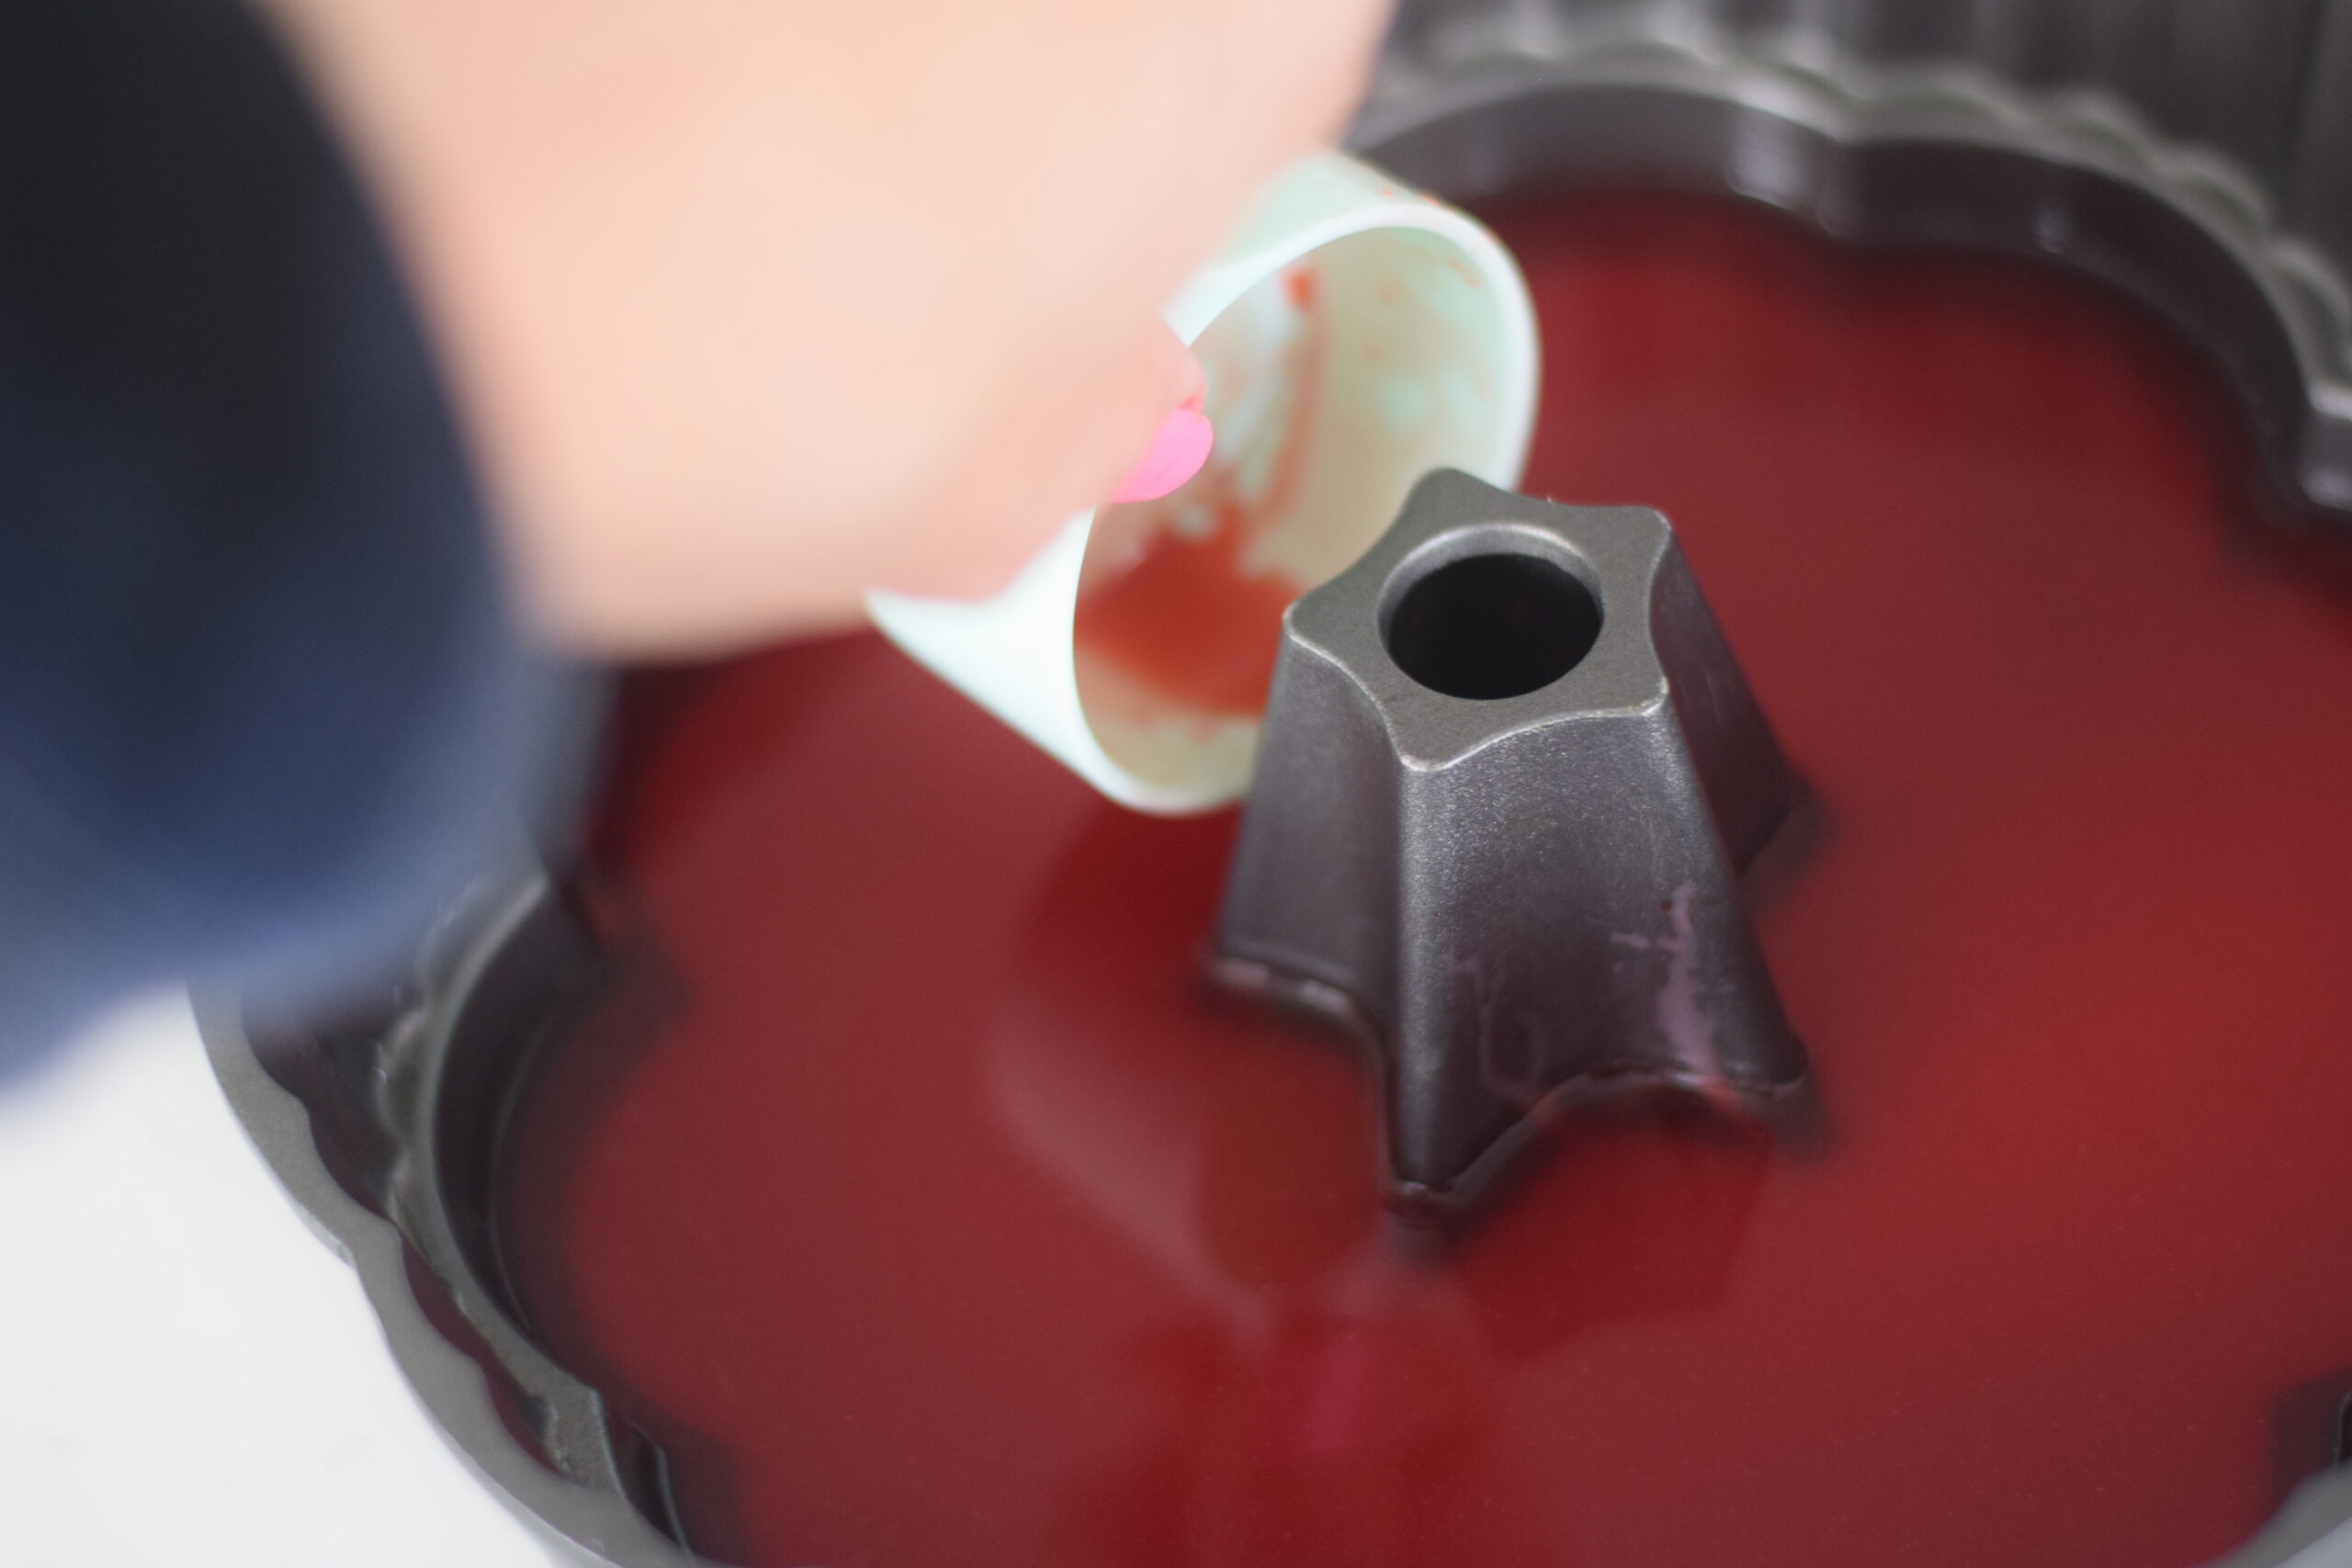
- Finally, pour more white jello over that. Note: If the white Jell-O has set up, add 1-2 tbsp of hot water to melt it again.
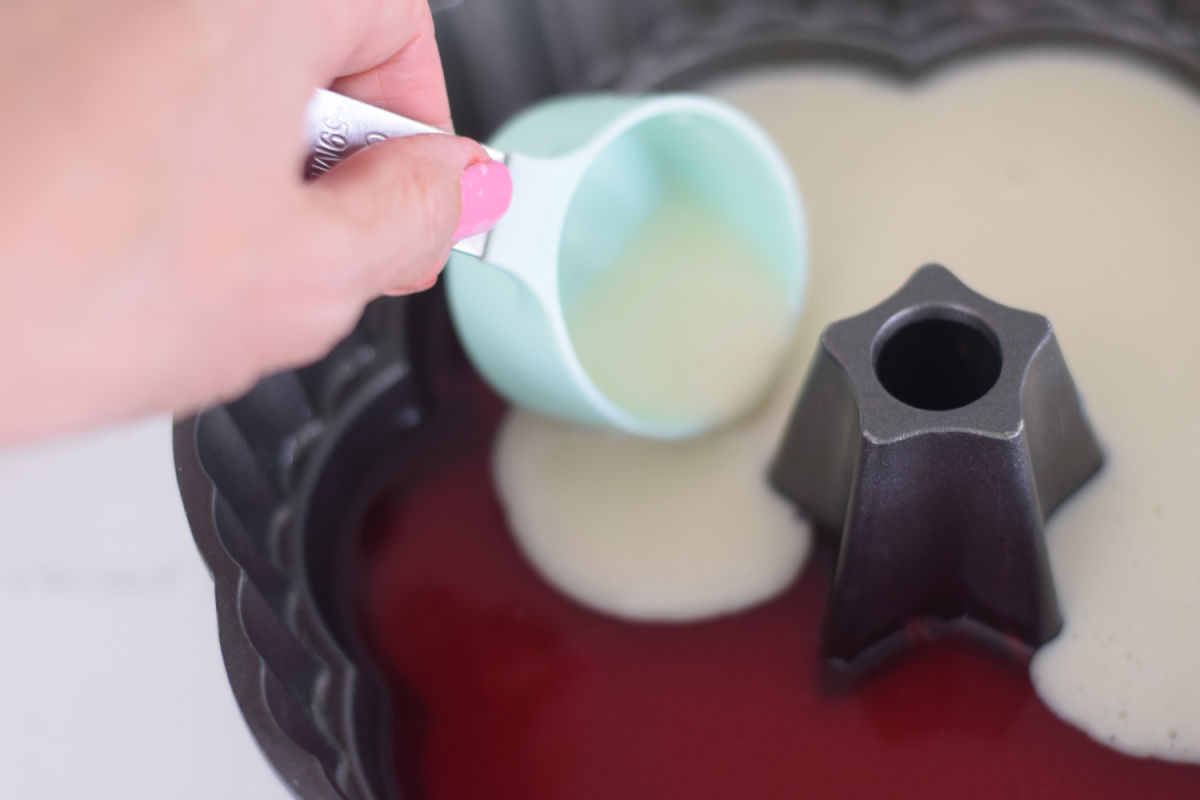
- Pop the layers back into the fridge to set for another 25-30 minutes minutes
- It should be ready to pull out of your pan and display. You can usually loosen the Jello by running a little warm water over the bottom and sides of the mold. Another trick is to give the Jello a little nudge by gingerly loosening the sides with a knife and running the knife along the edge of the pan.
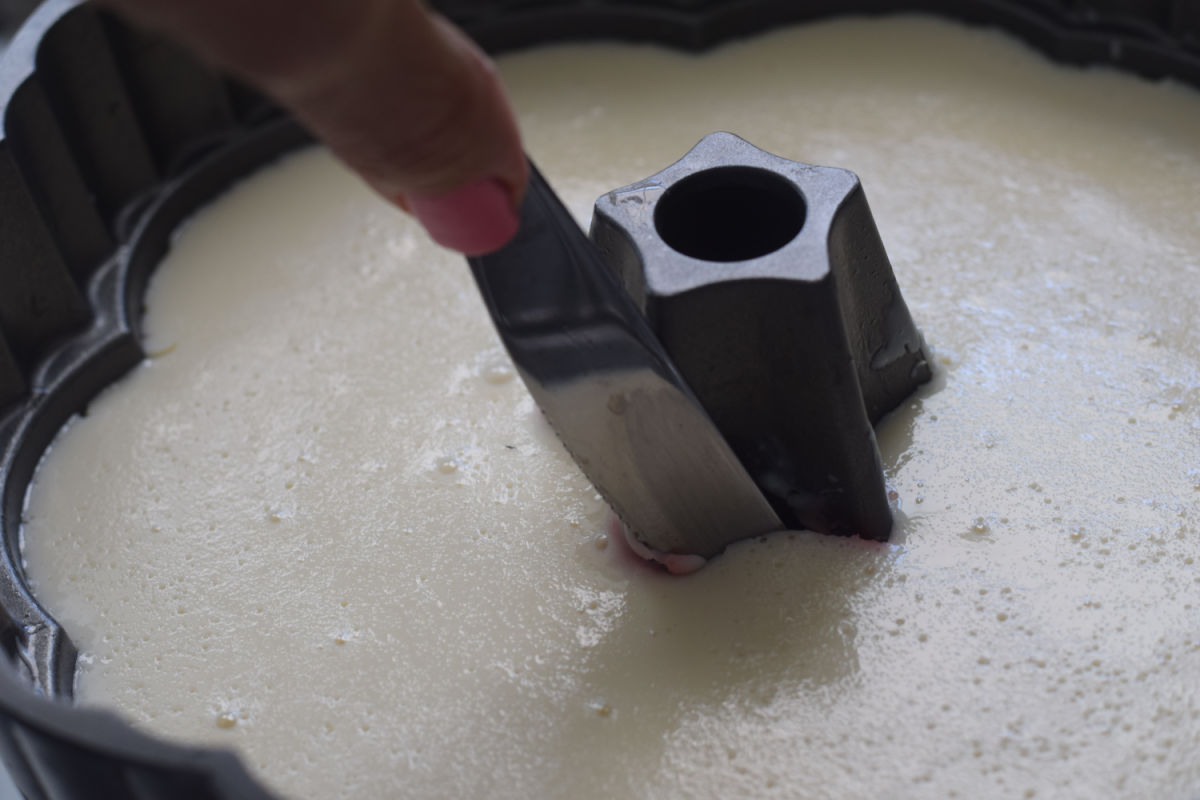
- Invert the pan over your serving tray or cake stand.
- If some of the white Jello found its way to the bottom of the pan, you might find that your red hearts are covered by a thin layer of white. Gently use a knife to peel it off and reveal the red hearts.
- If you are not serving this immediately, cover tightly with clear wrap and store it in the refrigerator for up to three days.
- Enjoy your delicious, and beautiful creation.
FAQs
Can You Layer Jell-O
Yes. You will need to refrigerate each layer so it sets up to a firm but jiggly texture. Add another layer of Jell-O and then refrigerate that layer. Continue until you have all of your layers.
What Happens if You Add Less Water to Jell-O?
You will get a firm Jell-O similar to a Jell-O Jiggler.
Serving Size:
This Jell-O will serve 10 people
/
Come and find me on Pinterest and Facebook for more recipes, crafts, party treats, and holiday games!
Printable for Valentine Layered Jell-O Mold
Layered Jell-O Mold – Valentine’s
Equipment
- 1 Cake Mold for Valentine's Day
Ingredients
White Jell-O
- .5 oz. unflavored gelatin 2 packets
- ½ cup cold water
- 1.5 cups hot water
- 14 oz. sweetened condensed milk
- 6 o. cherry jello – or other red jello – divided
- 2 cups boiling water – divided
Instructions
- You'll need to mix one packet of cherry jello with 1 cup of boiling water.
- Stir until the Jello is dissolved. We are going for a firm jello-jiggler-type Jello.
- Using a small measuring cup or something similar, pour the red Jell-O into the bottom portion of the pan. My pan has heart shapes in the bottom, so I filled those and stopped
- Place this in the fridge to set up. It will probably take about 45 minutes. The Jell-O should be jiggly when you touch it and firm at the same time
Layering
- Note: Since you will not have my exact pan, you will need to judge how much white and red you want for each layer. You will ultimately end up with four layers.
- We will only pour some of the white onto the mold, reserving the rest for another layer.
- Use another small measuring cup or something similar to gently pour the white Jell-O into the mold. Do not pour it directly onto the red Jell-O. It might melt it, and then you'll have pink Jell-O.
- Pour the white Jell-O onto the side of the mold and let it trickle down over the red. Set in the fridge to allow the white to set up – about 20-30 minutes. Again, it should be firm and jiggly to touch
- While that is setting up, prepare more red Jell-O by mixing another 3 oz. Packet with 1 cup of hot water. Let it cool off so it will not melt the white layer, but is still liquid
- Pull the mold out of the refrigerator and add another layer of red Jello
- Finally, pour more white jello over that. Note: If the white Jell-O has set up, add 1-2 tbsp of hot water to melt it again.
- Pop the layers back into the fridge to set for another 25-30 minutes minutes
- It should be ready to pull out of your pan and display. Check to see that the last layer you added is firm and jiggly
- You can usually loosen the Jello by running a little warm water over the bottom and sides of the mold. Another trick is to give the Jello a little nudge by gingerly loosening the sides with a knife and running the knife along the edge of the pan.
- Invert the pan over your serving tray or cake stand.
- If some of the white Jello found its way to the bottom of the pan, you might find that your red hearts are covered by a thin layer of white. Gently use a knife to peel it off and reveal the red hearts.
- If you are not serving this immediately, cover tightly with clear wrap and store it in the refrigerator for up to three days.
- Enjoy your delicious, and beautiful creation.
Notes
Nutrition
More Valentine’s Day Desserts You’ll Enjoy
~Melissa – KidFriendlyThingsToDo.com

