Make A Black Cat Pumpkin for Halloween
This post may contain affiliate links – please read my disclosure statement.
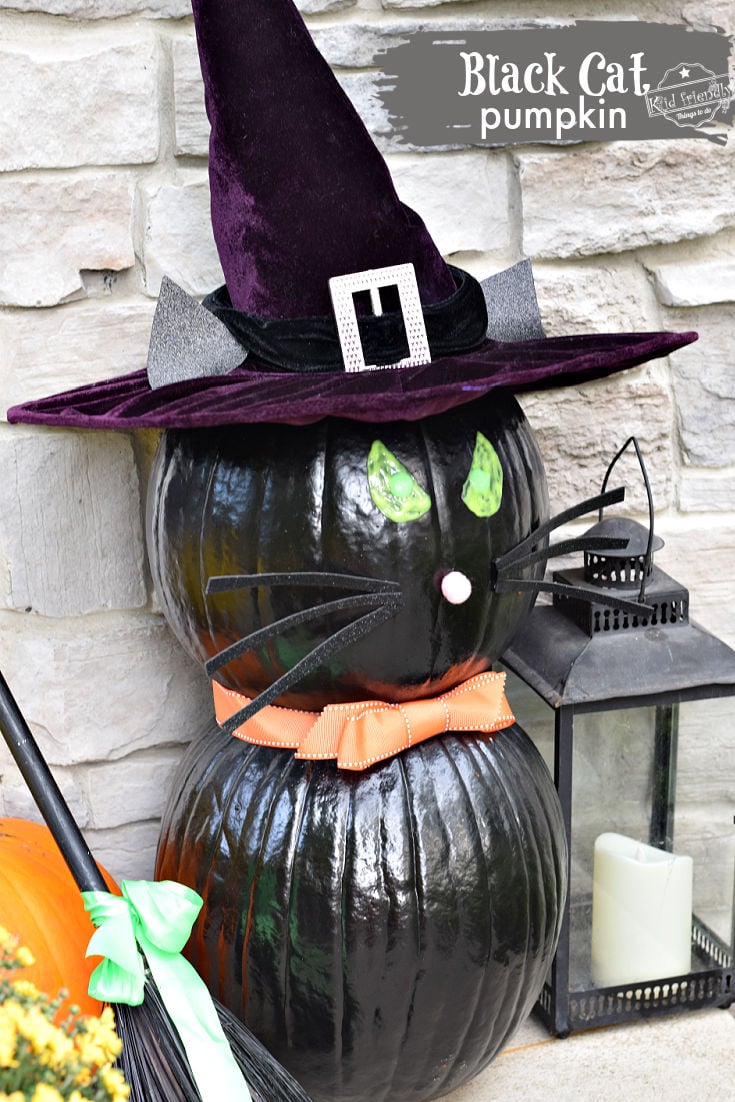
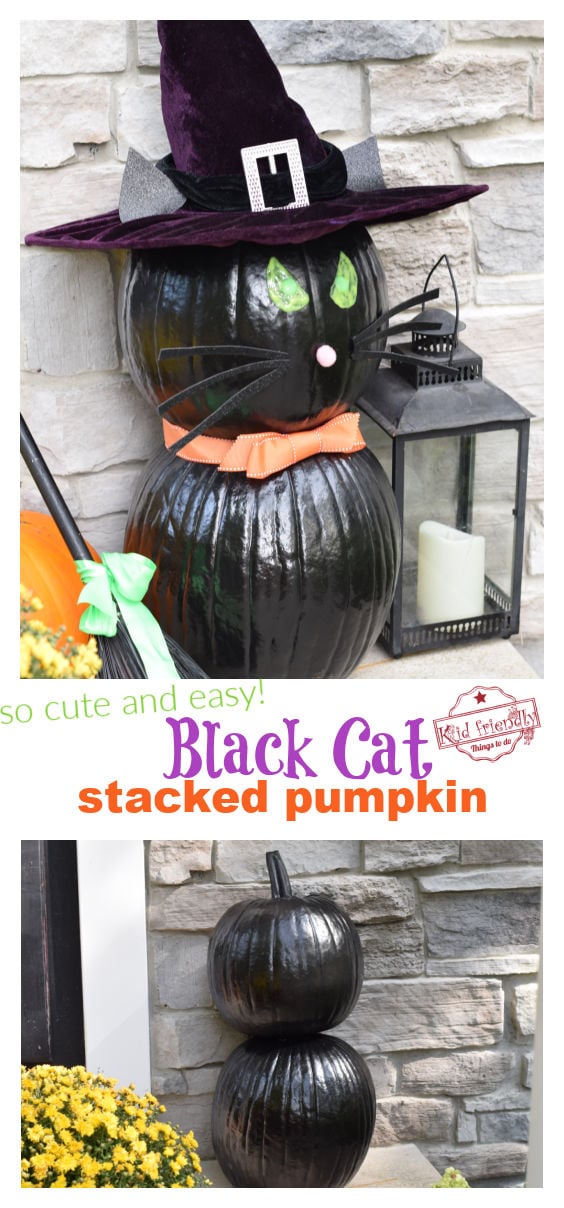
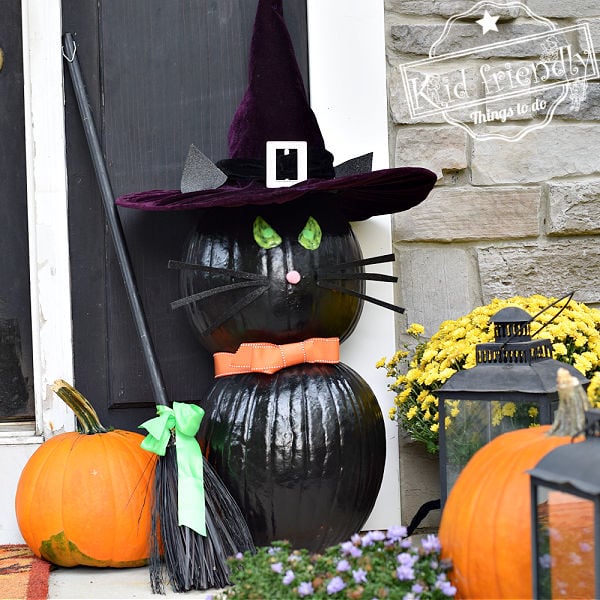
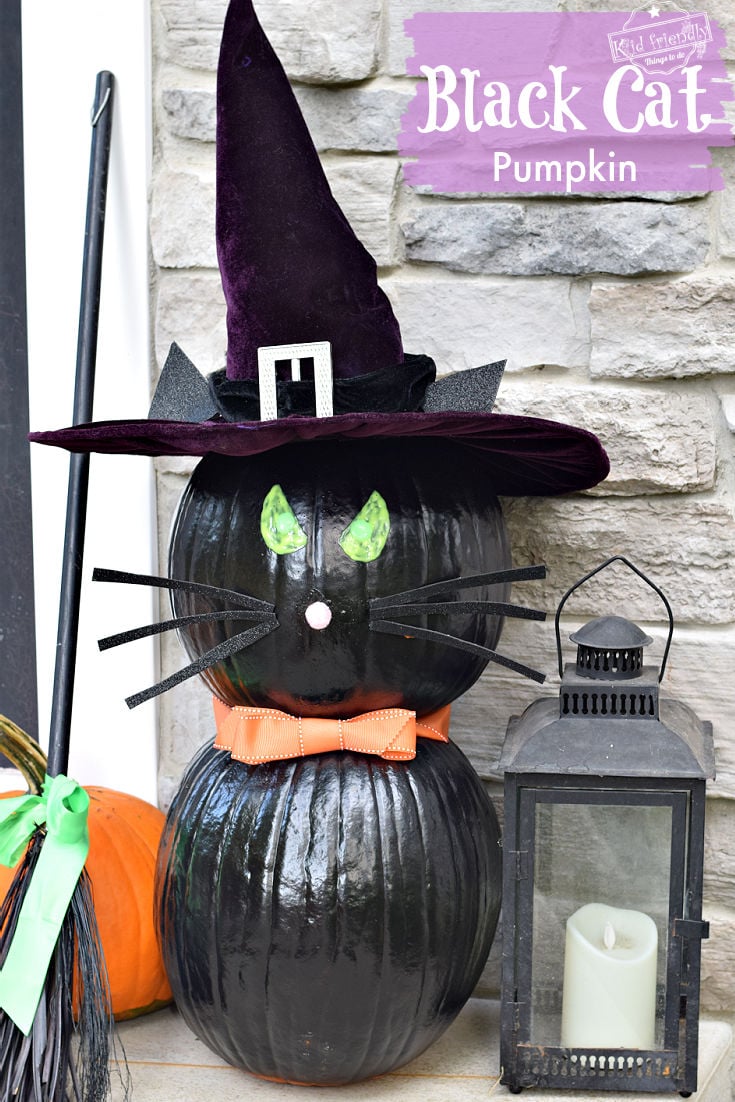
Set this kitty cat pumpkin on your porch for an adorable Halloween display. You can make it out of a few simple items. I’ll show you how to make a Black Cat Pumpkin for Halloween that everyone will love.
Make a Black Cat Pumpkin
Are you looking for fun ways to decorate for Halloween? Check out some of my other posts…
- Over 30 No-Carve Pumpkin Ideas
- Over 30 Craft Ideas for Fall and Halloween
- Over 19 Hilarious Skeleton Displays
Tips and tricks for making your stacked painted pumpkin:
- Before purchasing your pumpkins, make sure the tops and bottoms are as level as possible for stacking
- I like to use Rustoleum spray paint – I think it sticks to the pumpkin better. Other paint might flake off
- Only use spray paint in a well-ventilated area – outdoors is best
- protect your work surface with a tarp or sheet
- Paint the pumpkin in a couple of different steps. Let the pumpkin completely dry, roll it over, and spray the bottom
- If it’s close to Halloween and you are not worried about it perishing, then you can drill a hole into the top of the bottom pumpkin and the bottom of the top pumpkin for inserting a dowel, or pipe for securing them together
- you can also use hot glue for helping to secure pumpkins together
Are you ready to make this adorable Halloween Black Cat Pumpkin? Let’s make sure you have everything you’ll need:
Here are the supplies you’ll need for this Halloween Decorating Idea:
- 2 large pumpkins – One oval pumpkin that will stand upright for the body, and one squatting round one for the head.
- One can of black spray paint – I recommend Rustoleum Satin Enamel Spray Paint. It doesn’t flake like the others
- Optional – one can of glitter blast spray paint – black (I found mine at Michaels Craft Store)
- 1 roll of Wide Halloween colored ribbon for the bow
- 3-D fabric paint for the eyes – I used glow in the dark paint that I found in the paint aisle at Michaels Craft Store
- 1 little pink pom-pom for the nose
- Optional witch hat –
- Black felt or foam for the ears – cut into cat ear shapes
- 1 sheet of self-adhesive black foam for the whiskers – cut 6 little strips for the whiskers
- 1 large chenille bendy for the tailor twist several together
- low temp glue gun and glue sticks or tacky glue, such as Fabri-Tac
Instructions:
- Remove stems from the bottom pumpkin
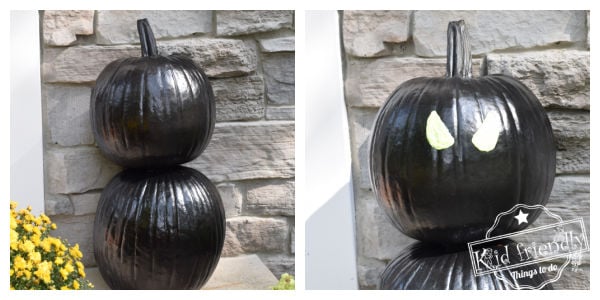
- Spray paint both pumpkins black – I used Rustoleum Satin Enamel Spray Paint
- If you’re using glitter spray, wait for the black to dry and apply glitter – let dry
- Take the pumpkins to your display area
- Stack the short pumpkin onto the bottom tall pumpkin and steady them
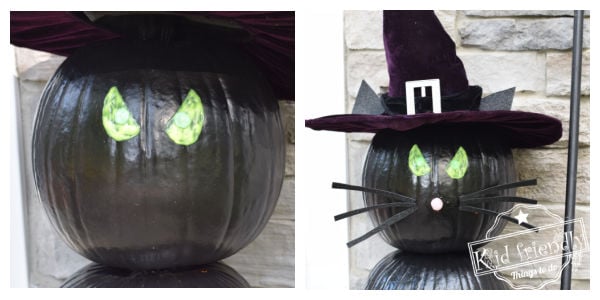
- Paint cat eyes onto the top pumpkin
- Attach pink pom-pom for the nose
- Peel the adhesive backing off of whiskers and apply 3 on either side of the nose
- If you’re using a witch hat – apply the felt ears to either side of the hat with hot glue- so it looks like they are poking through, and set the witch hat on the cat head
- If you’re not using a hat, apply the felt ears to the top of the pumpkin with your warm glue or tacky glue
- Attach chenille strip for the tail to the backside of the bottom pumpkin – secure with a push pin if necessary
~Melissa – KidFriendlyThingsToDo.Com

This looked like a great idea. Last night I painted the pumpkins with an all purpose spray paint. This morning the paint is cracking and is flaking off all over the place.
I am so sorry to hear that. What a bummer! My go-to spray paint, that doesn’t let me down is most always Rustoleum! There are so many different versions of spray paint, now. It’s hard to keep up with the varieties. I hope you find one that holds better.