Melted Crayon Ornament
This post may contain affiliate links – please read my disclosure statement.
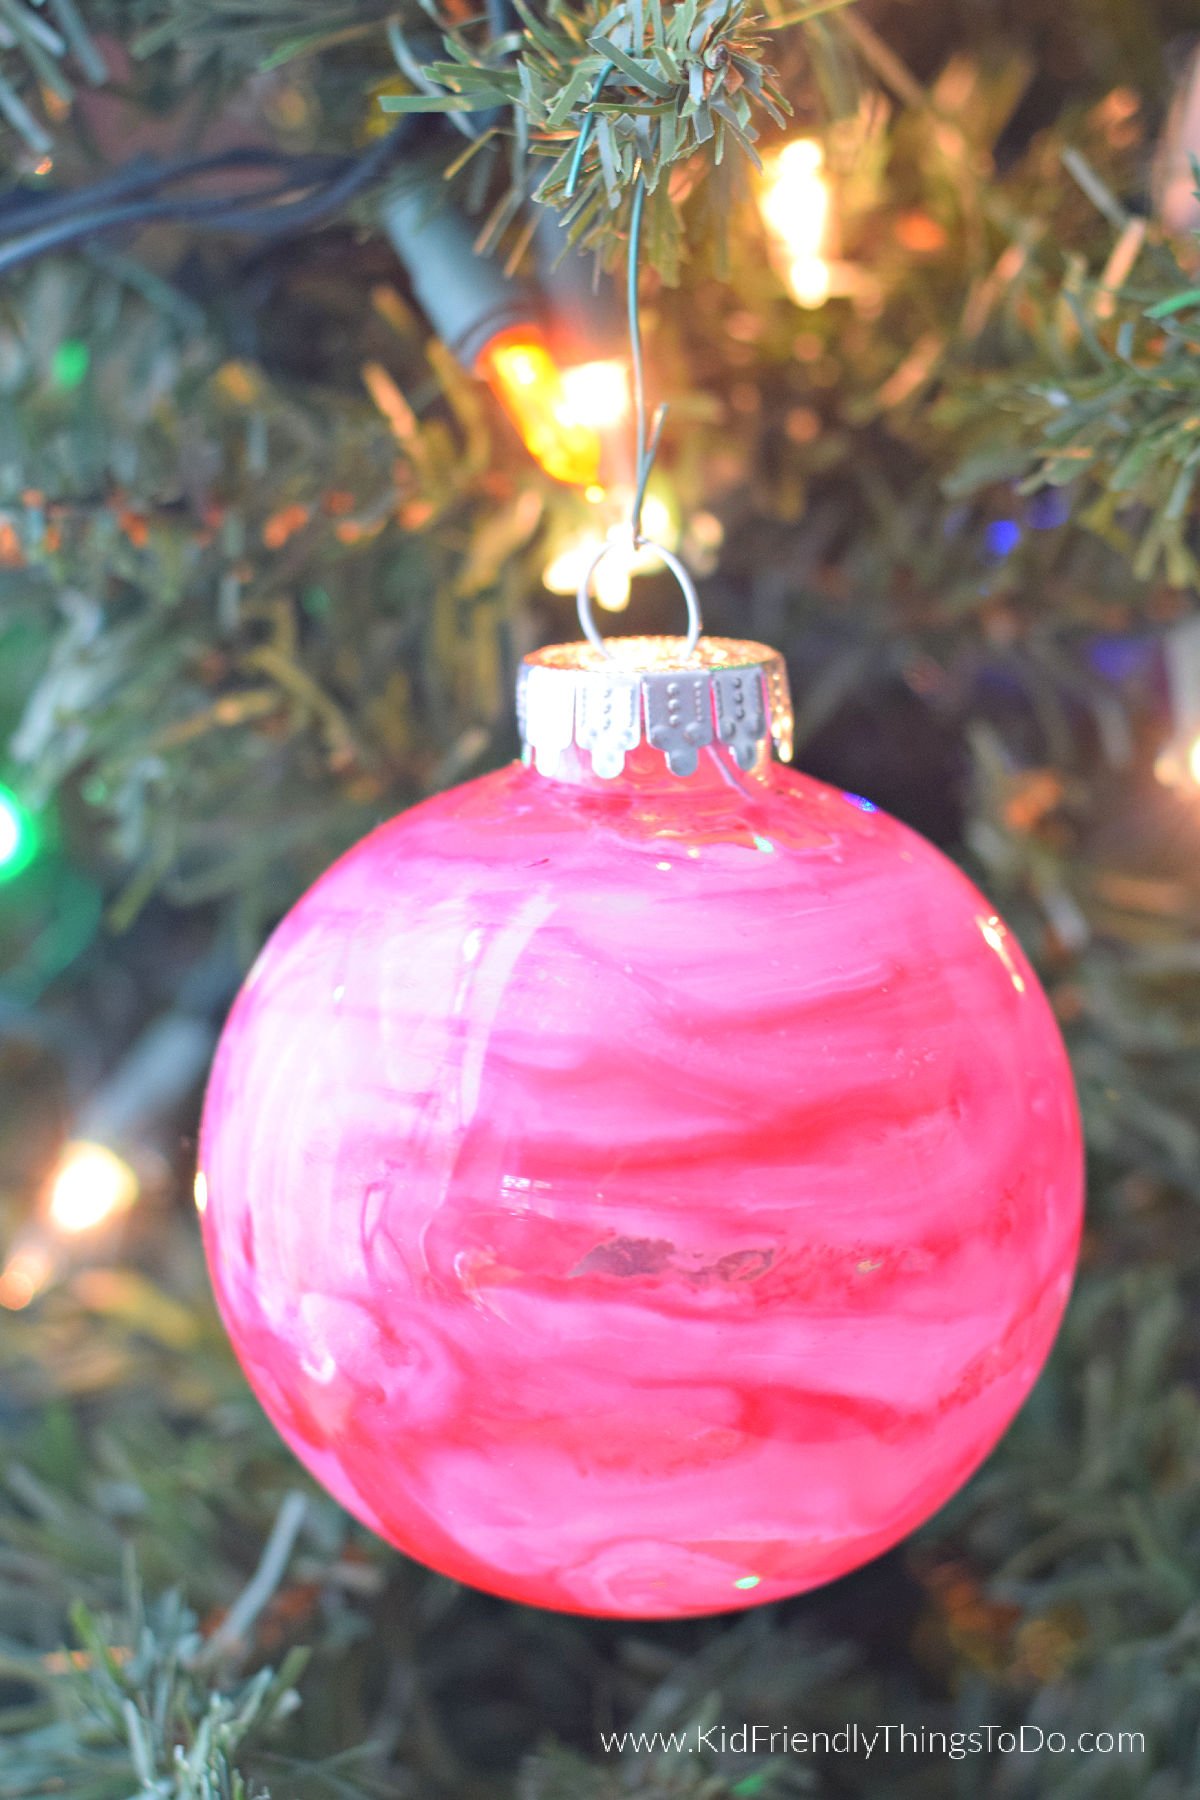
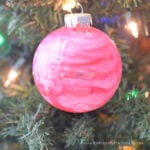
Fun and Easy Melted Crayon Ornaments for Christmas. Have fun with the kids making these pretty ornaments for the Christmas tree.
Adult supervision is required for each step of activities, recipes, crafts, and games with children. Small parts are a choking hazard.
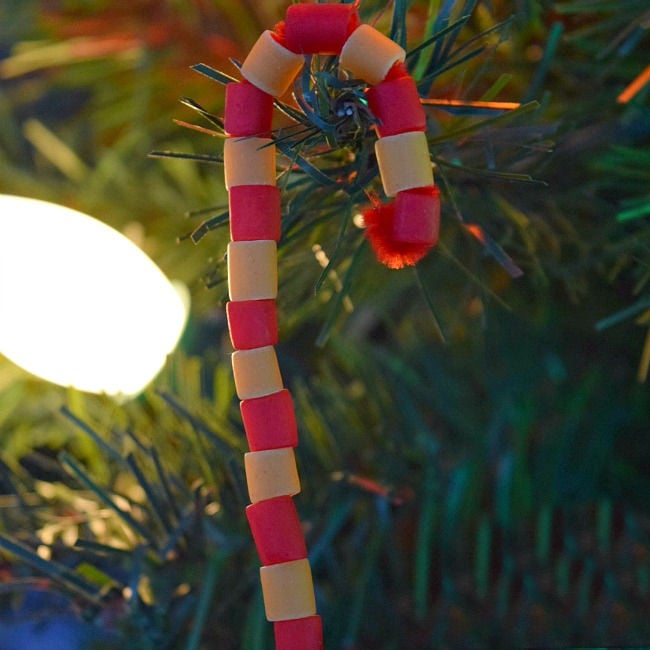
Homemade Christmas ornaments are the best kind of ornaments for the tree. When the kids were little, we made all kinds of ornaments for the tree, like candy cane pipe cleaner ornaments, salt dough gingerbread men ornaments, and Rudolph ornaments.
This Christmas ornament is fun to make and only takes about 5 minutes. Pop a few pieces of crayons into the bottom of a clear ornament and apply heat from a hair dryer to melt them. Swirl the wax around, and Voila.
Supplies Needed for Melted Crayon Ornaments
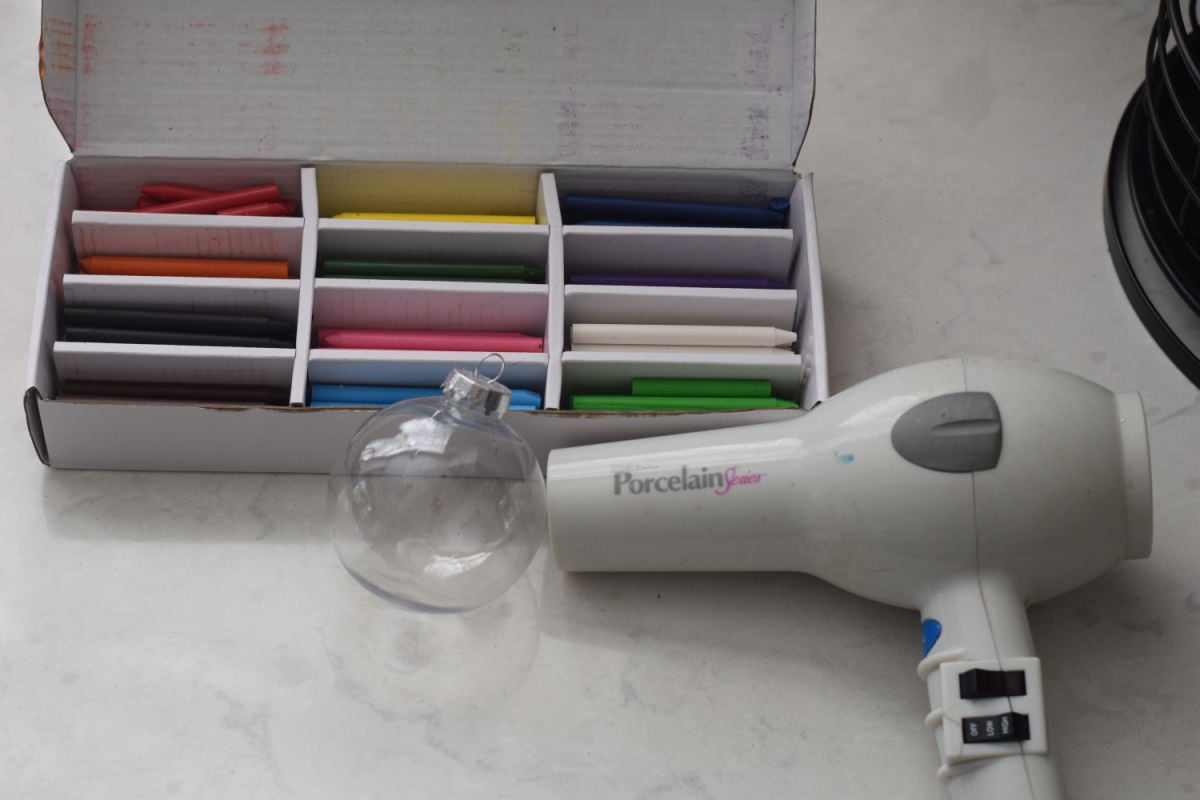
- A clear ornament – This time, I used plastic, but in prior years, I have used glass.
- 2-3 different broken crayon pieces. You can use one or more colors. I would recommend two or three colors. At first, I only used one color for this ornament (red). It wasn’t until I added white that it really turned out beautiful.
Equipment Needed
- A hairdryer
- Needle Nose Pliers or something similar to hold the ornaments
How to Make Melted Crayon Ornaments
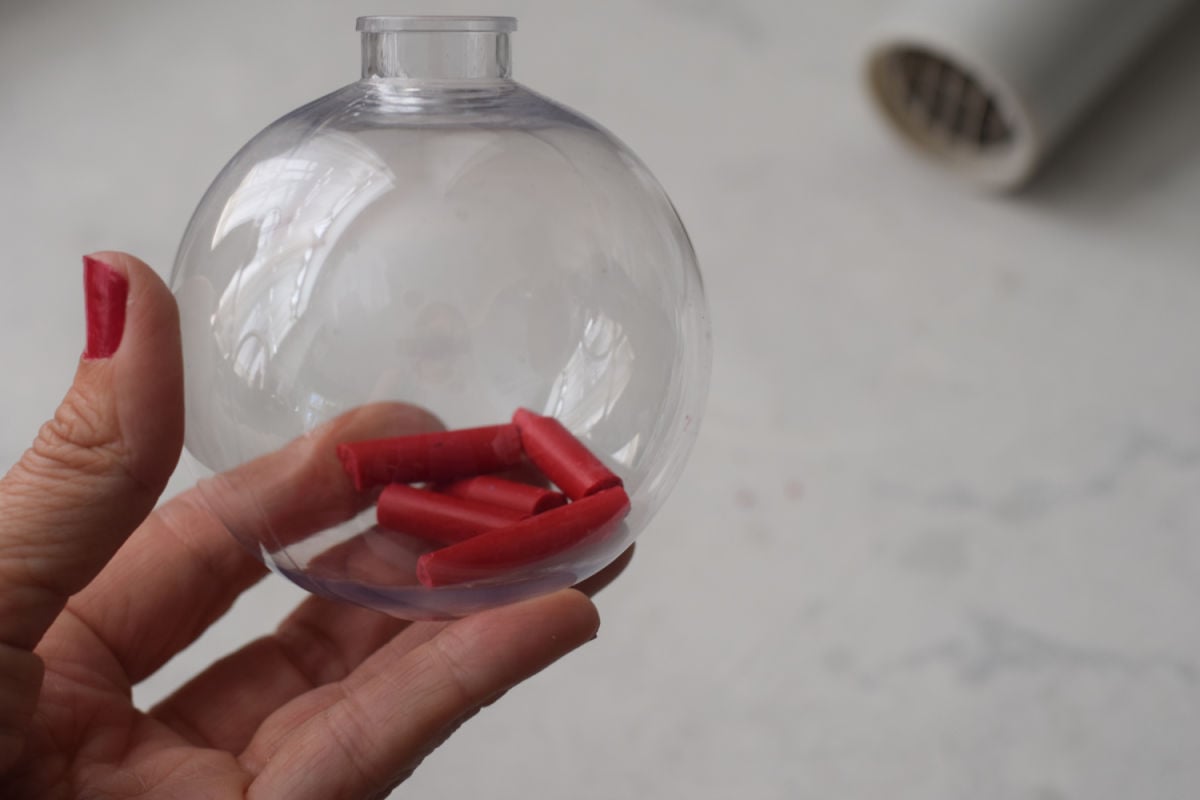
- Put a few small crayon pieces into the bottom of a clear ornament. For a marbelized ornament, add two or more colors.
- Hold the ornament with pliers
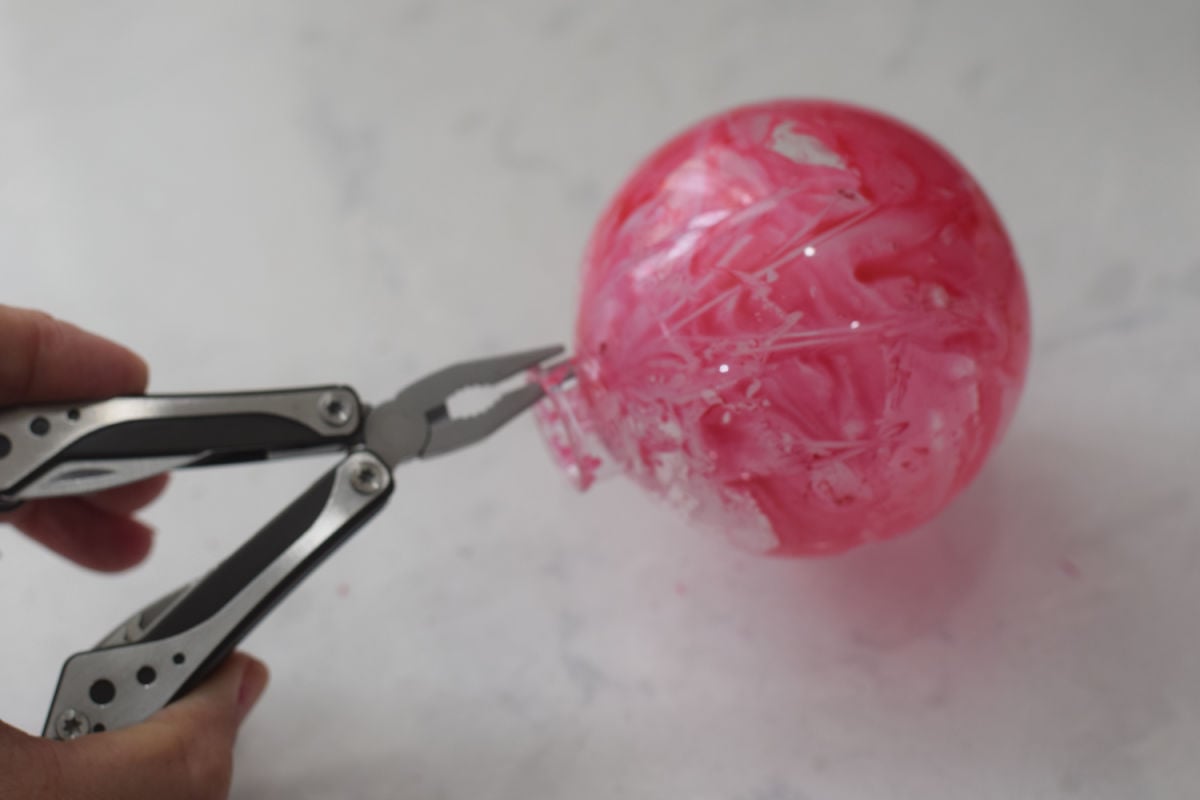
- Holding the hair dryer about one inch away from the ornament, apply high heat.
- The wax will start to melt in a minute. Remember to hold your fingers away from the heat while keeping a steady heat source on the crayon pieces.
- *Do not hold the dryer directly onto the ornament. If it is plastic, it will melt.
- Once they start to melt, turn the ornament while following the crayons with the hair dryer and watch as they color it.
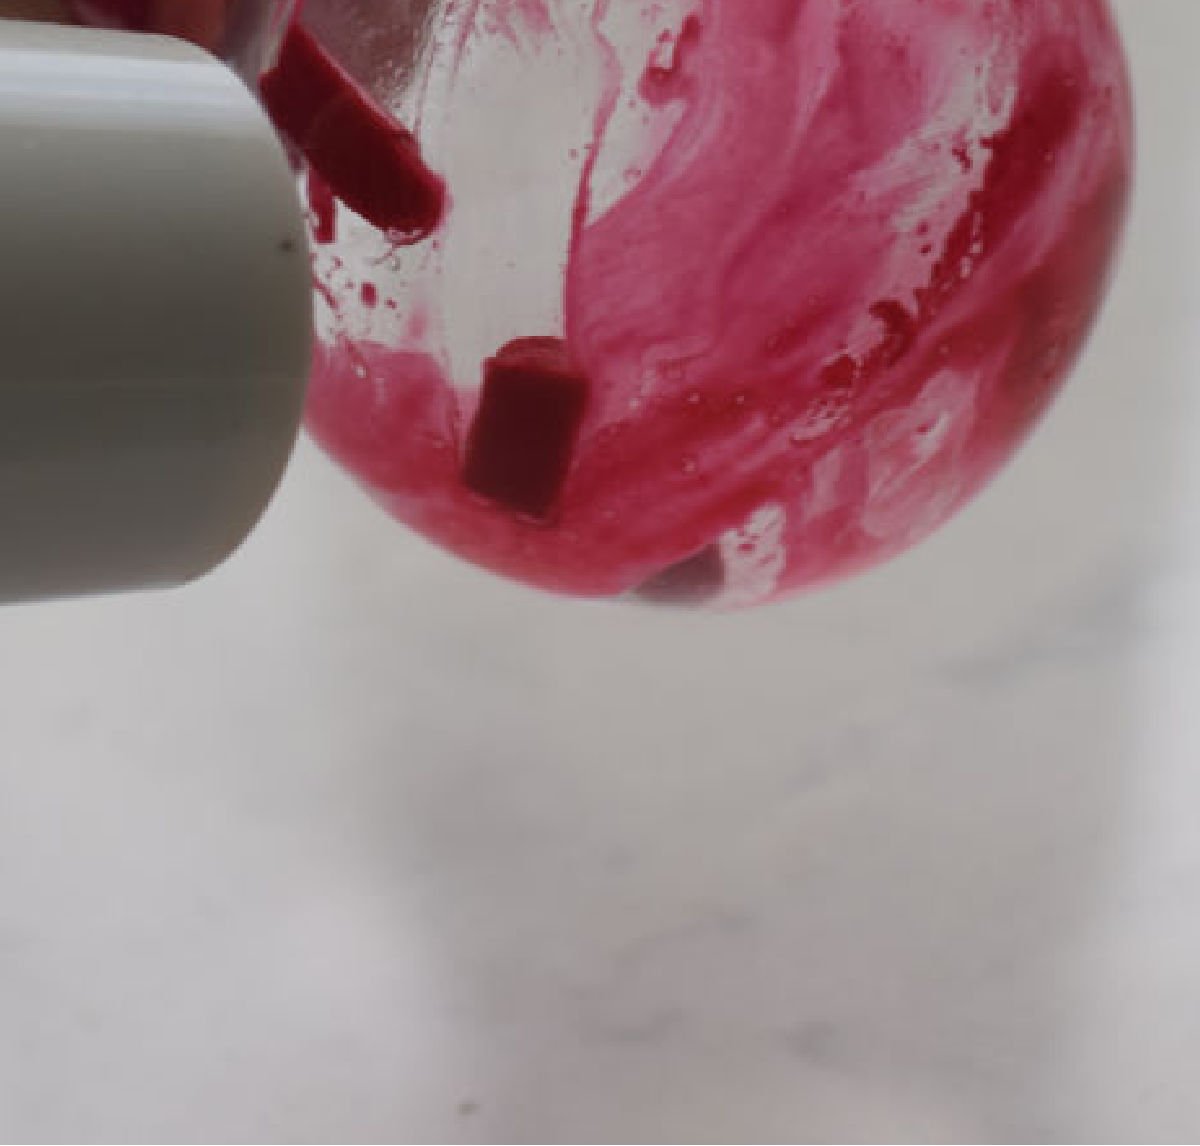
Plastic Vs. Glass Ornaments
I recommend using plastic, especially with the kids. I know that some of you are going to think plastic is not the best option because it might melt. I wondered about that, too. If you don’t hold the dryer right against the plastic for a prolonged period, you’ll be fine.
A shattered glass ornament is something you want to avoid. Think of the scene in Home Alone when Harry steps on the glass ornaments – ouch!
Tips and Tricks
I can’t believe I never thought of this before. Use needle-nose pliers to hold the ornament. You could also use kitchen tongs or something similar. This is such a great solution for keeping little fingers away from the hair dryer’s heat.
More Christmas Ornaments You’ll Love
Let’s Hang Out!
Come and find me on Pinterest and Facebook for more recipes, crafts, party treats, and holiday games!
Printable Instructions
Melted Crayon Ornament
Equipment
- 1 hair dryer
- 1 needle nose pliers
Materials
- 1 clear plastic ornament
- 2 crayons – broken into little pieces you'll only use a small amount of each crayon
Instructions
- Put a few small crayon pieces into the bottom of a clear ornament
- Hold the ornament with pliers Holding the hair dryer about one inch away from the ornament, apply high heat.
- The wax will start to melt in a minute. Remember to hold your fingers away from the heat while keeping a steady heat source on the crayon pieces,
- *Do not hold the dryer directly onto the ornament. If it is plastic, it will melt.
- Once they start to melt, turn the ornament while following the crayons with the hair dryer and watch as they color it.


so fun!