Olaf Treat Bag
This post may contain affiliate links – please read my disclosure statement.
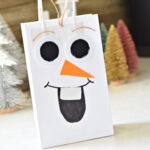
These Olaf Treat bags are sure to bring smiles to everyone’s face at your next Frozen or winter-themed party. Inspired by everyone’s favorite warm-hug snowman, these adorable bags are easy to make and filled with fun surprises.

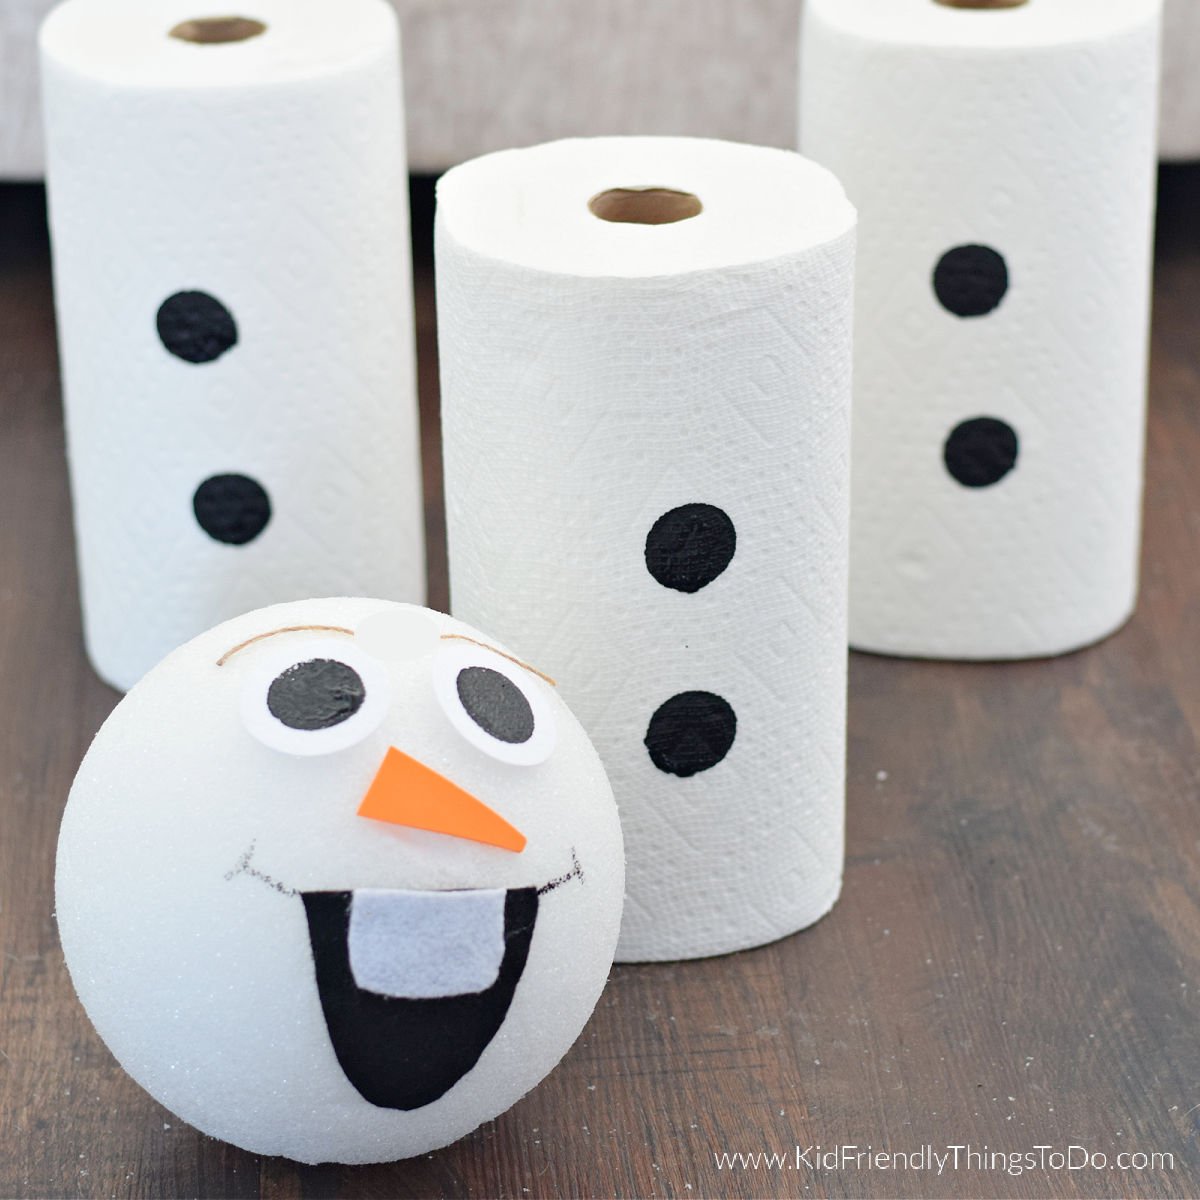
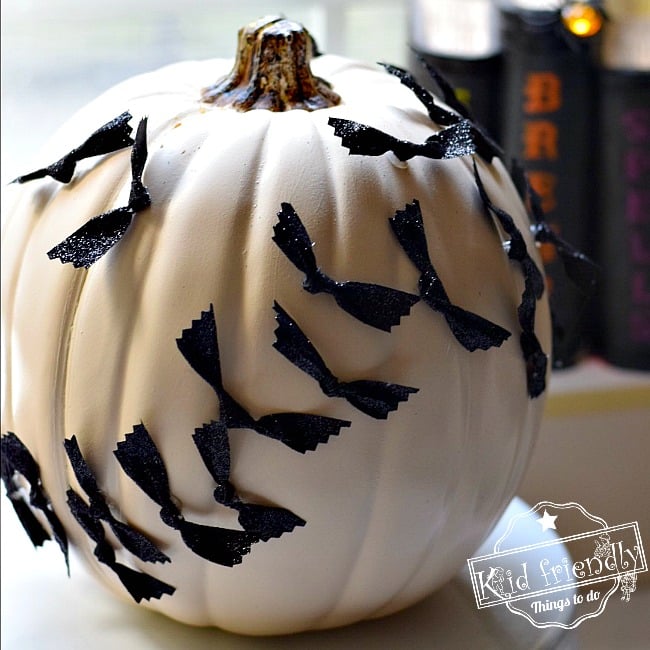
When the Frozen movies first came out, I couldn’t wait to make fun Frozen crafts and activities like this Olaf Pumpkin, a Sven Paper Bag Craft, and Olaf ornament craft.
When my little girl turned seven, we had a Frozen birthday party and these Olaf bags were definitely on the party supply list to make. They were so cute and easy to make. The perfect addition to our Frozen party.
Supplies You’ll Need
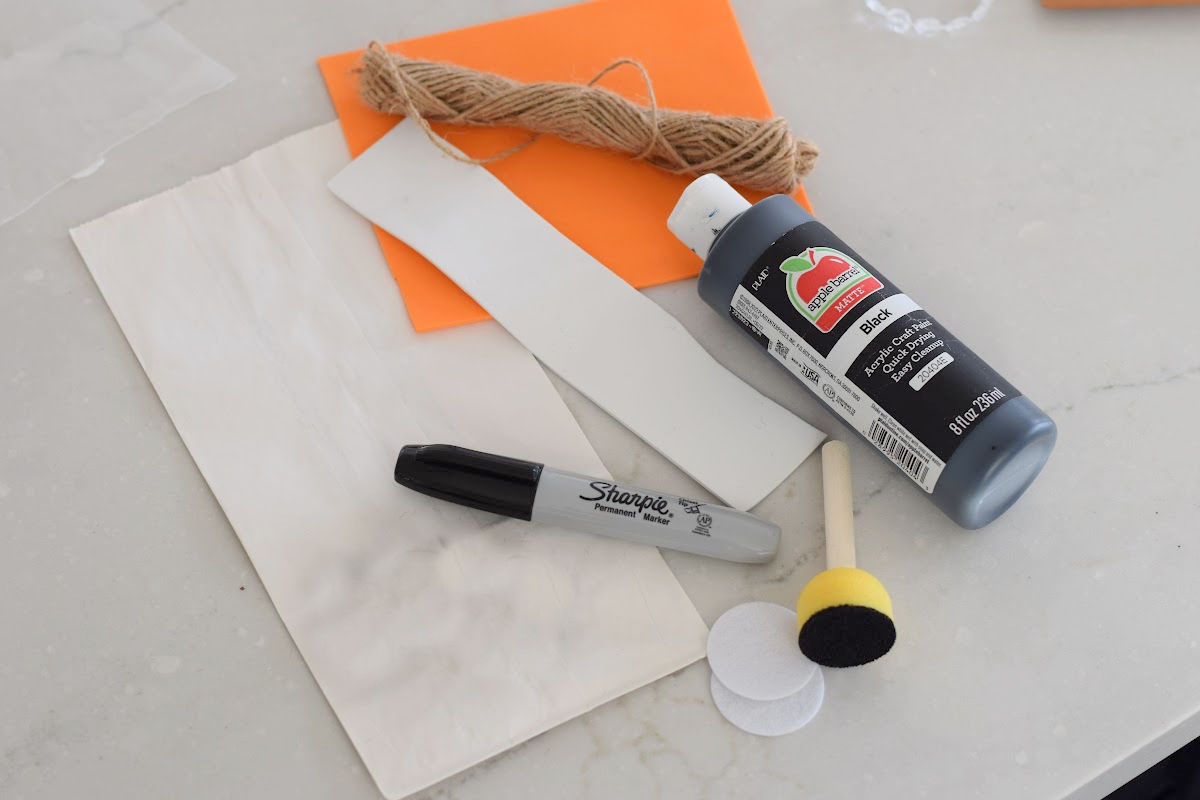
- White paper lunch bags
- Felt Circles – I used 2 inch wide felt circles
- Round sponge paint brushes
- Black Paint – I used tempera paint
- Orange foam
- Brown hemp cording
- Black Marker
- White foam paper
Instructions
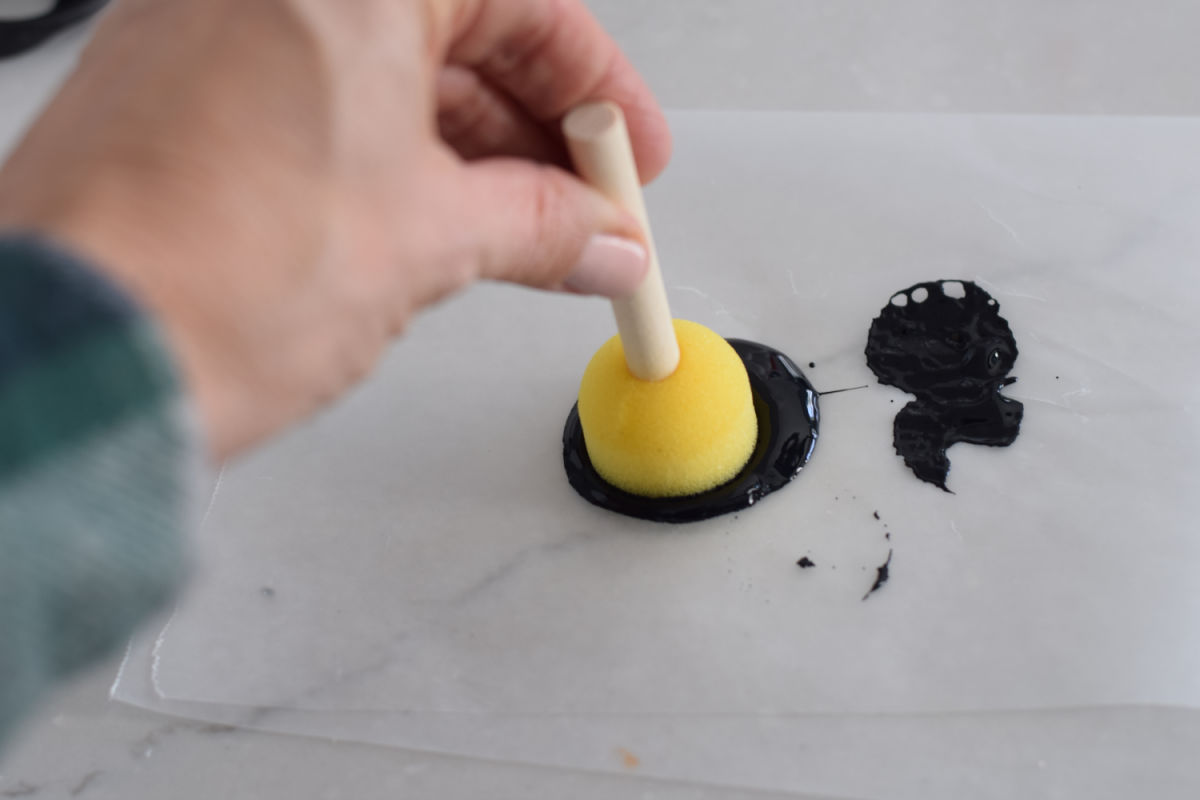
Prep the eyes by dotting black paint onto the white felt circles
Cut an orange nose from the orange foam
Cut a large tooth from the white foam paper
Glue the eyes and nose onto the bag
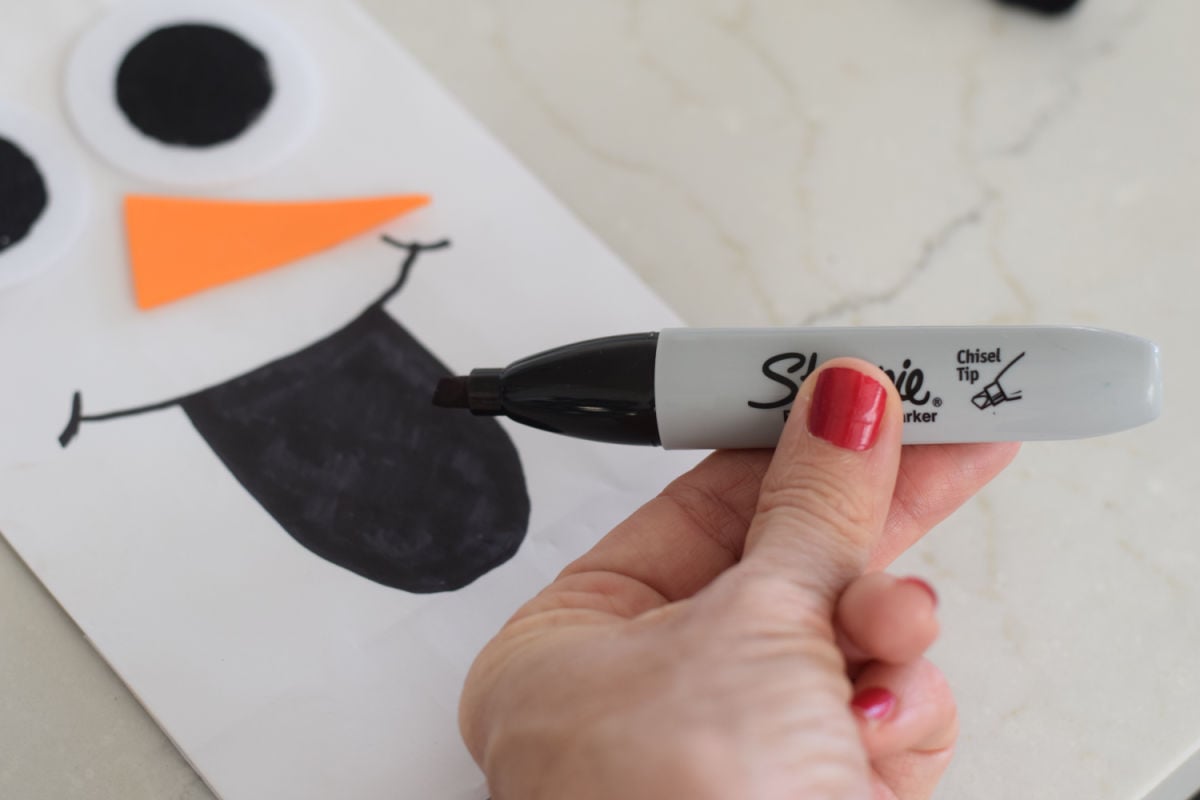
Use the black sharpie to draw a smile and a long oblong mouth
Glue the white tooth onto the top of the mouth
Cut eyebrows and strips of hair for Olaf
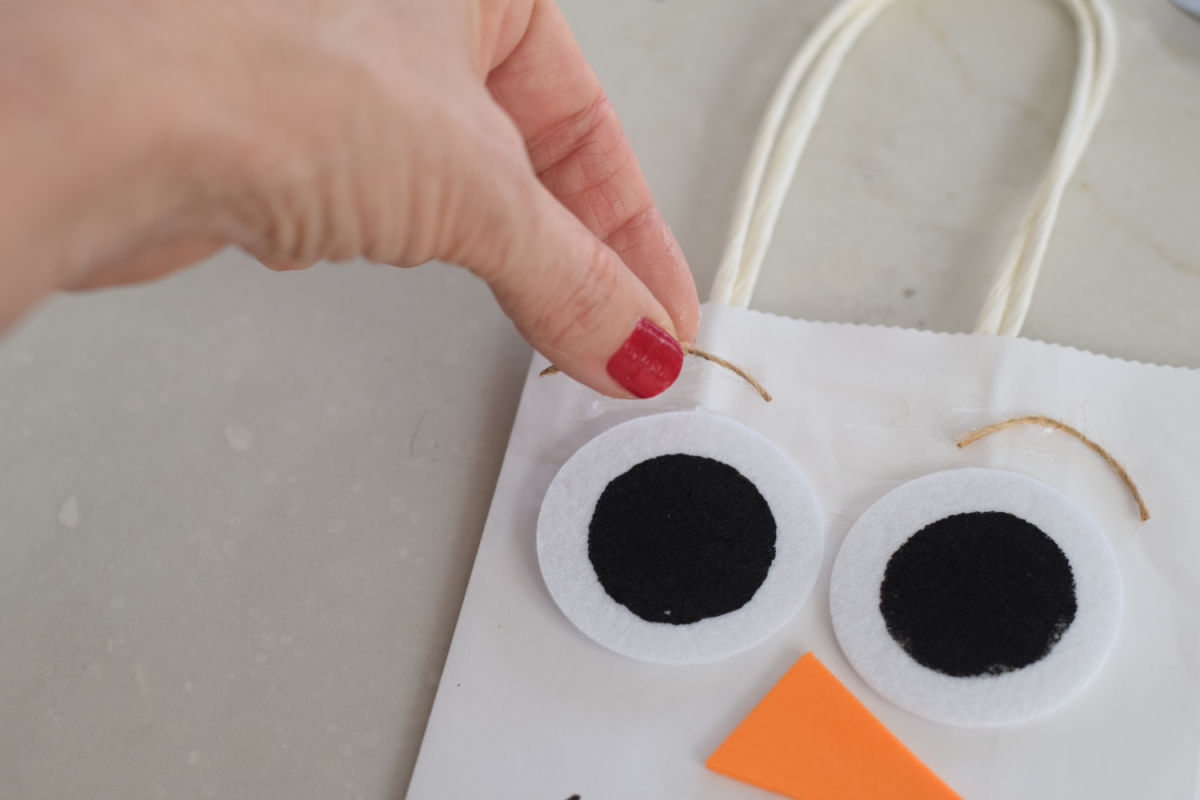
Glue those onto the bag
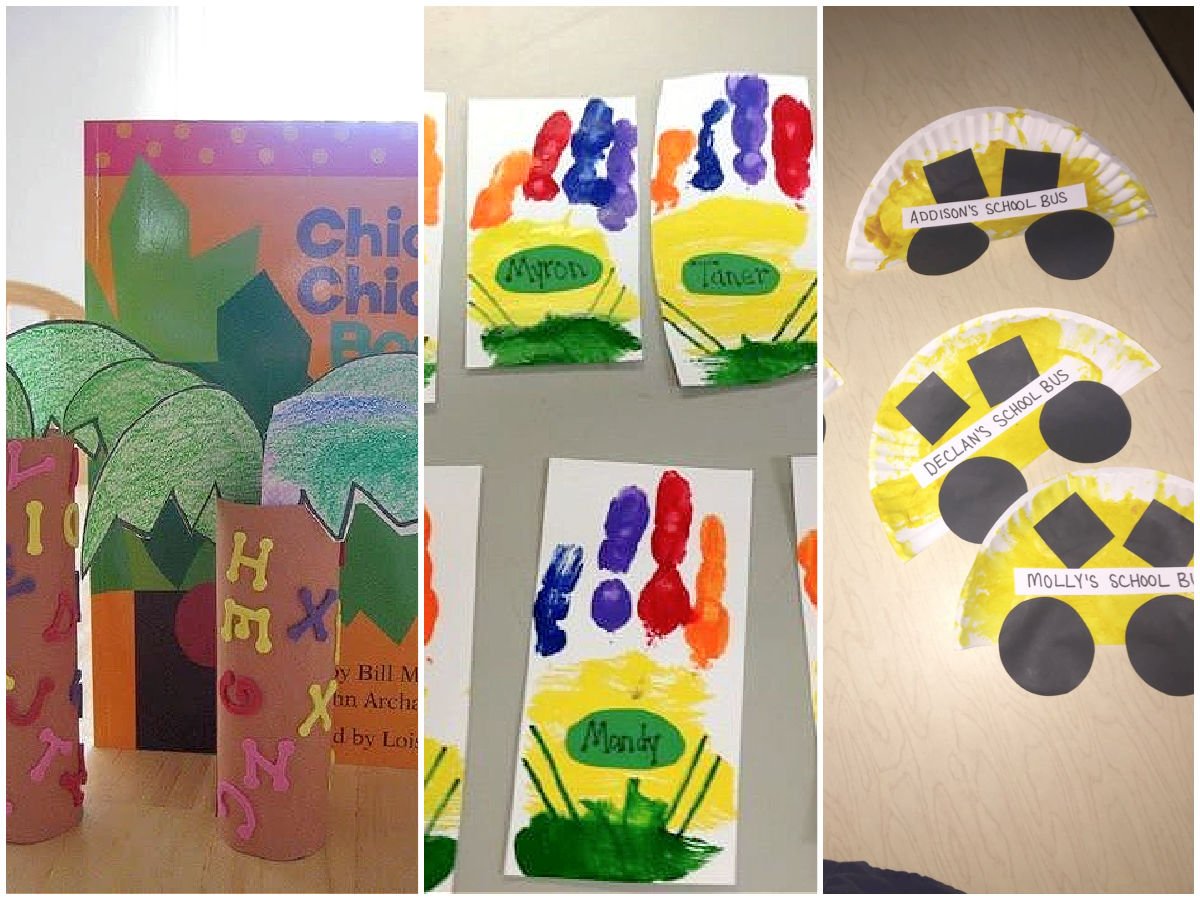
More Frozen Ideas You’ll Love
Watch my Video on Making this Olaf Bag
Olaf Treat Bag
Materials
- 1 white paper bag about the size of a lunch bag
- 2 white felt circles about 2 inches
- 1 round foam paint brush about 1 inch wide
- brown cording
- 1 Black Sharpie
- 1 Orange foam paper
Instructions
- Prep the eyes by dotting black paint onto the white felt circles
- Cut an orange nose from the orange foam
- Cut a large tooth from the white foam paper
- Glue the eyes and nose onto the bag
- Use the black sharpie to draw a smile and a long oblong mouth
- Glue the white tooth onto the top of the mouth
- Cut eyebrows and strips of hair for Olaf
- Glue those onto the bag
~Melissa – KidFriendlyThingsToDo.com
so fun!