Rice Krispie Treats Recipe
This post may contain affiliate links – please read my disclosure statement.
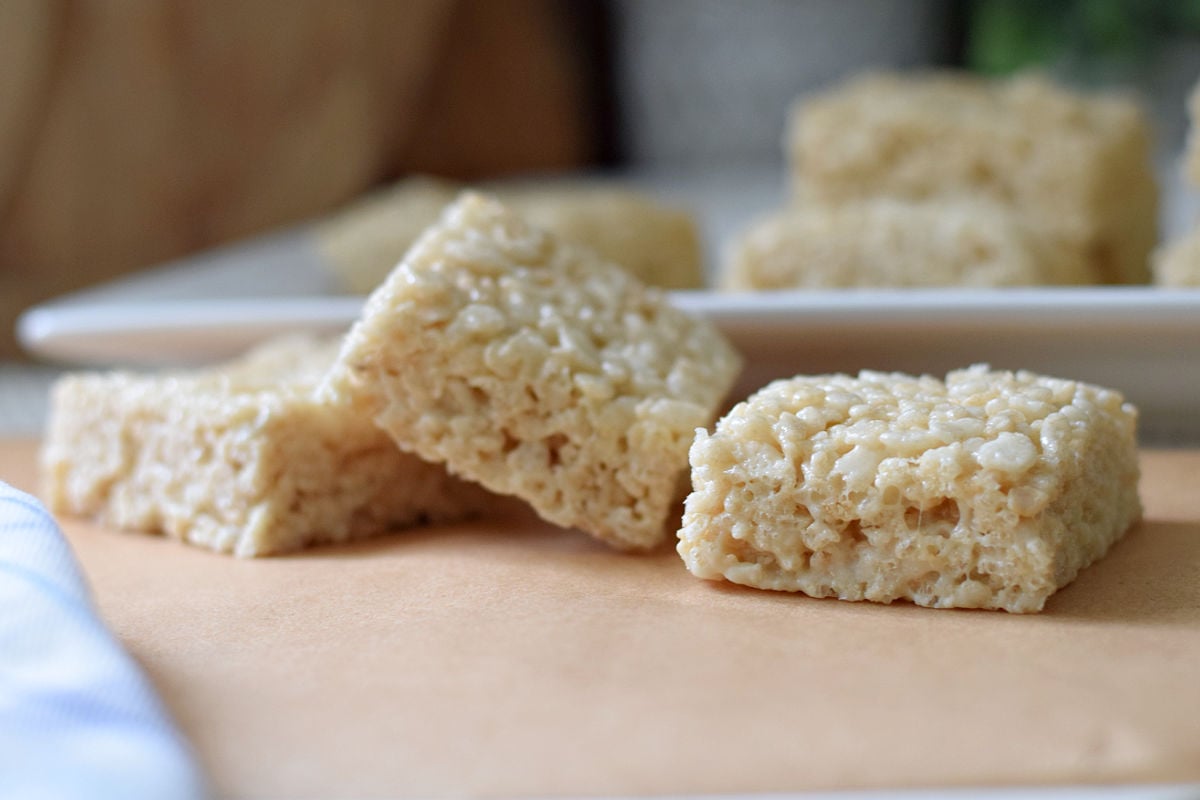
I have made Rice Krispie Treats more times than I can count over the years, especially for all of the holiday versions and decorated treats I’ve shared on the blog. And if there is one thing I’ve learned, it’s that I want my Rice Krispie Treats to be soft, thick, and loaded with gooey marshmallow.
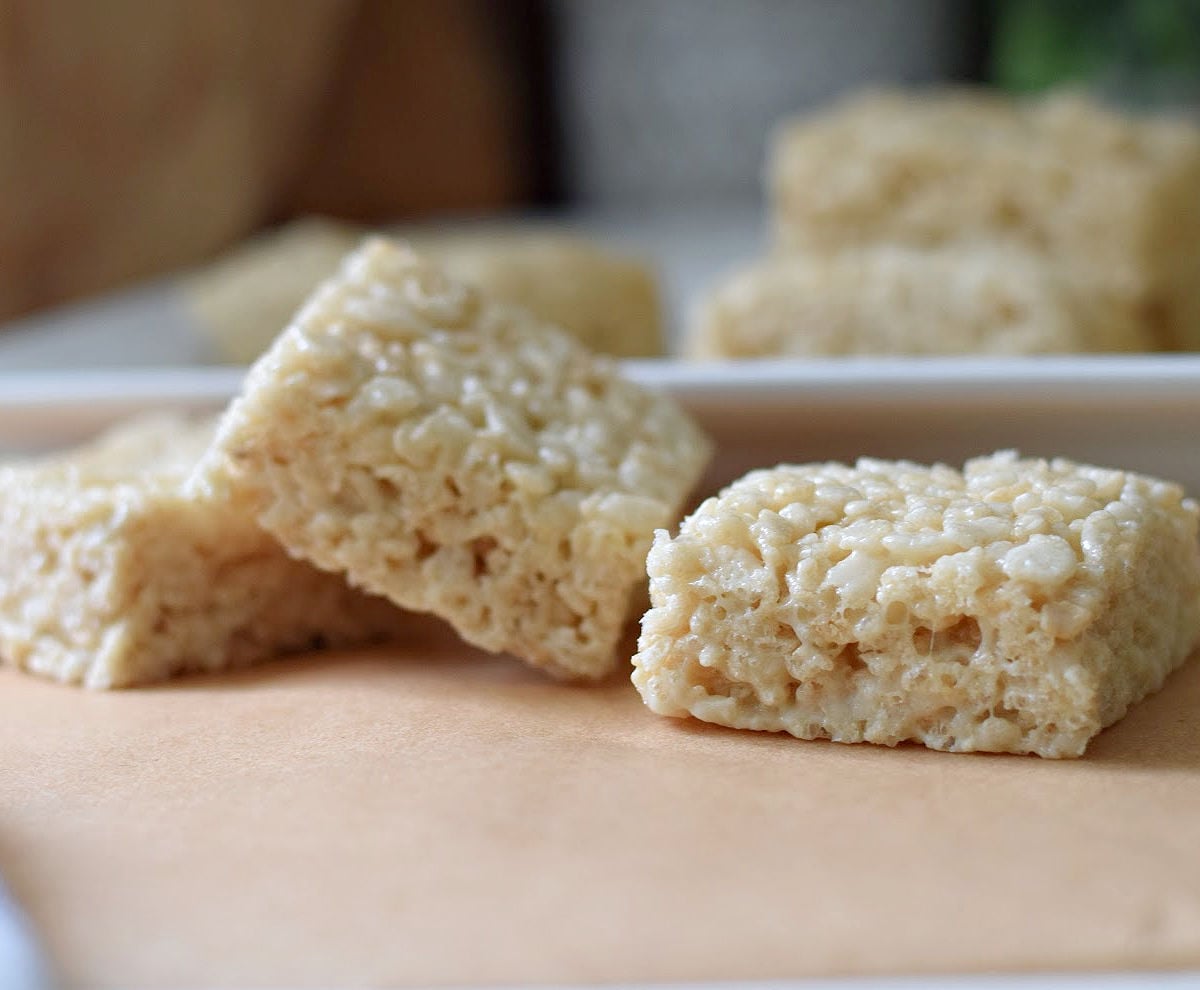
This Rice Krispie Treats recipe uses 20 ounces of fresh mini marshmallows, plenty of butter, pure vanilla extract, and just a pinch of sea salt. The result is a thick, soft cereal treat that holds its shape but still pulls apart with that wonderfully sticky marshmallow texture.
I wrapped the finished treats and left them at room temperature overnight, and the next day they were still just as soft and gooey as when I made them. The marshmallow hadn’t hardened at all.
Melissa’s Tip: Use a freshly opened bag of marshmallows. I’ve made countless batches of Rice Krispie Treats, and fresh marshmallows consistently give me the softest, best texture.
You may have also searched for how to make rice crispy treats. That common spelling variation refers to the same classic marshmallow cereal treats made with Rice Krispies cereal.
Why You’ll Love This Rice Krispie Treats Recipe
- Extra marshmallowy: Two 10-ounce bags of mini marshmallows make these especially gooey.
- Soft, not hard: Low heat helps keep the marshmallow mixture smooth and prevents the treats from becoming tough.
- Thick: A 9×13-inch pan gives you substantial squares instead of thin cereal bars.
- Simple ingredients: You only need cereal, marshmallows, butter, vanilla, and salt.
- Stay soft: Mine were still wonderfully gooey after being wrapped and stored overnight at room temperature.
🍡 Fresh vs. Older Marshmallows — Does It Really Matter?
| Fresh, factory-sealed marshmallows. Gives the softest, stretchiest texture and the best gooey pull. | Older or previously opened marshmallows. Still melts, but usually gives a less soft, less stretchy result. |
| The bread trick. (see below) Can help restore some moisture to stale marshmallows. | My favorite choice. I’d choose a fresh bag every single time I make this recipe — it’s the single biggest factor in getting that soft, gooey texture. |
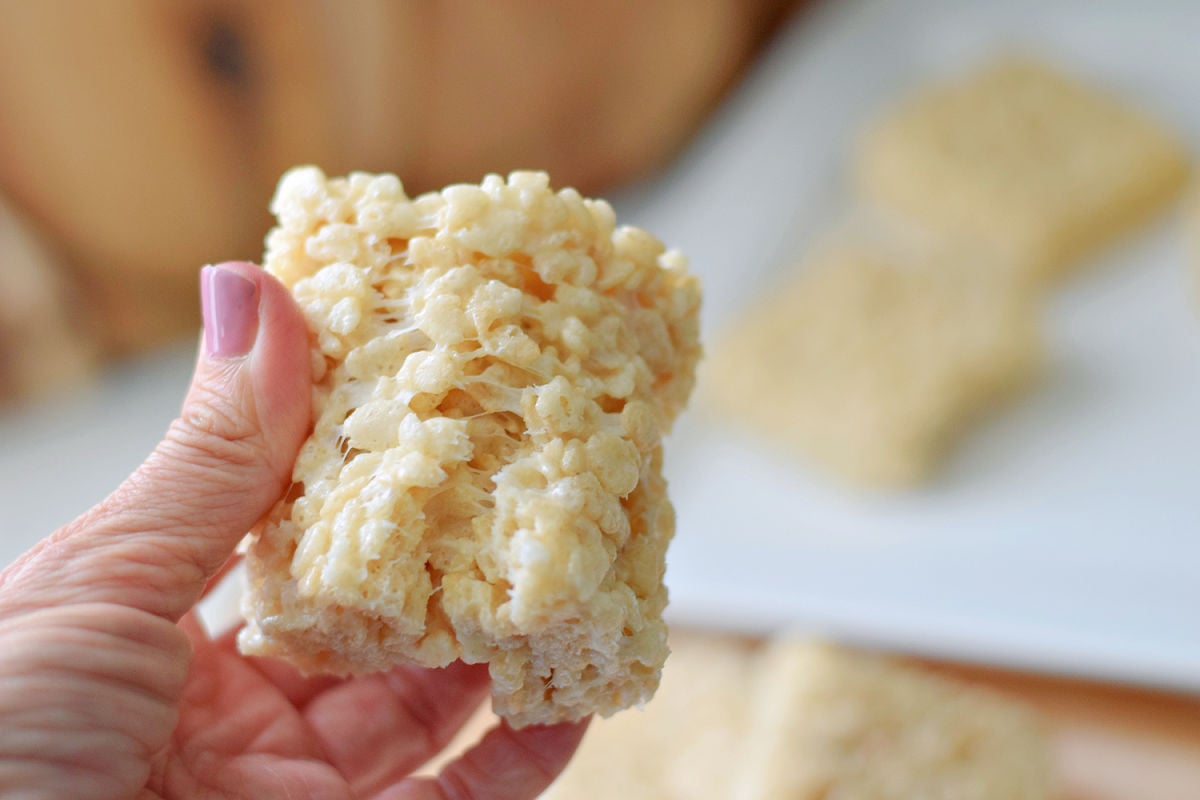
Even the official Rice Krispies recipe recommends fresh marshmallows for the best results.
Jet-Puffed marshmallows also notes that its sealed packaging is designed to keep marshmallows soft and fresh.
Ingredients for Rice Krispie Treats
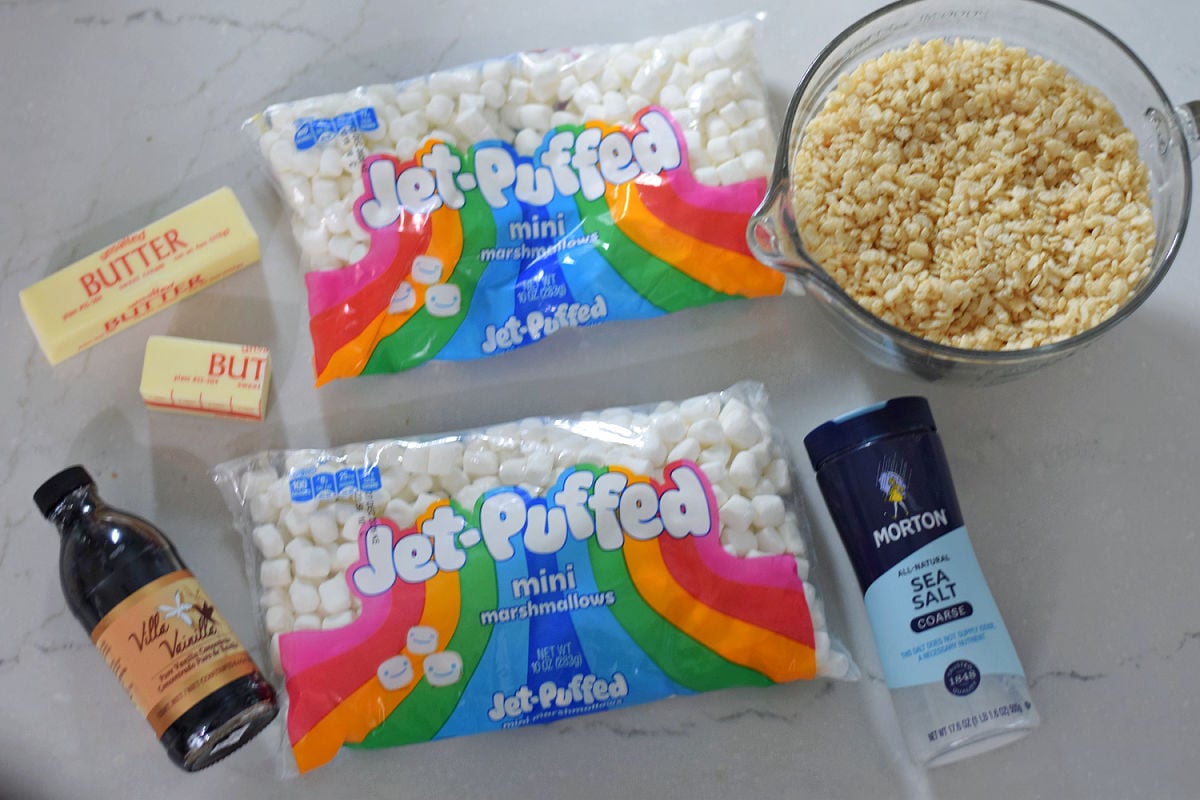
You only need five ingredients for this easy Rice Krispie treat recipe.
Rice Krispies cereal: I use 8½ cups. You can also use another crispy rice cereal.
Mini marshmallows: You’ll need two 10-ounce bags. For the best texture, start with fresh, factory-sealed marshmallows.
Unsalted butter: Twelve tablespoons, or 1½ sticks, gives these treats a rich flavor and helps keep them soft.
Pure vanilla extract: I prefer pure vanilla extract for the best flavor.
Sea salt: Just a pinch balances all that sweetness. I used about five or six shakes from my sea-salt container.
🥣 Rice Krispie Treats — Ingredients at a Glance!
| Ingredient | Purpose | Easy Substitute |
|---|---|---|
| Rice Krispies cereal (8½ cups) | Provides the crispy texture and structure that holds the treats together. | Any crispy rice cereal works — it doesn’t have to be the Kellogg’s brand. |
| Mini marshmallows (20 oz / 2 bags) | Creates the soft, gooey binding that holds everything together and gives the treats their signature stretch. | Large marshmallows work too — use the same total weight rather than counting pieces, since minis just melt faster and more evenly. |
| Unsalted butter (12 tbsp / 1½ sticks) | Adds richness and helps keep the finished treats soft instead of dry or crumbly. | Salted butter works in a pinch — just skip or reduce the added sea salt to balance it out. |
| Pure vanilla extract (1 tsp) | Rounds out the sweetness with warm flavor. | Imitation vanilla will work, though pure vanilla gives a noticeably better flavor. |
| Sea salt (pinch, ~5-6 shakes) | Balances the sweetness so the treats don’t taste flat or one-note. | Kosher salt or table salt both work — just use a little less if using fine table salt, since it’s more concentrated per pinch. |
How to Make Rice Krispie Treats
This is my favorite method for how to make Rice Krispie Treats that stay soft and gooey.
1. Prepare the pan
Line a deep 9×13-inch baking pan with parchment paper and lightly coat the parchment with nonstick cooking spray.
You can also use foil, but I prefer parchment for easier removal.
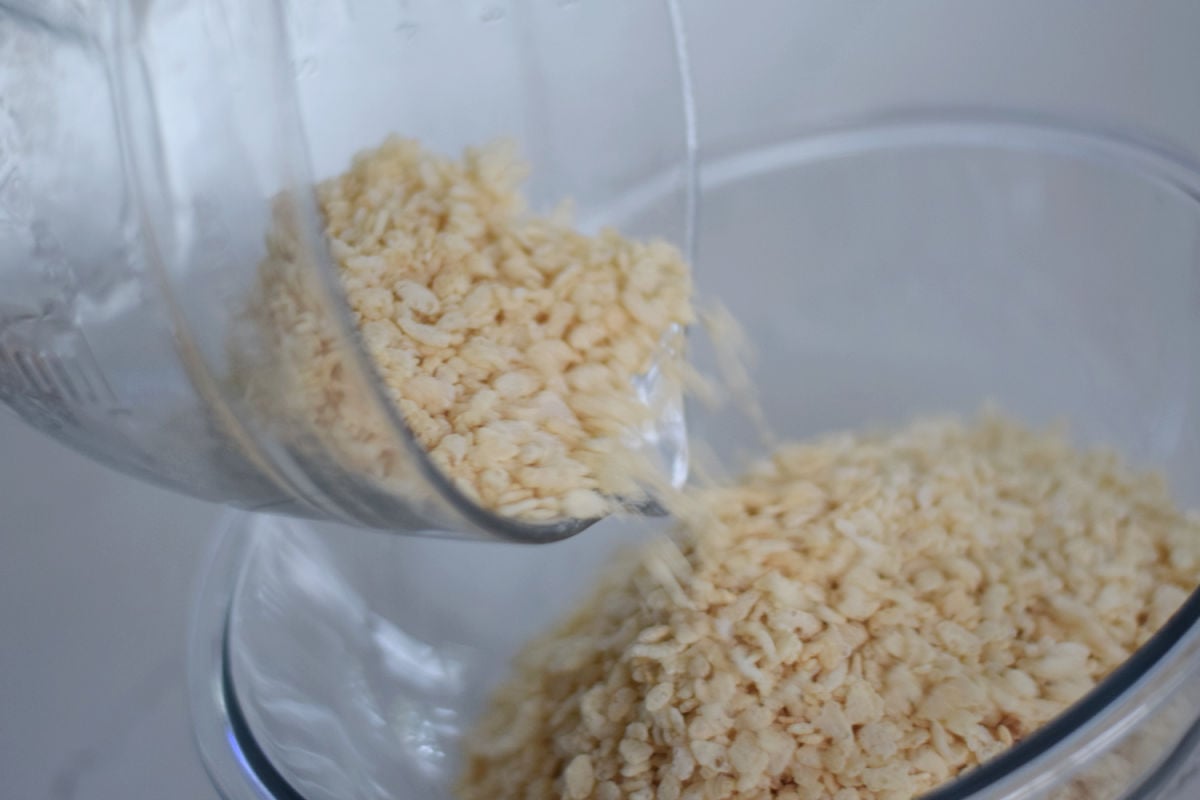
2. Measure the cereal
Pour 8½ cups of Rice Krispies cereal into your largest mixing bowl and set it aside.
You want the cereal ready before you start melting the marshmallows because the marshmallow mixture is easiest to work with while it is warm.
3. Melt the butter
Place 12 tablespoons of unsalted butter in a large saucepan.
Heat it over low-medium heat, watching it closely, until it is just melted.
I do not brown the butter for this recipe. I prefer the classic flavor and lighter color, and there’s no reason to risk burning expensive butter.
4. Melt the marshmallows
Reduce the burner to the lowest heat setting.
Add both bags of mini marshmallows to the melted butter and begin stirring.
Keep the saucepan on the burner while the marshmallows melt. With this much marshmallow, I find the gentle, constant heat makes the process much easier than removing the pan completely.
Stir frequently so the mixture doesn’t scorch.
5. Add vanilla and salt
Once the marshmallows have started breaking down and are well incorporated with the butter, stir in 1 teaspoon of vanilla extract and a pinch of sea salt.
Continue stirring until the marshmallows are about 95% melted.
At that point, I pour the mixture over the cereal. Any small remaining marshmallow pieces usually disappear as everything is mixed together.
6. Combine the cereal and marshmallow mixture
Pour the warm marshmallow mixture over the bowl of Rice Krispies cereal.
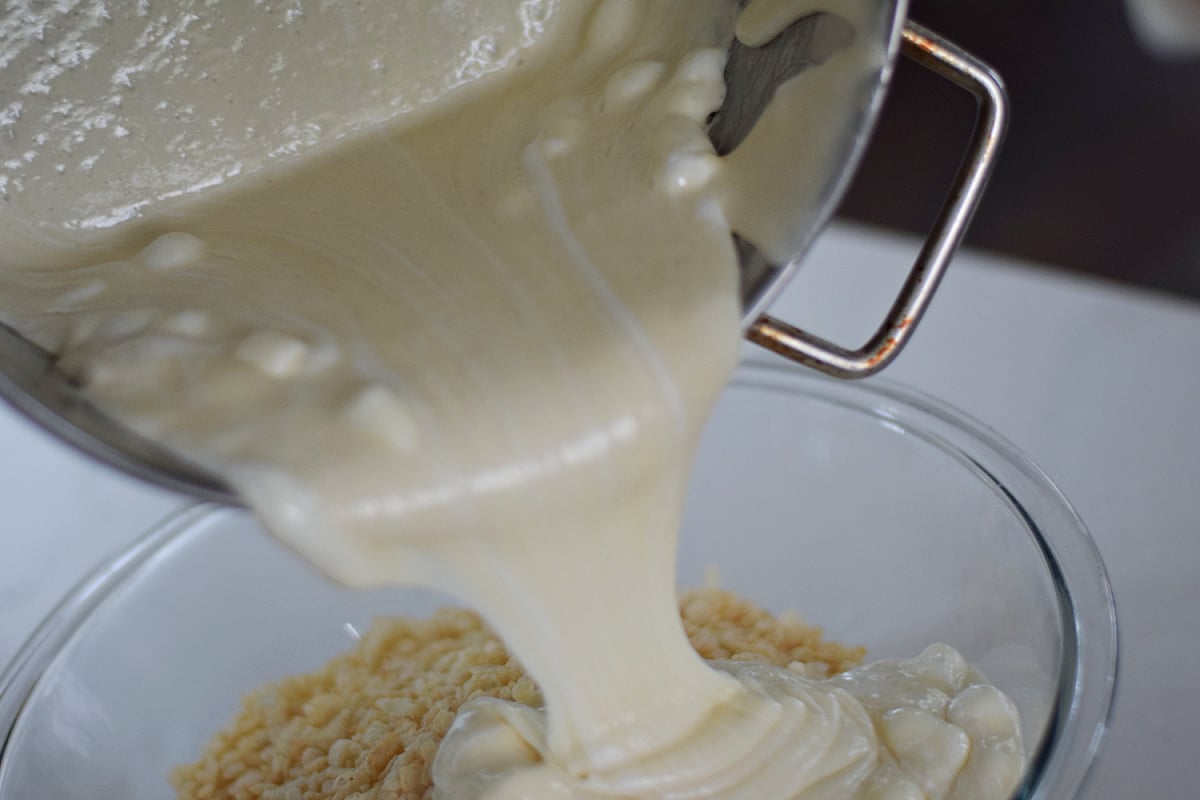
Start by gently folding the cereal into the marshmallow instead of stirring aggressively. This keeps cereal from flying all over the counter.
Once most of the cereal has been incorporated, stir until every piece is well coated.
It will take a little muscle because this is a very marshmallowy mixture.
7. Press into the pan
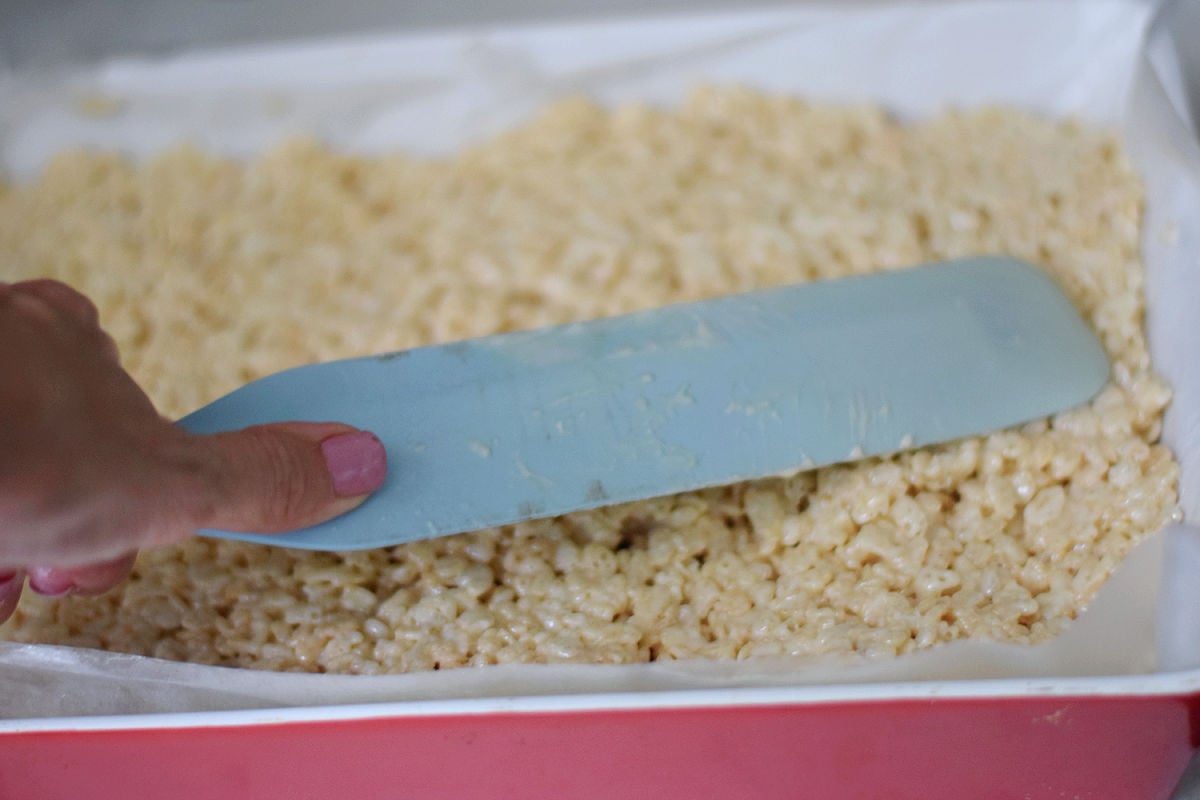
Transfer the mixture to your prepared 9×13-inch pan.
Spray a firm silicone spatula or spreader with nonstick cooking spray and use it to gently spread and even out the top.
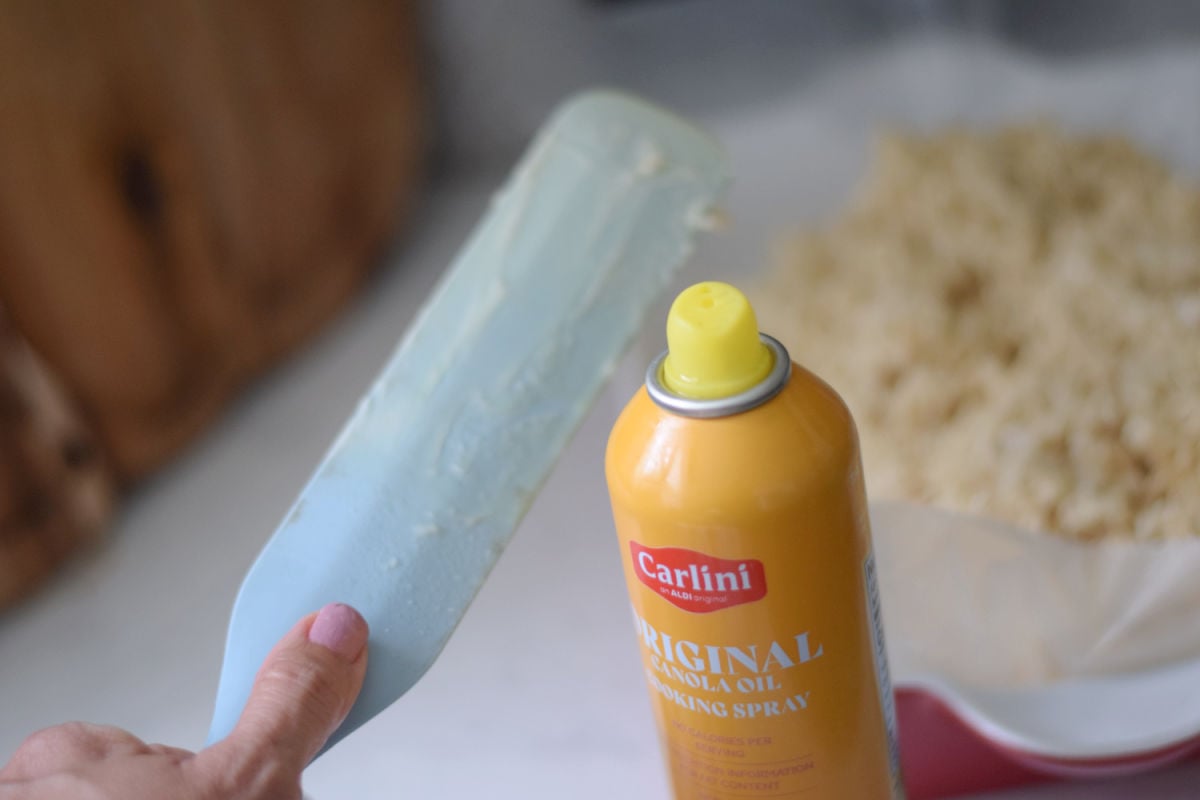
Avoid packing the cereal down too firmly. You want the treats to hold together while still staying soft and airy.
8. Let them set
Let the Rice Krispie Treats sit at room temperature for at least 1 hour.
Once firm enough to cut, lift the entire slab out of the pan using the parchment paper.
Transfer it to a parchment-lined cutting board.
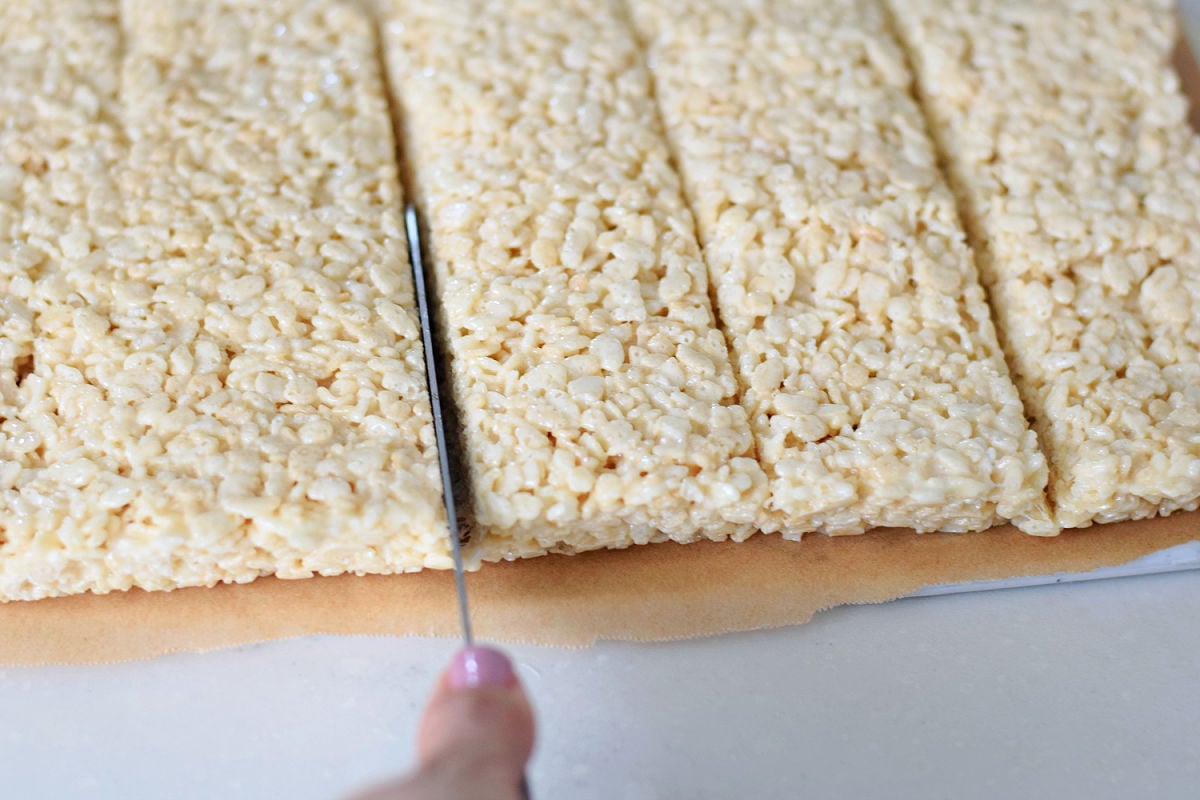
9. Cut into squares
Use a serrated knife to cut the treats into 20 squares.
I like to first press the knife down firmly, then use a gentle sawing motion to finish the cut.
Should You Melt the Marshmallows Completely?
You have a little flexibility here.
I usually melt mine until they are about 95% smooth. By the time I pour the mixture over the cereal and stir everything together, the remaining small pieces finish melting.
If you like visible pockets of marshmallow in your treats, another option is to melt the main marshmallow mixture completely, then stir in a cup or two of additional mini marshmallows right before combining it with the cereal.
I did not use that method in the batch photographed here, but it would be an easy variation.
Melissa’s Tips for the Best Rice Krispie Treats
- Use fresh marshmallows whenever possible.
- Keep the heat low once the marshmallows go into the pan.
- Use a large saucepan. Twenty ounces of marshmallows take up more room than you think.
- Have your cereal measured and ready before melting the marshmallows.
- Fold the cereal into the marshmallow mixture first, then stir.
- Spray your spatula or spreader with nonstick cooking spray before pressing the treats into the pan.
- Don’t compact the mixture too firmly or you can end up with dense, harder treats.
- Let the treats rest before cutting so they hold their shape.
- Use a serrated knife for cleaner cuts.
How to Store Rice Krispie Treats
Keep the treats covered tightly at room temperature.
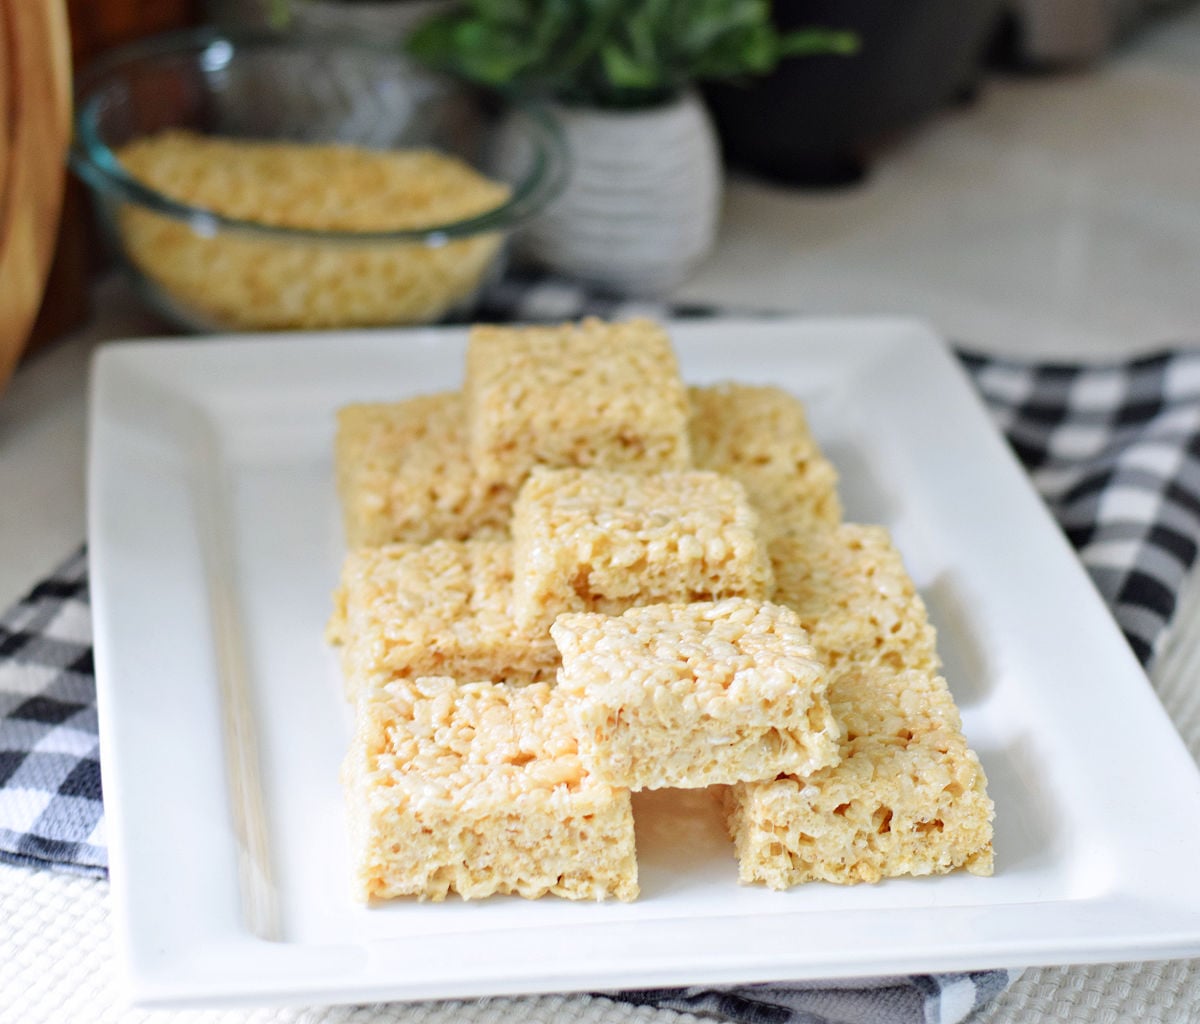
I wrapped mine in clear plastic wrap and left them out overnight. The following day, they were still soft, gooey, and pulling apart beautifully.
For the best texture, I would keep them at room temperature rather than refrigerating them.
FAQs about Rice Krispie Treats
More Rice Krispie Treats to Make
If you love this classic recipe, try one of these fun Rice Krispie Treat variations for holidays and special occasions.
- Rice Krispies Treats Ghosts
- Rice Krispies Football Treats
- Rice Krispies Treats Pumpkins
- Santa Hat Christmas Rice Krispies Treats
- Minion Rice Krispies Treats Fun Food Idea
- Patriotic Rice Krispies Treat Pops on a Stick
- Turkey Leg Rice Krispies Treats
I’d Love to Hear From You

If you make this recipe, I’d love to hear what you think! Please leave a star rating and comment below to let me know how it turned out. I love hearing from you, and your ratings help other readers find and enjoy the recipe, too!
Rice Krispies Treats Recipe
Equipment
- 9×13 baking pan
- parchment paper
- spray oil
- large sauce pan
- large mixing bowl
- silicone spatula
Ingredients
- 8½ cups Rice Krispies cereal
- 20 oz. mini marshmallows, 2 (10-oz. bags)
- 12 tbsp butter unsalted (1&1/2 sticks)
- 1 tsp vanilla extract pure
- 1 pinch sea salt about 5–6 shakes
Instructions
- Line a deep 9×13-inch baking pan with parchment paper and lightly spray it with nonstick cooking spray (butter).
- Place the Rice Krispies cereal in a very large mixing bowl and set aside.
- Melt the butter in a large saucepan over low-medium heat.
- Reduce the heat to the lowest setting and add the marshmallows.
- Stir frequently until the marshmallows are almost completely melted.
- Stir in vanilla and sea salt.
- Pour the marshmallow mixture over the cereal.
- Gently fold the cereal into the marshmallow mixture, then stir until completely coated.
- Transfer the mixture to the prepared pan.
- Spray a firm silicone spatula with nonstick cooking spray and gently spread and level the mixture.
- Do not press it down firmly.
- Let the treats set at room temperature for at least 1 hour.
- Lift the treats from the pan and transfer them to a parchment-lined cutting board.
- Cut into squares with a serrated knife, pressing down firmly first and then using a gentle sawing motion.