Make A Homemade Thermometer
This post may contain affiliate links – please read my disclosure statement.
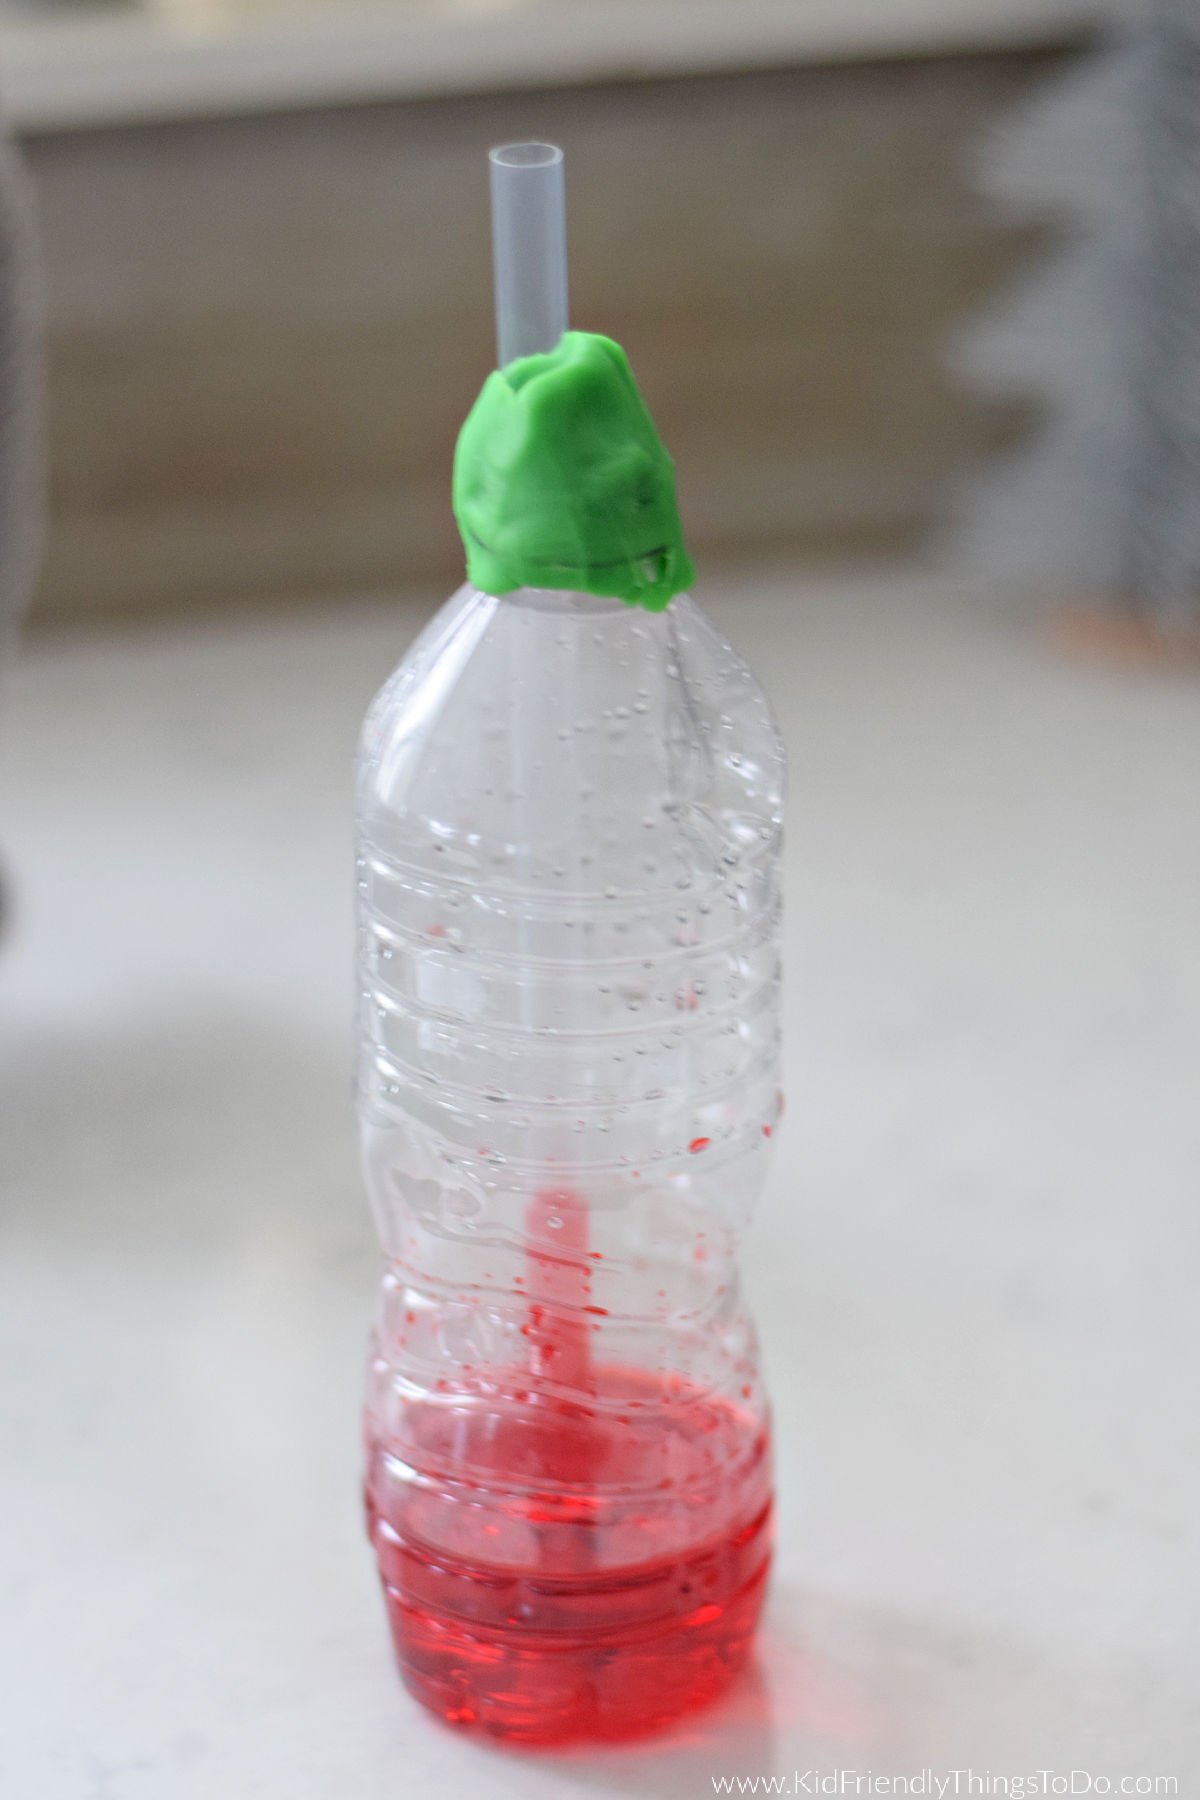
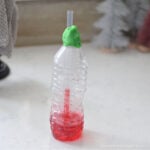
Making a homemade thermometer is a simple and fun science experiment in the expansion and contraction of liquid and weather. Watch the liquid rise and lower as the air temperature around the bottle changes.
When the kids were little, we enjoyed science fun and nature activities. We tried to do something fun each week like capturing spider webs, tie-dying flowers, and making bath bombs.
One day, after the kids and I learned a little about weather and meteorology, I thought making our weather instrument would be a fun idea. We gathered supplies from around the house and got started with some fun experimenting. If you want to do a fun and simple experiment to pique the kid’s curiosity, I recommend making this simple thermometer.
Supplies You’ll Need:
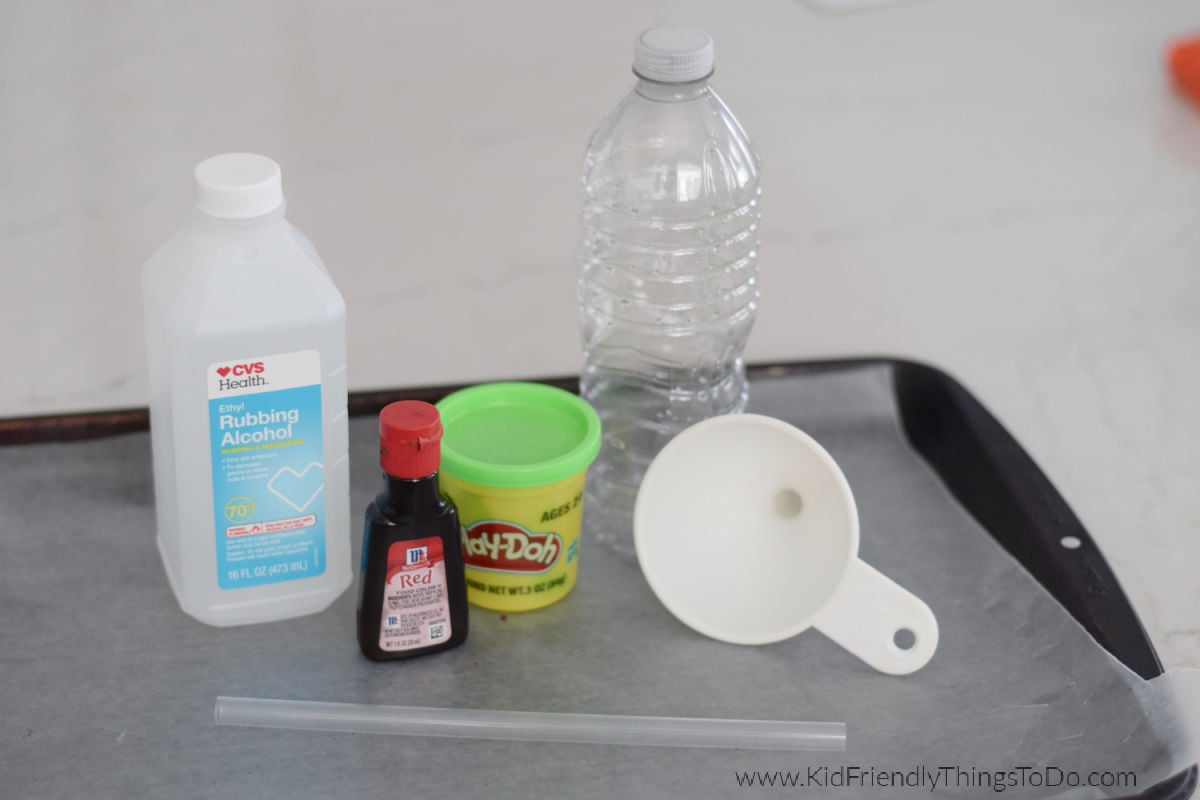
- A clear, empty plastic or glass bottle
- A clear straw – I used a large malt straw
- Rubbing Alcohol
- Water
- Food Coloring
- Play-Doh
- Funnel
- A tray to protect your surface from liquids
- Optional: Store-bought thermometer to measure the actual temperature for recording purposes
How to Make a Homemade Thermometer
- Pour equal amounts of water and rubbing alcohol into your clear bottle. I only had a little over 1/4 cup of alcohol, so that’s the amount I used. I added an equal amount of water to that
- A funnel is very helpful in ensuring the liquid makes its way into the bottle and not onto your counter.
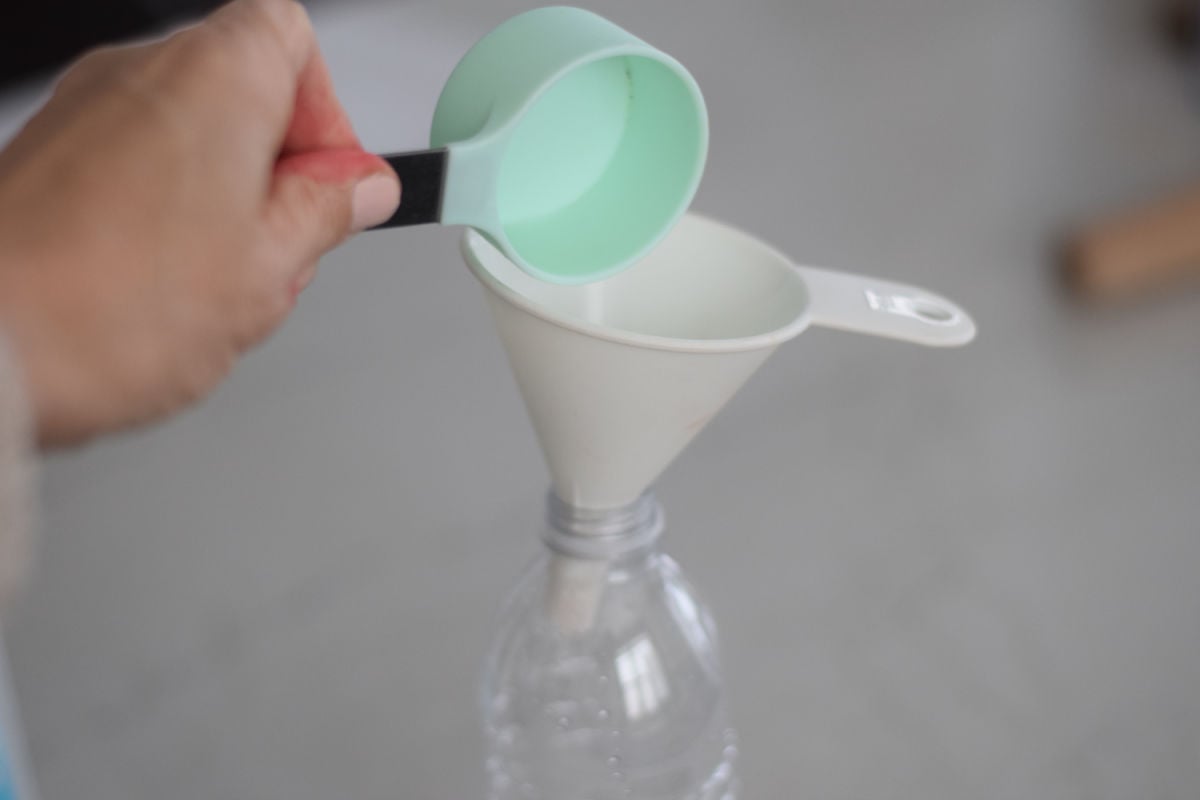
- My liquid amount only went about 1/4 of the way up my bottle – which is about where you want it.
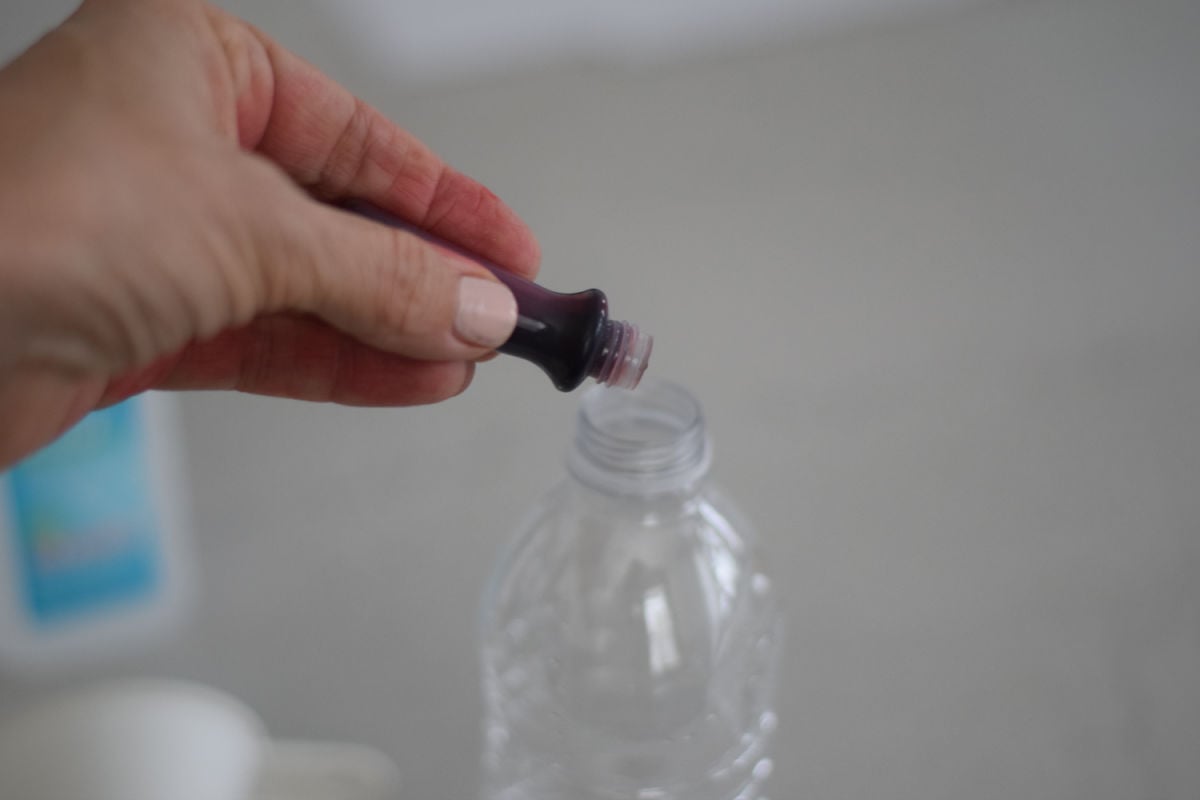
- Add a few drops of food coloring to the liquid and swirl it around to mix.
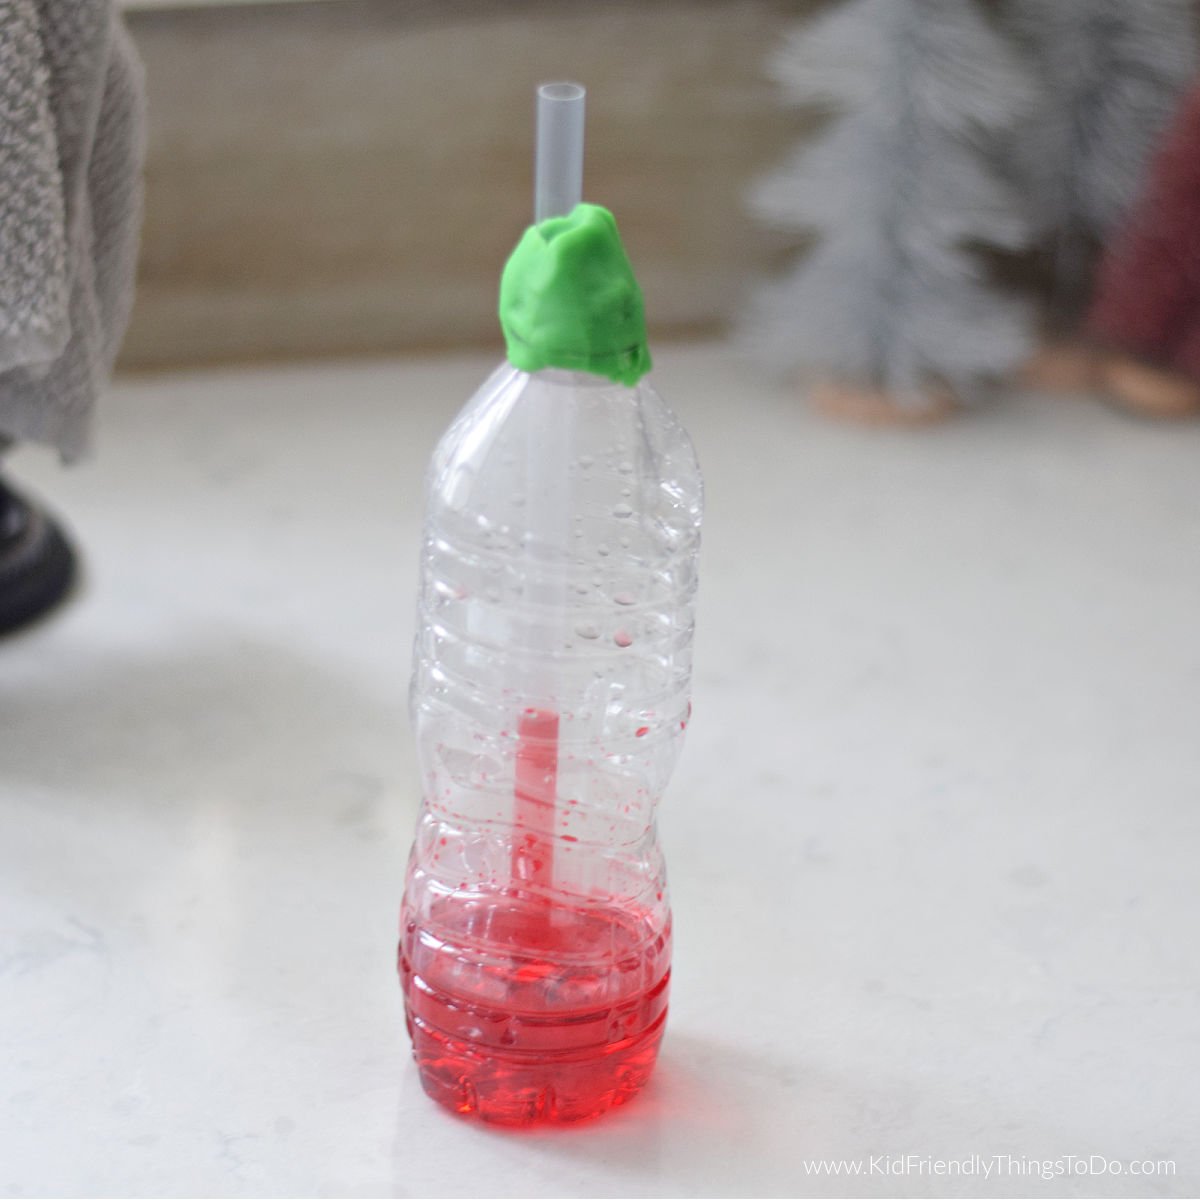
- Insert the clear straw into the bottle, not letting it touch the bottom
- The straw should only go down to the surface of the liquid, and some of the straw should stick out of the top of the bottle. It should not touch the bottom of the bottle.
- Secure the straw with the Play-Doh by wrapping it around where the straw and bottle top meet
- Press to seal
Experimenting with Your Homemade Thermometer
- Suggestion: Use a store-bought thermometer to get temperatures for each experiment and mark those down.
- Hold the bottle in your hands. Ask, why did the liquid rise? The temperature around the bottle will go up from the warmth of your hands. Try rubbing hands together to get them nice and warm, and try again.
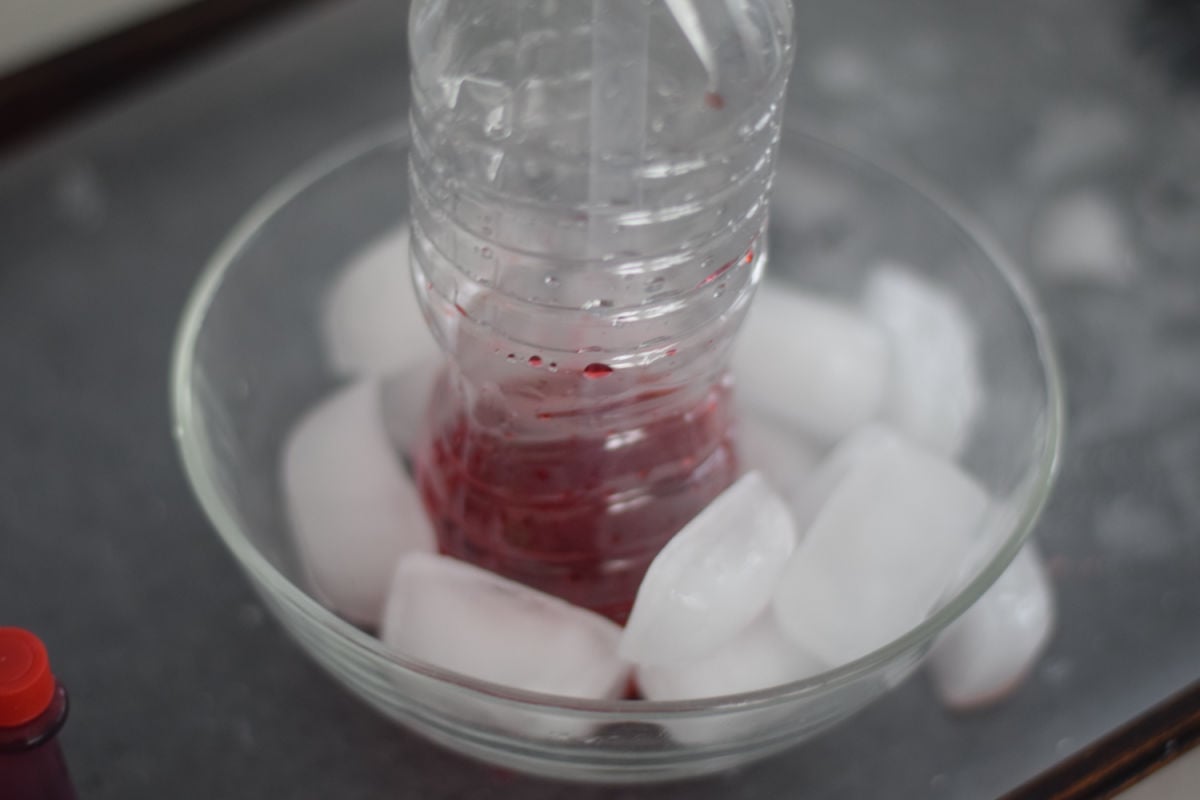
- Set the bottle in cold water or ice. The liquid should drop back down. Why is that?
- Grab a bowl of hot water, and hold the thermometer in the hot water. Watch as the colored liquid rises through the straw. Add ice cubes to the bowl, and watch the liquid slowly drop back down.
- Place the bottle outside in the sun and see how long it takes for the liquid to rise. Mark the bottle with a marker. Come back at sunset and set it in the same place. See if the liquid increases as much at a colder temperature. Check each day and compare the markings. Is the temperature cooler or warmer than the last time I checked?
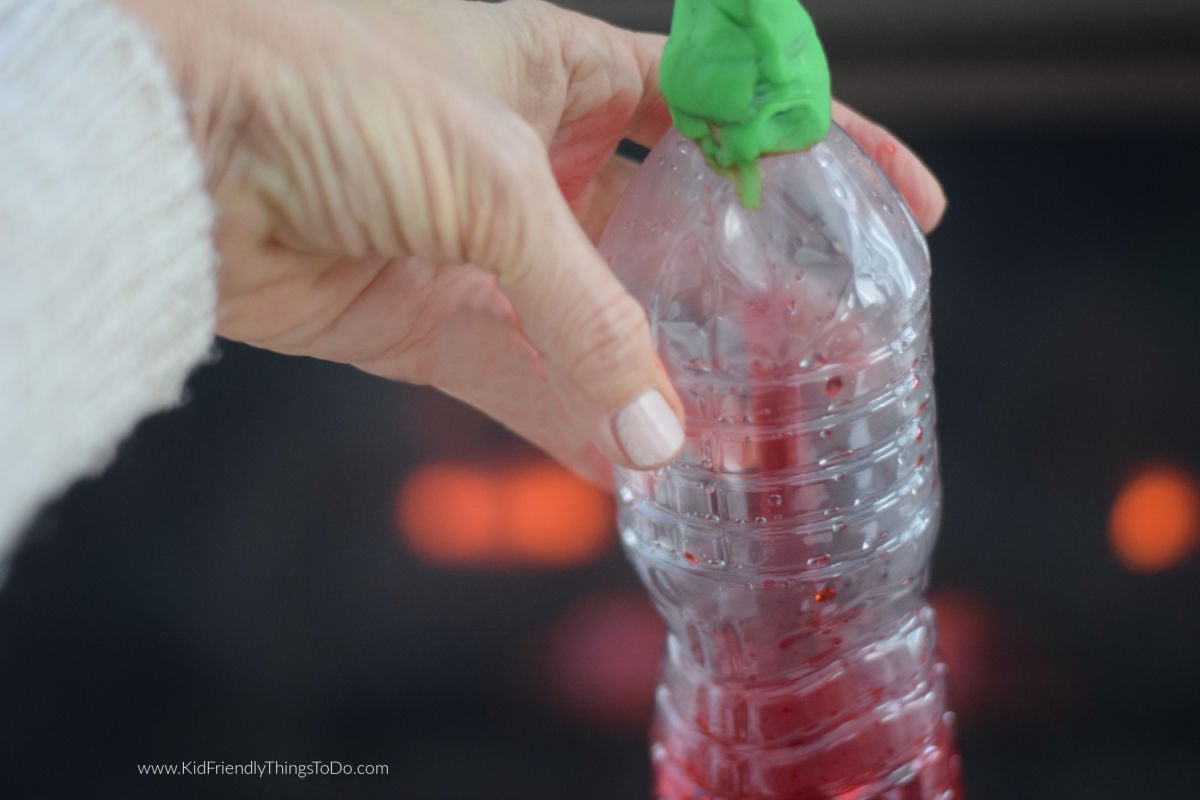
- Try other heat sources. I walked over to the fireplace, and the liquid shot up.
More Liquid Expansion and Contraction
You can experiment more with liquid. Boil water and watch it bubble and expand. Freeze water in an ice cube tray and watch it contract.
FAQs
Rubbing alcohol responds more quickly to heat than water does.
Quick Tip
Protect your surfaces and yourselves. If the mixture gets very hot, it might come up through the top of the straw
The Science Behind This Experiment
The reason the liquid rises is due to the thermal contraction/expansion of the liquid.
Expansion – When heat is added to liquid, the molecules’ kinetic energy or moving energy increases. They need to move faster, and their bond becomes weaker due to increased movement. They need more room, and they spread apart. As they move further away, they take up more space.
Contraction – When heat is removed, the particles slow down. They need less space, and they contract. The space between the particles is reduced, and they can come back together.
More Science Fun for the Kids
Watch My Video on Making this Thermometer
Printable Instructions
Make A Homemade Thermometer
Materials
- 1 empty plastic or glass bottle clear
- 1 A clear straw
- ¼ cup Rubbing Alcohol
- ¼ cup Water
- Food Coloring a few drops – see notes for color
- Play-Doh small amount
- Funnel
- A tray to protect your surface from liquids
Instructions
- Using a funnel, pour equal parts of rubbing alcohol and water into the empty clear bottle
- Add a few drops of food coloring and swirl to mix in
- Place the straw into the bottle, hovering it right at the surface of the liquid
- Use the play-dough to hold the straw in place and form a tight seal around the straw and over the top of the bottle
Experimenting
- Hold the bottle in your hands. Ask, why did the liquid rise? The temperature around the bottle will go up from the warmth of your hands. Try rubbing hands together to get them nice and warm, and try again.Grab a bowl of hot water, and hold the thermometer in the hot water. Watch as the colored liquid rises through the straw. Add ice cubes to the bowl, and watch the liquid slowly drop back down. Why is that? Place the bottle outside in the sun and see how long it takes for the liquid to rise. Mark the bottle with a marker. Come back at sunset and set it in the same place. See if the liquid increases as much at a colder temperature. Check each day and compare the markings. Is the temperature cooler or warmer than the last time I checked?
Notes
~ Melissa – KidFriendlyThingsToDo.com



so fun!