Bear Paw Cookies
This post may contain affiliate links – please read my disclosure statement.
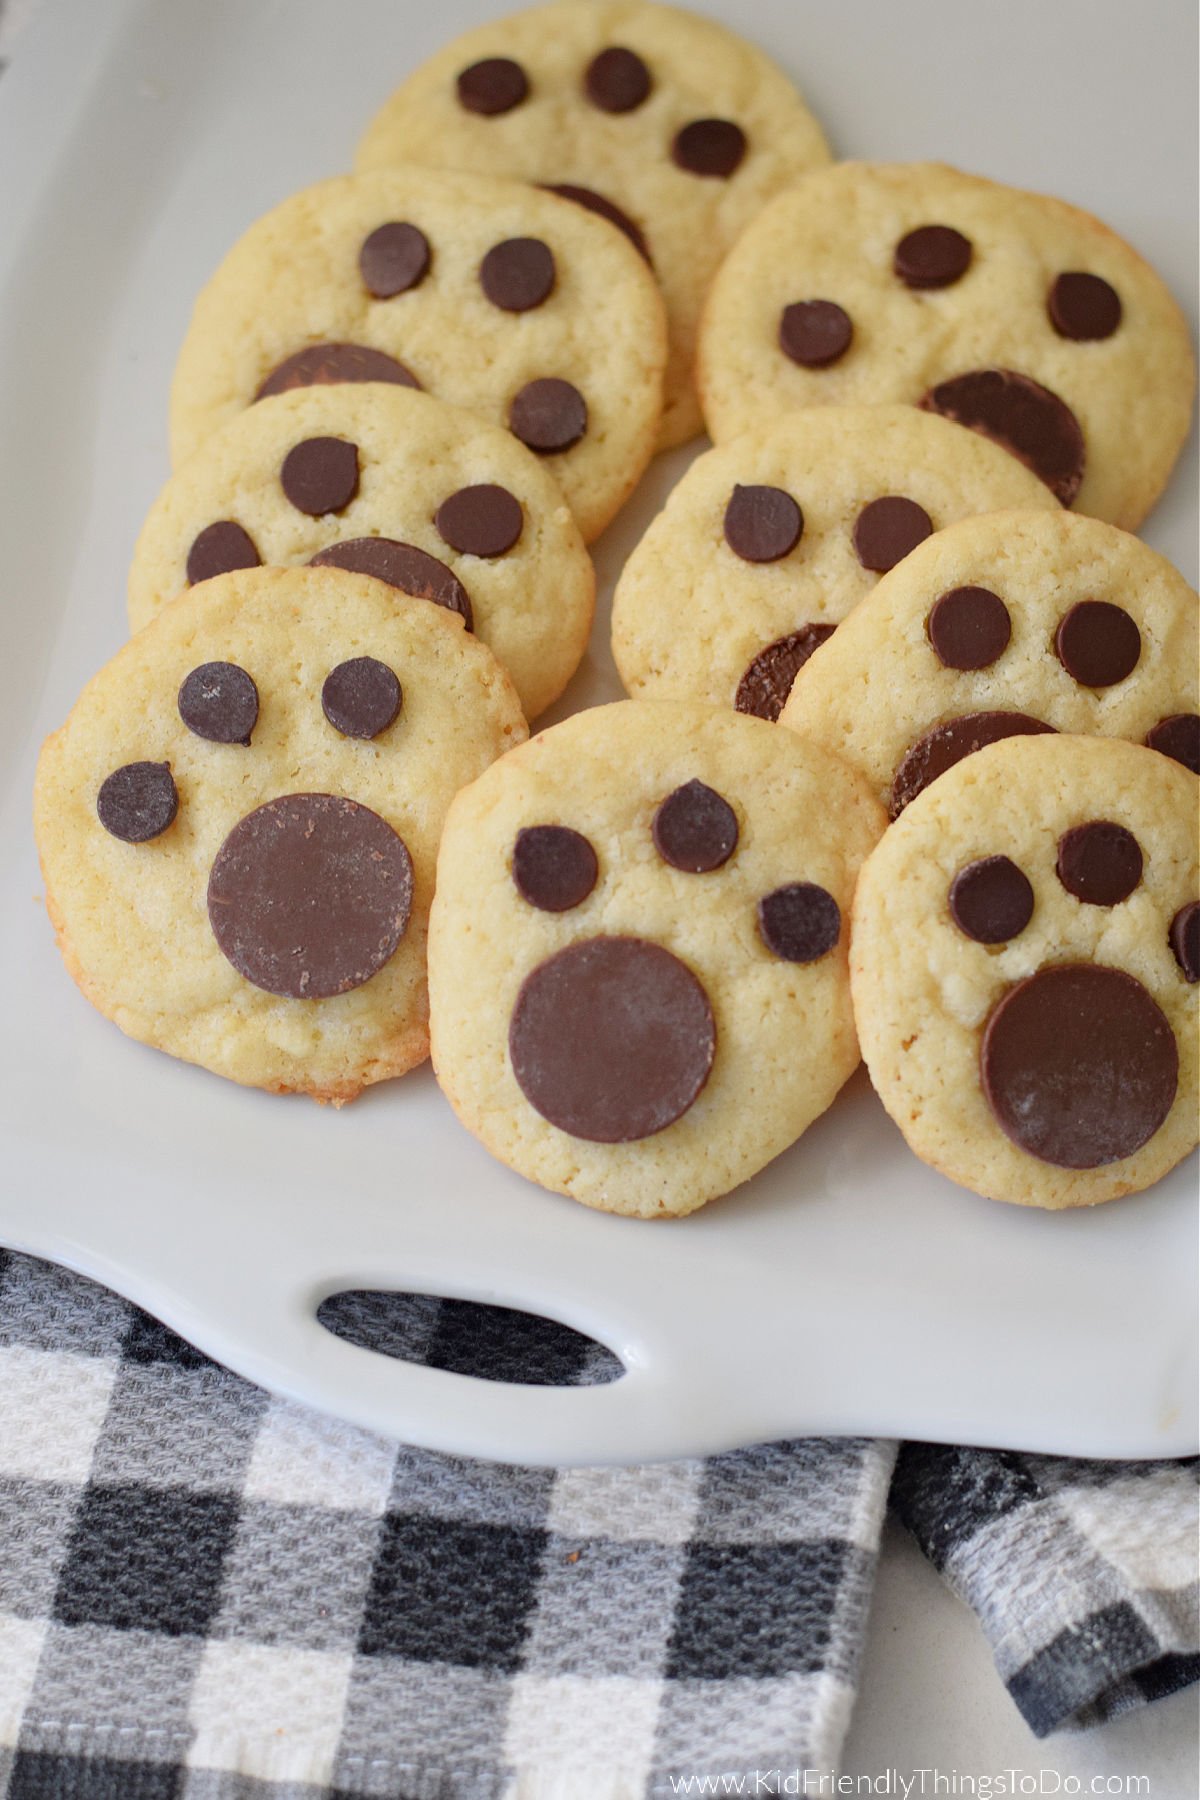
These easy Bear Paw Cookies are as delicious as they are adorable. They are perfect for any nature-loving kids, a fun winter treat, or a camping-themed party.
Adult supervision is required for each step of activities, recipes, crafts, and games with children. Small parts are a choking hazard.
Bear Paw Cookies
Each time the kids have a snow day, we love to make the most of it with some snow-day fun in the kitchen. We usually make snow cones with this easy-to-make homemade snow cone syrup, of course there is always snow ice cream, and hot chocolate is a must. These bear paw marshmallows really make a winter cup of hot cocoa fun.
These bear cookies are so adorable and add such a fun element to a cold winter day. If you are having a snow day, then chances are that you are snowed in. The good news is that you probably have the ingredients for these fun winter cookies right in your pantry. If you don’t have the large round chocolate melts, that’s ok. Improvise with chocolate chips and mini chocolate chips. Whatever you do, the kids will love them.
Here’s why I Love this Recipe
- Easy – These cookies are easy to make and fun to decorate. The kids will love joining in the fun of decorating their bear paw cookies.
- Ingredients – The ingredients for this cookie recipe are easy to find. You might even have them in your cupboard.
- Fun – These bear paw cookies are so cute and perfect for camping trips, Christmas, winter, and snow day fun.
Ingredients You’ll Need
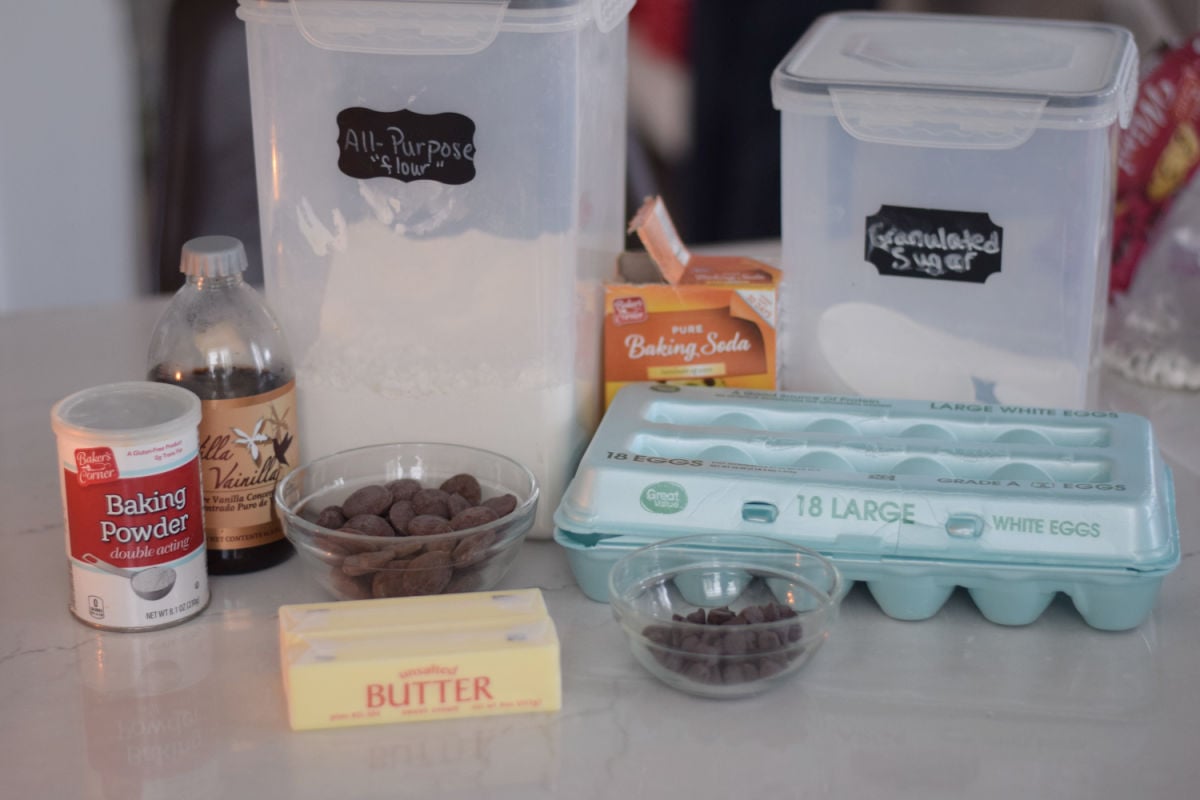
- unsalted butter
- granulated sugar
- egg
- vanilla extract
- flour
- baking powder
- baking soda
- salt
- brown chocolate melting wafers
- chocolate chips – semi-sweet, dark, or milk chocolate. Whatever you like best for taste.
Equipment Needed
Baking Sheet lined with parchment paper or silicone baking mat
How to Make Bear Paw Cookies
Preheat the oven to 350 degrees F.
Cream sugar and sugar together using a whisk or a mixer
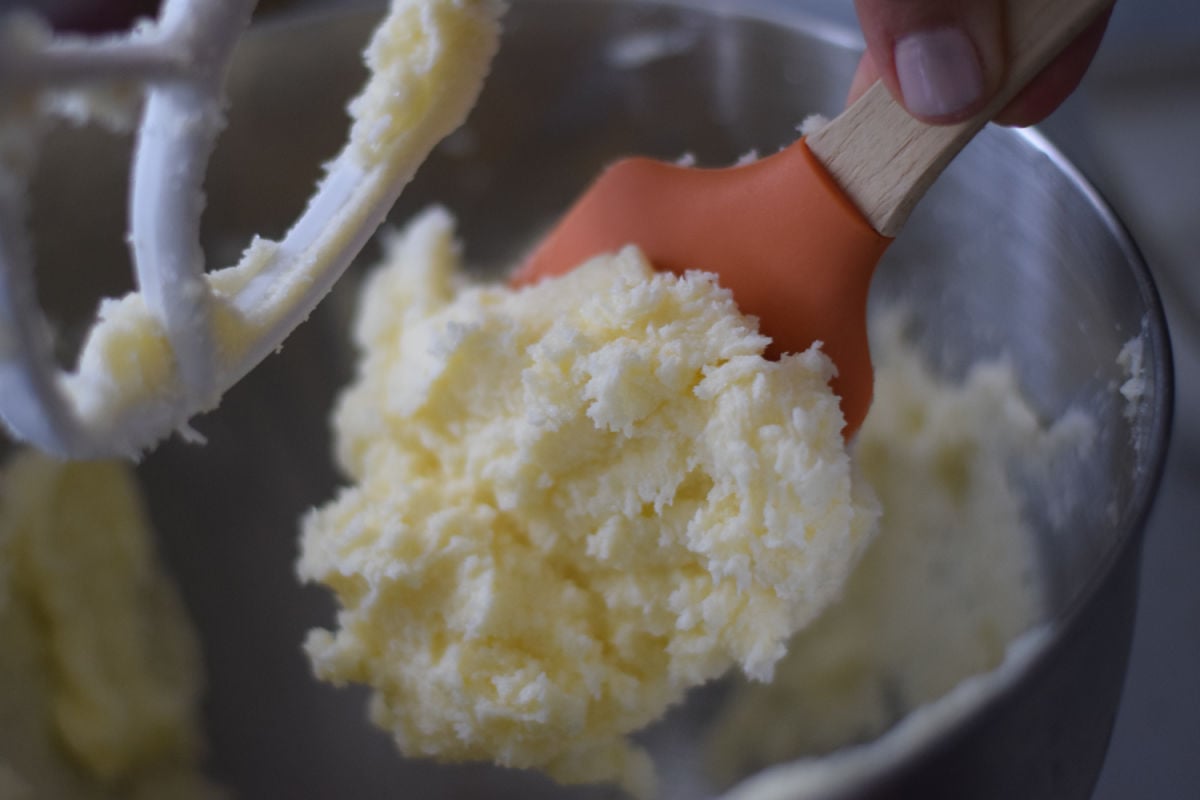
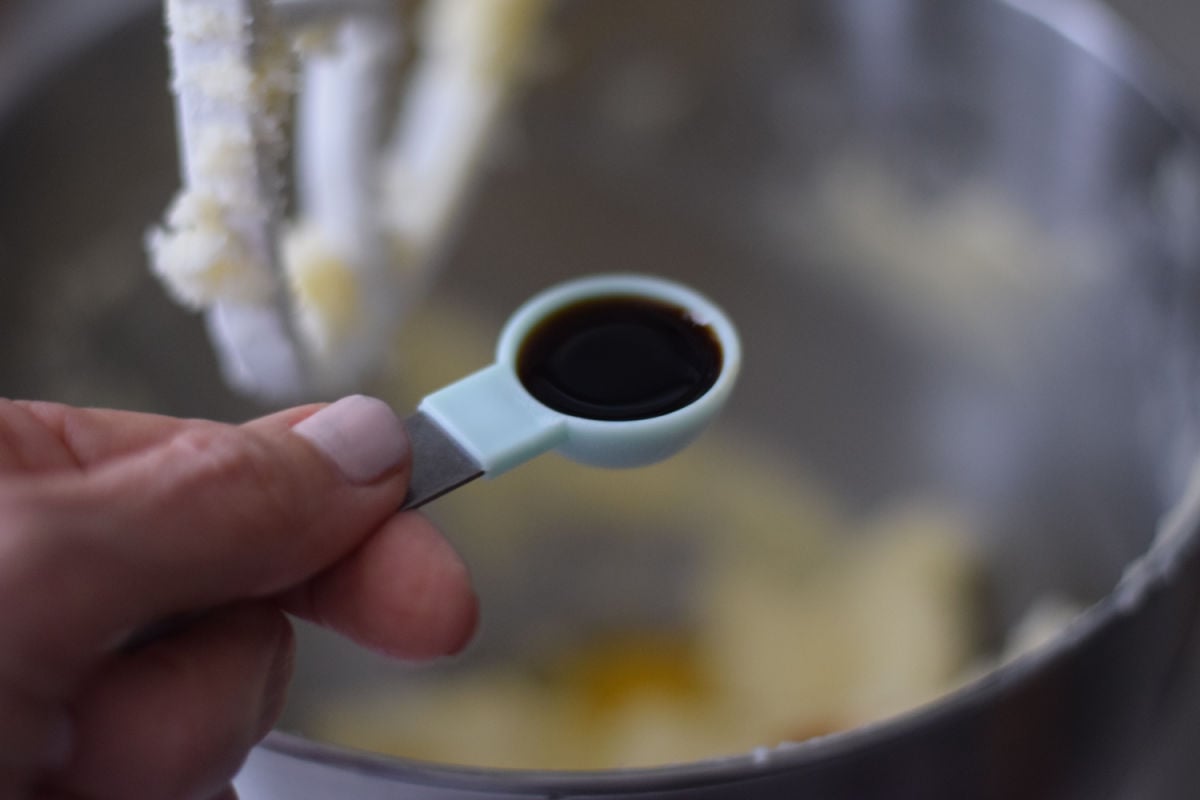
Add the egg and vanilla. Beat until well combined
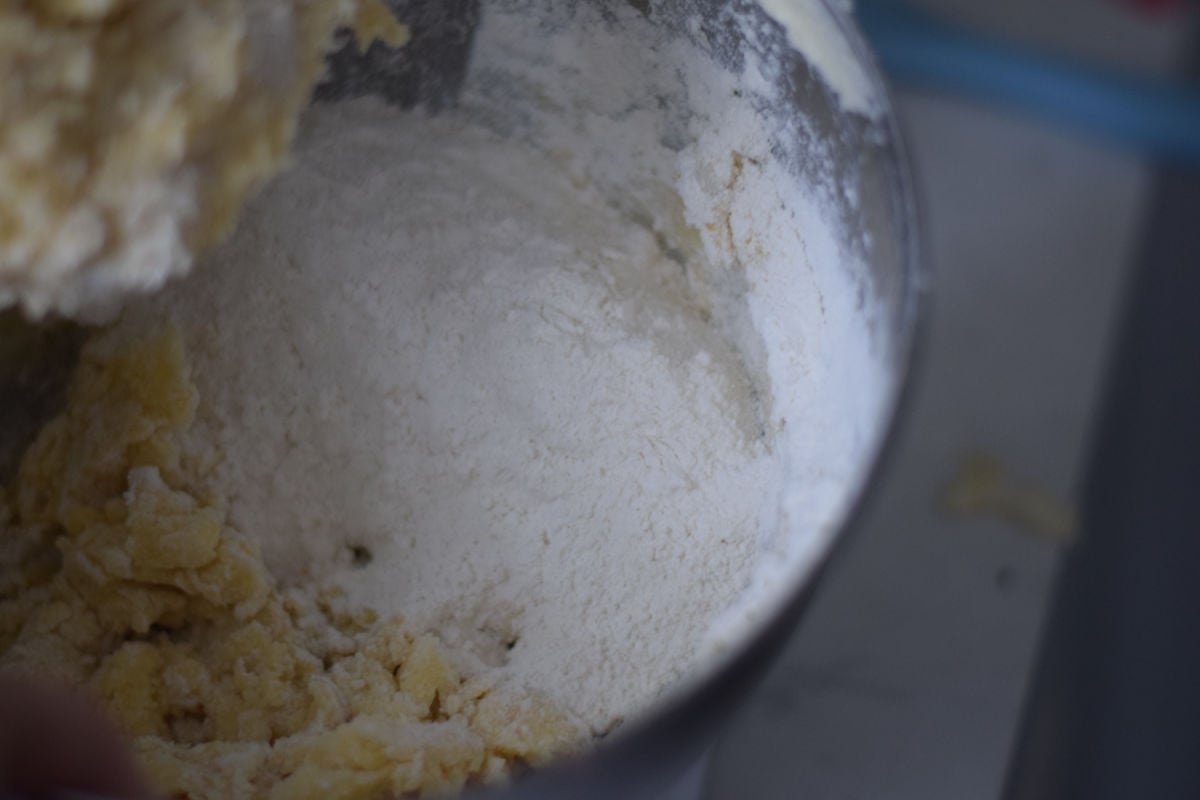
In a medium bowl, mix the baking soda, baking powder, salt, and flour
Gradually add the flour mixture to the wet mixture, stirring to incorporate
Using a small spoon or small cookie dough scoop out dough into your hand. Roll the dough into a one-inch sized ball and set it on the pre-lined baking sheet.
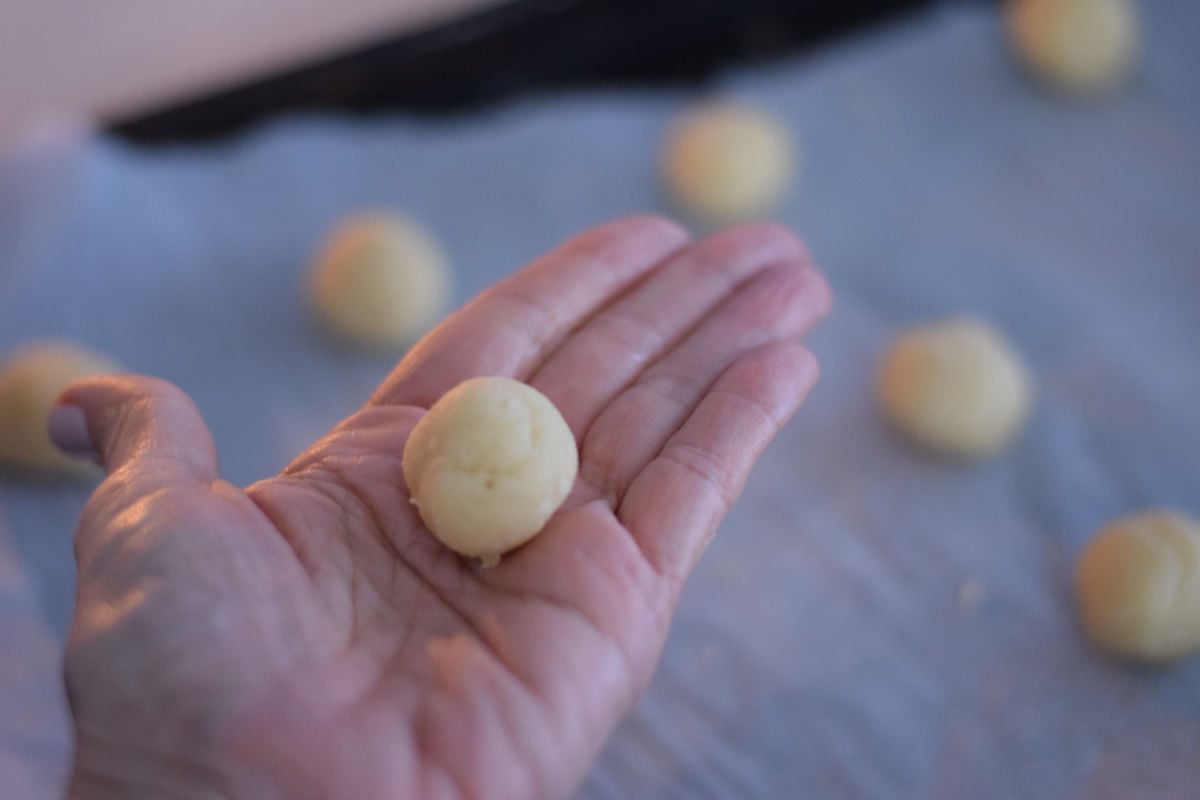
Place cookie dough balls two inches apart on the pre-lined baking sheet.
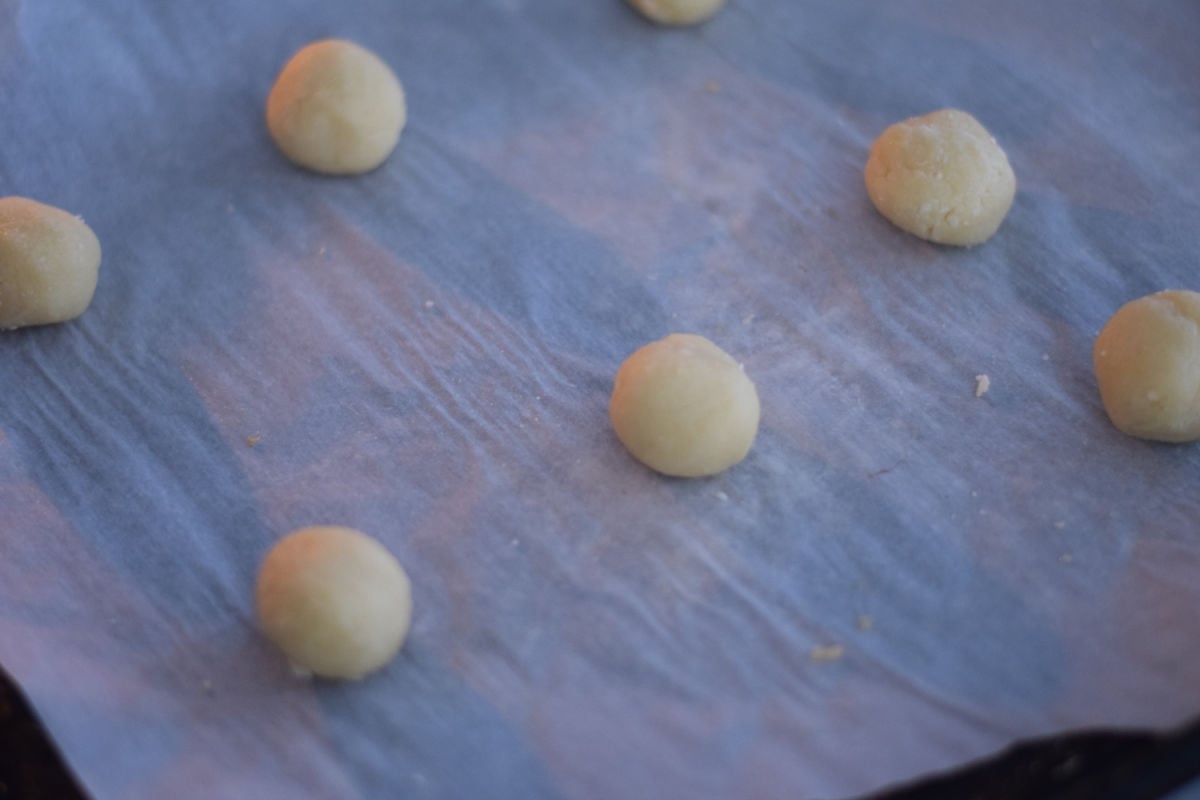
Bake for 9-12 minutes.
Leave cookies on a baking pan to cool off, but add decorations while still warm.
Gently Push the larger melting wafer into the center of the cookie
Add three chocolate chips to the top portion, curving around the larger round chocolate piece.
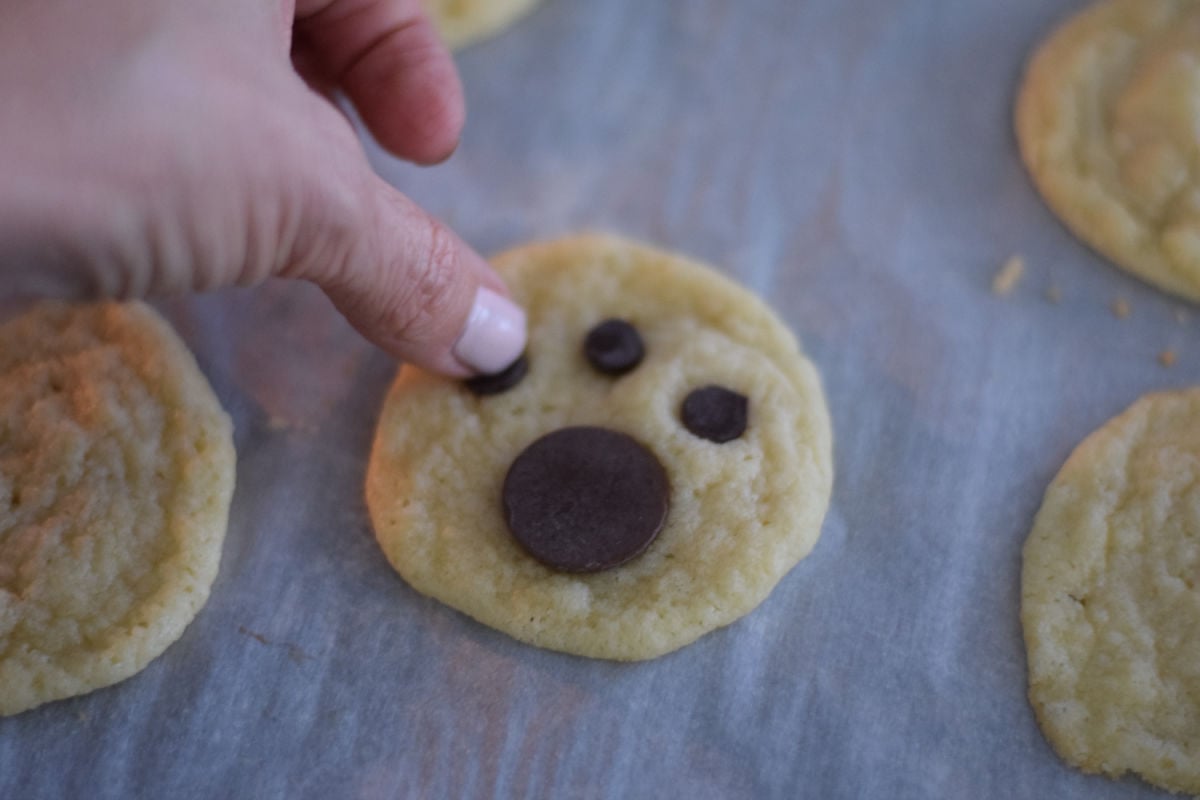
Repeat with the rest of the cookies.
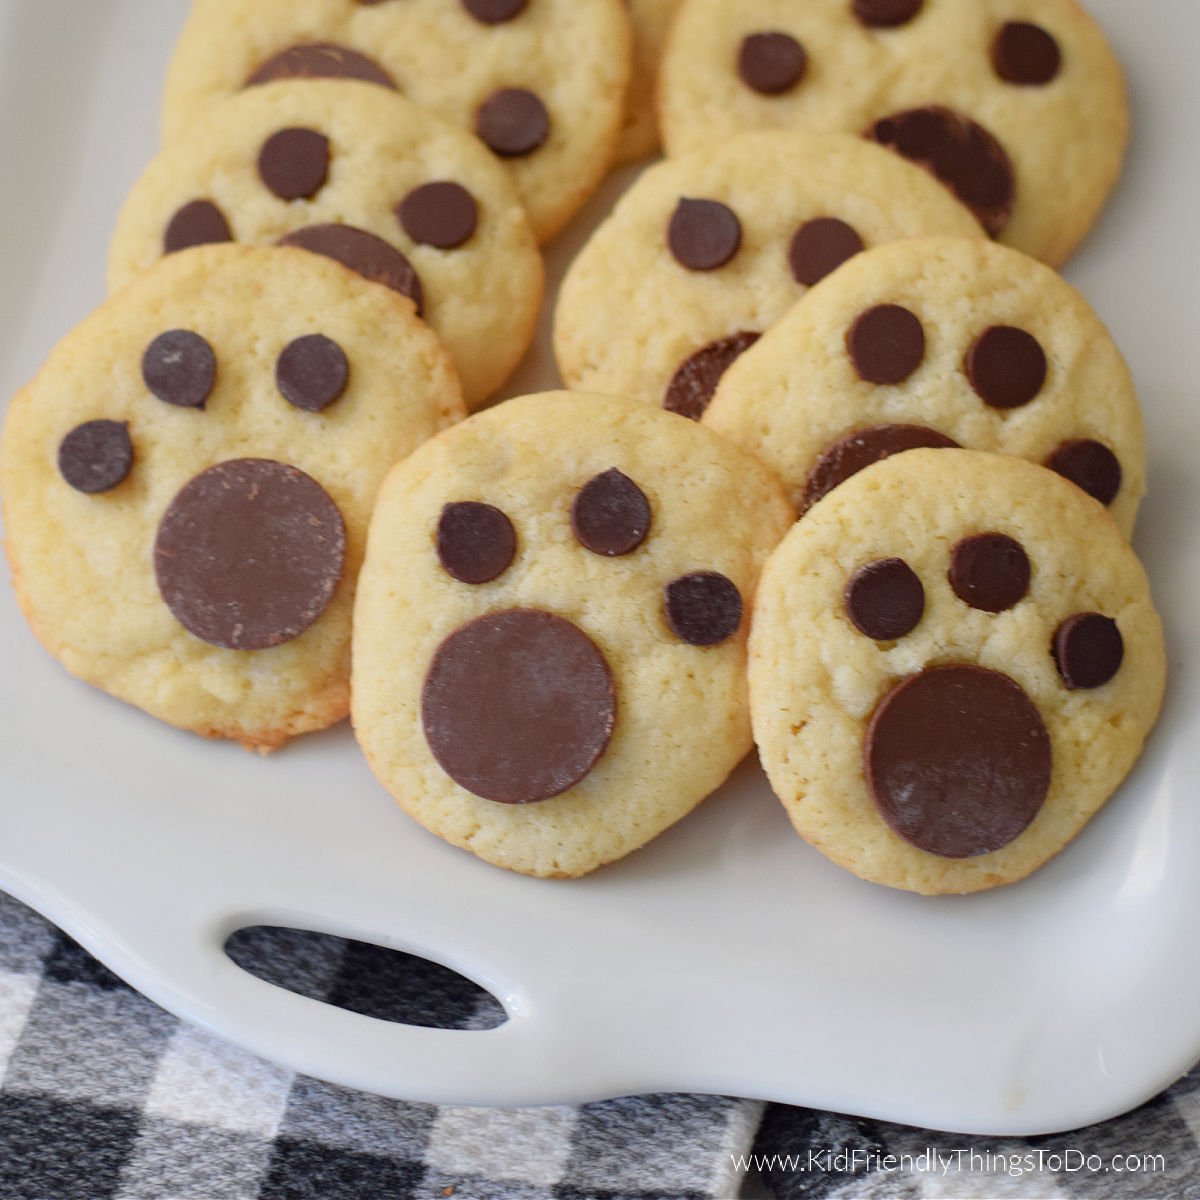
Let the cookies cool completely before transferring them. If you have more baking pans, you can continue to bake more cookies while they are cooling.
Enjoy with a tall glass of milk or milk substitute!
Expert Tips
You can push the chocolate pieces in as I did so the tops are pushed into the cookies. This will give a flat surface to the chocolate chips. Or, place them on the bottom side first for a pointed chocolate top.
Size – I would aim for about one-inch diameter round balls. This will give you more cookies, and they will be smaller. I made larger cookies on my first batch, and while they are still cute, the smaller ones were a little cuter.
You can freeze the cookie dough for up to three months. Thaw and bake when you feel like it or on your next snow day.
Quick Tip
Let your cookies cool almost completely before transferring. Sugar cookies that are still too warm tend to break apart.
FAQs
Store these cookies for about three days in an airtight container at room temperature for optimal freshness.
No. I would not recommend adding the chocolate decorations before baking. Chocolate will melt in the oven and change its shape. The best time to add them is while the cookies are still warm and fresh out of the oven.
I would not recommend freezing your cookies. The chocolate will collect moisture in the freezer and might produce sugar bloom. This won’t affect the taste, but they won’t look as appetizing.
Flavor Variations
Make peanut butter bear paw cookies using a peanut butter blossom cookie recipe
Change the color of your bear paws with colorful melting wafers and rainbow-coated chocolate chips
More Snow Day Activities You’ll Enjoy
- Make a Pine Cone Bird Feeder
- Cut out coffee filter snowflakes
- Paint the snow with homemade snow paint
- Make no-sew sock snowmen
- Create chocolate-covered apple snowmen
- Make melted snowmen from salt dough
- Make water bottle penguins
More Snow Day Treats You’ll Love
Let’s Hang Out
Come and find me on Pinterest and Facebook for more recipes, crafts, party treats, and holiday games!
Serving Size
This recipe will make 2-3 dozen cookies
Printable Recipe

Bear Paw Cookies
Equipment
- baking sheet lined with parchment paper or baking mat
Ingredients
- 1 cup butter unsalted – softened
- 1 cup sugar granulated
- 1 large egg
- 1 tsp. vanilla extract
- 2 cups flour all-purpose
- 1 tsp. baking powder
- ½ tsp. baking soda
- ¼ tsp. salt
- 1 bag chocolate melting wafers
- 1 bag chocolate chips semi-sweet, milk chocolate, or dark chocolate
Instructions
- Preheat the oven to 350 degrees F.
- Cream sugar and sugar together using a whisk or a mixer
- Add the egg and vanilla. Beat until well combined
- In a medium bowl, mix the baking soda, baking powder, salt, and flour
- Gradually add the flour mixture to the wet mixture, stirring to incorporate
- Place cookie dough balls two inches apart on the pre-lined baking sheet.
- Bake for 9-12 minutes.
- Leave cookies on a baking pan to cool off, but add decorations while still warm.
- Push the larger melting wafer into the center of the cookie
- Add three chocolate chips to the top portion, curving around the larger round chocolate piece.
- Repeat with the rest of the cookies.
- Let the cookies cool completely before transferring them. If you have more baking pans, you can continue to bake more cookies while they are cooling.
- Enjoy with a tall glass of milk or milk substitute!

